DIY
How to Make Gilded Animal Place Cards
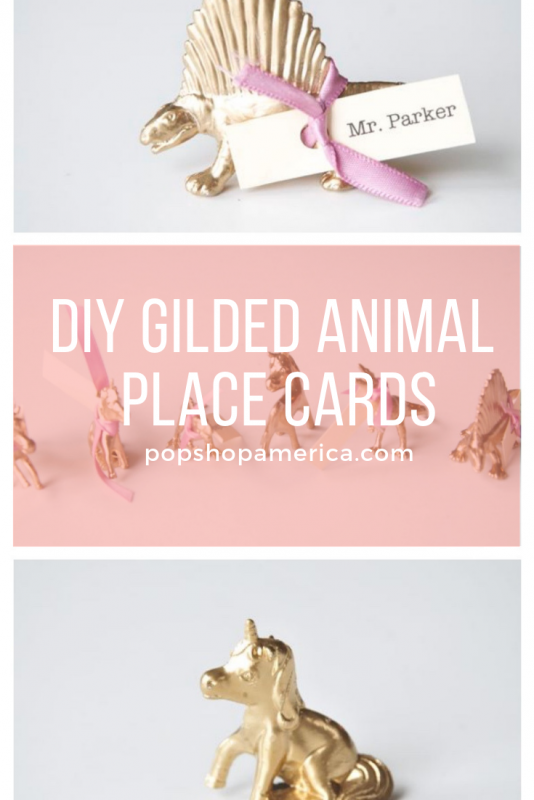
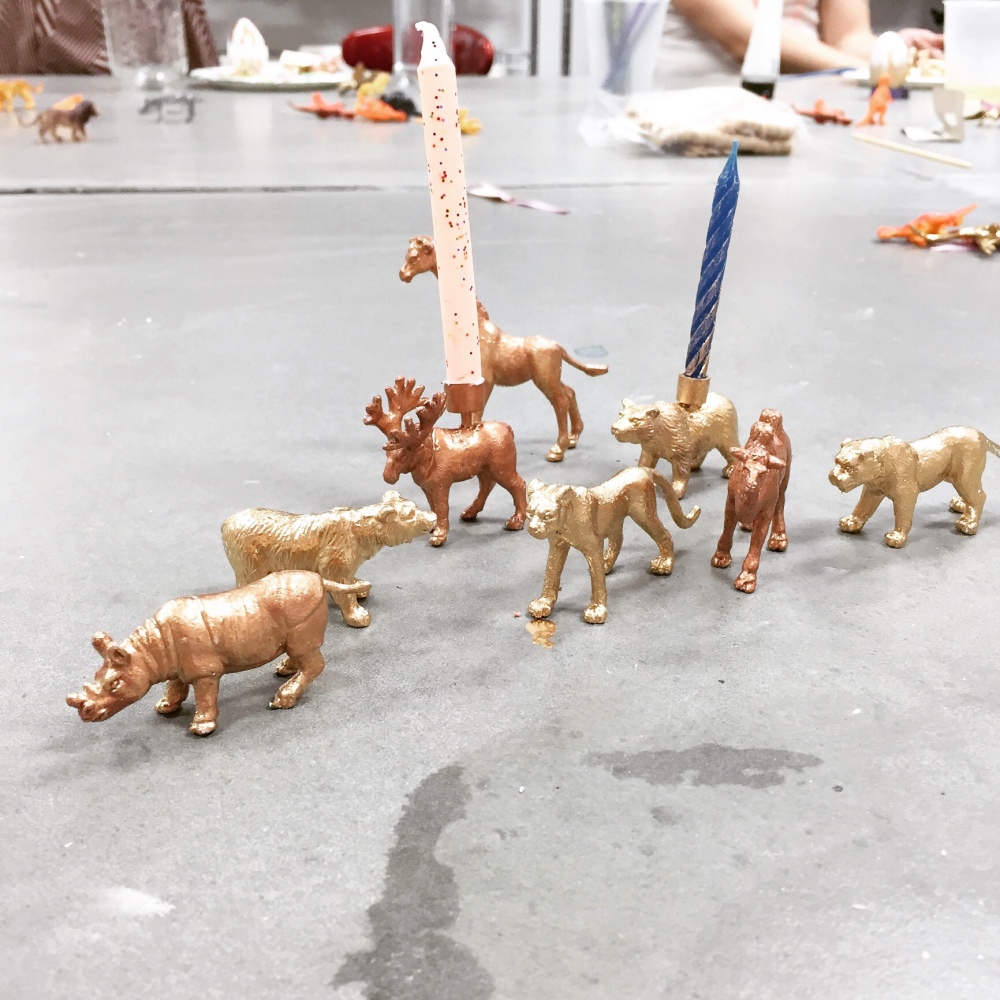
Ah, refined, fun loving and elegant too! These Gilded Animal Place Cards are one of my favorite things to do with gilded animals!
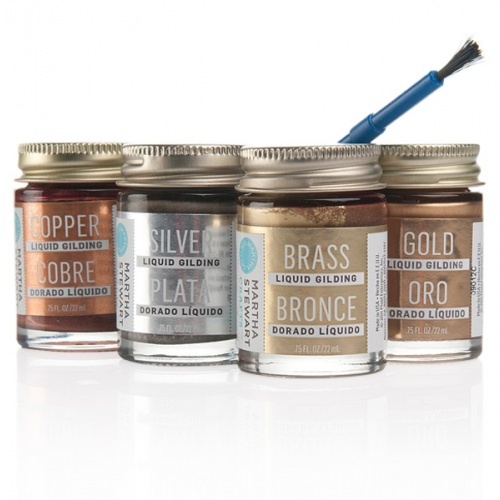
Gilding is a gorgeous and lustrous metallic sheen that can be added to any surface. You can find gold leafing which is a great application for art framing or home decor. For little animals, we use liquid gilding which is applied wet and dries like a coat of paint.
Both have the most metallic, reflective color and are dense and lustrous.
It’s just gorgeous! Gilded Animal Place Cards are totally easy to make – it’s as easy as applying a coat of paint.
But there are lots of helpful hints and tricks to make your gilding project the most successful.
Supplies:
A Paper Plate (or surface that can be thrown away)
A Disposable Paint Brush
Martha Stewart Brand Liquid Gilding
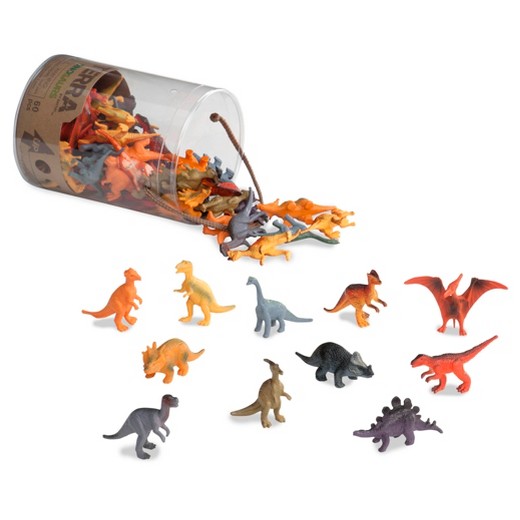
Toy Animals
For Place Cards: Ribbon, Baker’s Twine, Hole Punch, and Lovely Printed Paper
Important Tips Before Getting Started:
First of all, liquid gilding is fumy! It’s not ideal for indoors. If you decide to try it indoors just be sure to use a well ventilated room.
Second of all, gilding is like GLUE. Do not let the edges get coated in gilding where the bottle meets the lid of the jar. You will not be able to get the gilding open again if you get liquid gilding in this area.
Third, shake well before opening. This will make for a smooth and even finish.
As long as you follow those simple tips, your gilding project will come out great! But here are some more tips and how to guide from beginning to end.
Gilded Animal Place Cards from Start to Finish:
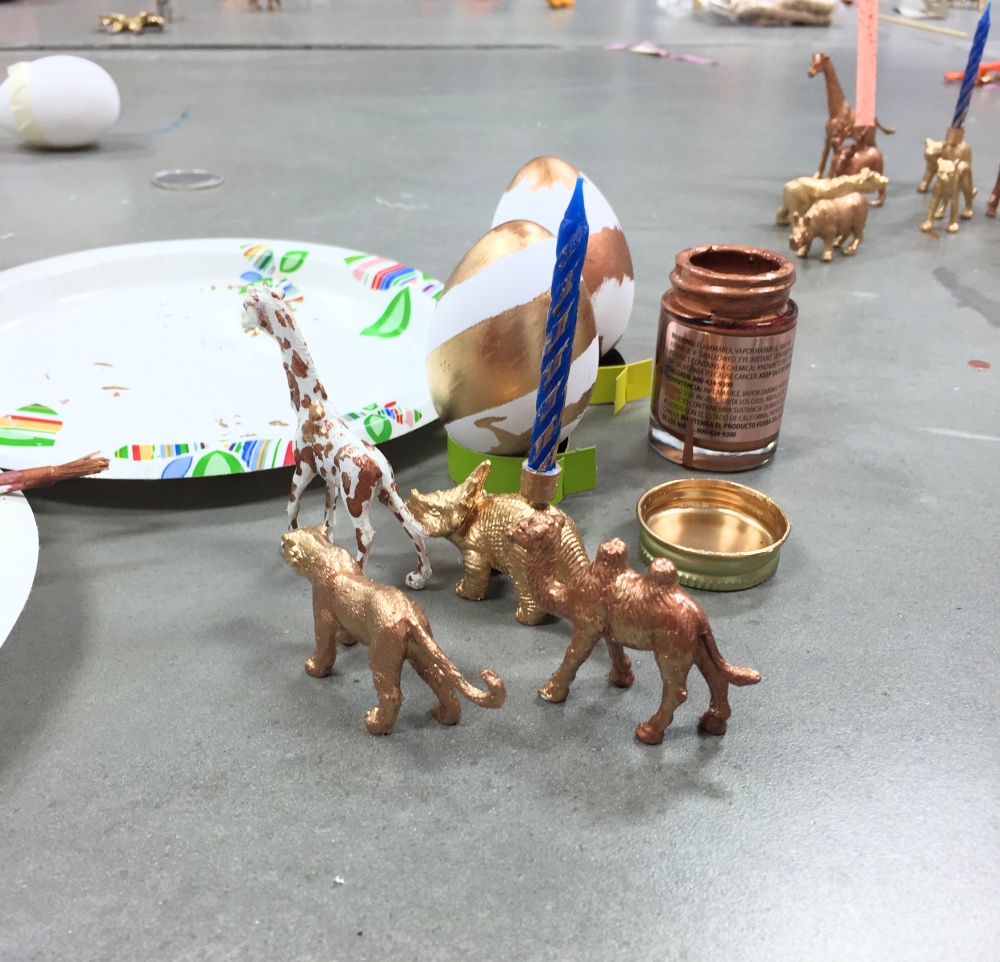
Place your Animals on a surface that can be thrown away. Shake your gilding thoroughly and add some gilding to a painters palette or paper plate that can be thrown away. We use Martha Steward liquid gilding because it’s gorgeous and so easy to find on Amazon, Michael’s or anywhere.
Coat your animals thoroughly and evenly and allow them to dry completely in between coats. You will need to flip them around and upside down to get all the edges. So if your finished product needs to meet a deadline, be sure to get started on this project a day or two before.
You may only need 1 coat of gilding total, but 2 coats is lovely. I use 2 coats for all the projects in this blog.
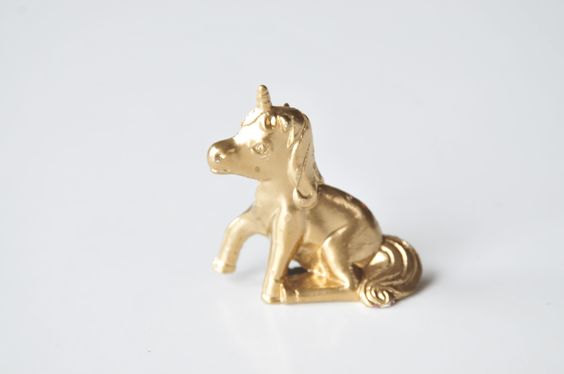
Your gilding on each side that you coat, just takes a few hours to completely dry.
Once your animals are completely dry, use ribbon or bakers twine, to attach your name cards. That is the fun part! Be sure to pick a nice color paper and nice font too.
We just used a simple pair of scissors and simple hole punch for the name tags.
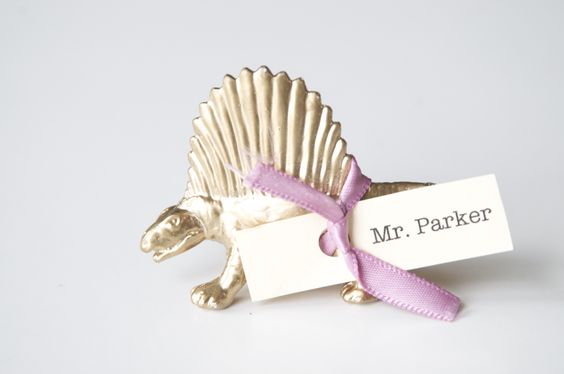
These place cards would be so perfect for a wedding, bridal shower or a high end dinner! They are lovely and refined but fun and whimsical too.
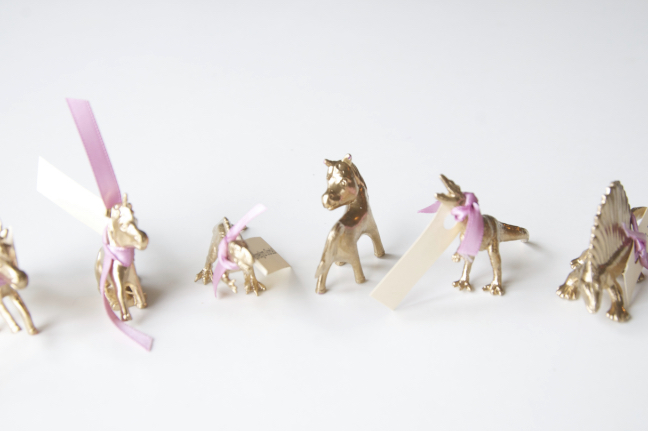
Need more gilding ideas? Check out our blog post of our favorite Gilding Projects here.
Let’s Stay Friends!
Insta | Pinterest | Enews | TikTok


