DIY
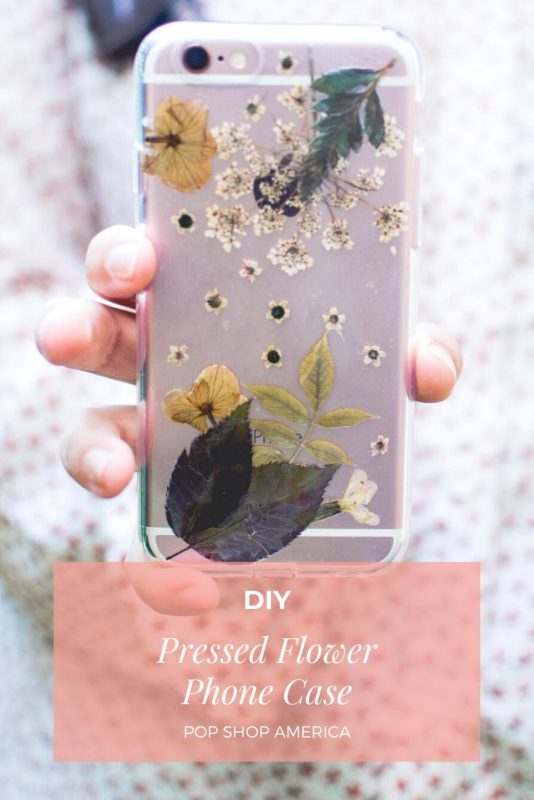
DIY Pressed Flower Phone Case
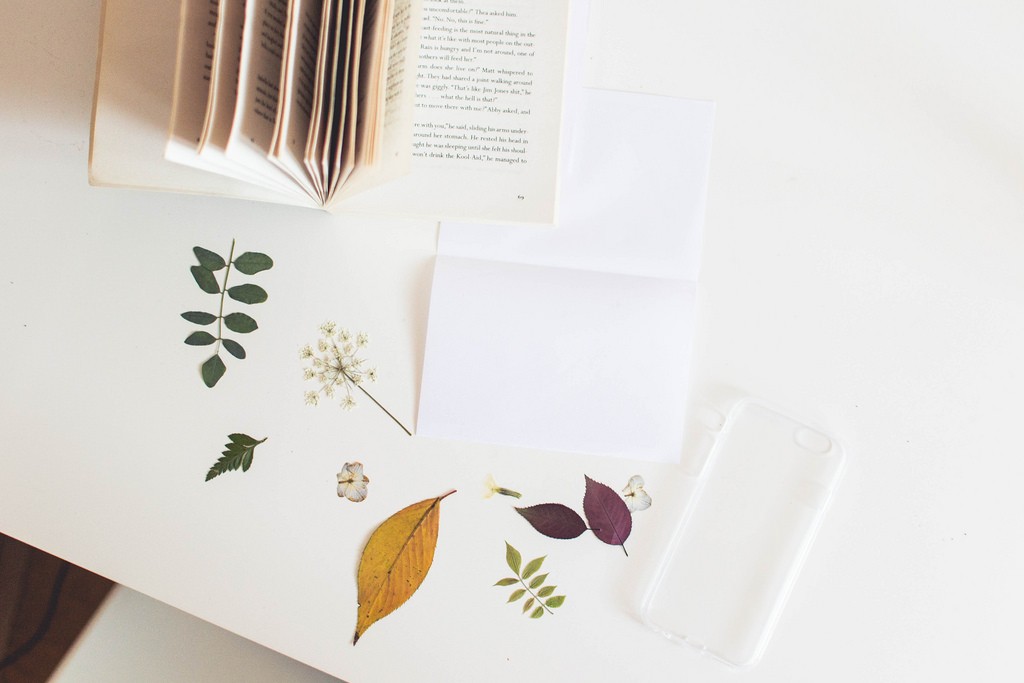
This last Summer we’ve gone on a lot of walks and hikes, and I’ve found myself starting collecting little memories of the places we visited in the form of leaves and flowers, which I’d press in between the pages of the whichever book I had in my backpack that time. By the end of Summer I had a very nice collection of beautiful pressed leaves that reminded me of special places and times.
I thought I could compile a memory album with all of them, but then I’ve seen many pressed flower phone cases online that all look very interesting and unique. I thought I’d give them a go myself, with my very own pressed flowers that reminded me of summertime!
For this pressed flower phone case, you’ll of course need to start and collect your leaves and flowers a bit earlier, because not only you want to have a nice selection to pick from to create your own design, but you also need to have enough time for them to press and dry properly. For pressing, you can use any fancy tool you can get your hands on, but to me there’s nothing better than the old-school book method!
Only remember to allow at least one or two weeks before moving on with gluing them anywhere, so that they are nice and dry and pressed! Here’s a little more info about how to press flowers if you’d like something in depth.
Materials:
Pressed Flowers and Leaves
Vinyl Glue + Water
Old Small Brush
Clear Phone Case (you can get it on Amazon here)
1. Firstly, make sure the inside of your clear phone case is clean and dry. Then create a mixture of vinyl glue and water in a 1:1 ratio.
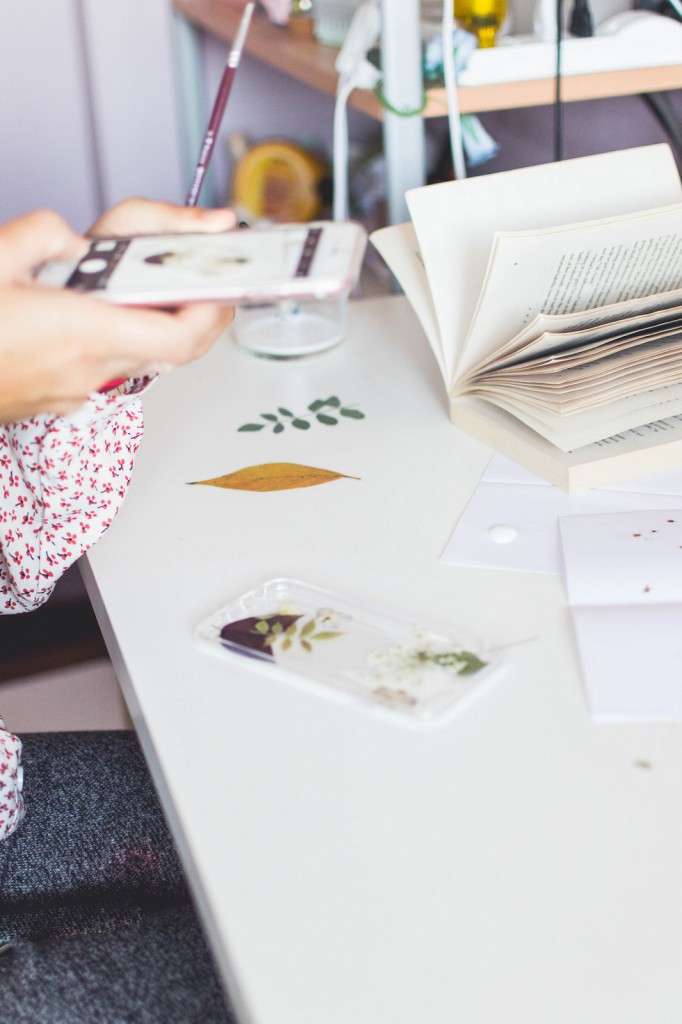
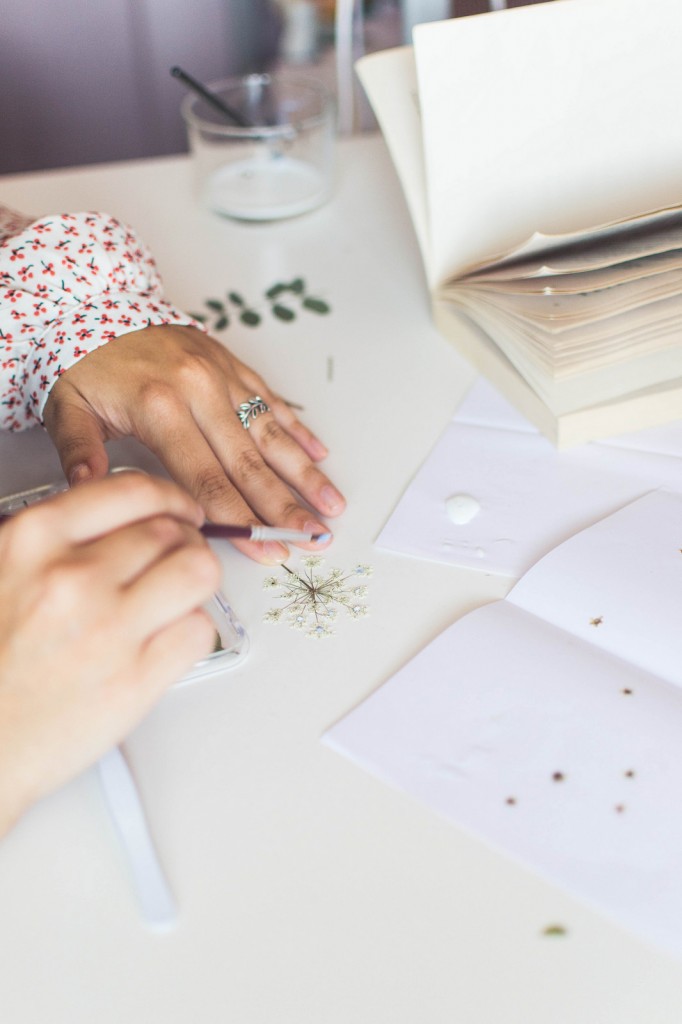
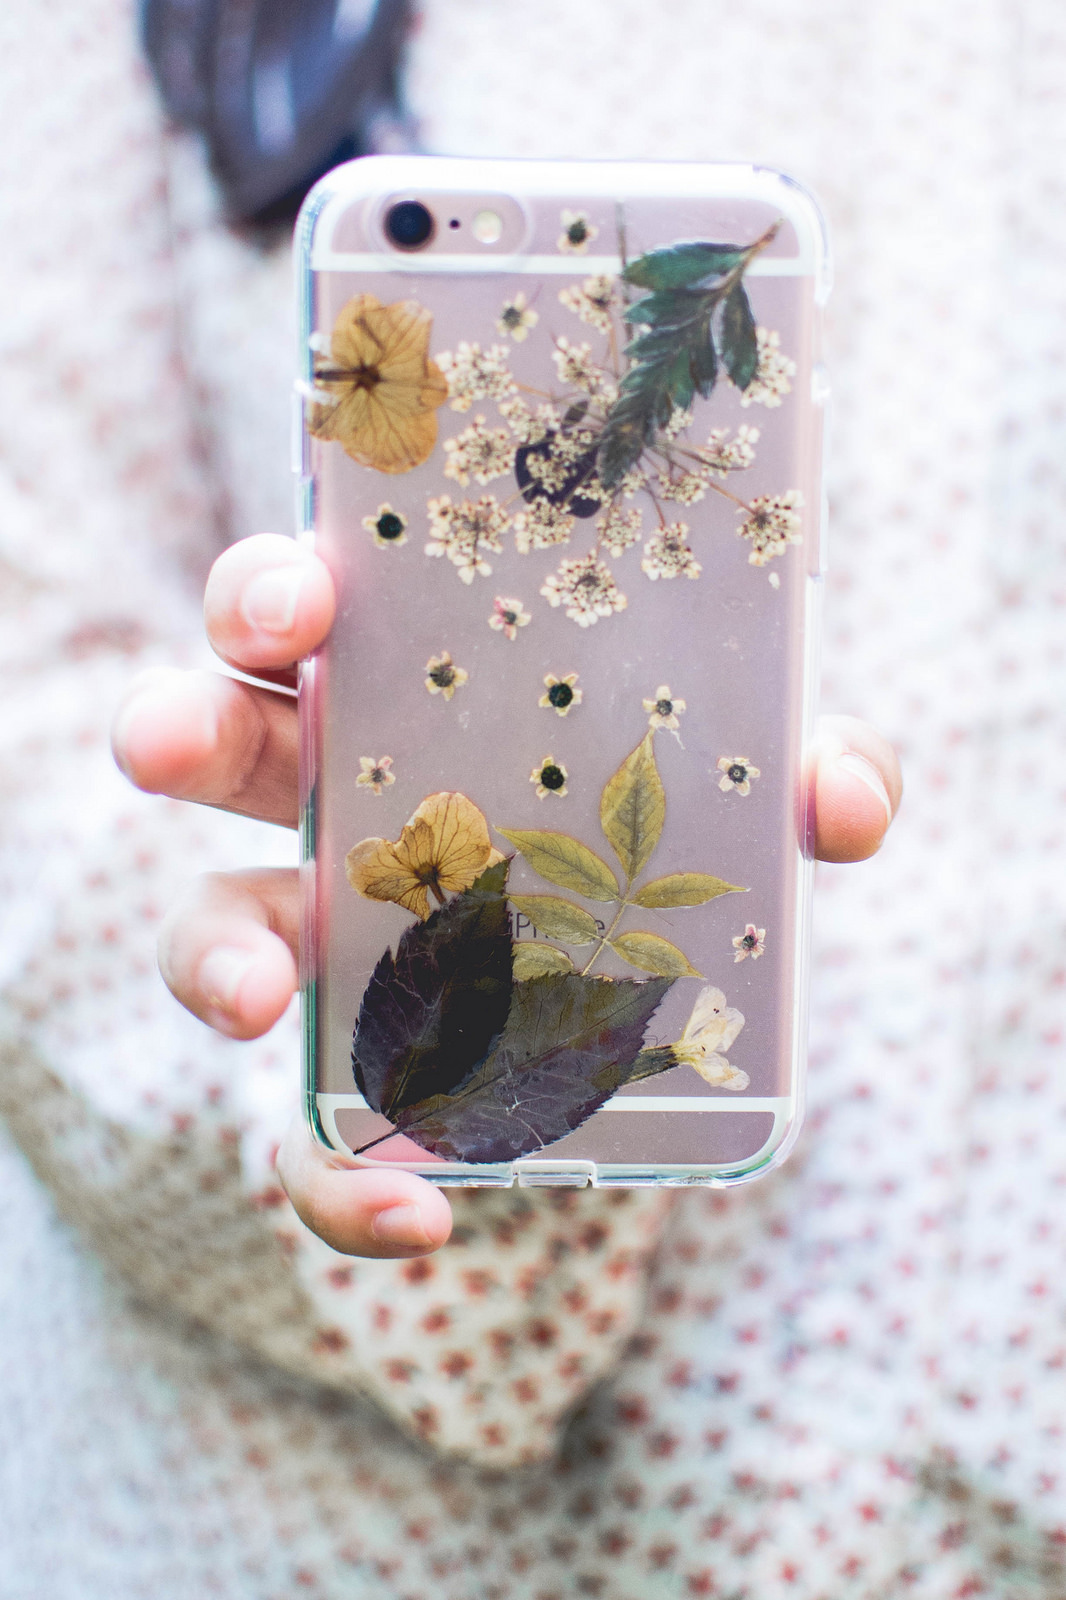
2. Take your pressed flowers and leaves and start putting together your design by positioning them on the inside of the phone case. When you’re happy with the result, make sure to snap a picture of it with your phone to remember the composition.
3. Take your brush and glue mixture and pop some on the back of the leaves to fix them to the phone case, to avoid them moving while you apply the top coats. Leave the glue to dry almost completely.
[Tweet “”There are always flowers for those who want to see them.” Henri Matisse https://bit.ly/2XASkJd”]4. Now start applying the top coats, creating a nice thick layer on top of the areas where the flowers and leaves are, to make sure they’ll stay in place. Do at least 2-3 coats, letting each one dry before applying another.
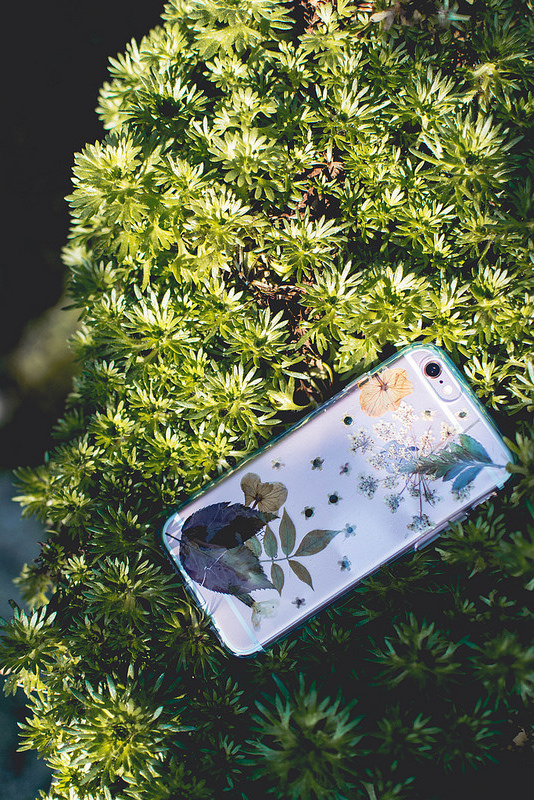
5. Once your pressed flower phone case is completely dry (it’ll be best if you let it dry overnight), pop it on your phone and enjoy!
[Tweet “Every flower must push through dirt to get to bathe in sunlight. https://bit.ly/2XASkJd”]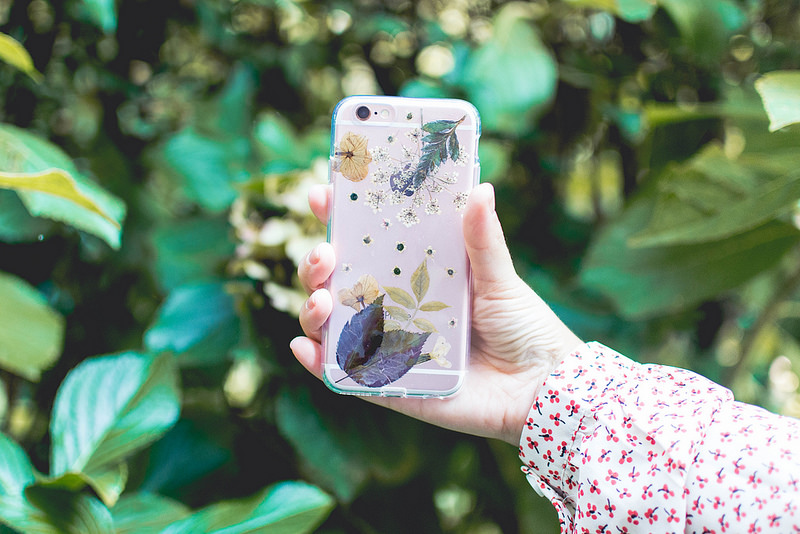
[Tweet “”Raise your words, not your voice. It is rain that grows flowers, not thunder.” – Rumi https://bit.ly/2XASkJd”]
Let’s Stay Friends!
Insta | Pinterest | Enews | TikTok





That is such a clever idea! I can imagine the possibilities. One for each season of the year. Love your idea.
Those are very creative and beautiful phone cases! I’ve seen pressed flowers on various cases as well but your designs are certainly very artistic. Thanks also for outlining the step by step of how you made it. Very helpful
Thanks so much for checking it out Daniel! I got your email and will respond ASAP. 🙂
Hi what brand of vinyl glue did you use please?
Great question! Loctite will work. It’s inexensive and can be found anywhere: https://amzn.to/2MkG0W7
Hi just wondering if putting the vinyl glue on the inside of the case stops it fitting the phone properly?
Great question! You will want to apply the glue in a thin layer so it won’t affect the phone from fitting in the case. All cases should have a bit of give already, which you may notice if you’ve ever ended up with tiny debris, dust, or even paper scraps inside your phone case!