Jul
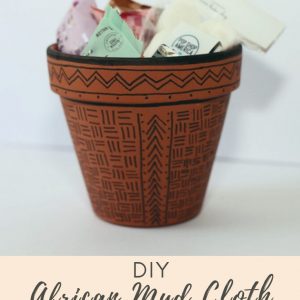
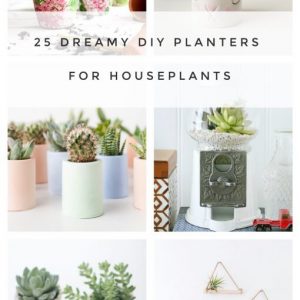
Why use a boring planter when you can make your own super pretty and totally-easy-to-make planter? It’s as cute as any of these 25 diy planters here.
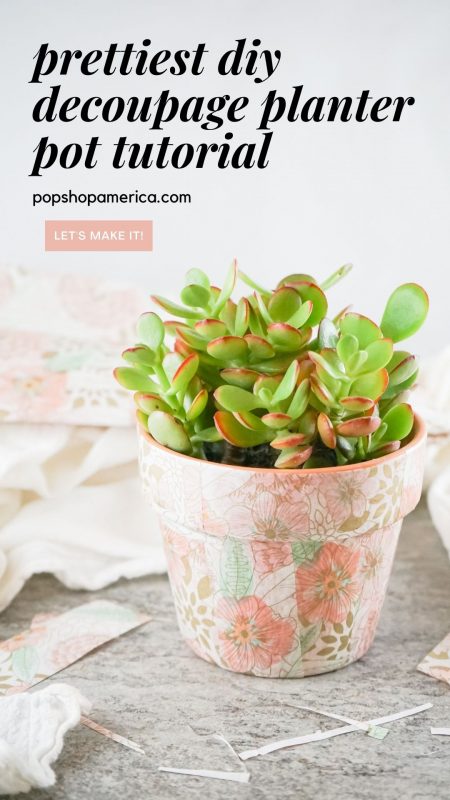
Plus it’s such a great way to get started with decoupage because it’s easy, stylish, and fun to make! For any decoupage project, the supplies are minimal and the projects don’t require a ton of time.
So let’s make it!
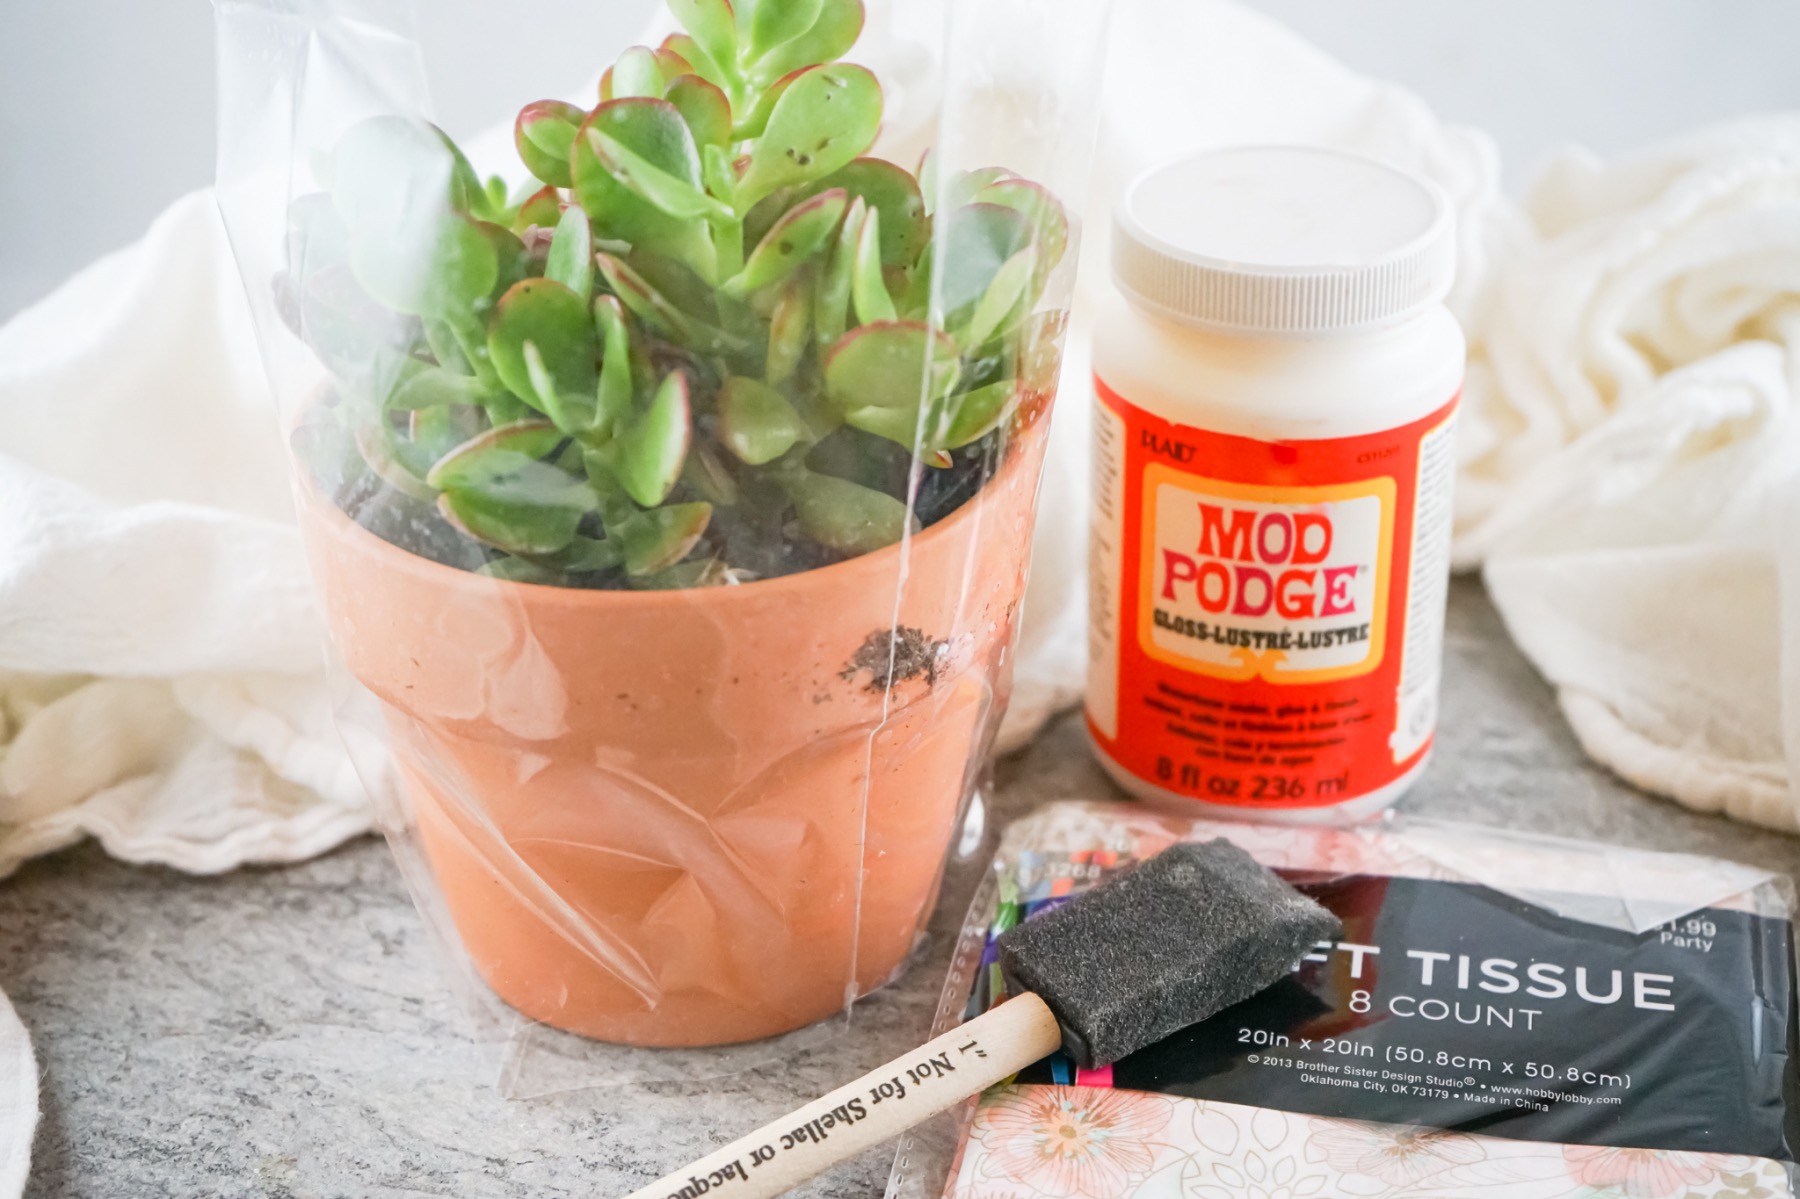
Supplies to Make a DIY Decoupage Planter Pot
A Terra Cotta Pot (I used one that’s about 6 inches)
Mod Podge in Matte or Gloss
Floral Tissue Paper
A Foam Brush
Scissors
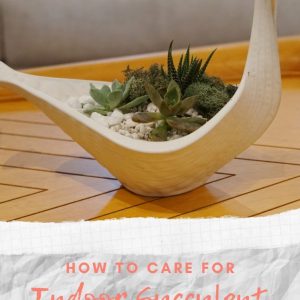
Plus, you may want a plant so that you can actually use your DIY Decoupage Planter Pot! I used a succulent which came with my terra cotta pot, but you could use any kind of plant you like. Succulents just happen to be wildly easy to care for.
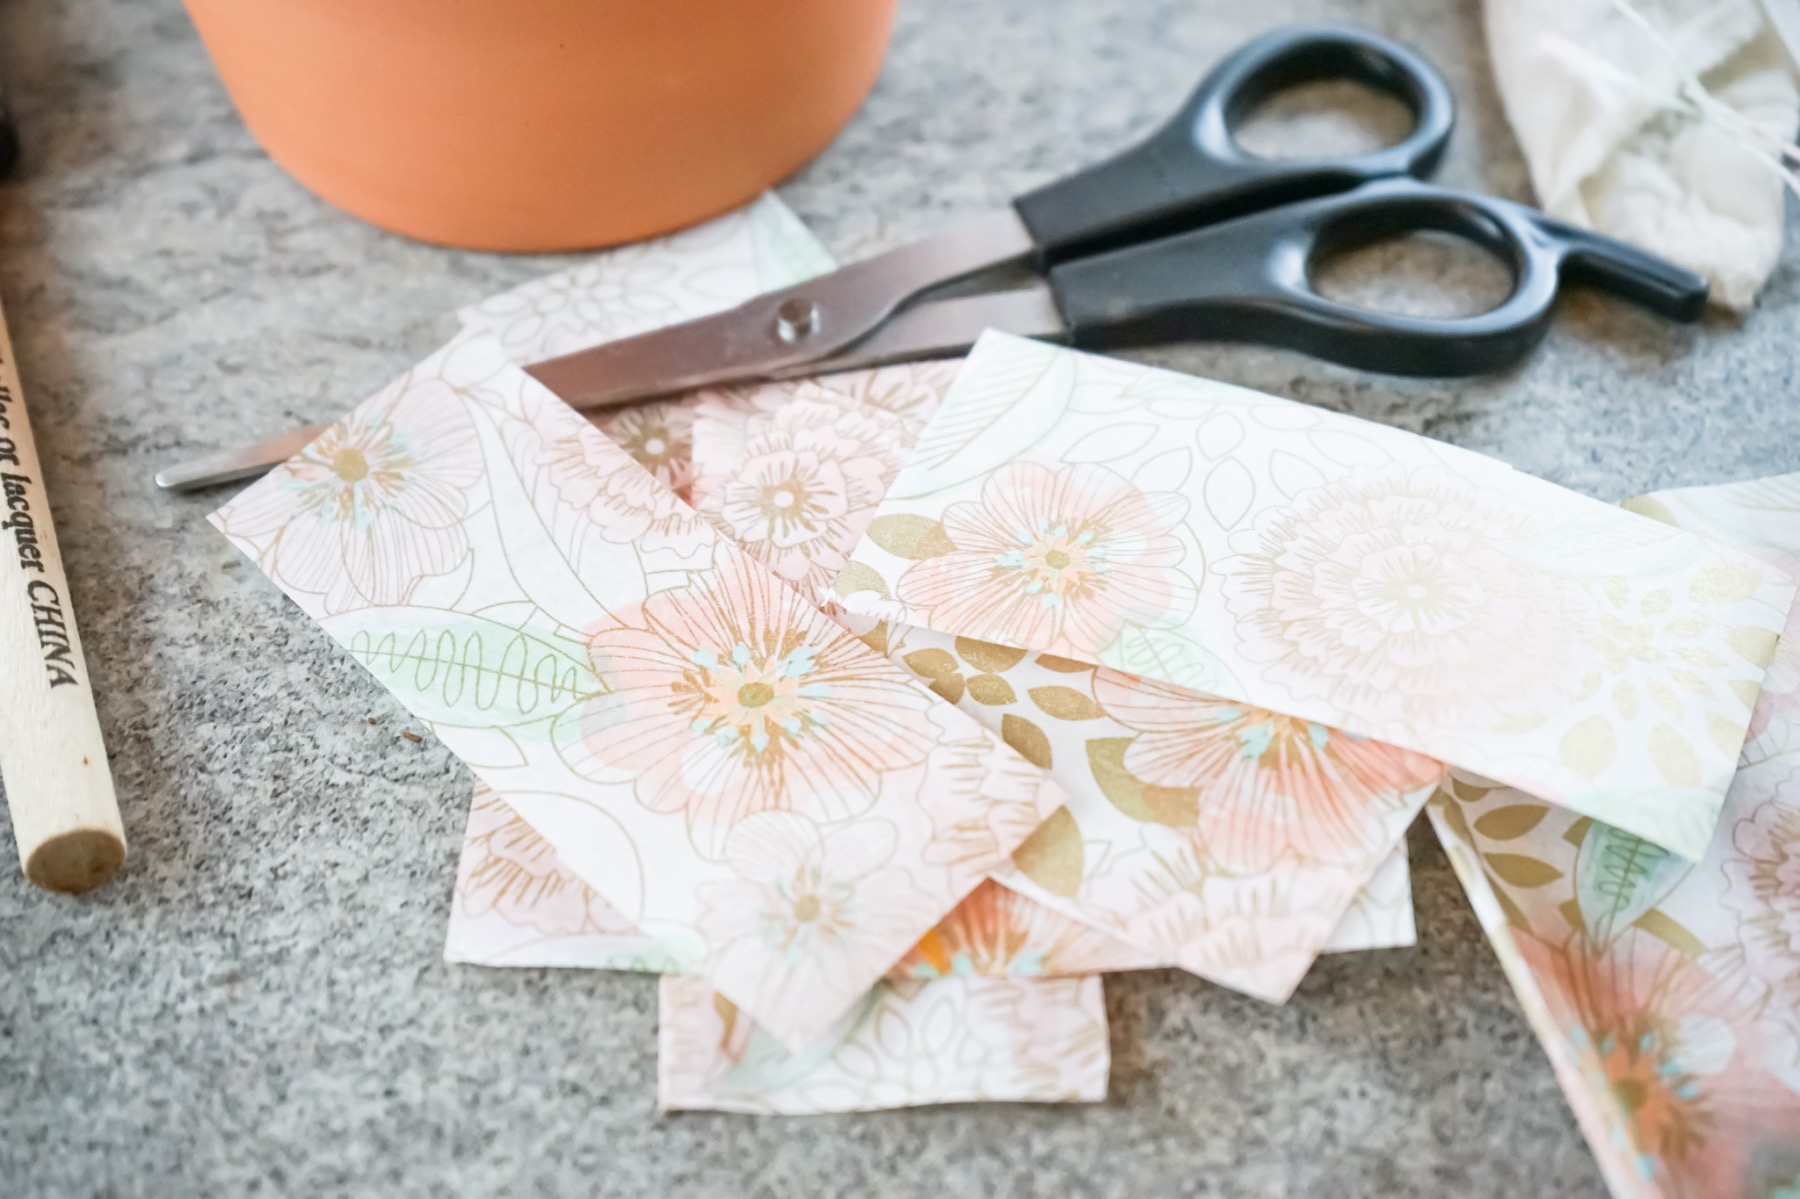
Step 1: Cut Tissue Paper into Sections
First, start by cutting the tissue paper into smaller pieces. I cut mine slightly taller than the width of the lip on the planter. The extra tissue paper will help me cover the curve underneath the lip. But beyond that, it doesn’t have to be a perfect size. You could hold the strips up to the planter and see if you think they will work. Then just cut them larger or smaller until you find a good fit.
Make even, precise, and professional cuts of tissue paper with your scissors. This will ensure a more gorgeous finished planter pot. Also be careful to not wrinkle or crush your tissue paper while you work. If you do, it will be harder to get it to adhere to the pot later.
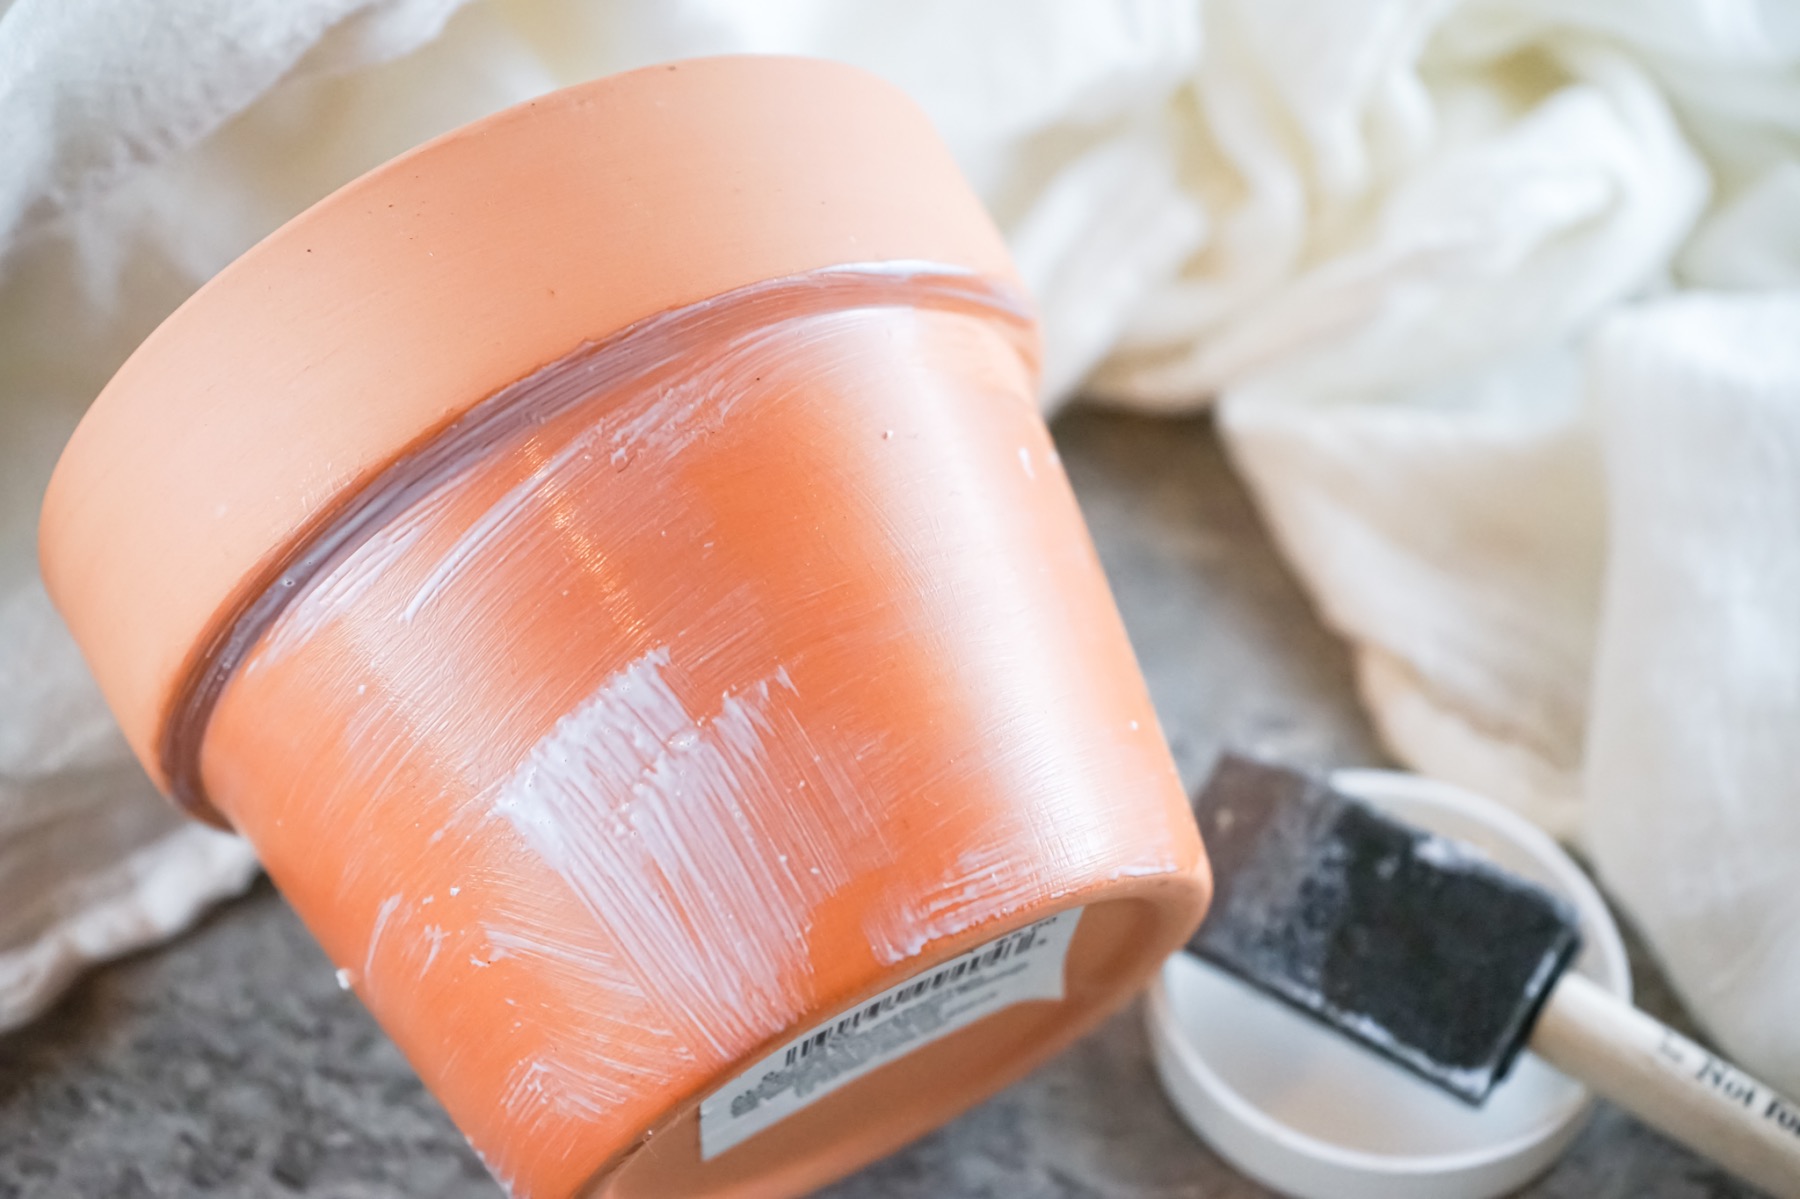
Step 2: Brush Your Planter with Mod Podge
Before you start on this step, be sure that your pot is completely clean and doesn’t have any debris. The debris will collect in the Mod Podge and be harder to remove.
For the next step, you will want to work quickly. Mod Podge doesn’t dry as fast as acrylic paint, but it does dry fast.
In sections, brush your terra cotta pot with a thin and even layer of Mod Podge. Try to smooth out thick clumps to help your tissue lay easier.
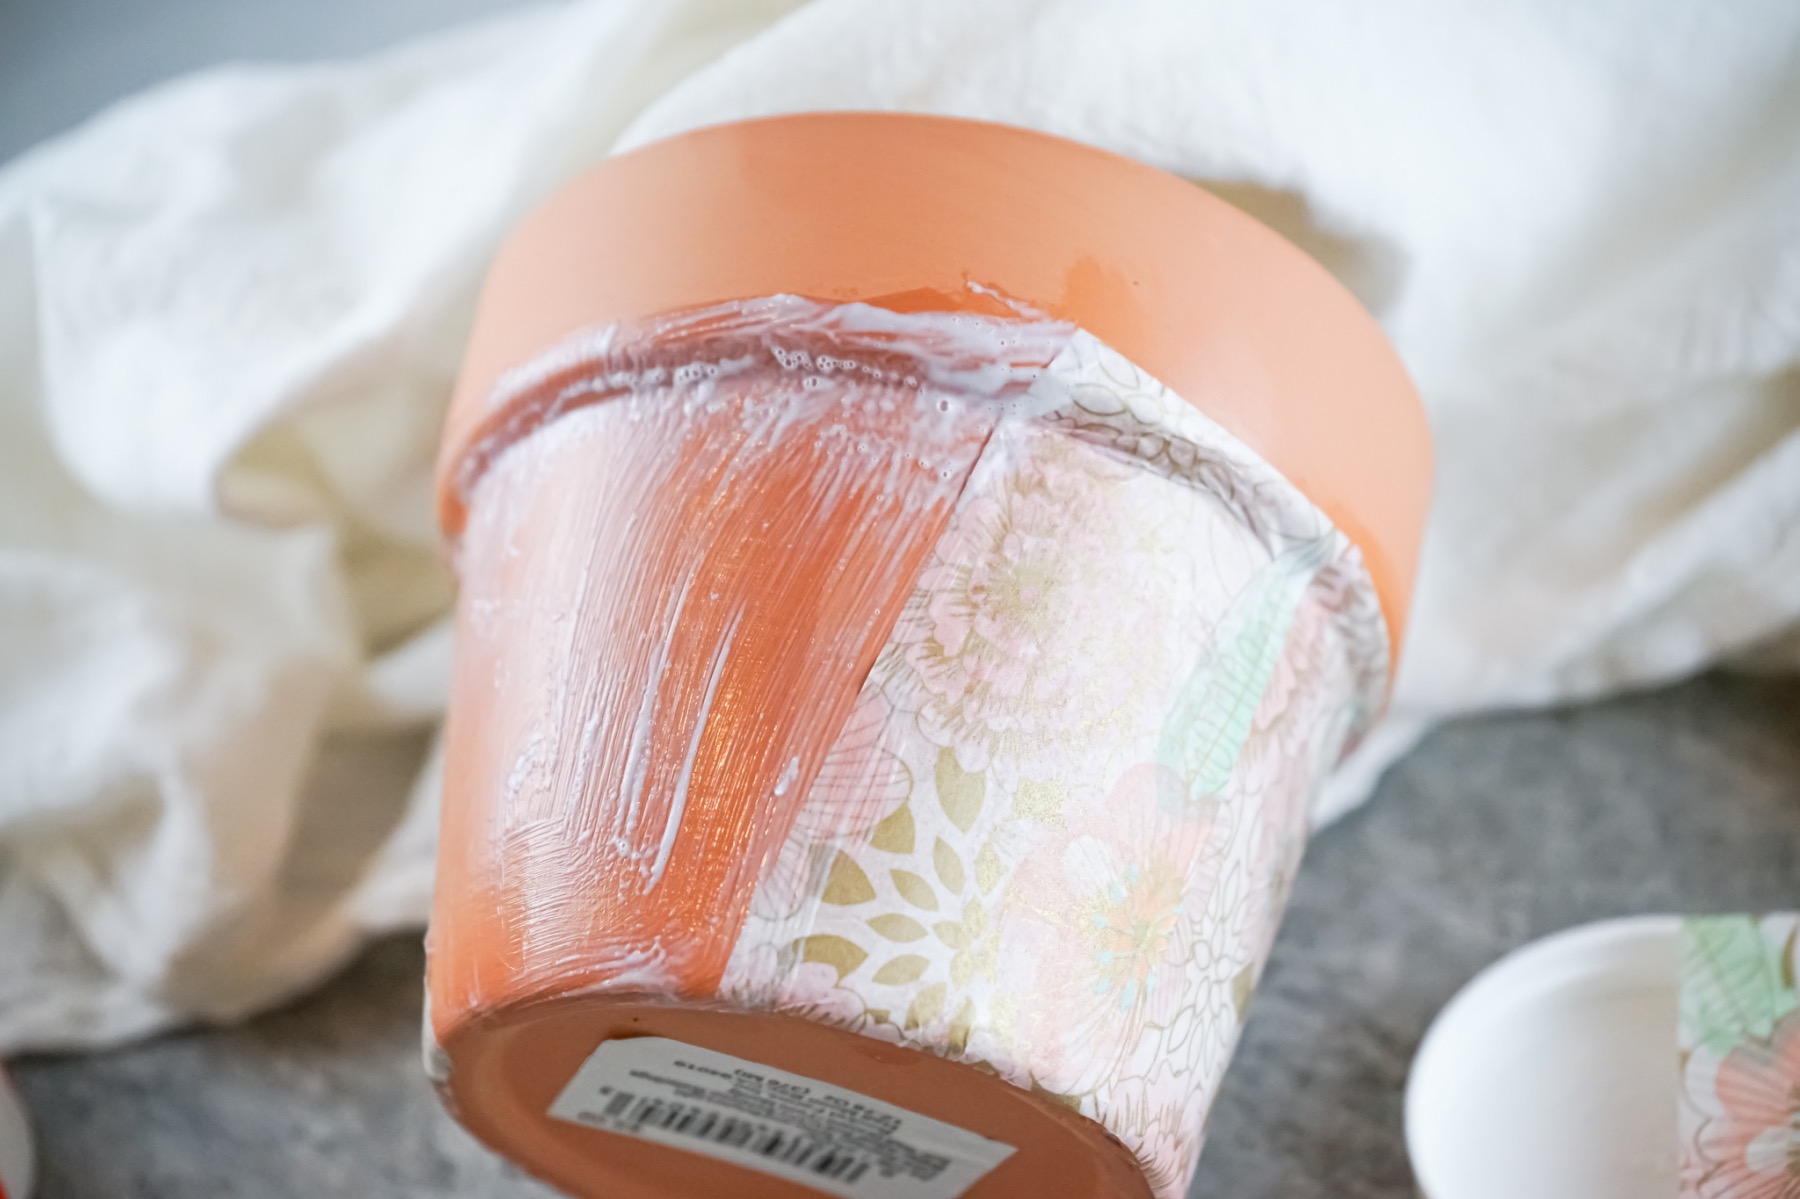
Step 3: Add Sections of Tissue Paper
While your Mod Podge is still wet, gently press sections of tissue paper onto the terra cotta pot. Place your fingers in the center of the section, and then as gently as you can smooth the sections of tissue paper outwards in each direction to remove any bubbles and to help the paper completely adhere to the pot.
Continue to add Mod Podge to small sections and then add more tissue paper. With most tissue paper, like mine, it’s best to overlap the pieces just slightly so that you don’t end up with any blank spots where you can see the terra cotta.
Overlapping the tissue paper also makes this diy much easier, because otherwise you would need to perfectly line up every piece of tissue – just like you would with wallpaper! And that would be wildly time consuming and tedious.
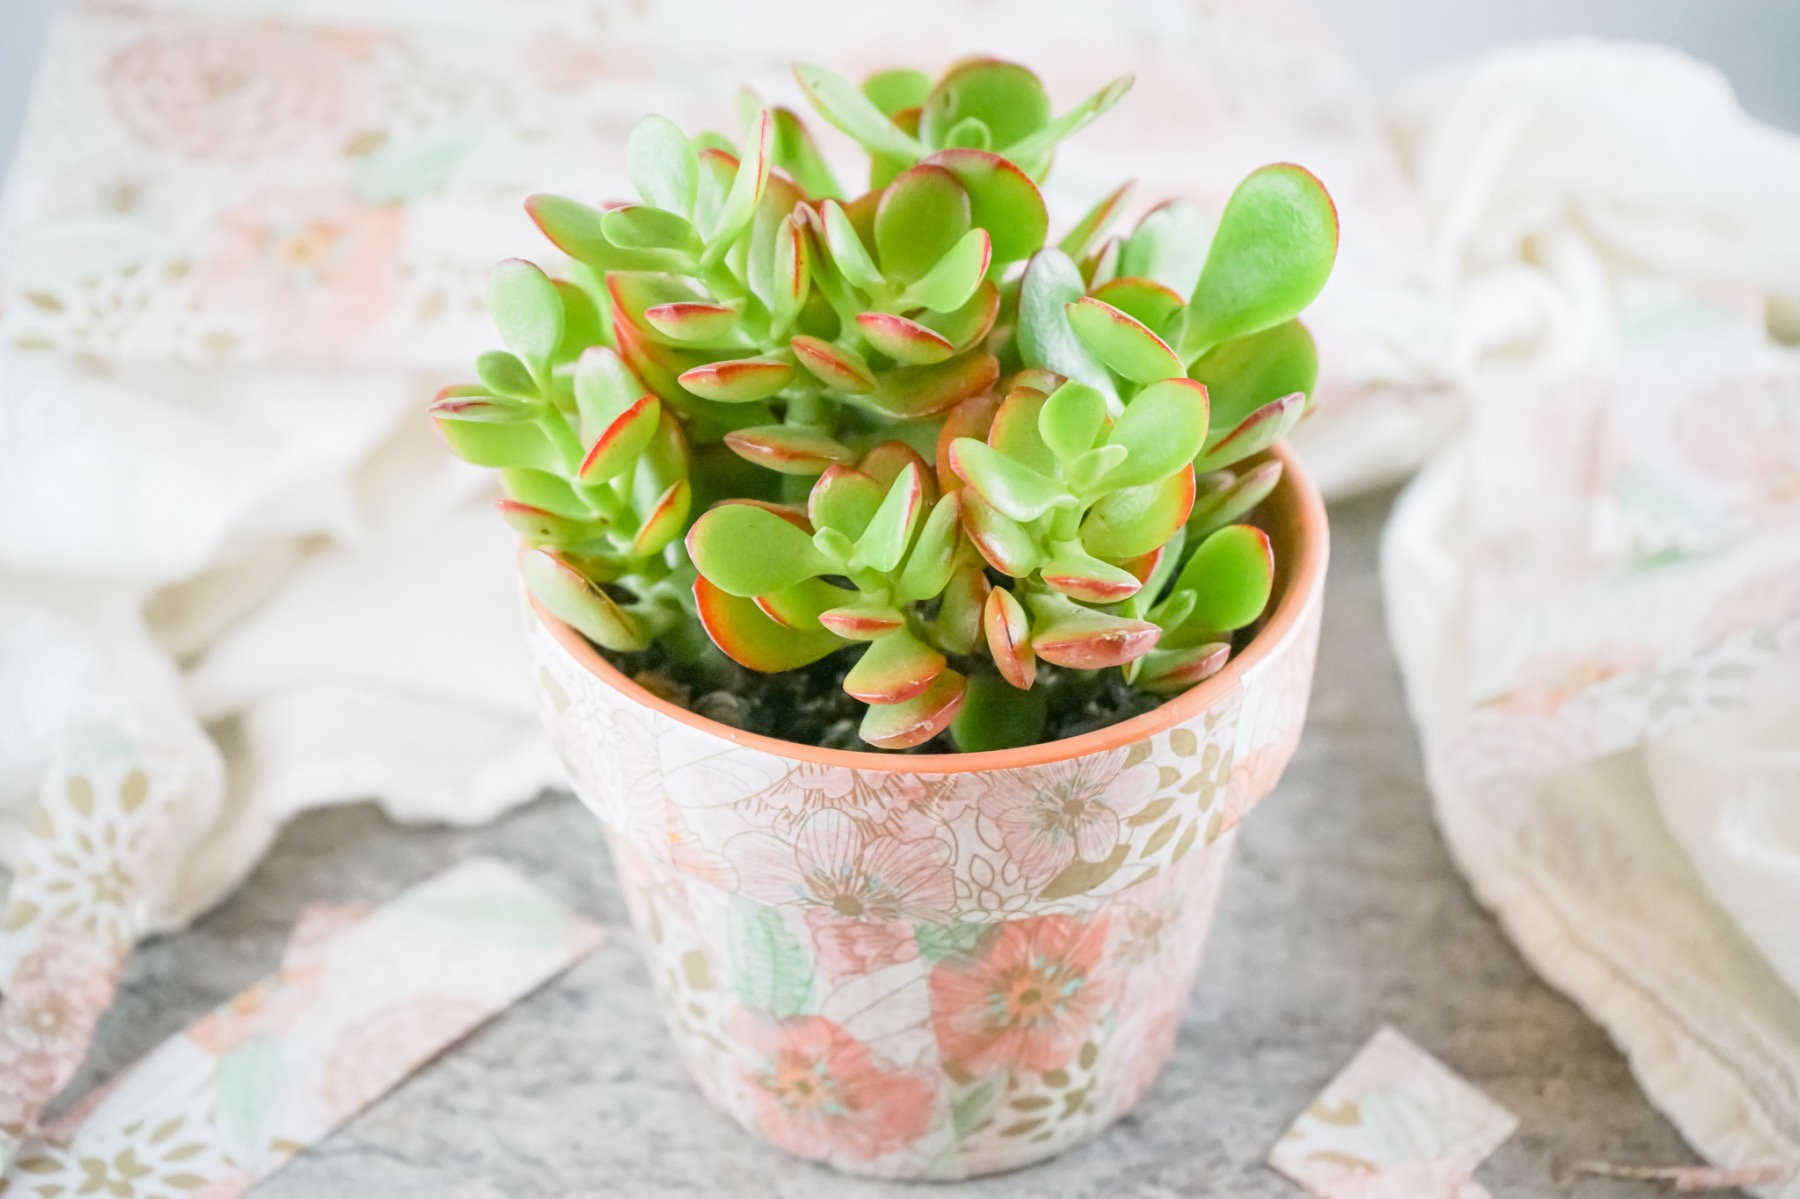
The only place I was careful to perfectly line up the tissue paper was around the top edge of the pot. I would not recommend wrapping your tissue paper into the center of the planter, because it will get wet as you water the plant, damaged and stained from the soil and just won’t work.
Instead, I made the top outer edge of the pot my stop line. Use the long side of your cut tissue paper sections to evenly create that line with the tissue paper.
I also didn’t add any tissue to the bottom of the planter – but I was not as careful to make the bottom edge perfect. Instead I didn’t add any Mod Podge to the bottom of the planter and trimmed the tissue to fit later.
Step 4: Let it Dry
Once you have all your tissue paper in place and your planter is completely covered from top to bottom, just let it dry!
Again, Mod Podge doesn’t take too long but this dry time can vary based on your environment and how thick the Mod Podge was applied. I’ve had Mod Podge dry in 1 hour and I’ve had it take 8 hours too!
You can add another coat to the top of the tissue once it’s completely dry. If you are using Gloss, it will make the surface glossy. If you use Matte the surface will stay matte.
Adding another layer can be a great way to touch up any pieces of tissue paper that aren’t perfectly adhering to the pot or to just give this planter a smooth even coat. But I didn’t add a top layer – it’ just didn’t need it! If yours doesn’t need it either, don’t do it.
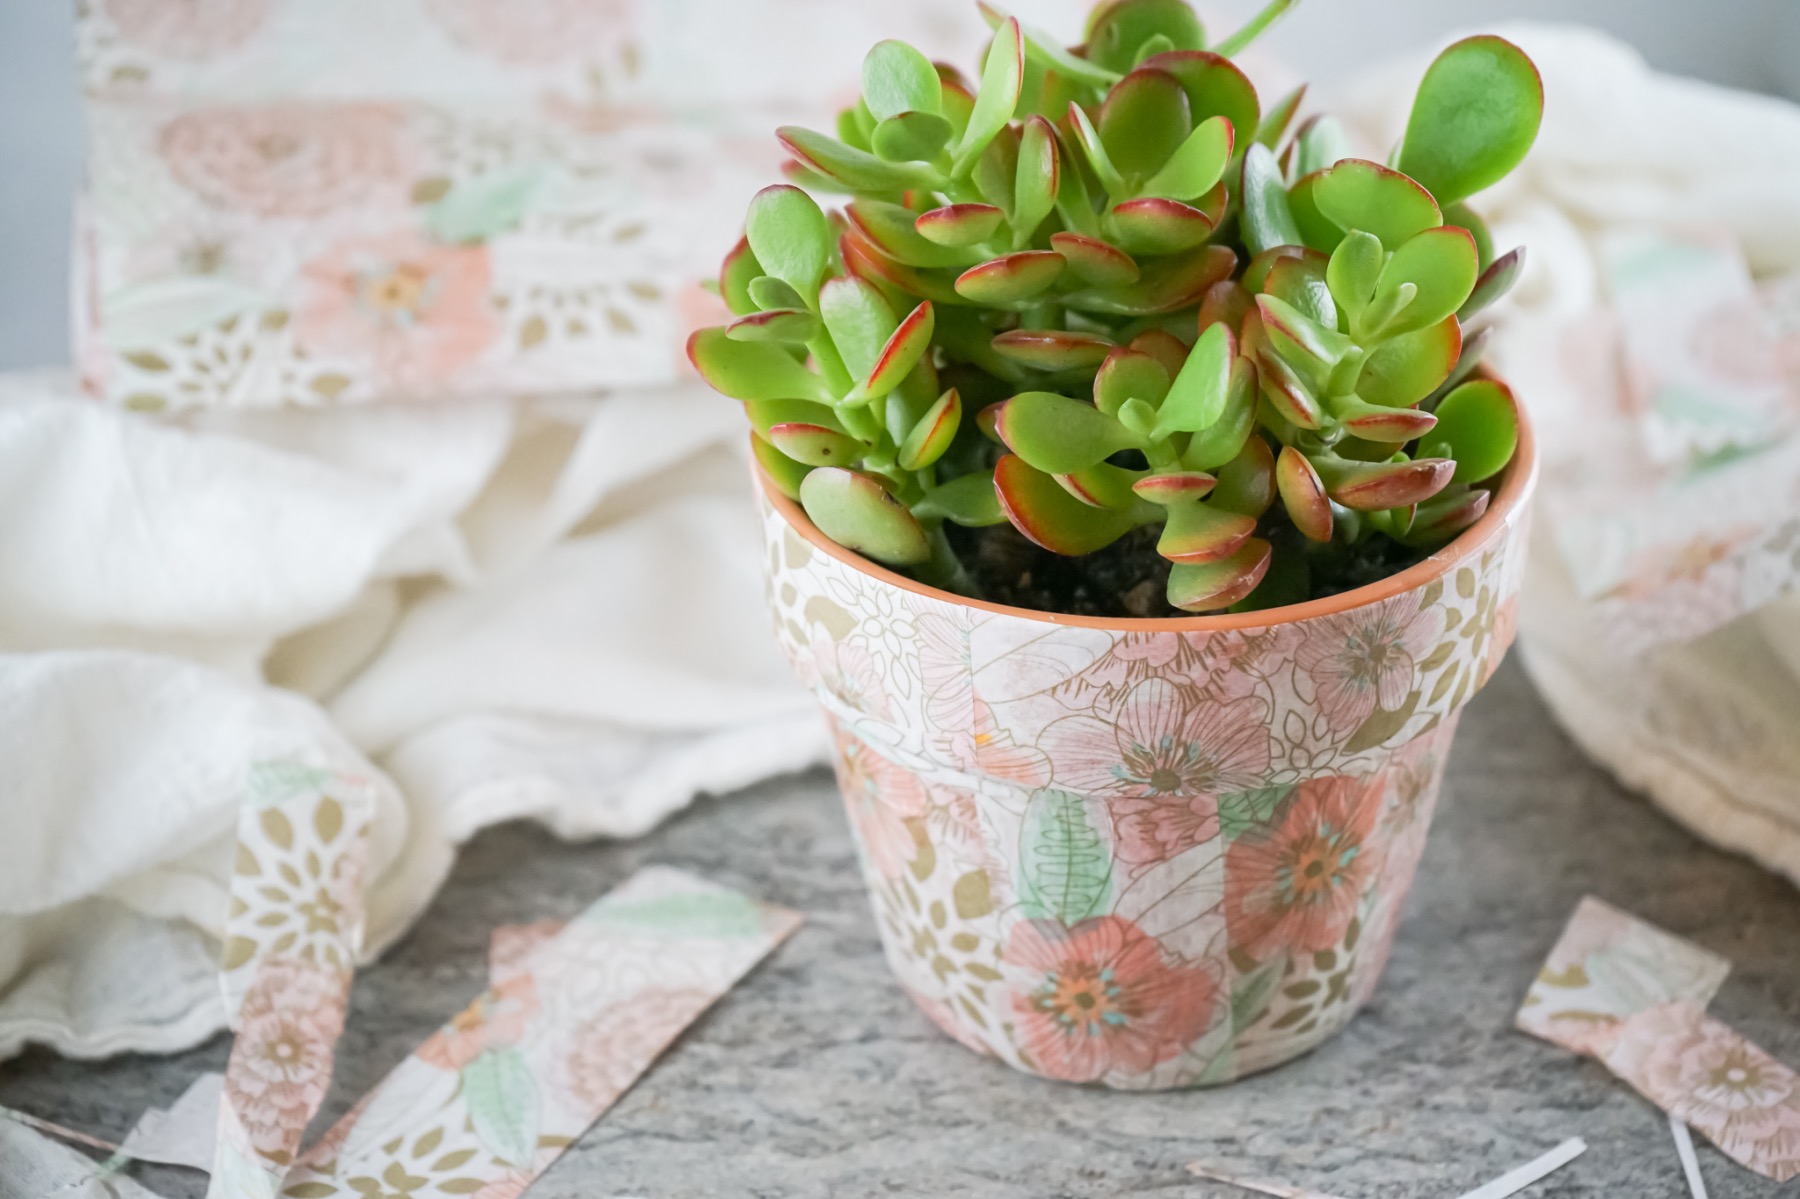
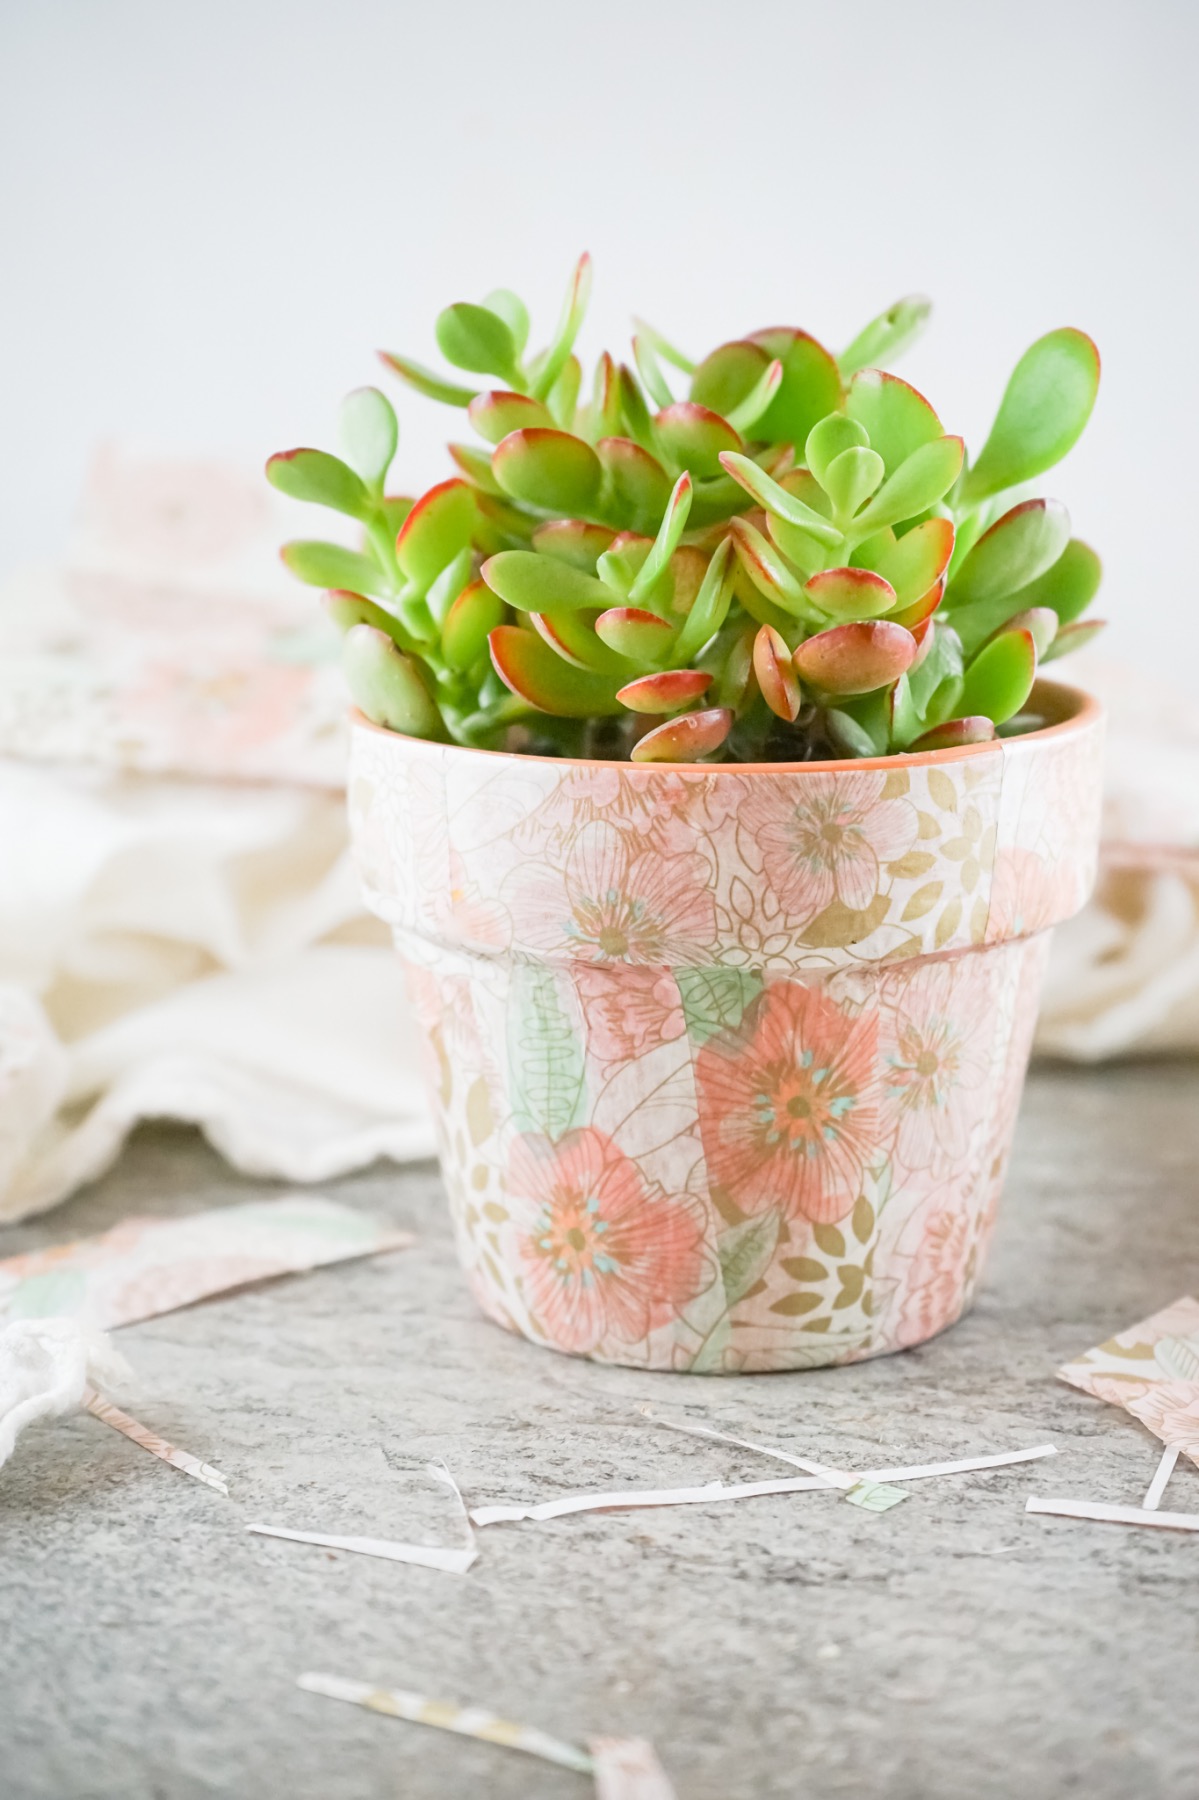
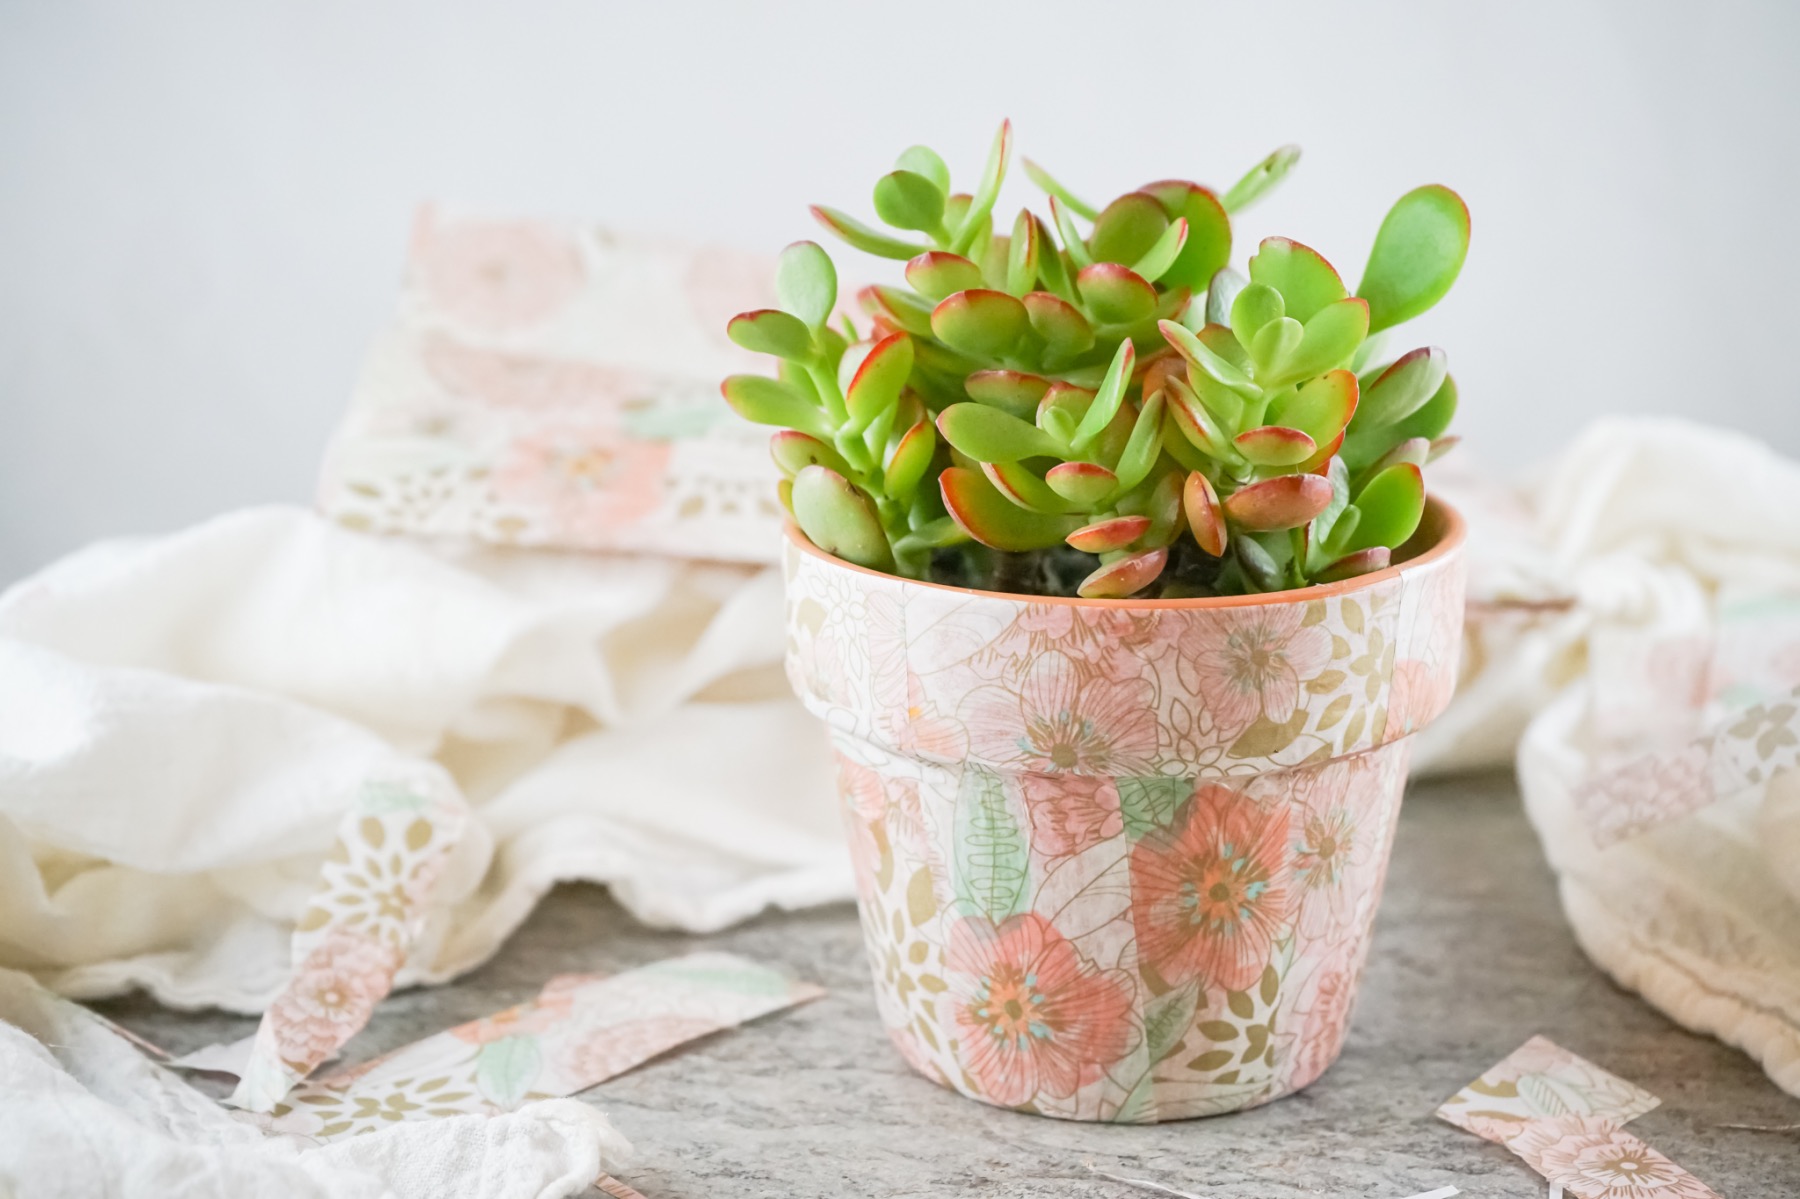
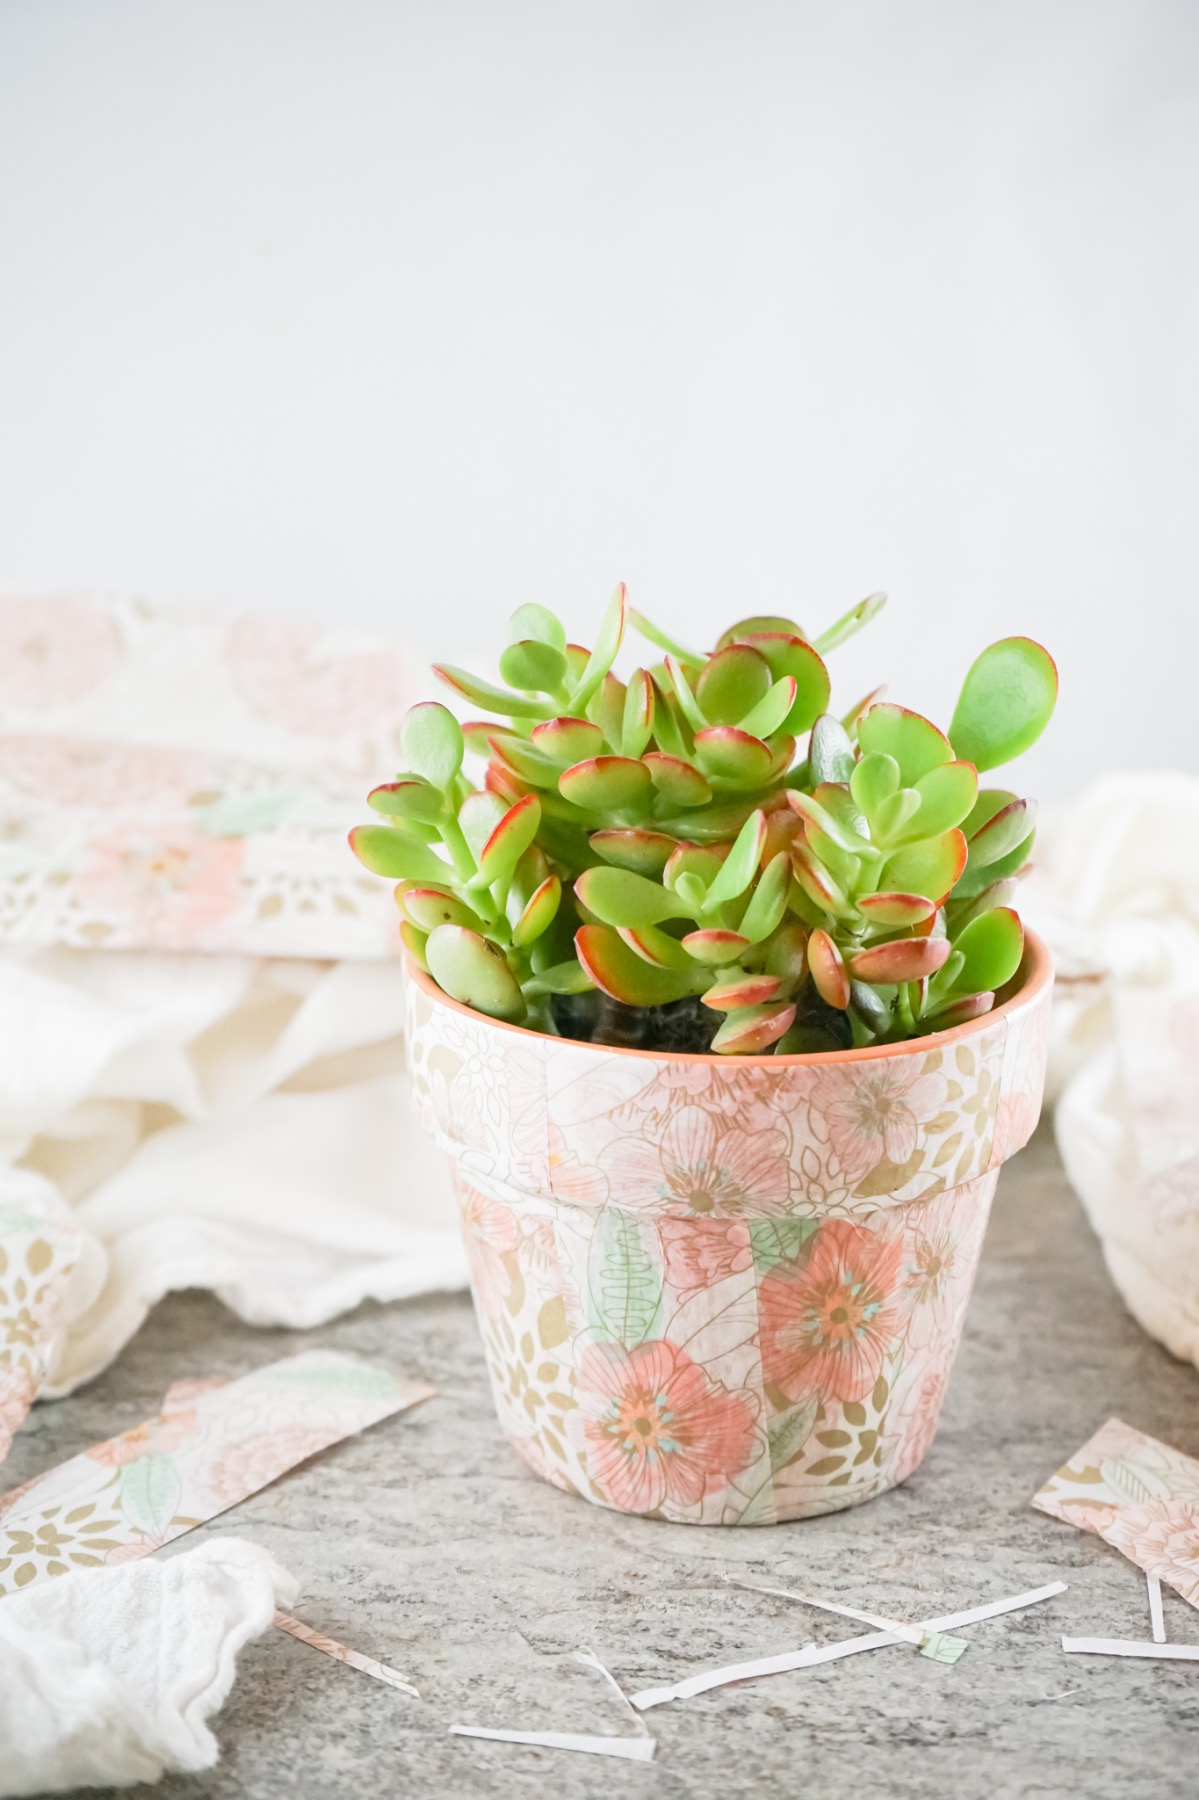
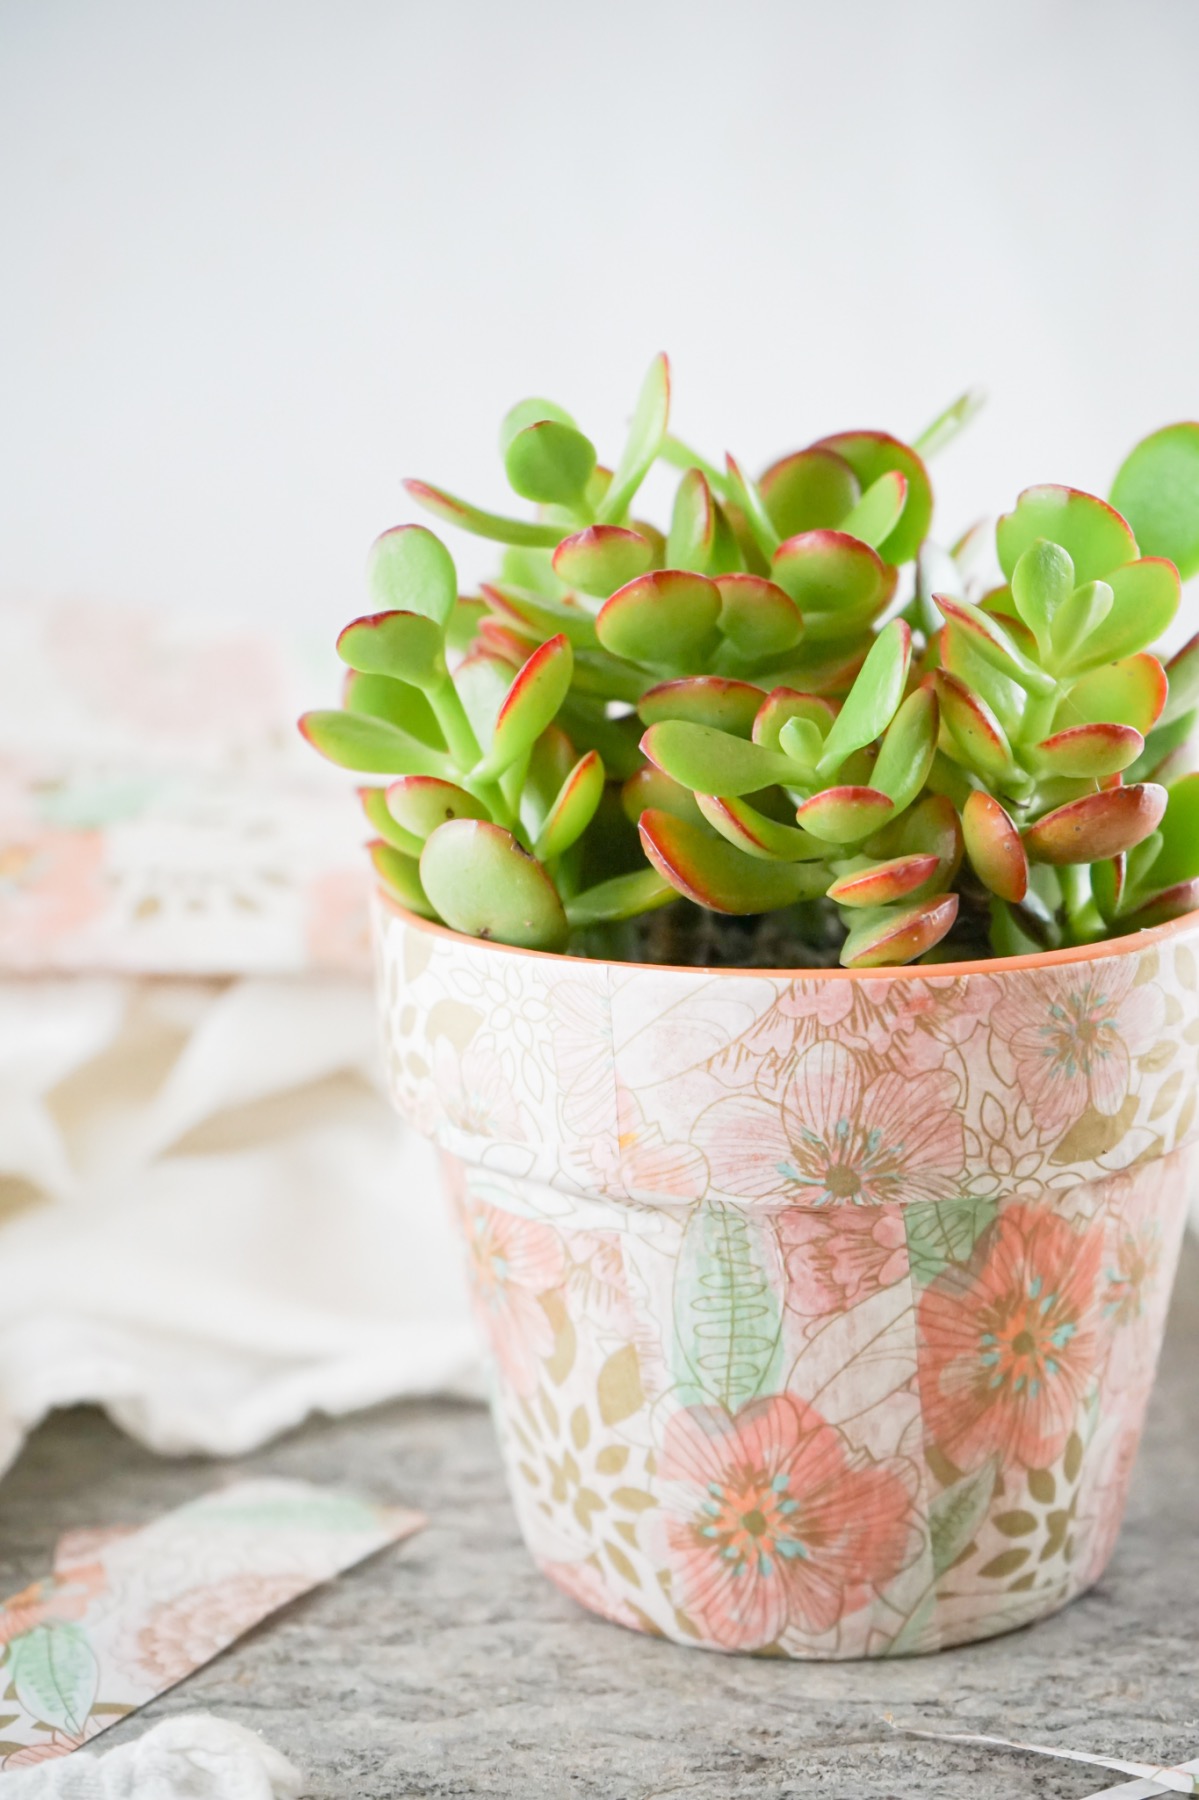
And viola! Now you have the Prettiest DIY Decoupage Planter Pot! It’s perfect for displaying all of your favorite plants. Or you could even use it in your office to store pens, pencils and other supplies.
How did you style your Prettiest DIY Decoupage Planter Pot and how will you use it? Tell us in the comments! And check out these other tutorials that are sure to spark your creativity.
Let’s Stay Friends!
Insta | Pinterest | Enews | TikTok