DIY
How to Make a Minnie Mouse Farmhouse Wreath
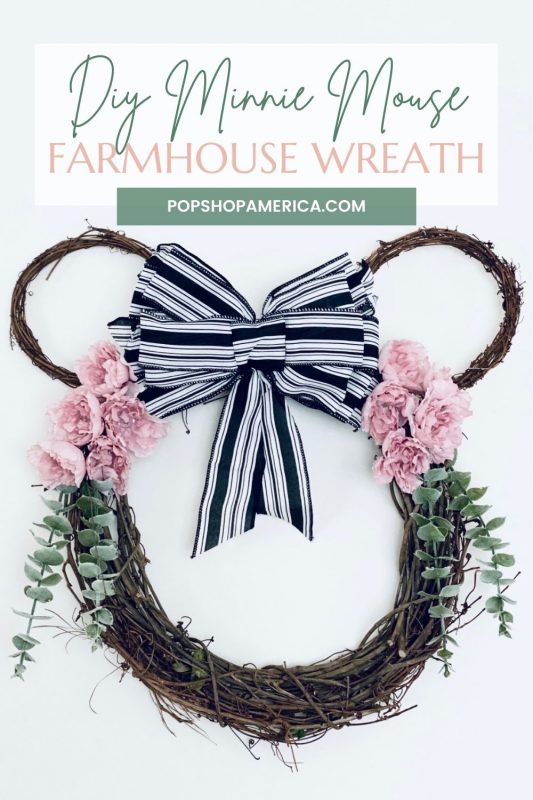
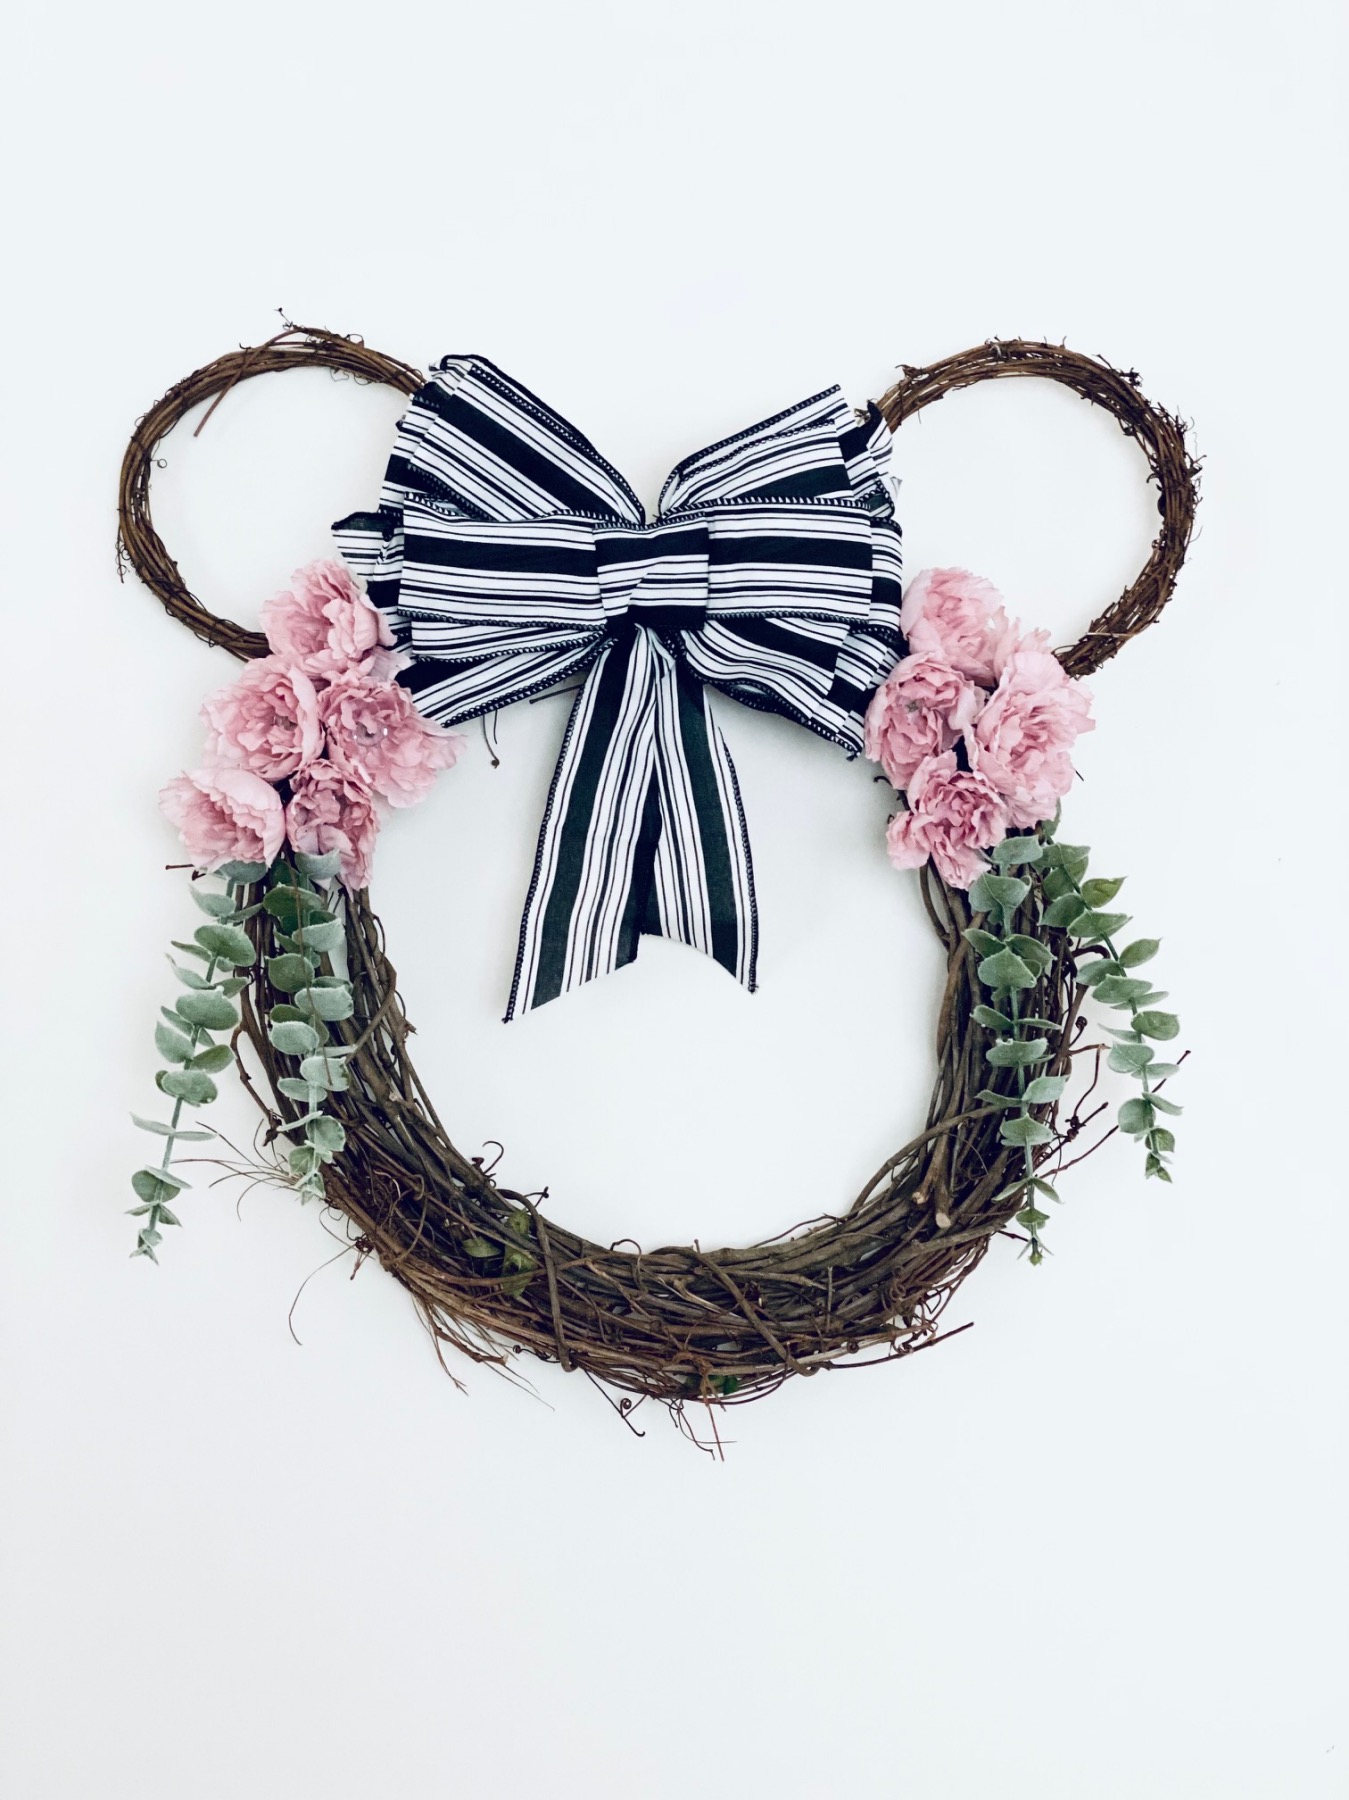
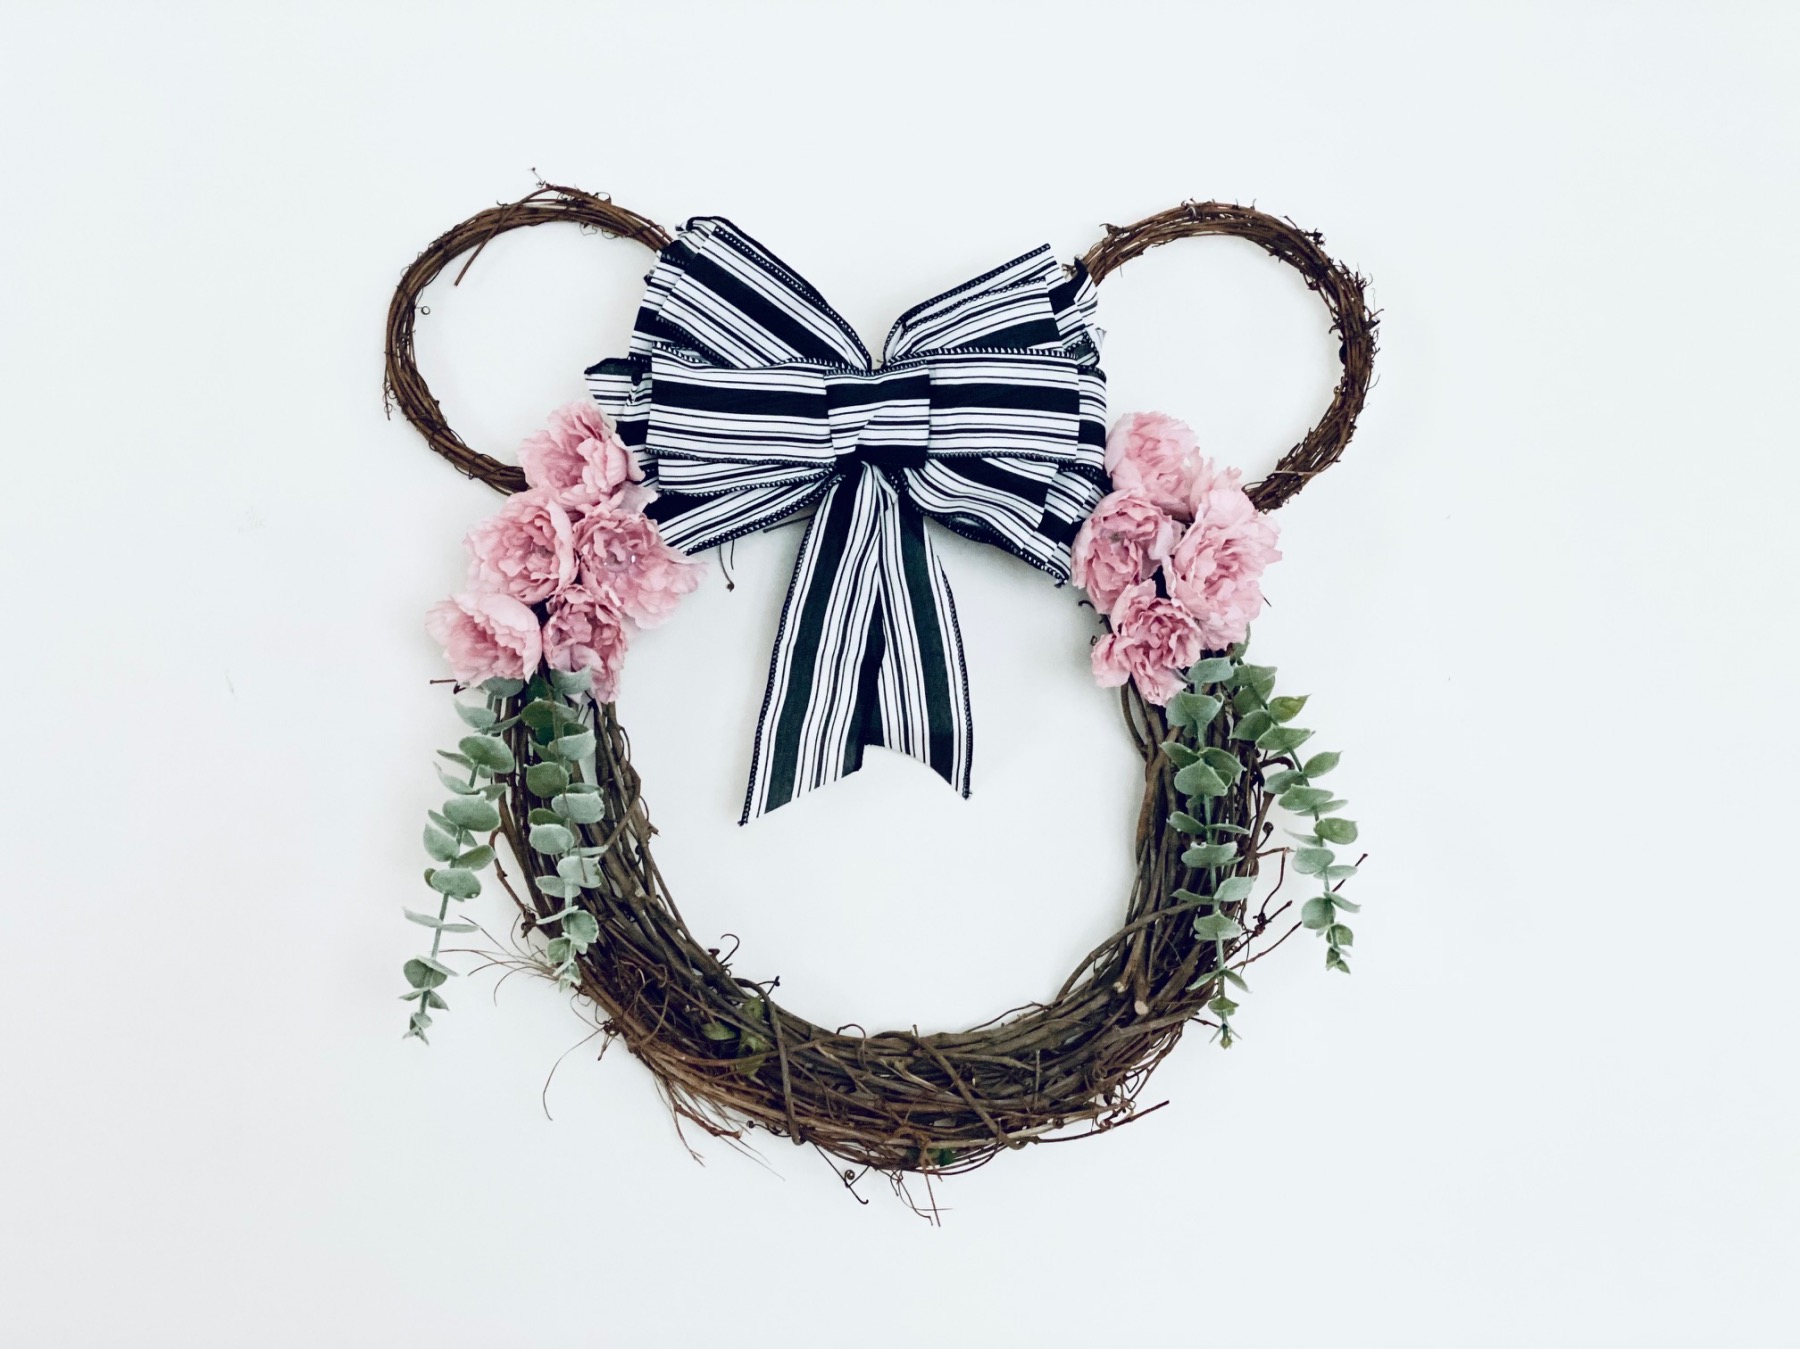
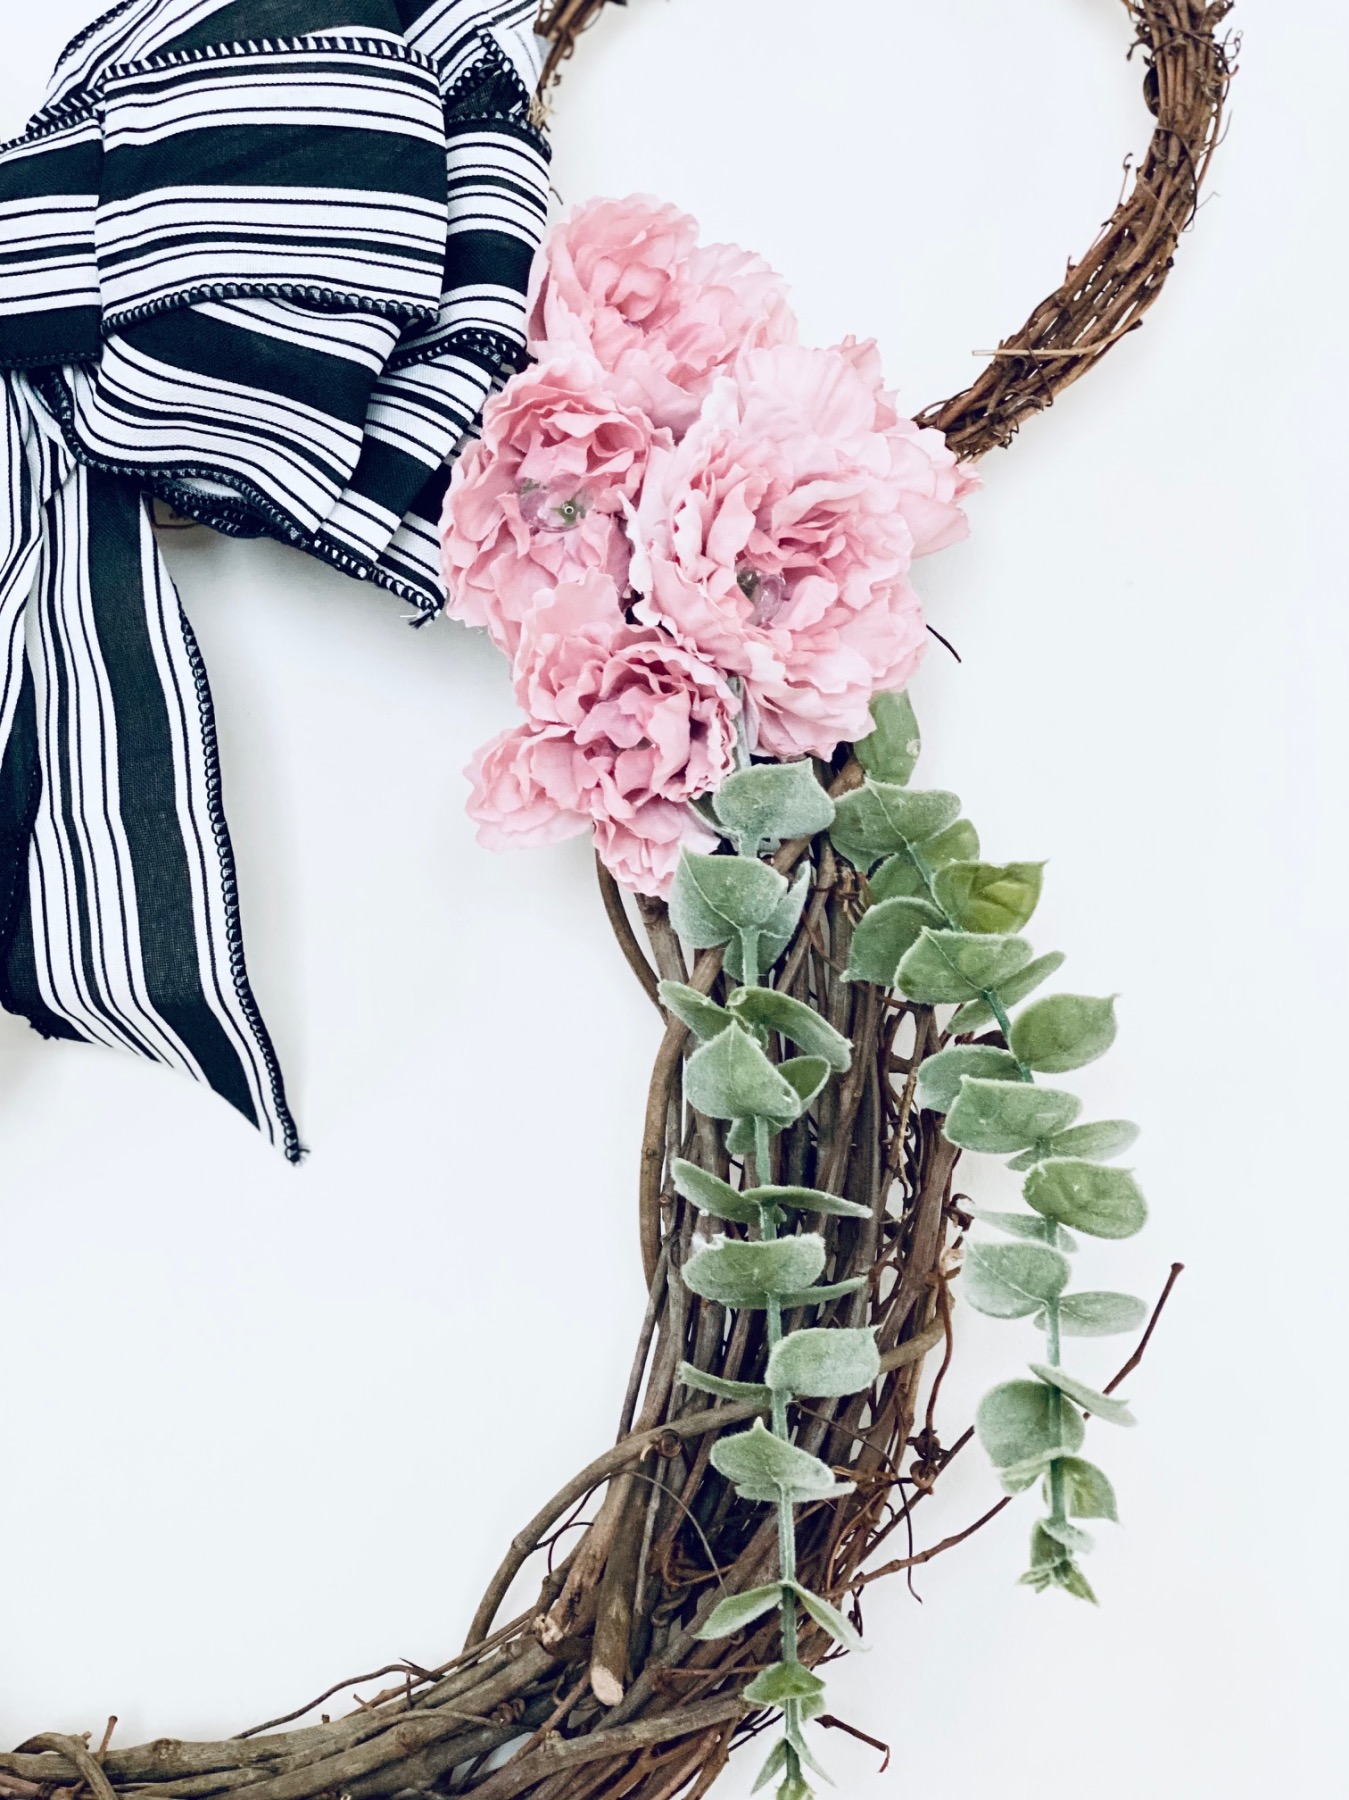
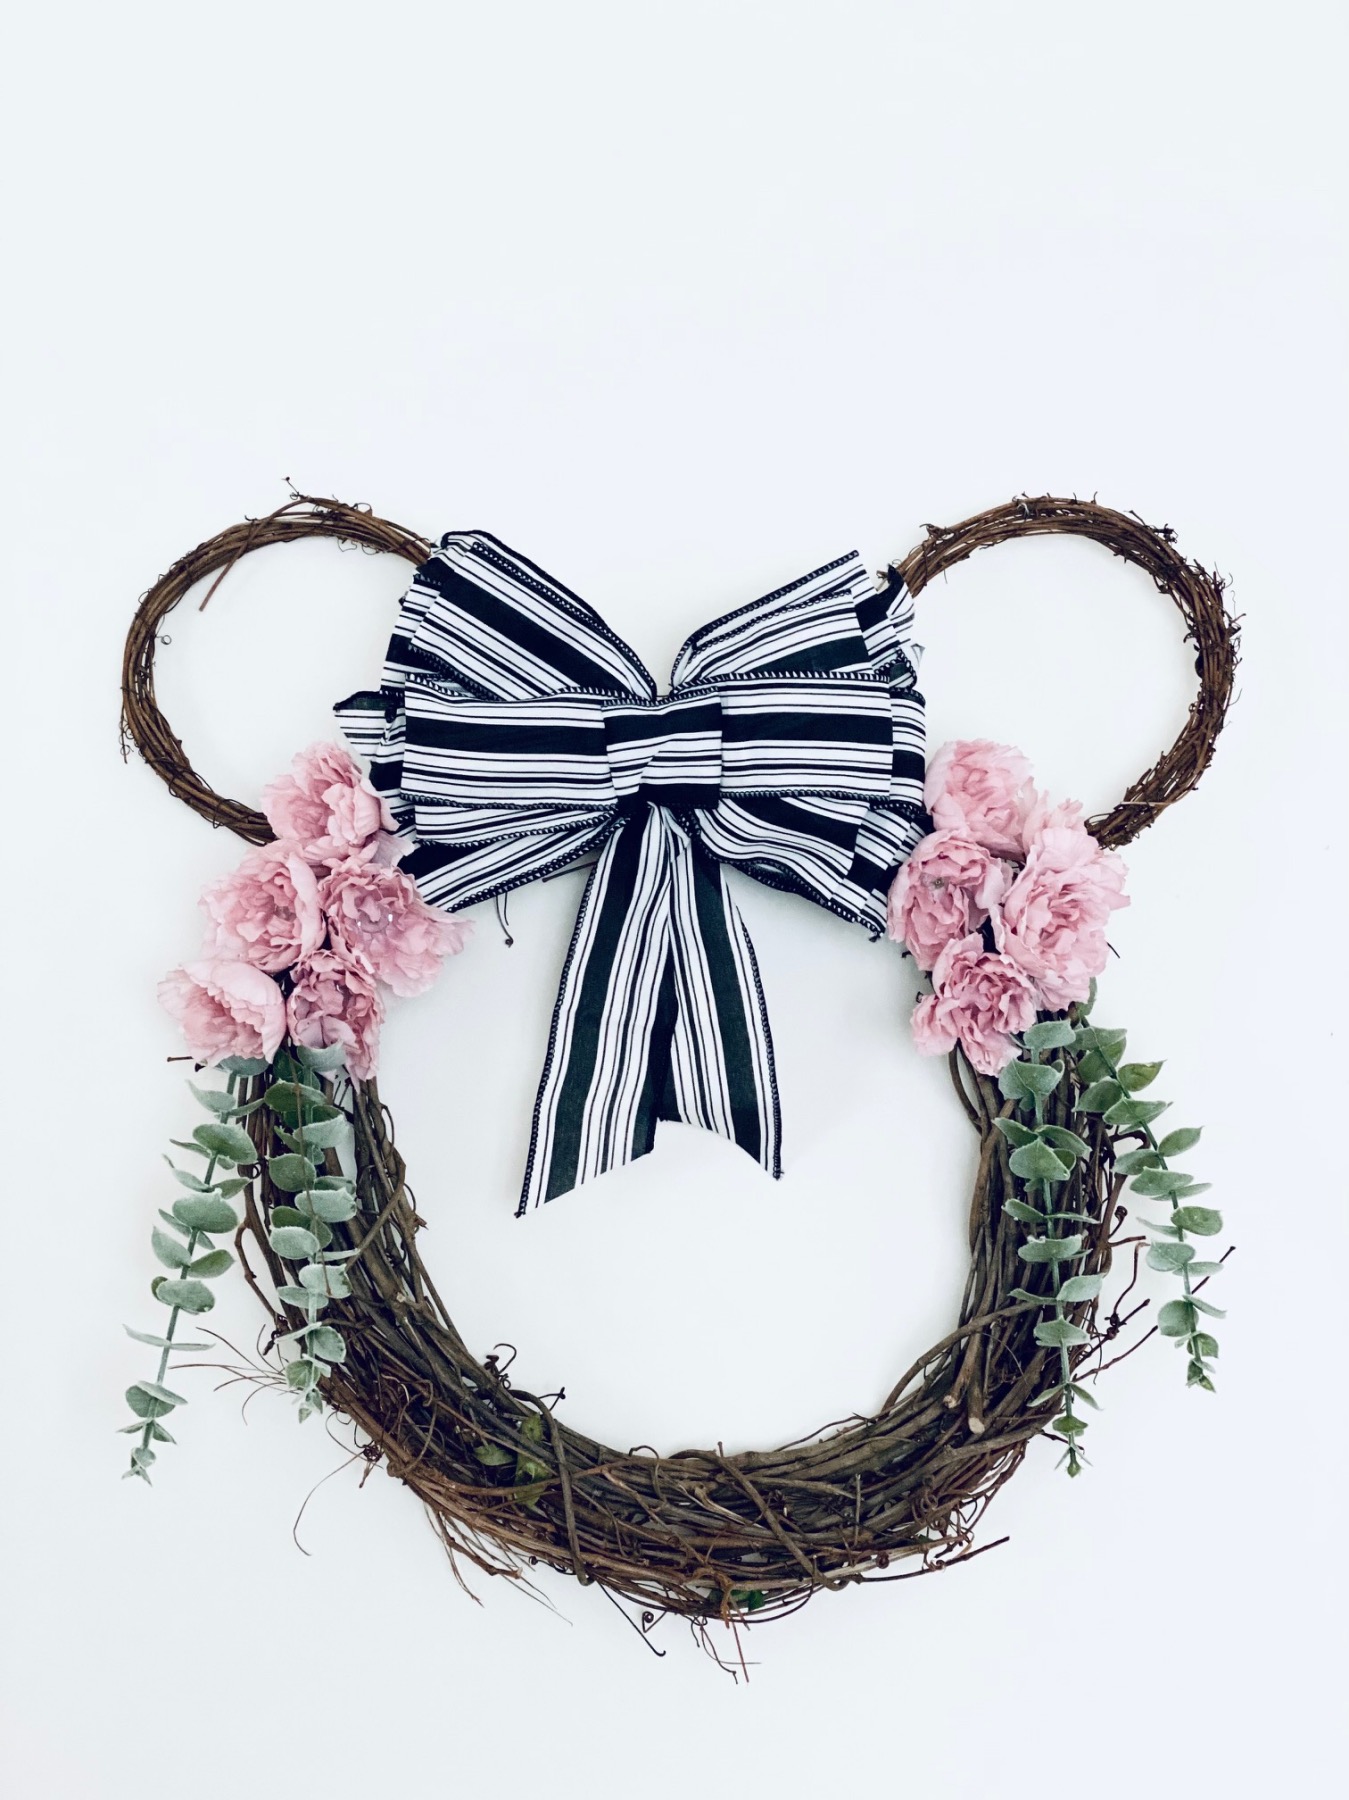
Dress up your door with this oh so sweet diy! It’s a Minnie Mouse Farmhouse Wreath with eucalyptus, peonies, and an oversized bow on top. The farmhouse style gives this wreath a modern flair and the Minnie Mouse look also makes this wreath a lot of fun.
You know I am all about Disney diy’s when they are modern, updated, and not-too-ordinary. And this Minnie Mouse Farmhouse Wreath is perfect! It’s great for any fan of Disney.
Supplies to Make a Minnie Mouse Farmhouse Wreath
18 inch Grapevine Wreath
2x 8 inch Grapevine Wreaths
1 Faux Eucalyptus Stem
2 Bouquets of Blush Colored Peonies
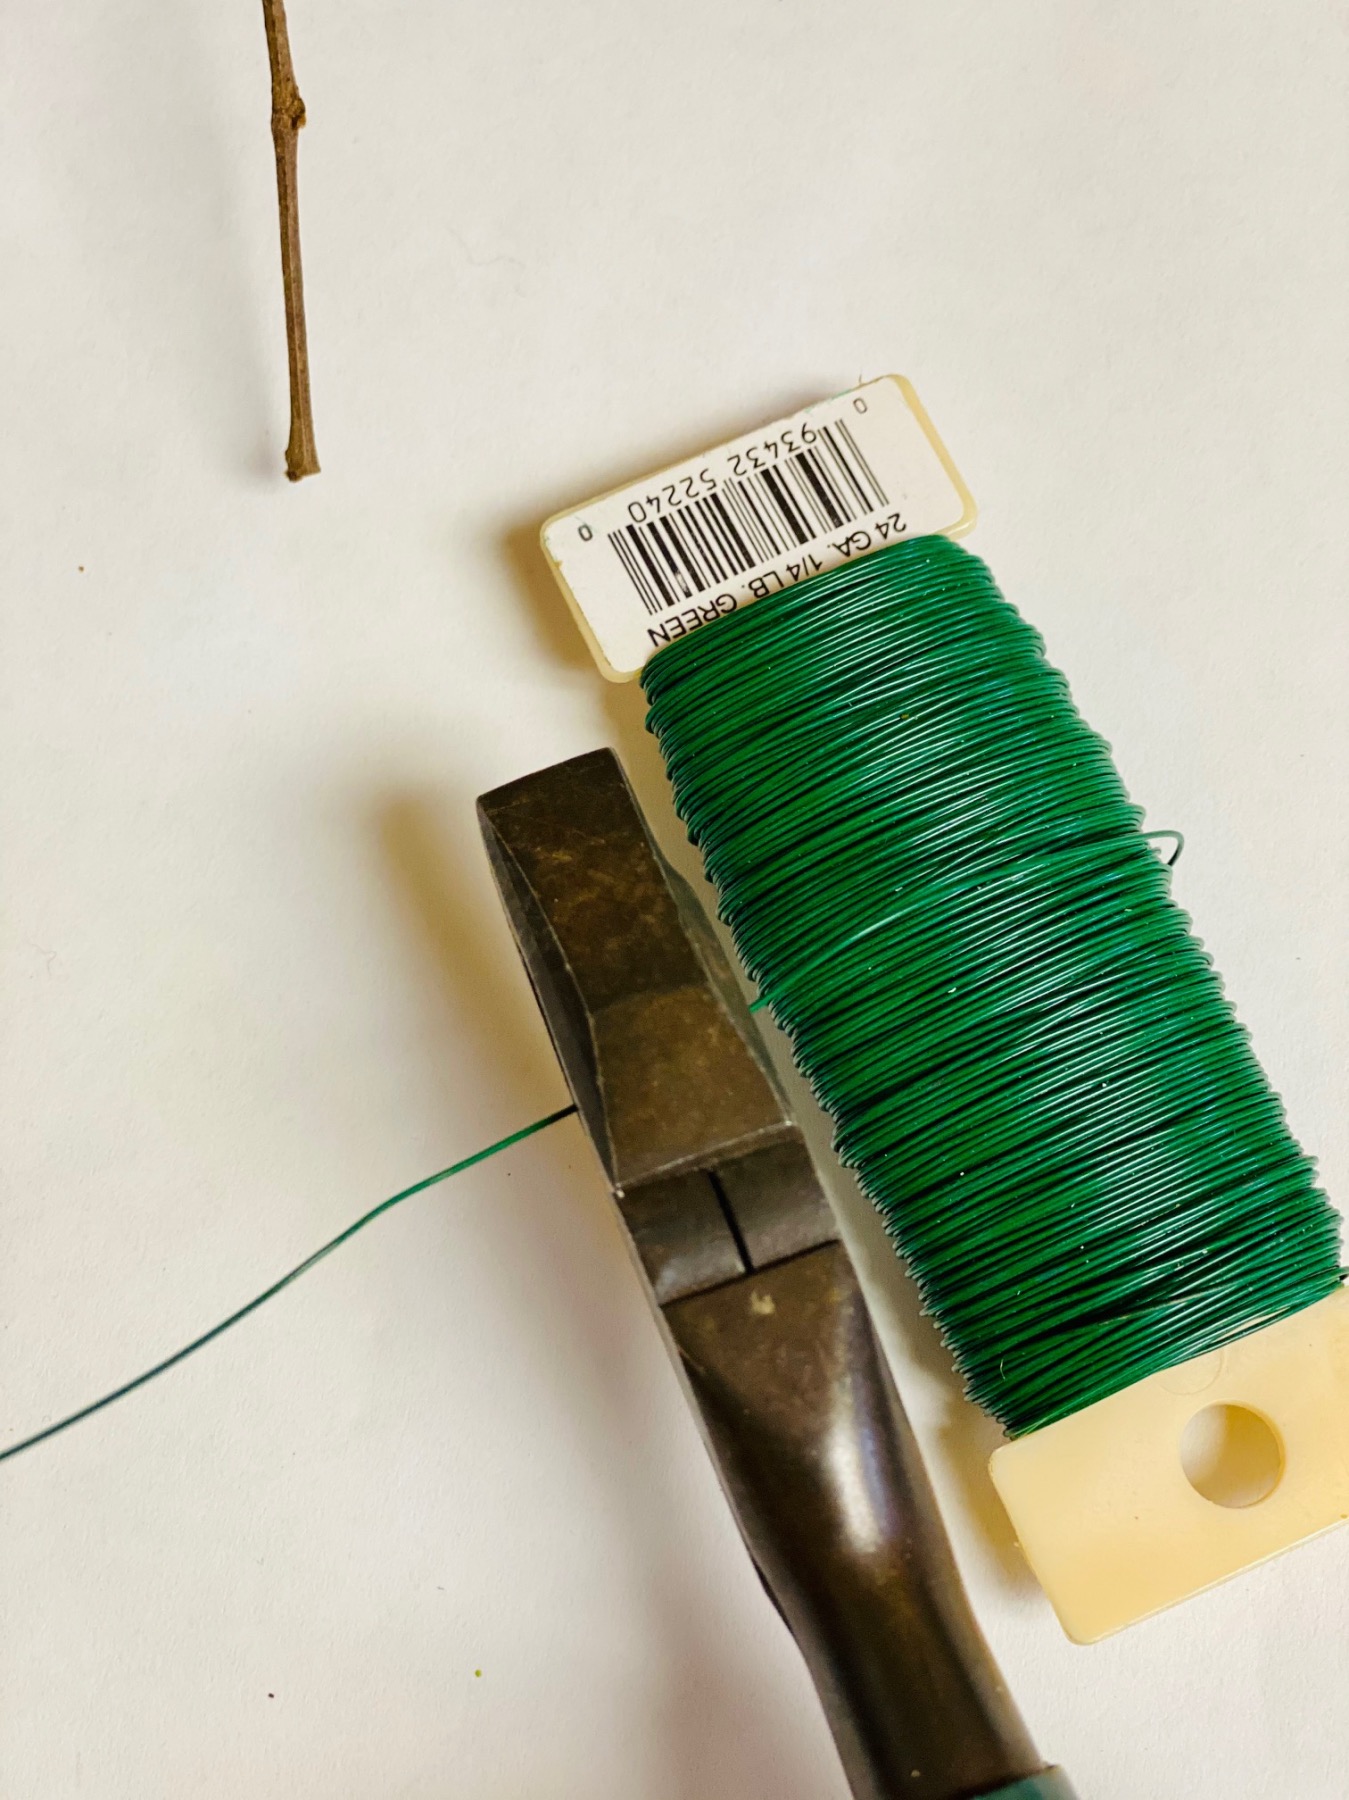
Floral Wire
Black and White Pre Made Bow
Plus You Will Need these Tools:
Hot Glue Gun
Wire Cutters
Scissors
About Your Bow: Black and white makes for a great color because it’s perfectly farmhouse. But it doesn’t need to be striped. You could choose gingham or another pattern. You could also choose another neutral like gray or brown. If you can’t find a pre-made, try making your own bow with a tutorial like this!
Step 1: Use Floral Wire to Attach the Wreaths like Ears
Use wire cutters or heavy duty scissors to cut pieces of floral wire that are around 2 feet in length. The length doesn’t need to be perfect. Lay your largest wreath down on a flat surface and place the 2 smaller wreaths in the upper right and upper right curves of the larger wreaths.
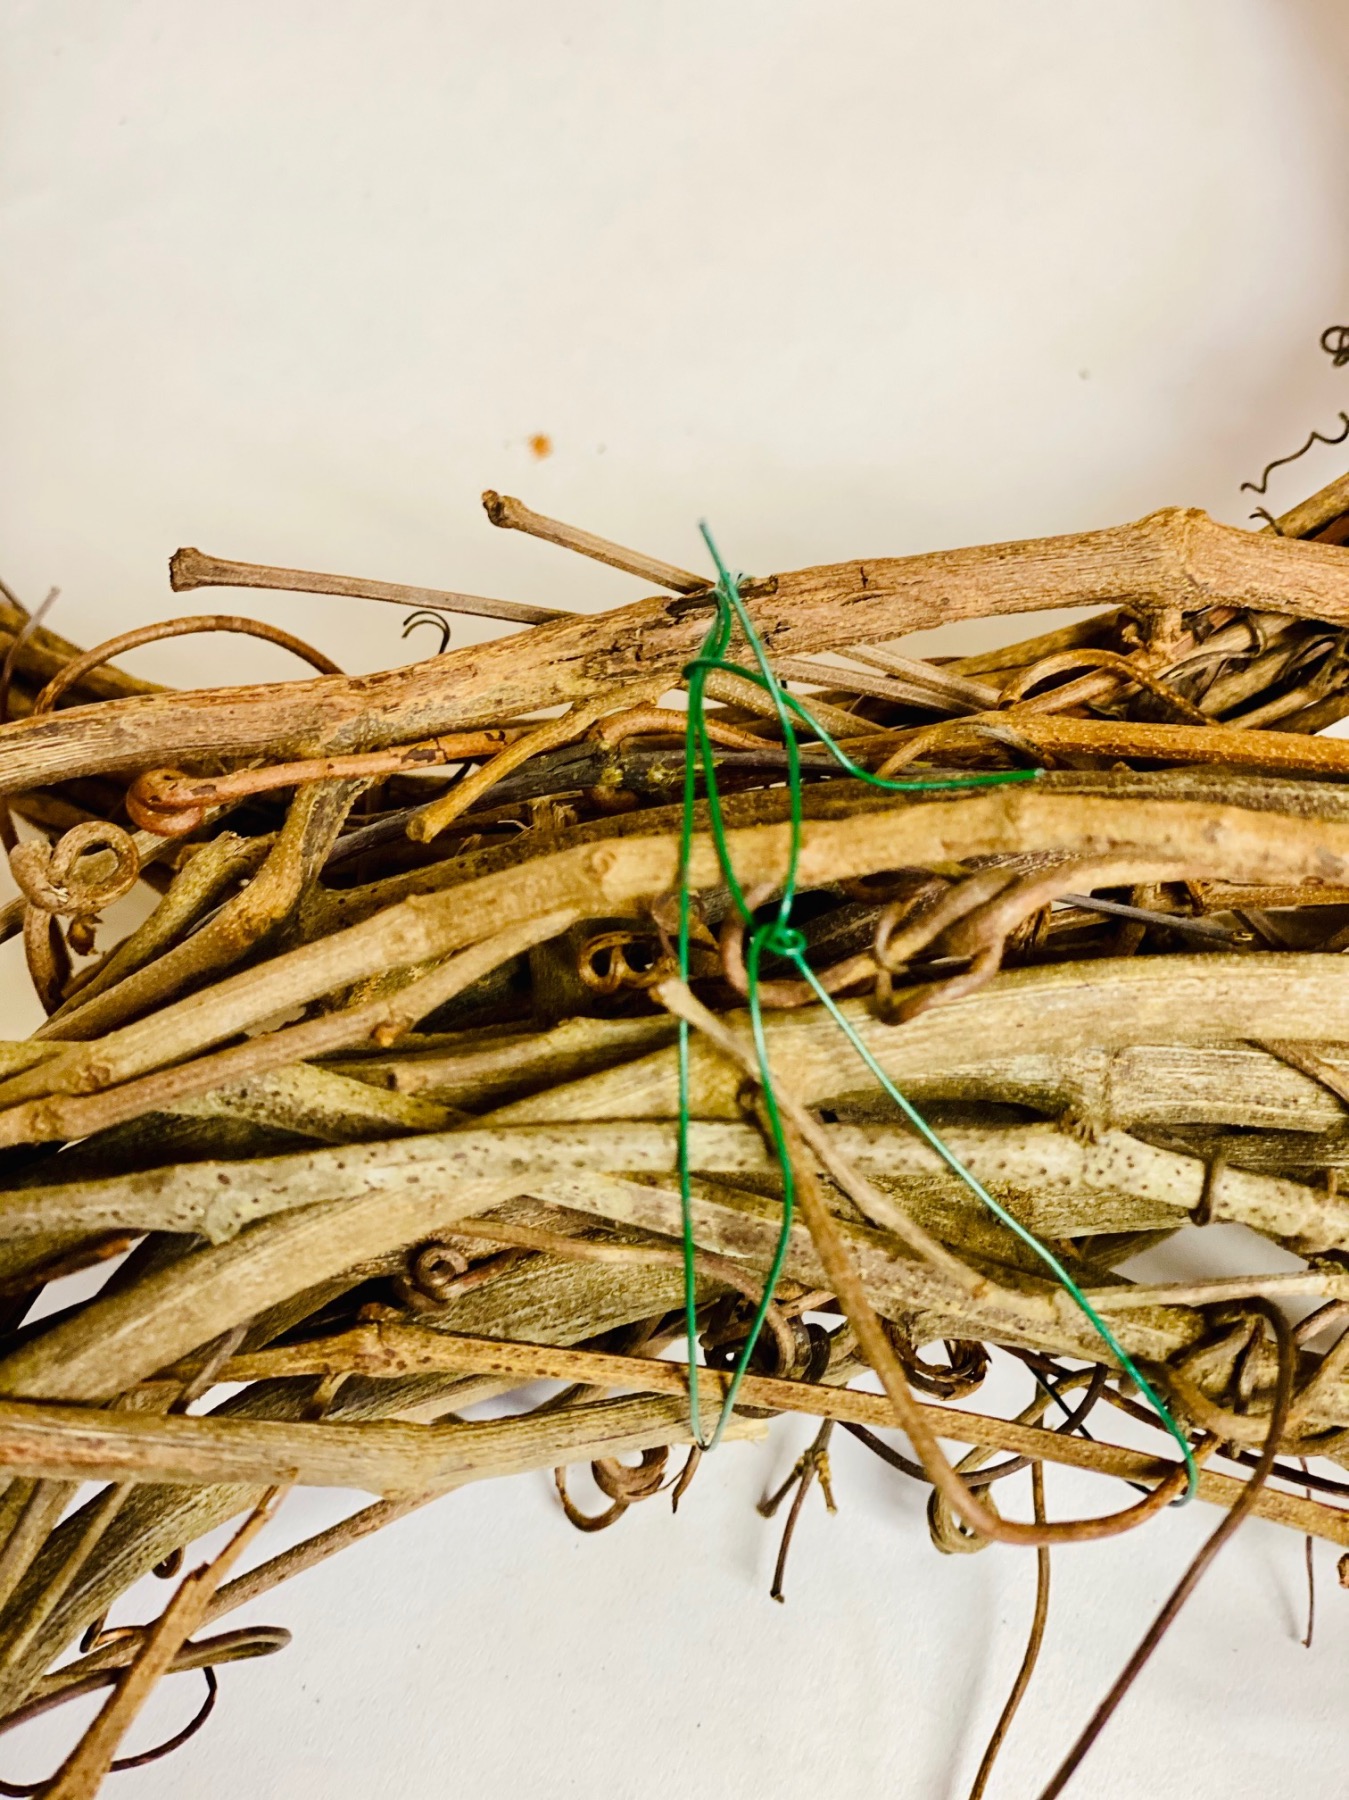
Loop the floral wire around both wreaths.
Keep looping the wire around and around. You may want to make circles that are a few inches across which will give your wire loops a little more strength and help hold your Minnie Mouse ears in place!
When you reach the end of your wire, twist the end around in many circles around a middle section of the wire. Be sure that both ends of the wire are firmly held in place and attached to 2 different middle sections of the wire – not the same area.
Step 2: Attach the Bow
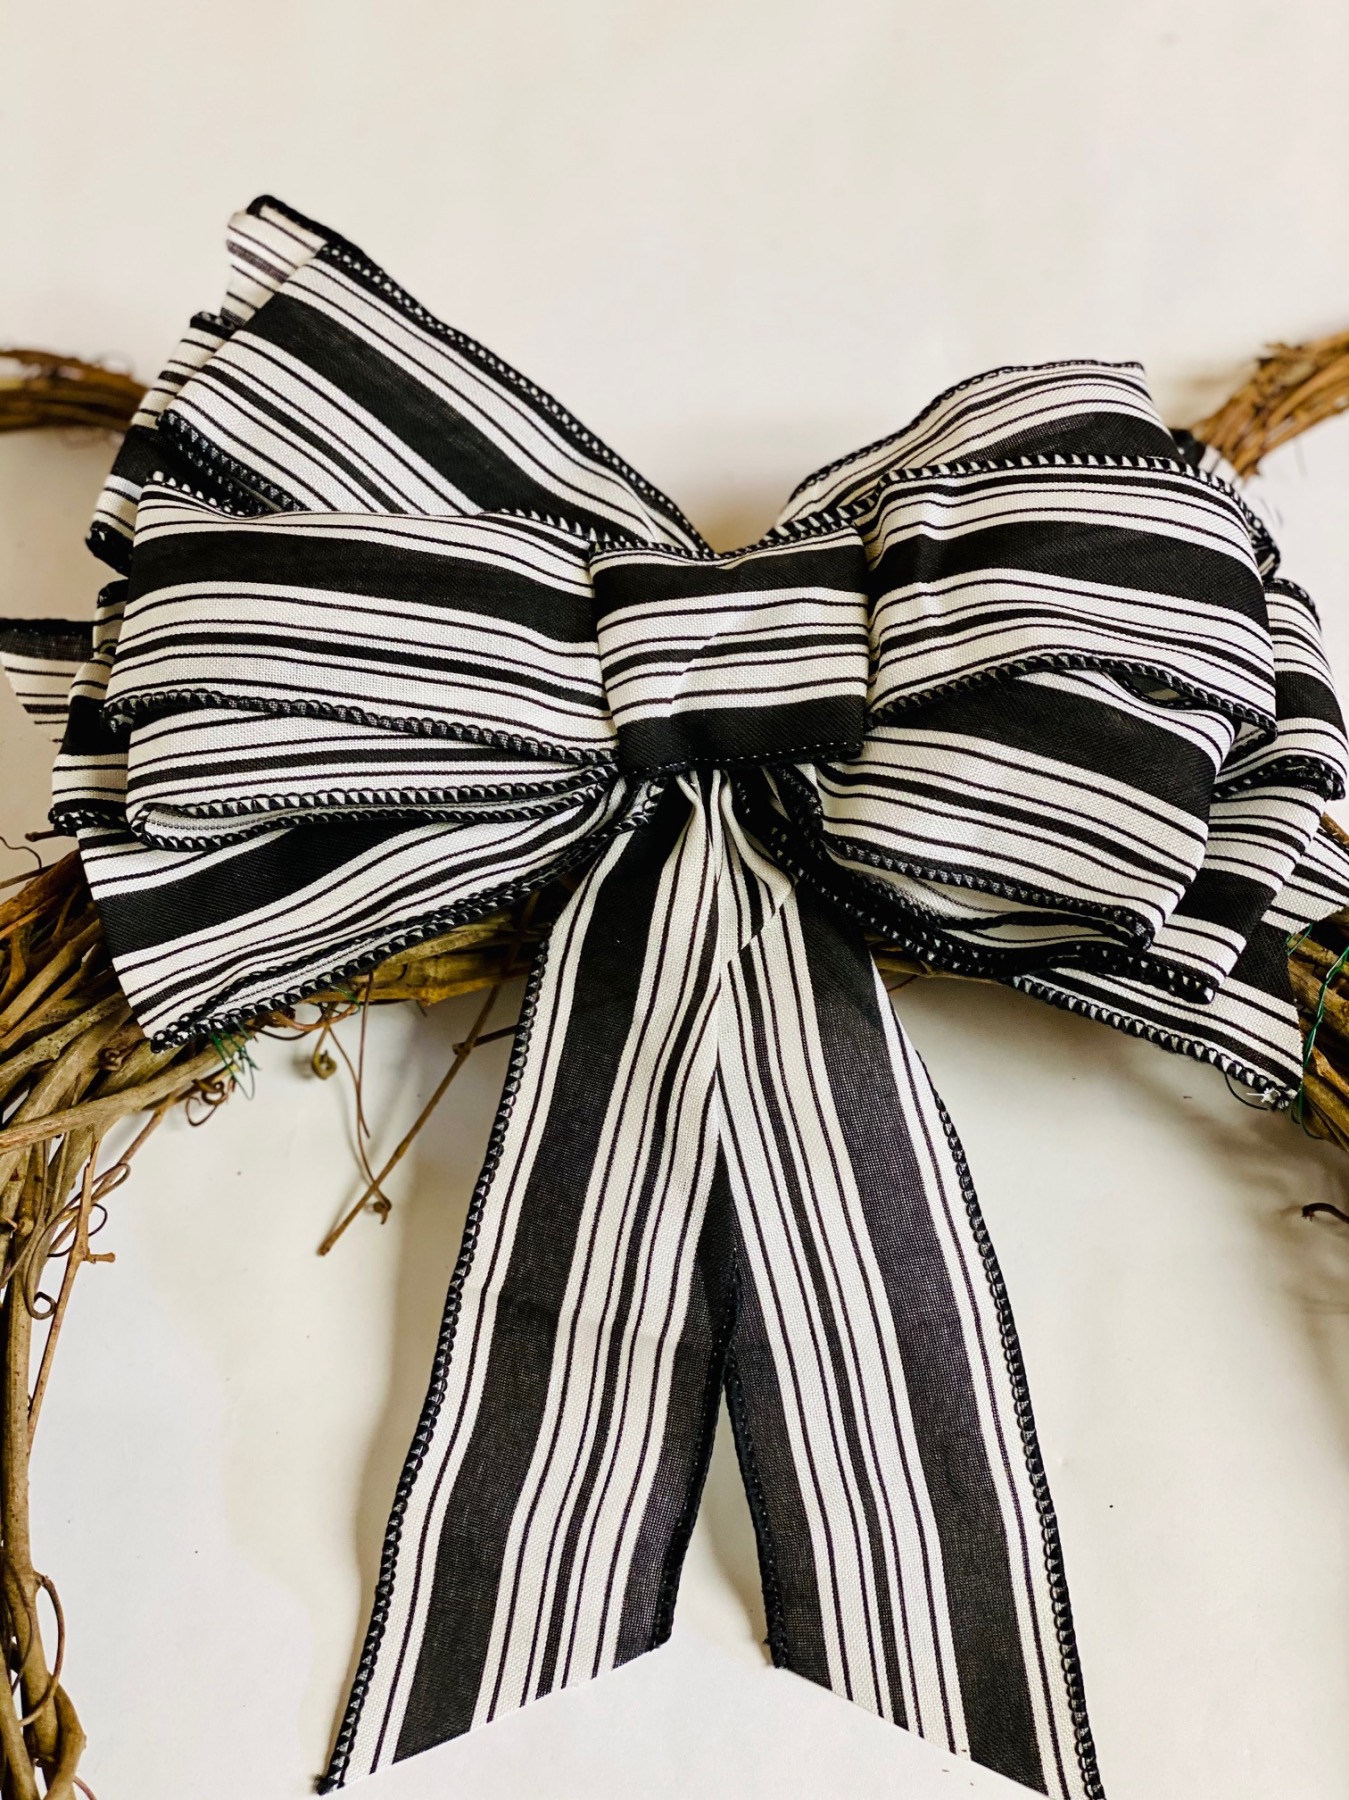
Whether you are buying a bow or making your own, you will want one that stretches from ear to ear (or wreath to wreath.) My pre-made bow had a piece of wire on the back, making it really easy to attach. But you can also use your hot glue gun to attach the bow. Just make small sparing dots of glue on the bow and hold it in place for about 15 seconds to give the glue time to set.
Because your wreath is textured, you may need to add a small amount of glue to the wreath itself once you figure out your bow placement.
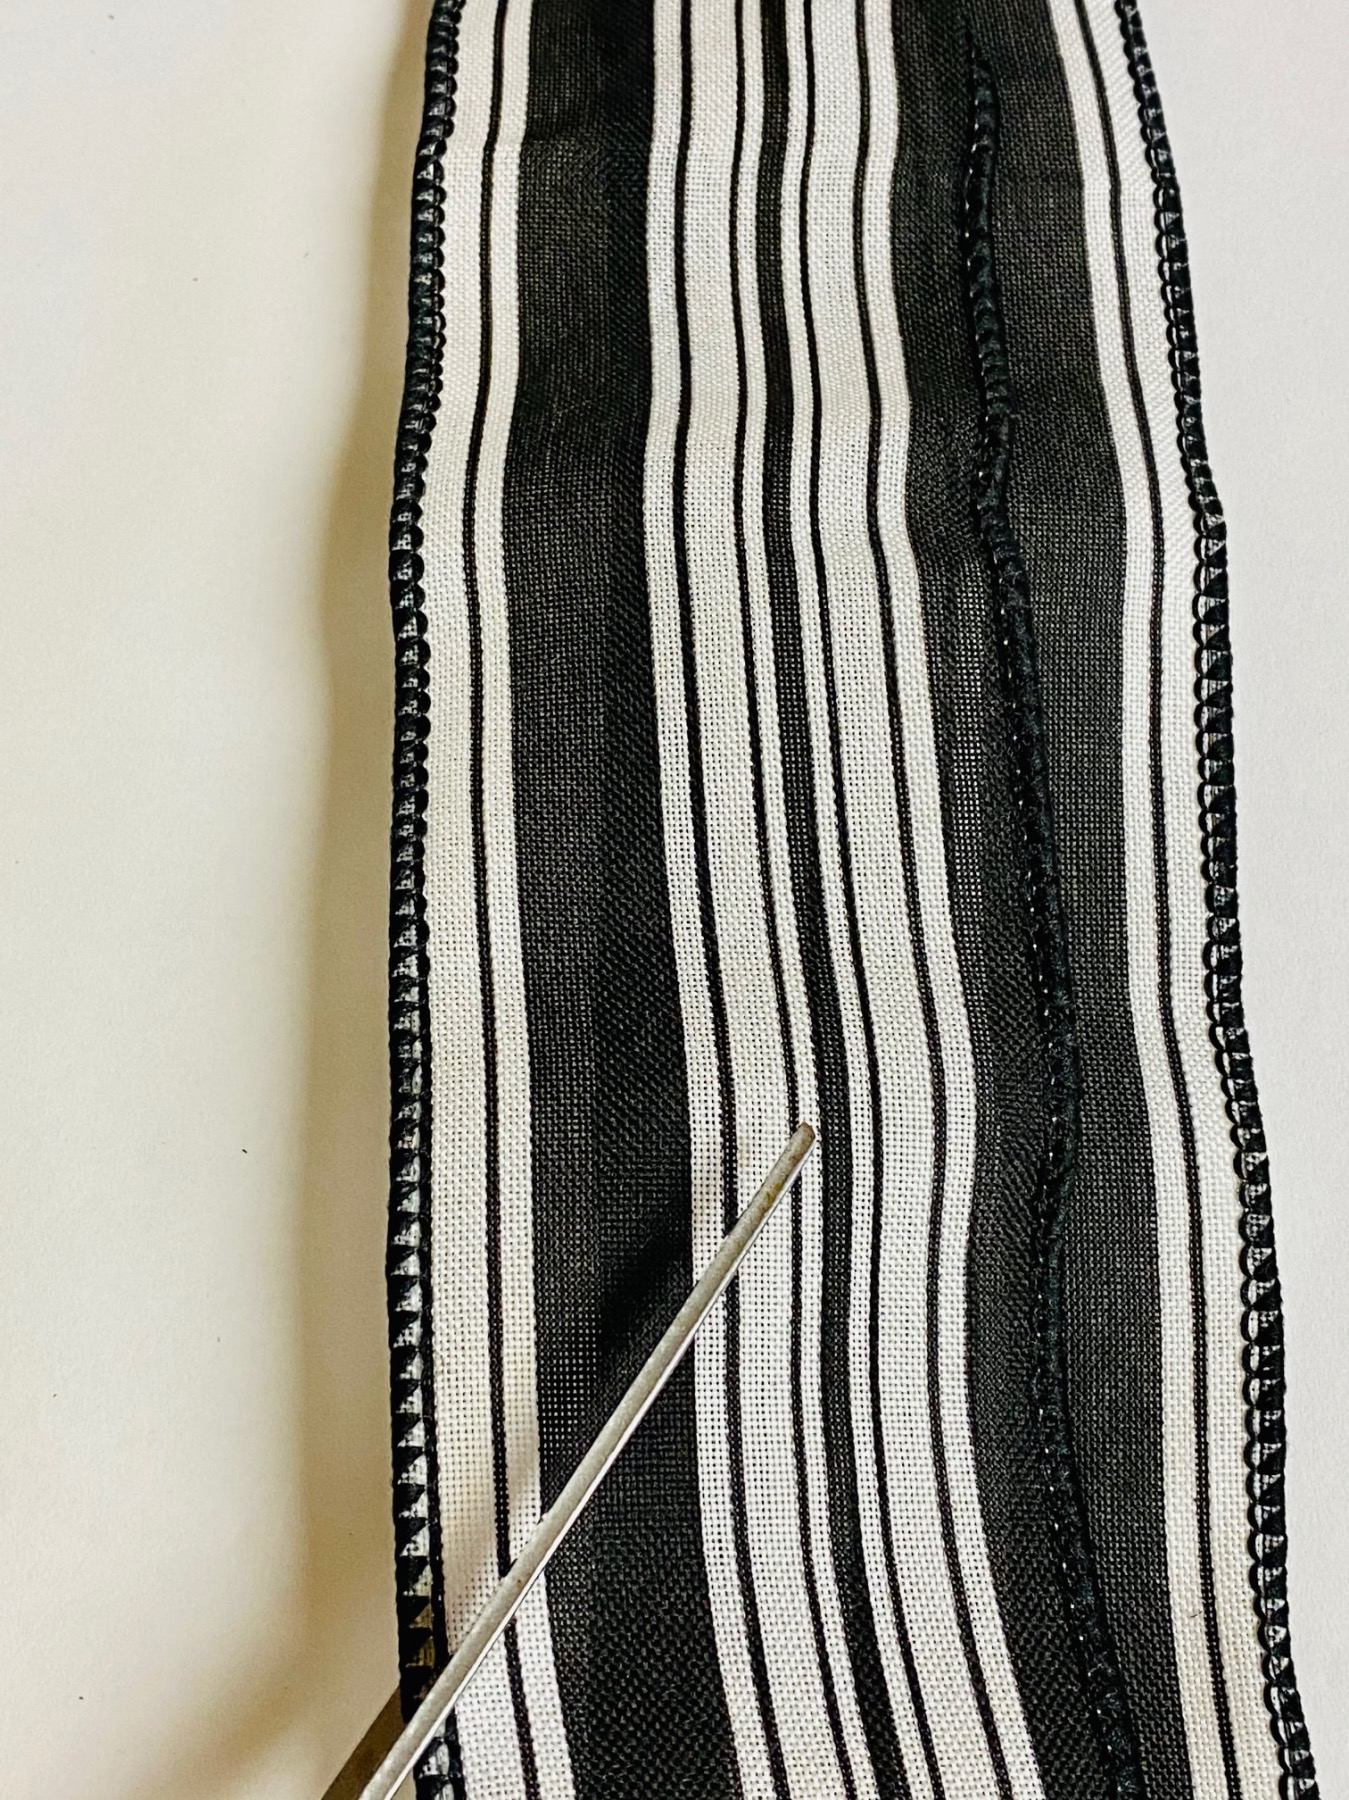
Once I placed my bow in the top center of my wreath, I trimmed the ends of the ribbon just to make it a little more professional looking. Just be sure you use extra sharp scissors like sewing scissors or scissors that you only use for fabric. Ribbon can sometimes be tricky to cut because of all the individual fibers.
Step 3: Attach the Blush Peonies
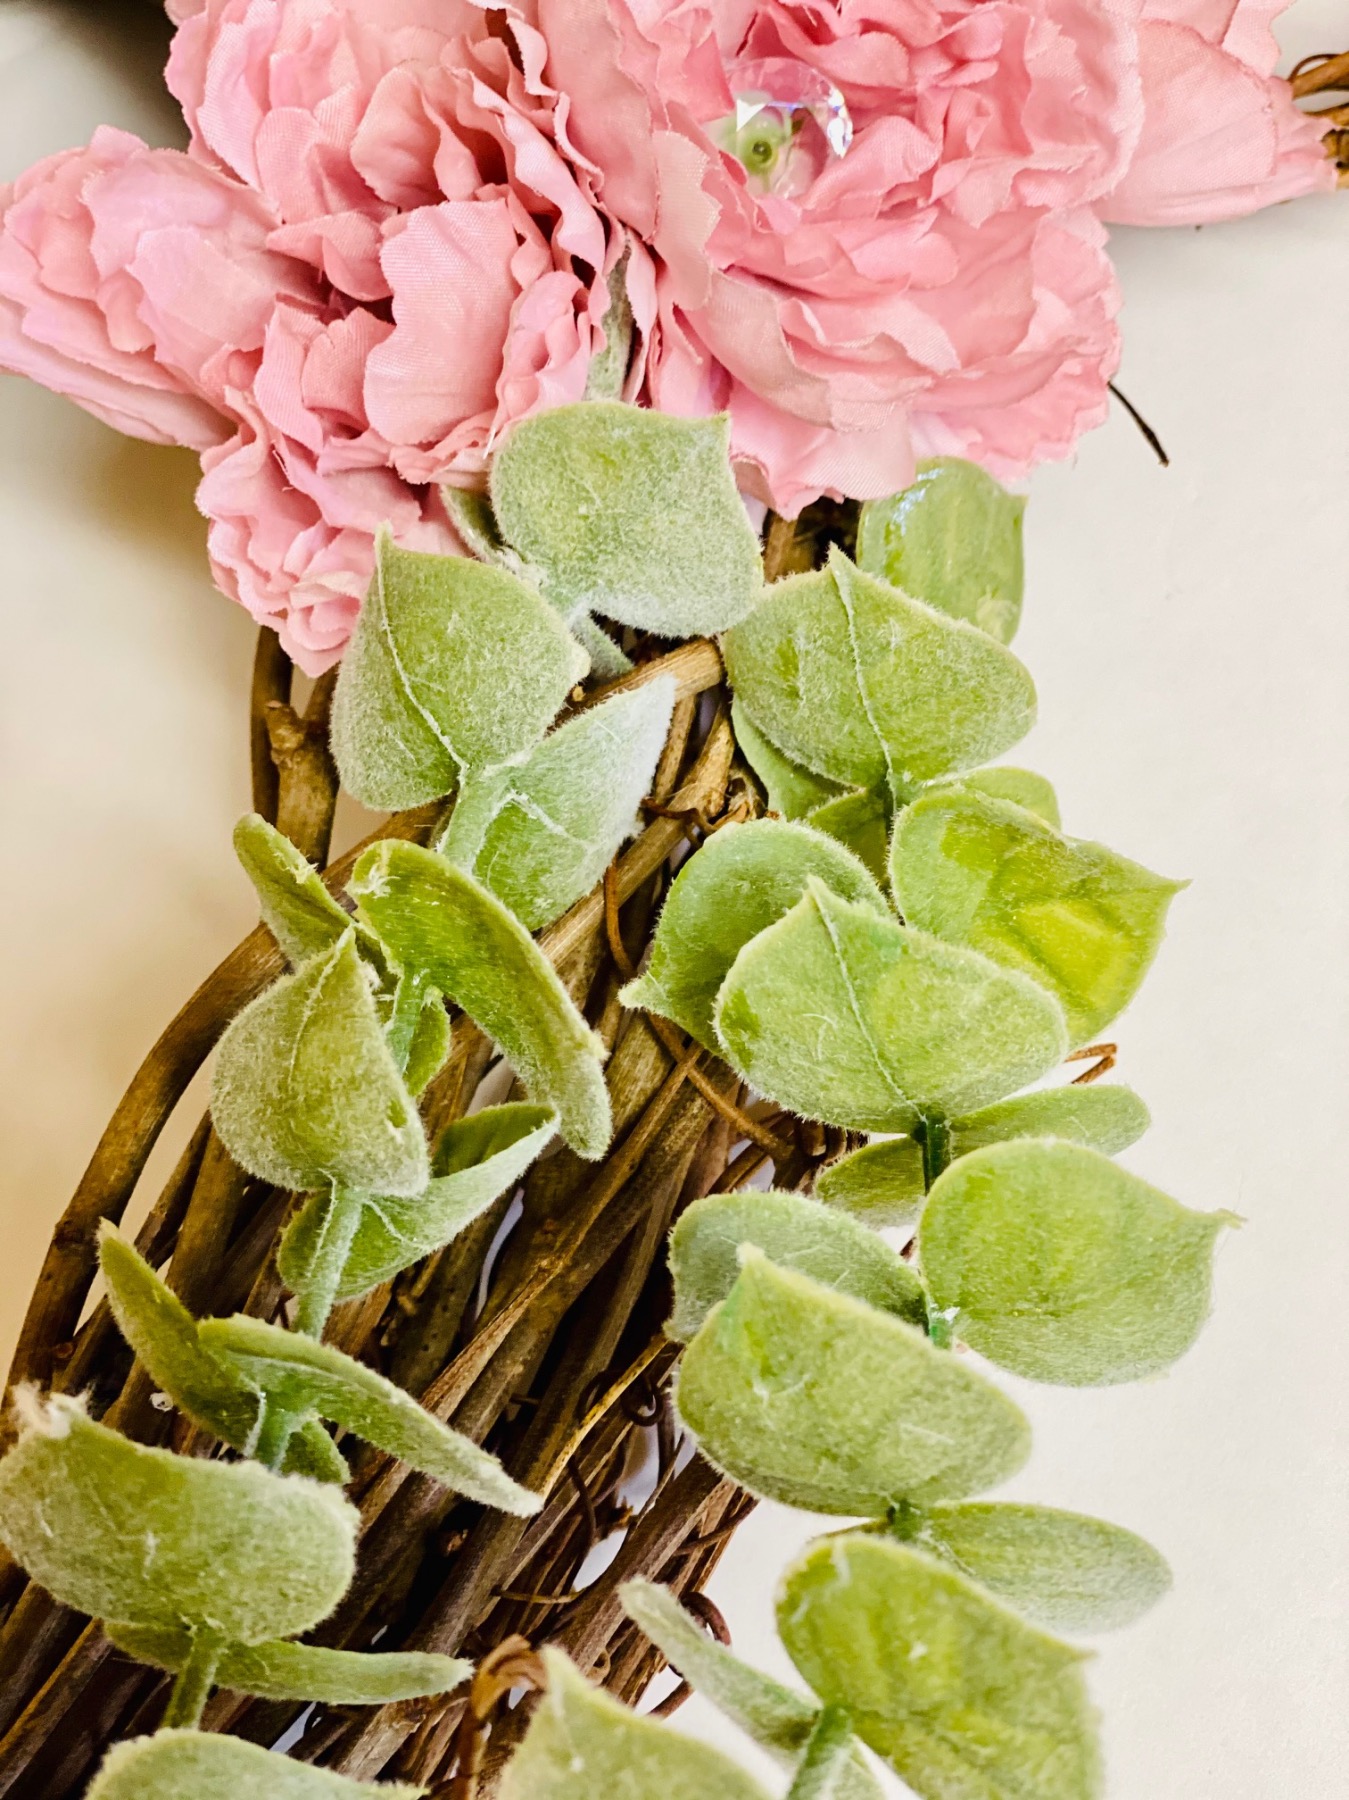
Once your bow is attached, you can start to layer the other pieces underneath from top to bottom. So next, add the blush peonies. Blush is such a hot color right now and really makes the black and white bow pop.
Peonies are also such a gorgeous and popular choice, but you could choose any color of flower and any type of flower. Just be sure to use faux so that your wreath can last longer than a few days.
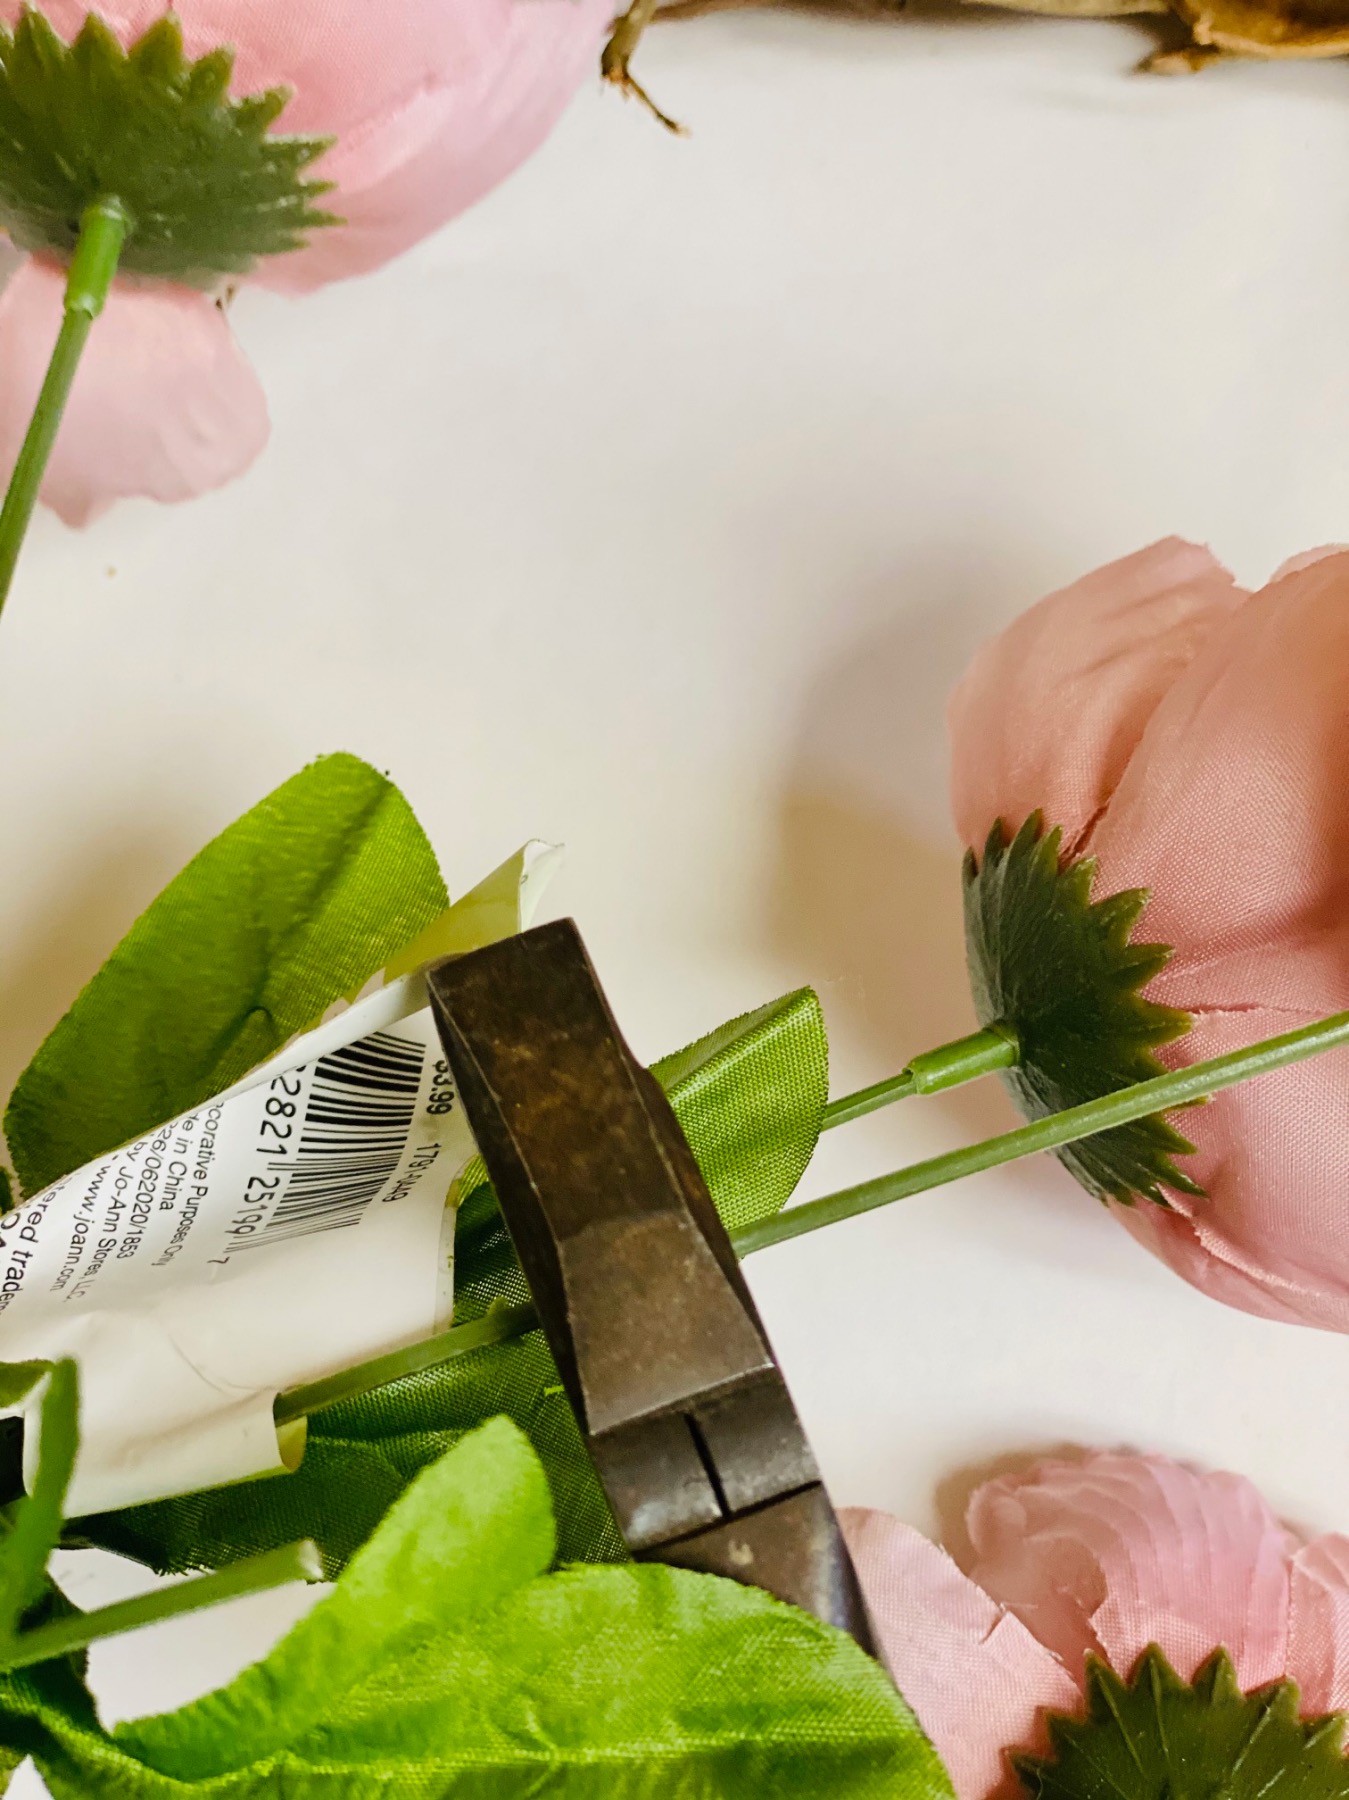
To attach the peonies, first cut them off the stem but leave a few inches of stem. If you have any trouble cutting the flowers off the stems with scissors, wire cutters are my go to!
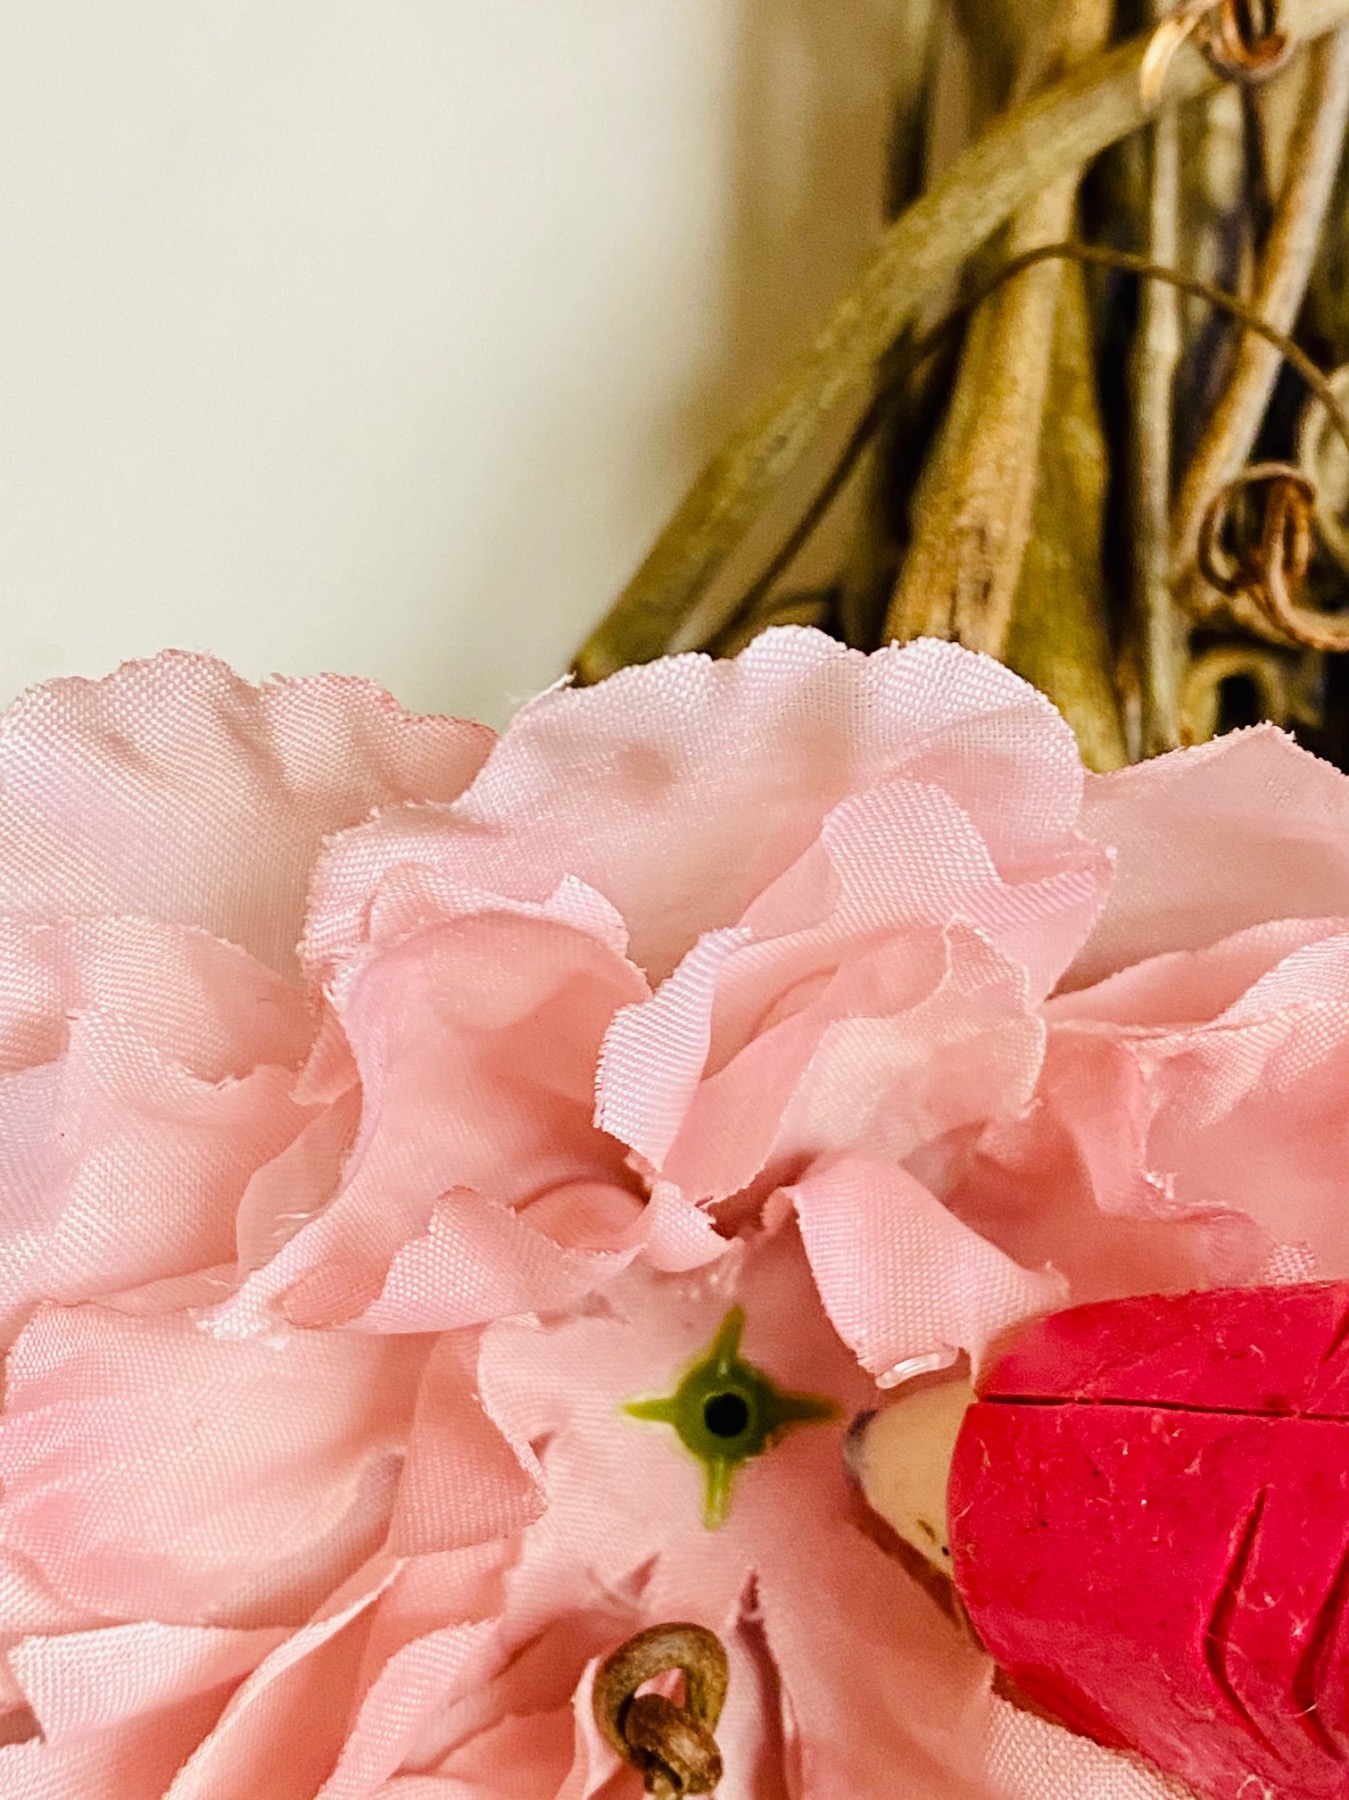
Leaving a section of stem is a great way to attach the flowers to a grapevine wreath. Because a grapevine wreath has many branches woven together, it’s full of spaces in between those branches. When a faux flower is attached by gluing the stem inside the spaces it gives a super firm hold.
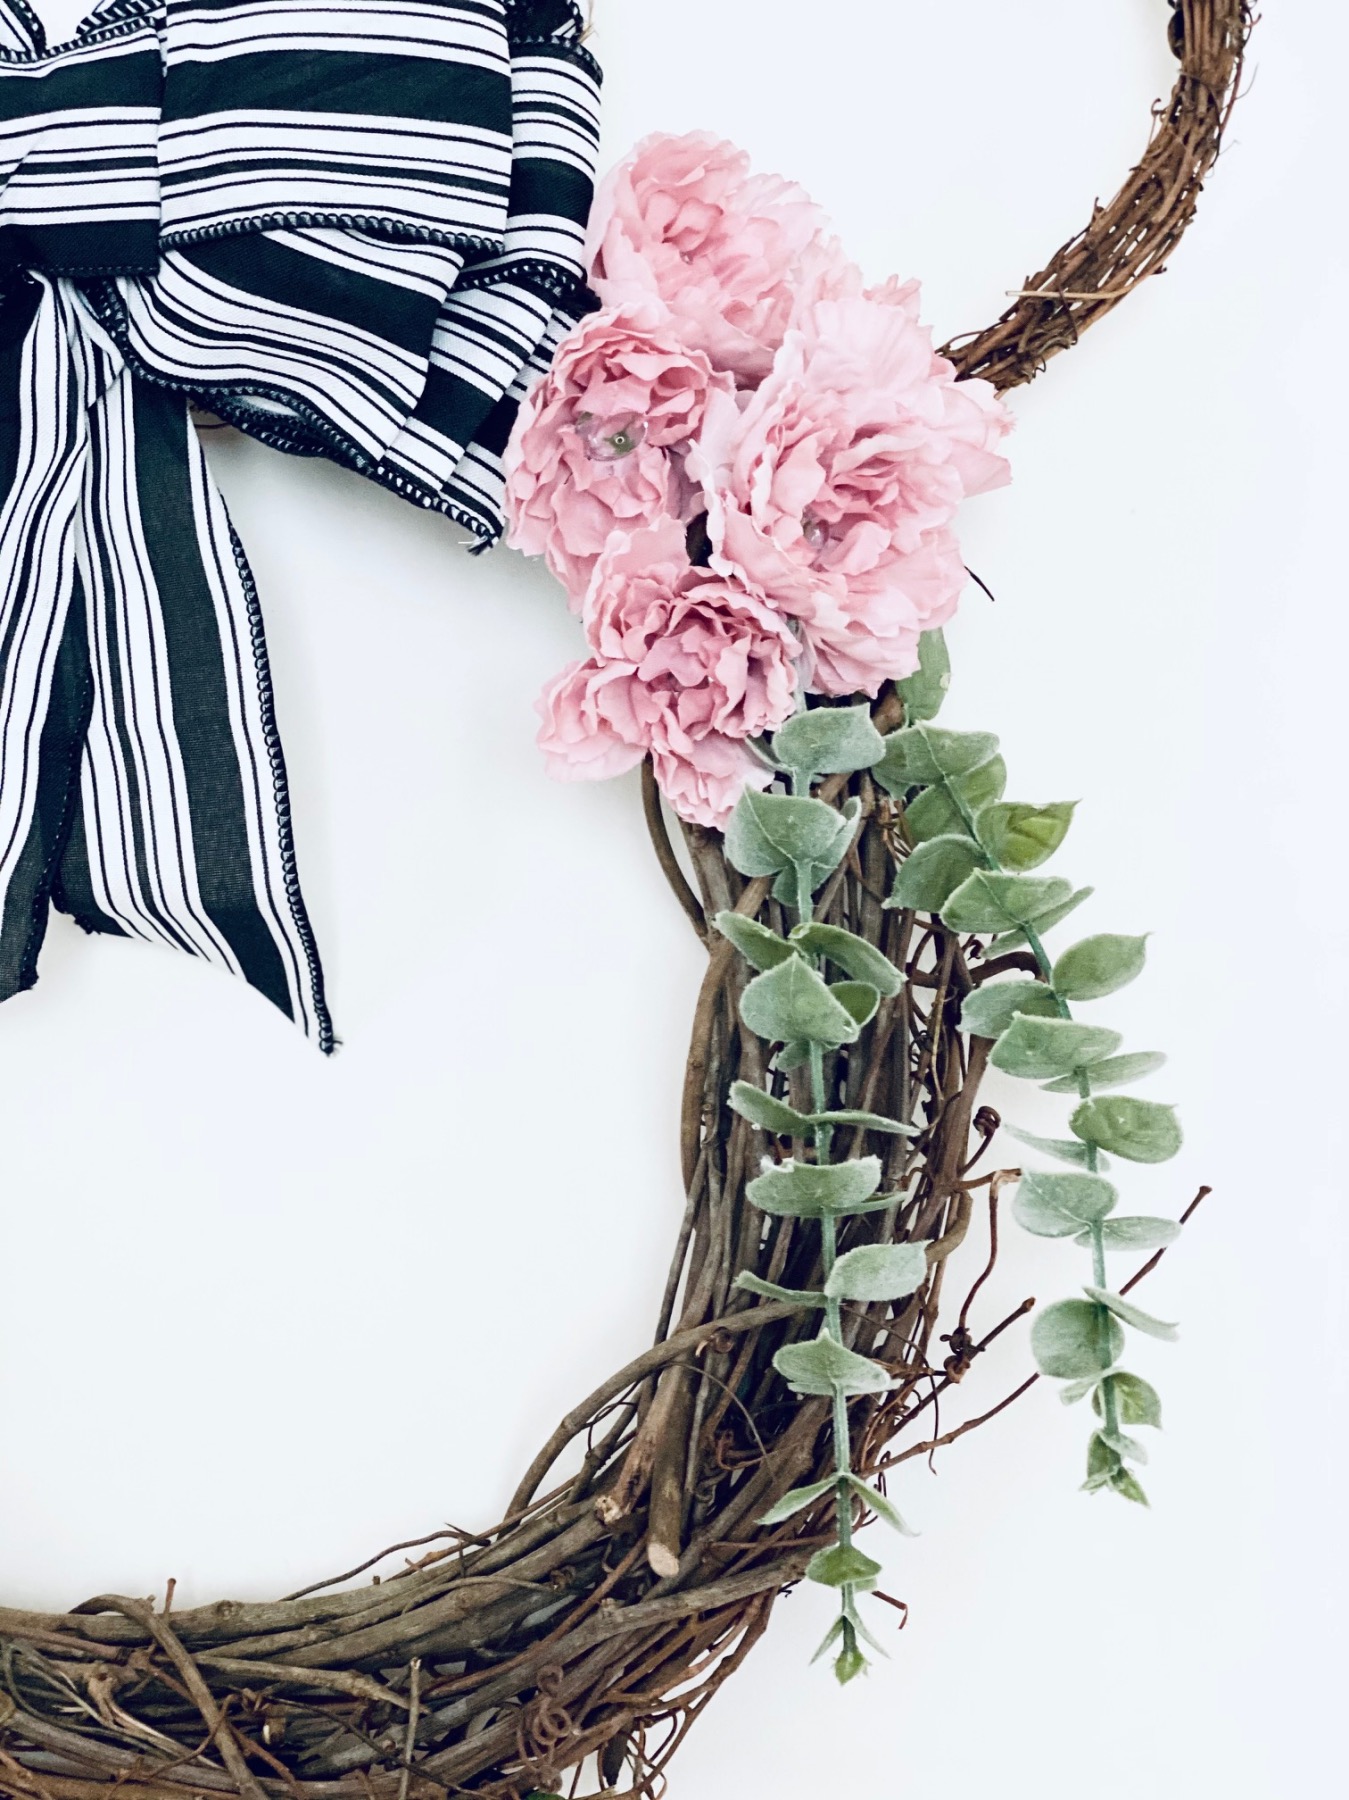
To attach the flowers, just use your hot glue gun and again hold the pieces in place for around 15 seconds. I used 5 flowers on each side, but you could use more or less depending on your style preferences.
Step 4: Attach the Eucalyptus
Continue to work downwards, next with your eucalyptus. Now with this supply, you could use dried instead of faux. Eucalyptus smells incredible and dried eucalyptus lasts a long time!
Trim pieces that are around 6-8 inches or shorter or longer depending on what looks good to you.
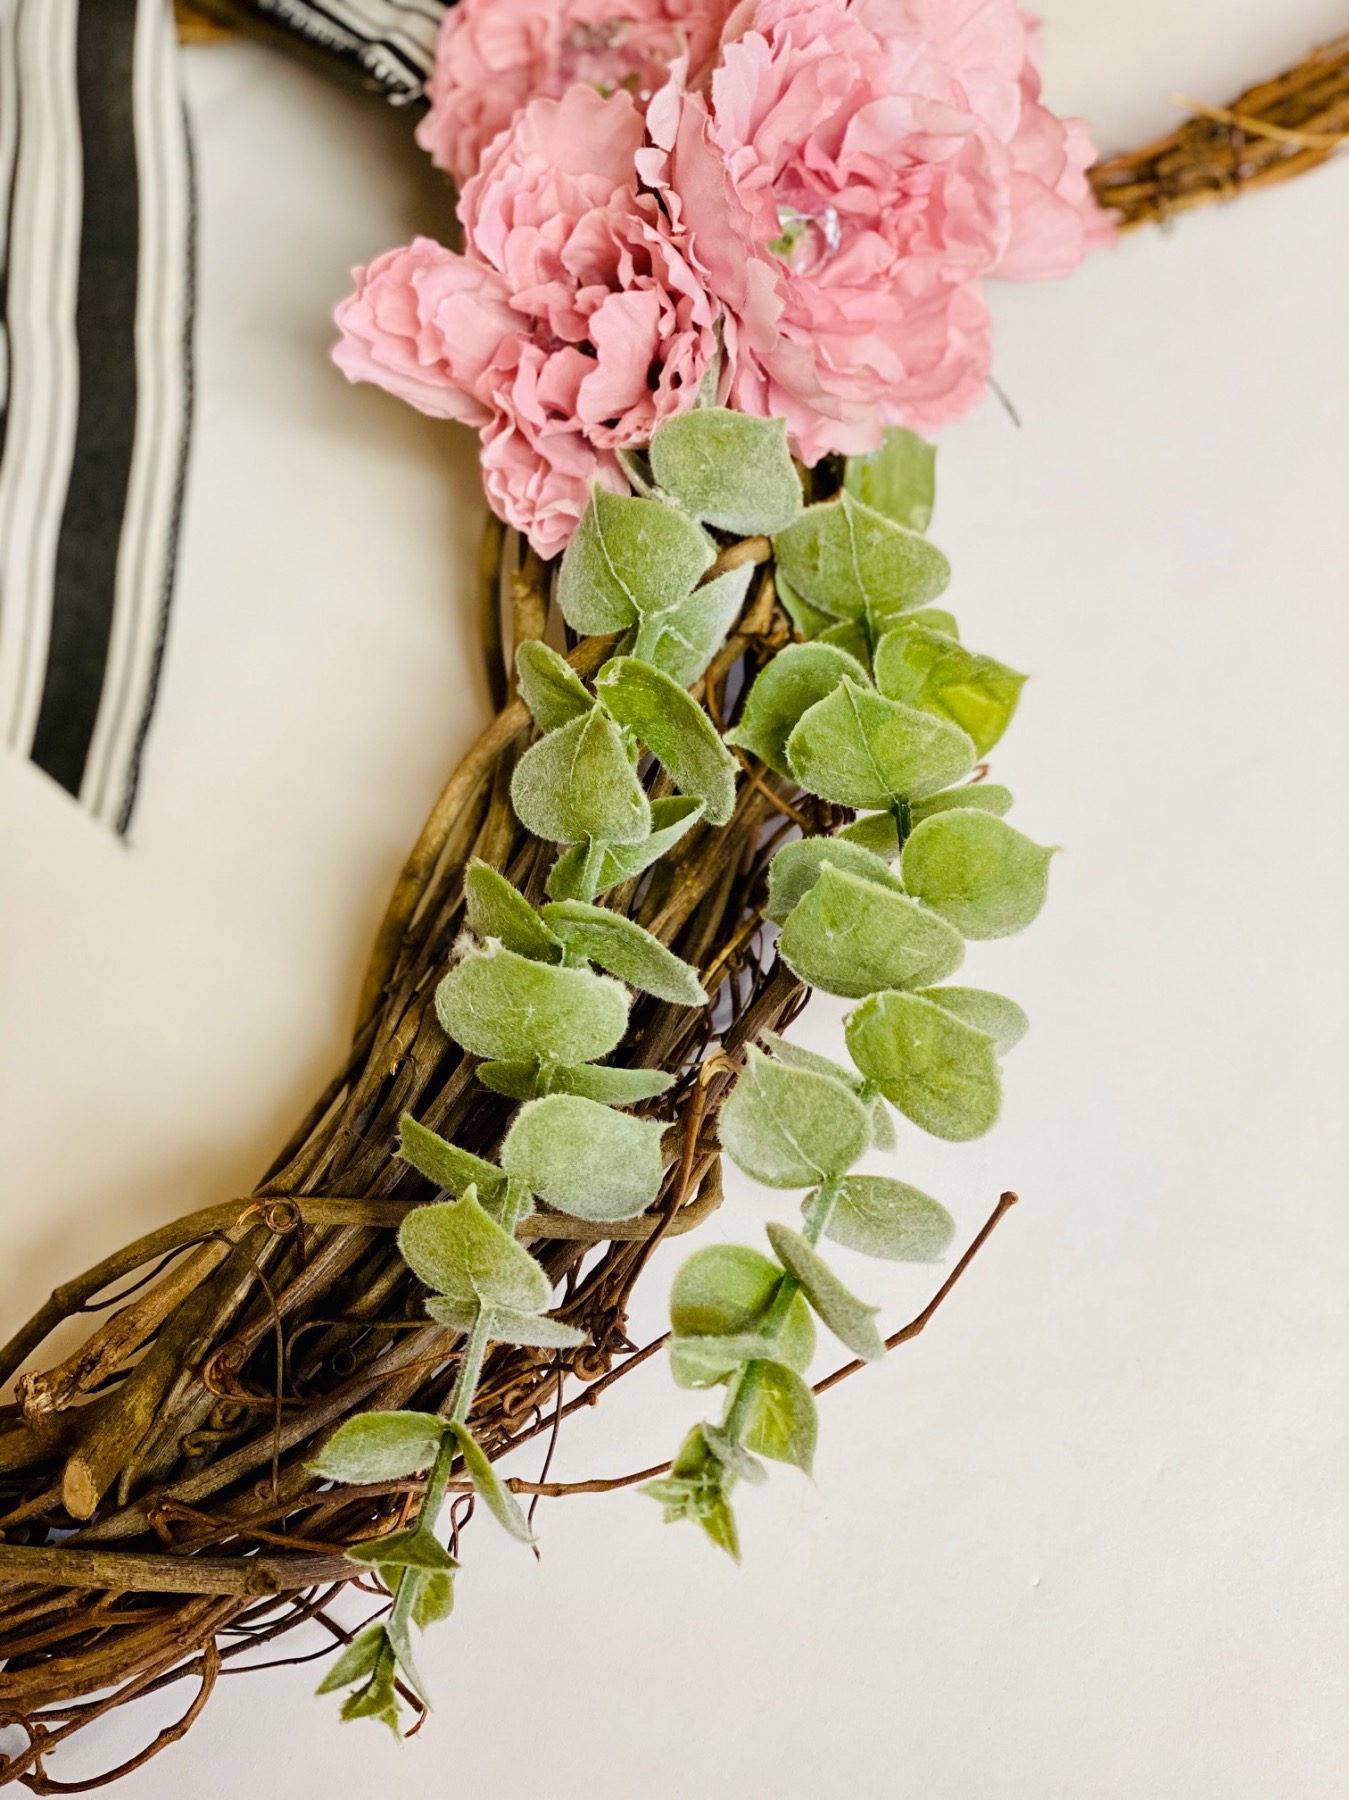
To attach them, tuck the stems underneath the peonies to give the Minnie Mouse Farmhouse Wreath a layered look.
Just like the peonies, add a small amount of hot glue to the stem of the eucalytpus, tuck the eucalyptus into the wreath and hold it in place for around 15 seconds.
I just used 2 branches on each side, but again, this is a creative diy! So you can add more or less stems to your liking.
Once all your pieces are in place, there’s just one more step until your Minnie Mouse Farmhouse Wreath is finished…
Step 5: Pull Off the Strands of Hot Glue
To finish your Minnie Mouse Farmhouse Wreath, let your hot glue set for just a few more minutes. Then check how well the peonies and eucalytpus are being held in place. Give the pieces a gentle tug to make sure they are properly attached and if necessary, add a bit more hot glue to ensure they stay in place.
Once every pieces is perfectly in place and the glue has been able to set for a few minutes, pull all the little strands of hot glue off of the wreath. This will make your wreath look more professional!
And viola, your Minnie Mouse Farmhouse Wreath is finished! This is the perfect way to style up your home. And just remember, wreaths aren’t just for doors. You can also hang them inside on a wall or above the mantle which is just so cute.
This Minnie Mouse Farmhouse Wreath is a stylish and fun way to add a touch of farmhouse style to your home and also celebrate your love for Disney!
Need even more wreath inspiration? Check out these diy wreath ideas below!
Let’s Stay Friends!
Insta | Pinterest | Enews | TikTok


