DIY
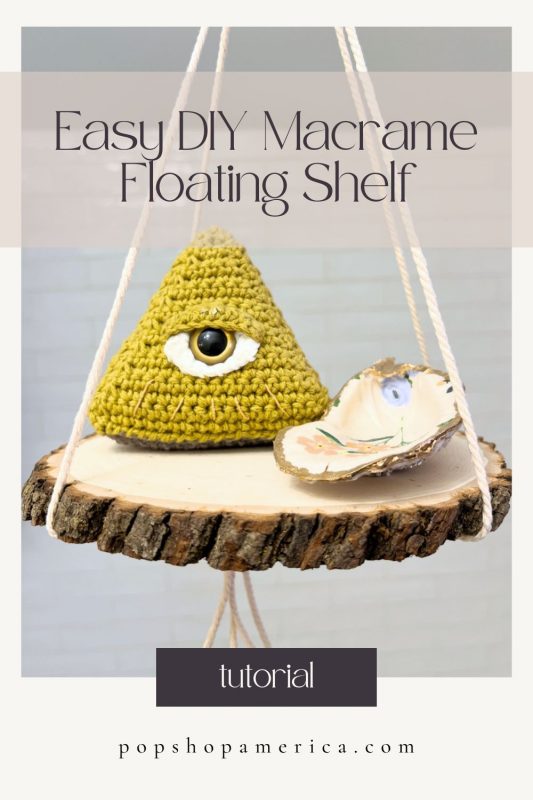
Beginner Friendly DIY Macrame Floating Shelf Tutorial
Aug
This blog is 4 of 5 tutorials for the July Craft in Style Subscription Box. You can find the other 4 tutorials, more about this box, and other Craft in Style Boxes here.
What’s prettier than a macrame floating shelf with a natural slice of wood? You know the kind that you can hang in the corner of a room and decorate with all your favorite small objects. . .
Macrame is so cute – and what’s great about this project is that you can customize it to your own tastes. You can add beads. You can use knot work that you like. It’s so versatile!
The best way to learn how to make a DIY Macrame Floating Shelf is to start with a beginner friendly tutorial like this and then begin to customize the shelf in a way that you like. So let’s get to making this DIY Macrame Floating Shelf!
Macrame is Easiest to Make on a Wall
Unlike most projects, it’s easiest to make macrame along a wall. It’s very hard to make a macrame piece sitting at a craft table. If you don’t have a wall like mine – where you can place a hook, screw or small nail, try one of these:
1. Use a clothing rack: A closet could work, but if you have a rolling portable clothing rack, they are ideal for making macrame. Just use a clothing hanger for your project.
2. Use an upright paper towel holder or a thin soda bottle: If you can hook a wooden ring around your paper towel holder or a thin soda bottle, that’s a great place to start your macrame. Just note that you will need to hold your soda/paper towel holder in place firmly with something heavy.
Supplies to Make a DIY Macrame Floating Shelf
July 2022 Craft in Style Subscription Box
-or-
2 6 foot lengths 3mm Macrame Cord (more for detailed designs)
1 6 inch Natural Wood Slice
1 2 inch Wood Ring
Scissors
Small Objects to Decorate Your Shelf
A C Hook to Hang Your Shelf
Optional: Wood Beads; Fabric Dye; or Indigo Dye
You don’t need wood beads or dye for this project. But if you want to really make this floating shelf your own style, these are items that you could consider. Macrame cord is made from natural cotton. That means that you can dye it any color you like or even a rainbow of colors. One of my favorite styles is to just dip dye part of the macrame.
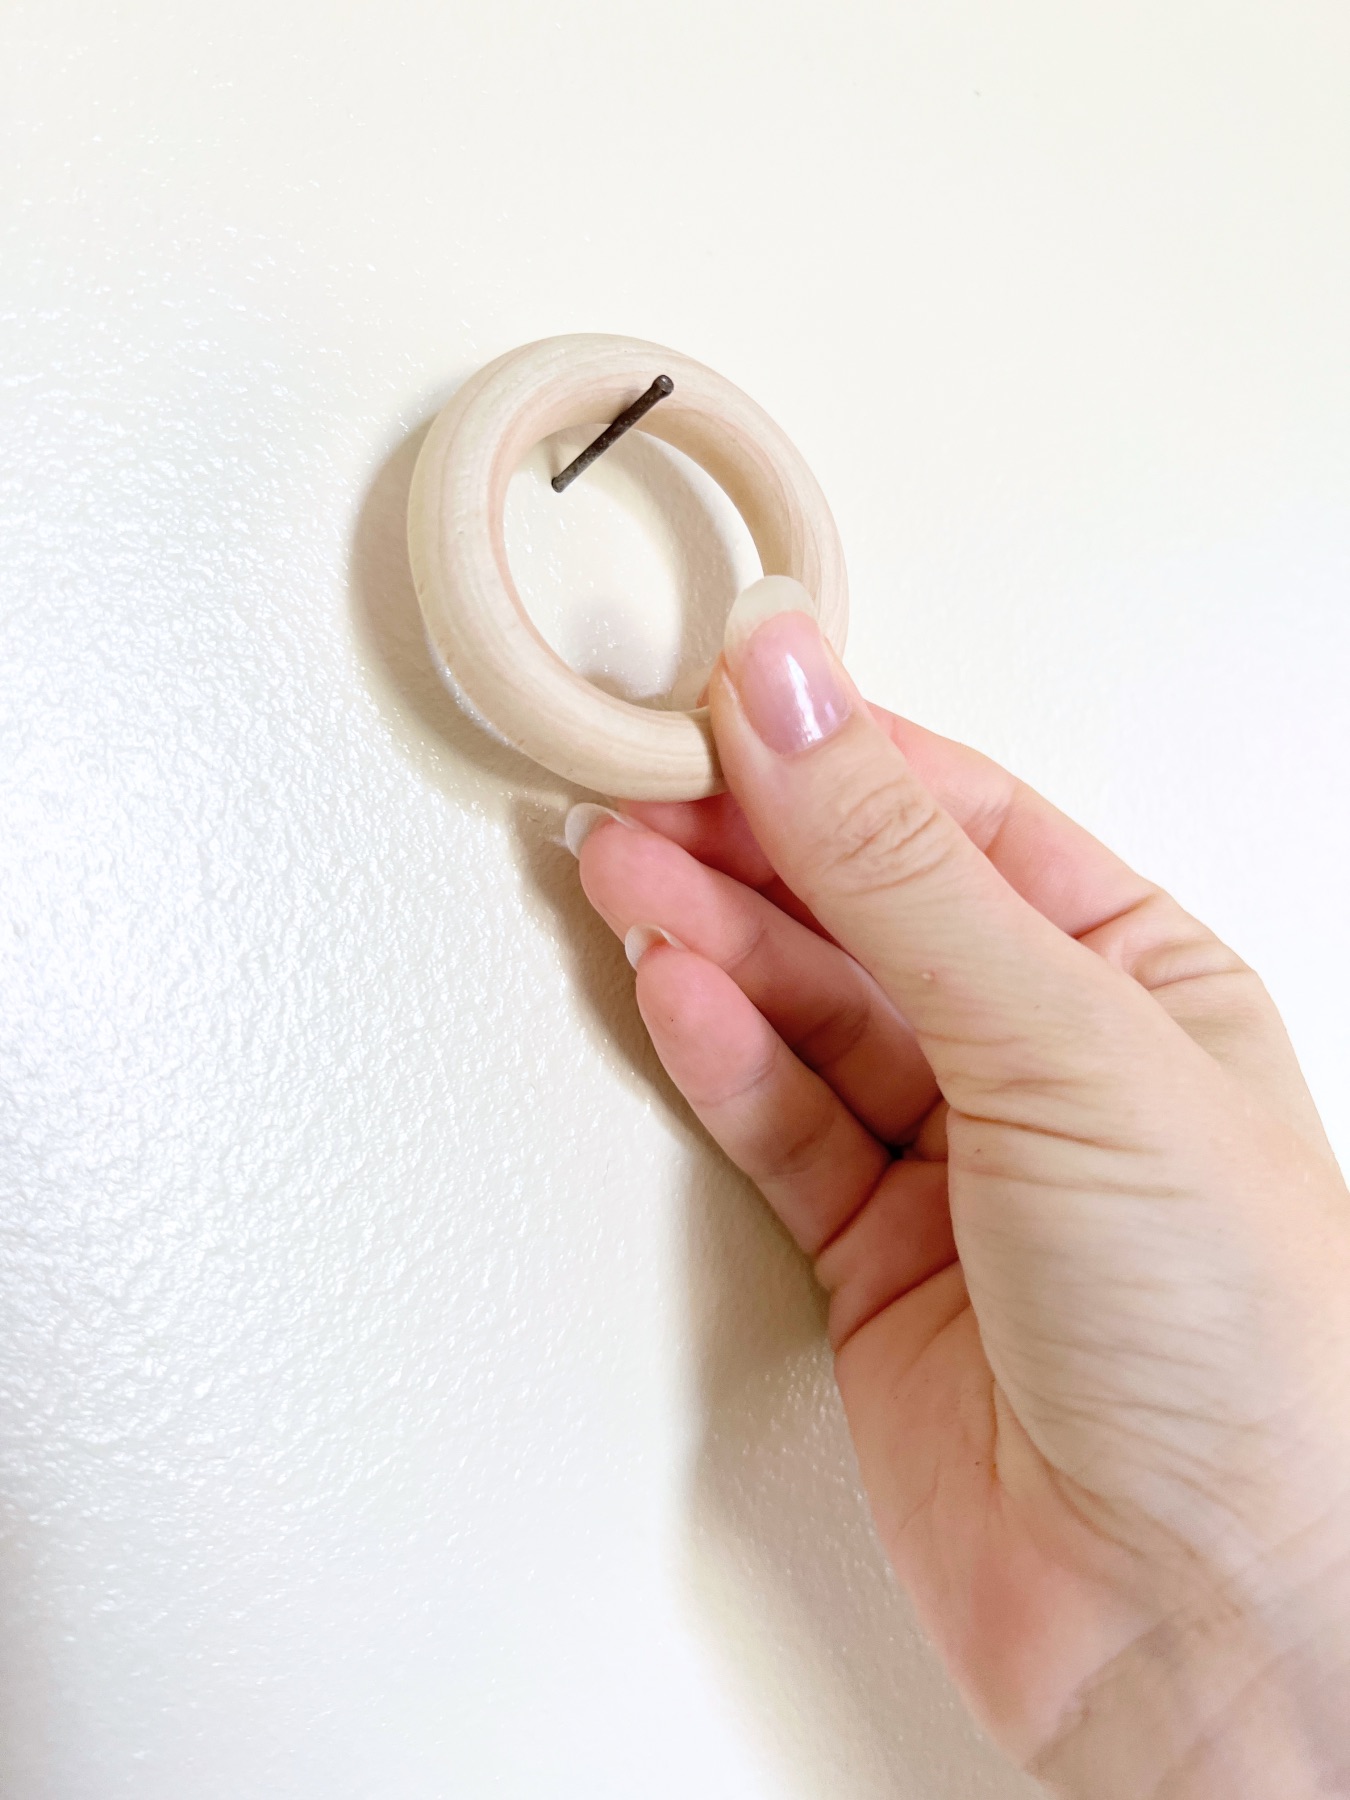
How to Get Started Making a DIY Macrame Floating Shelf
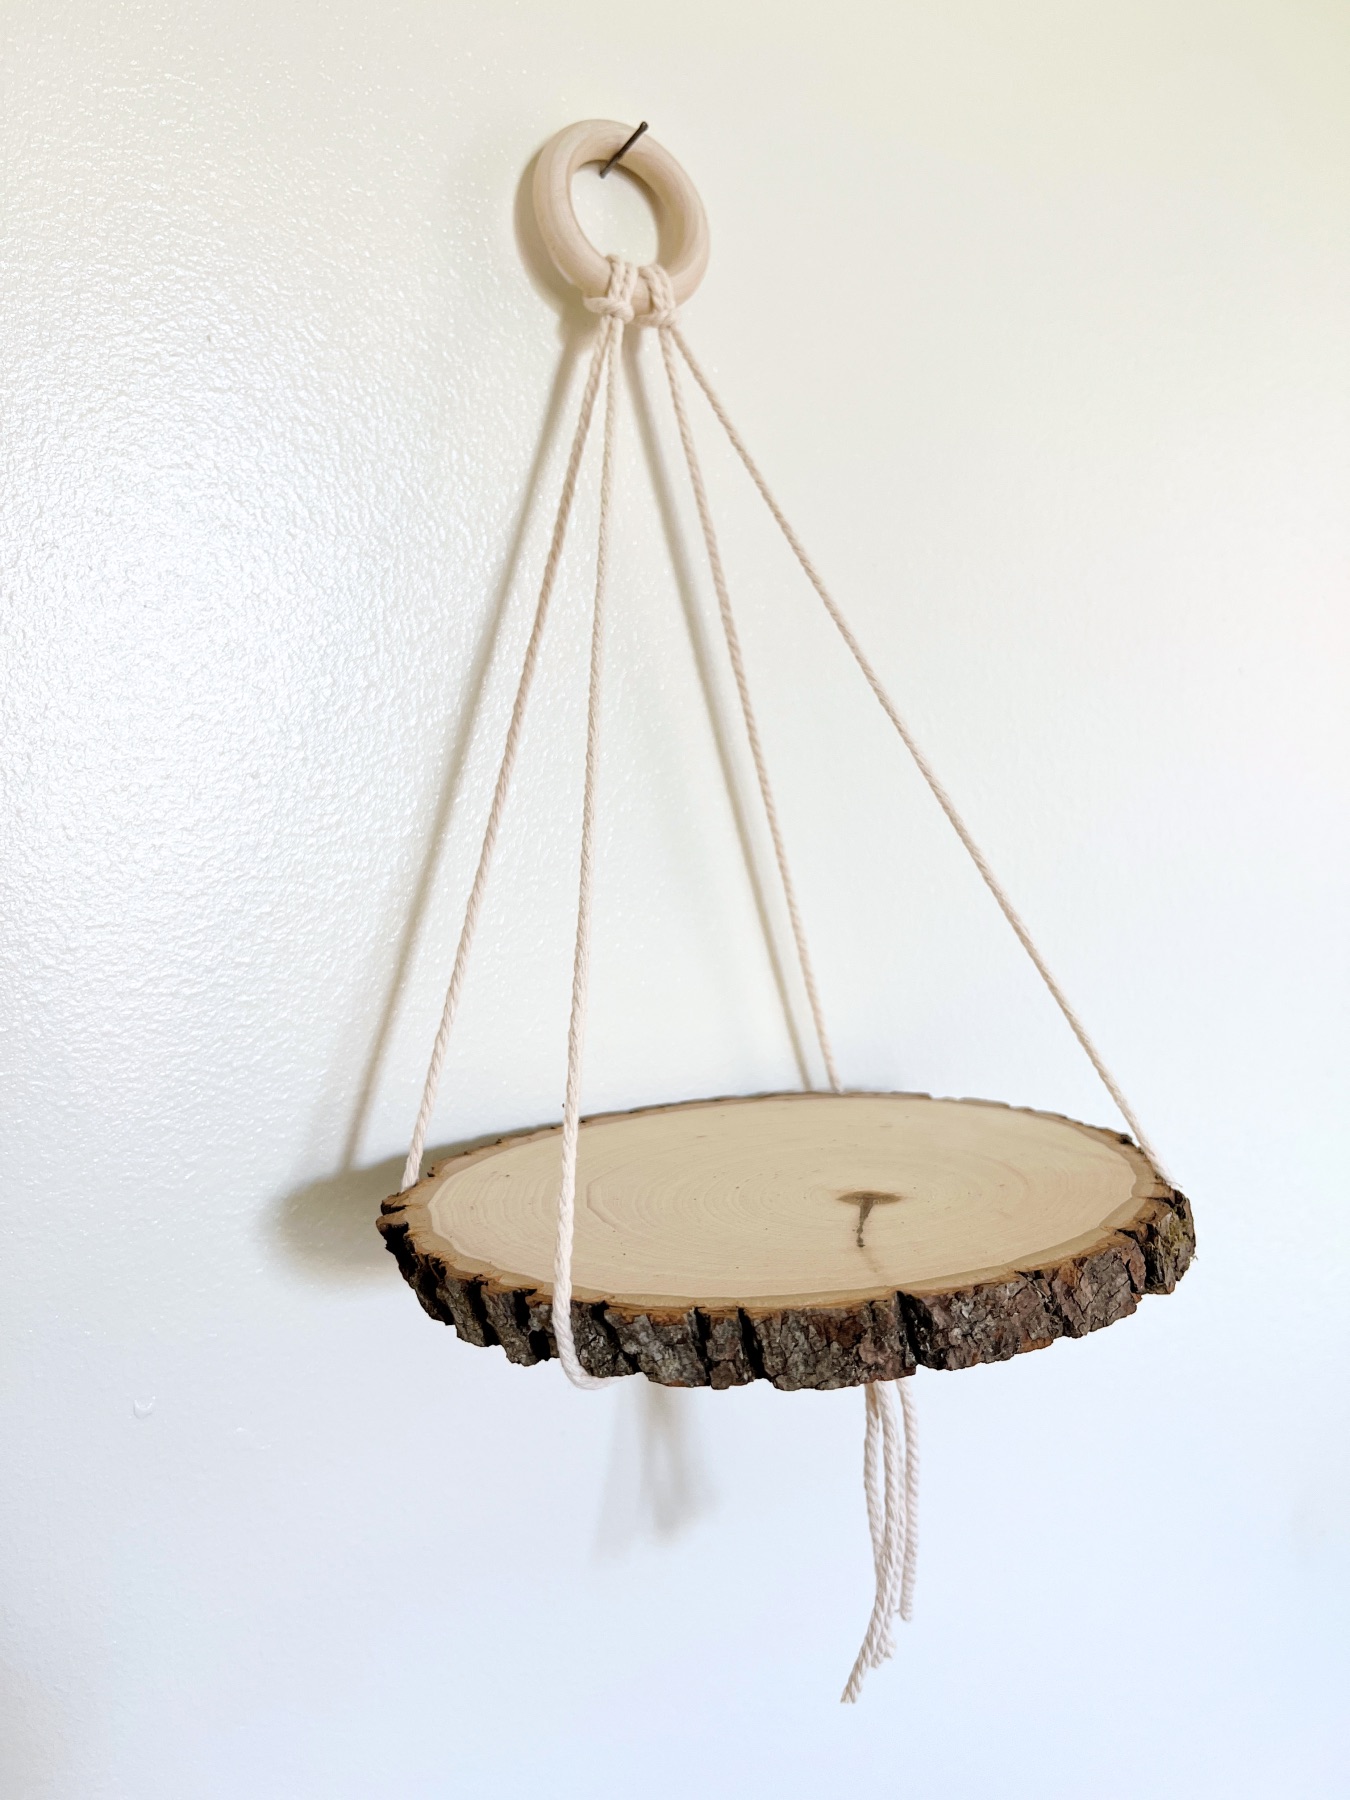
Start by placing your wood ring on a nail on the wall. I try to start slightly higher than my head so that as I work, I am near eye level. Whatever you do, make sure you can reach the macrame cord with your arms. If you have to use a chair or crouch down, it may become tedious as you work!
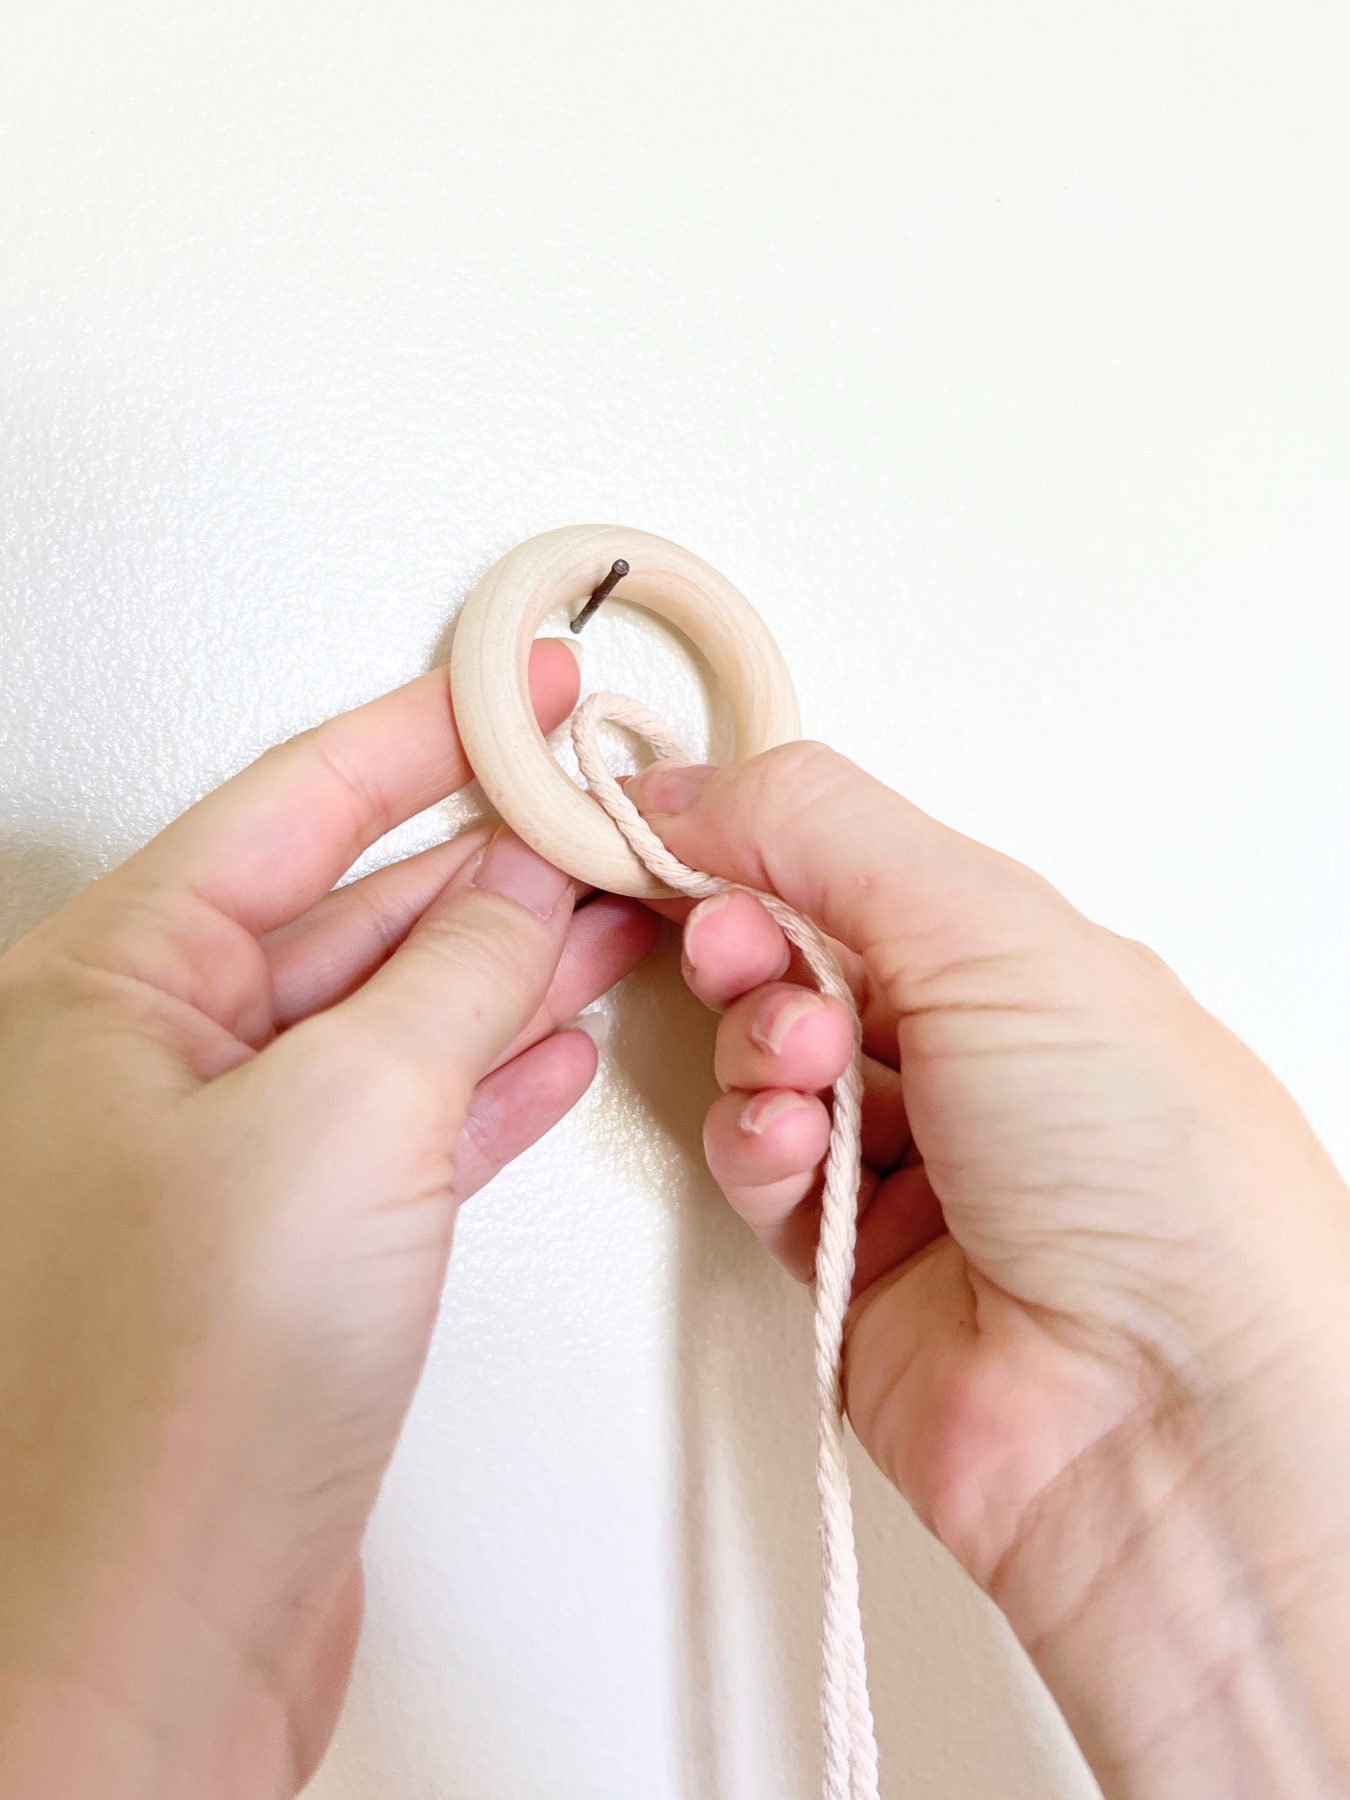
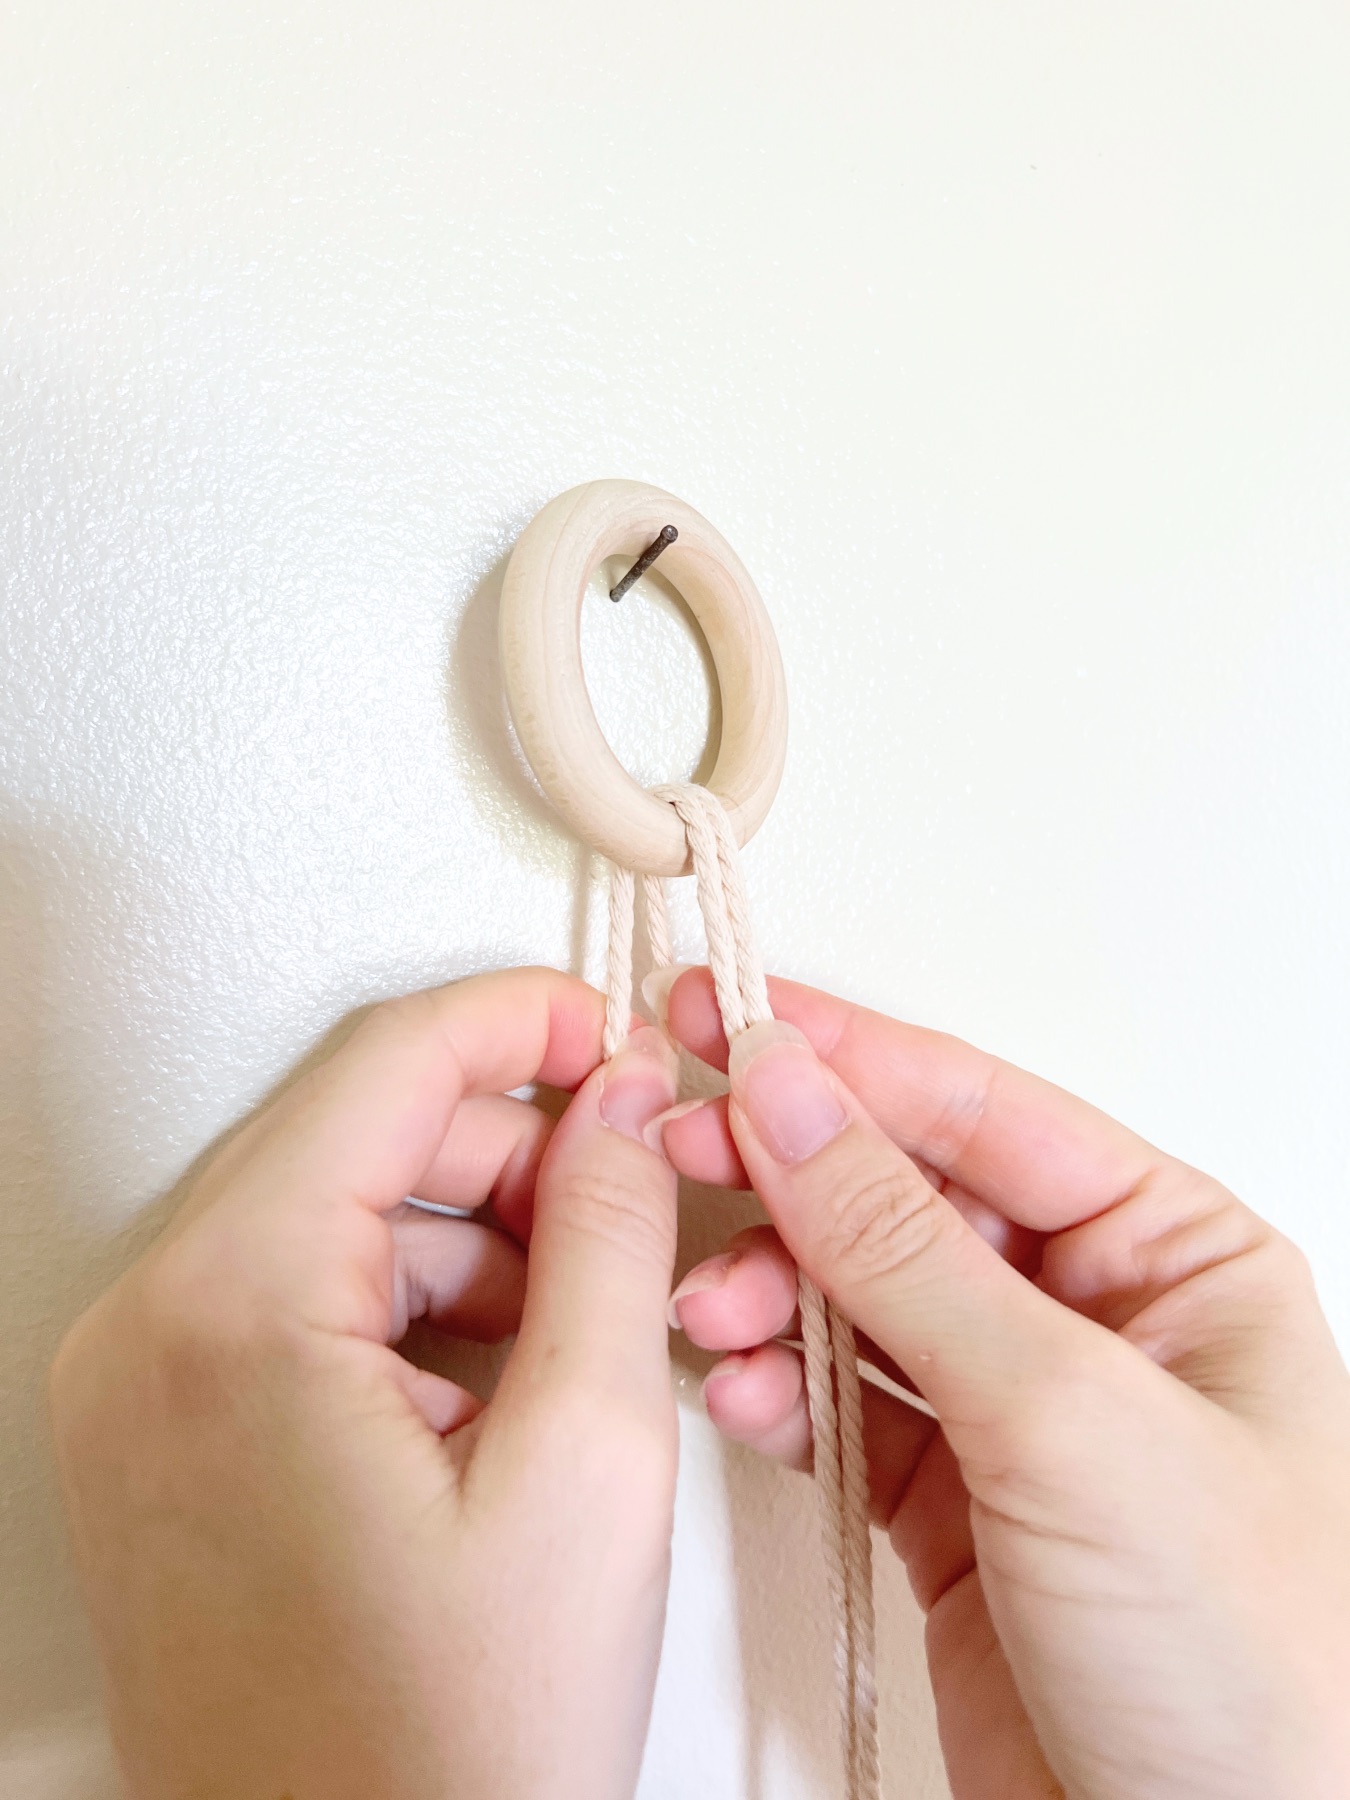
Next, start with a Lark’s Head Knot. A Lark’s Head Knot is simple and is the foundation for any macrame project.

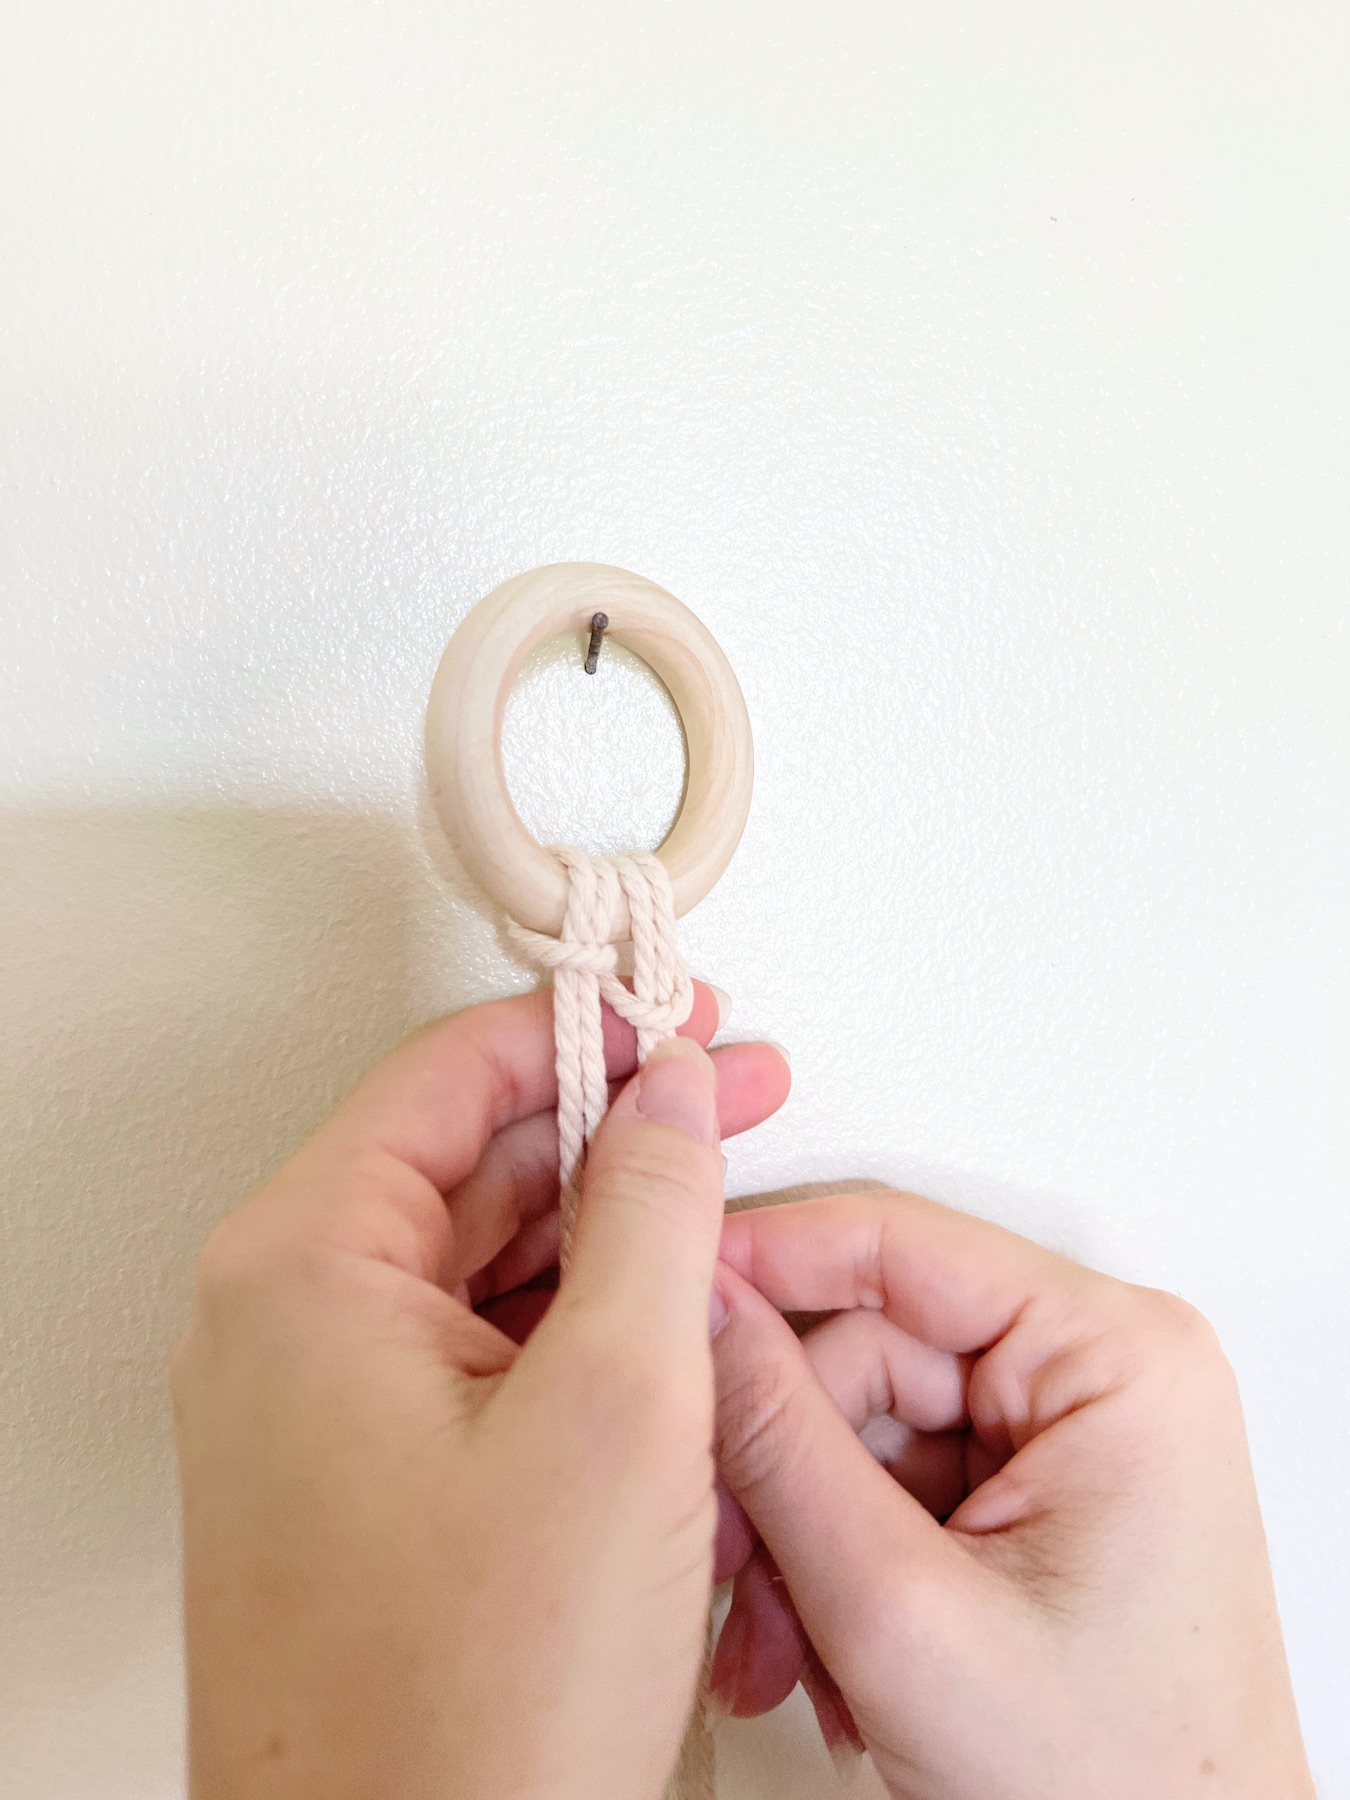
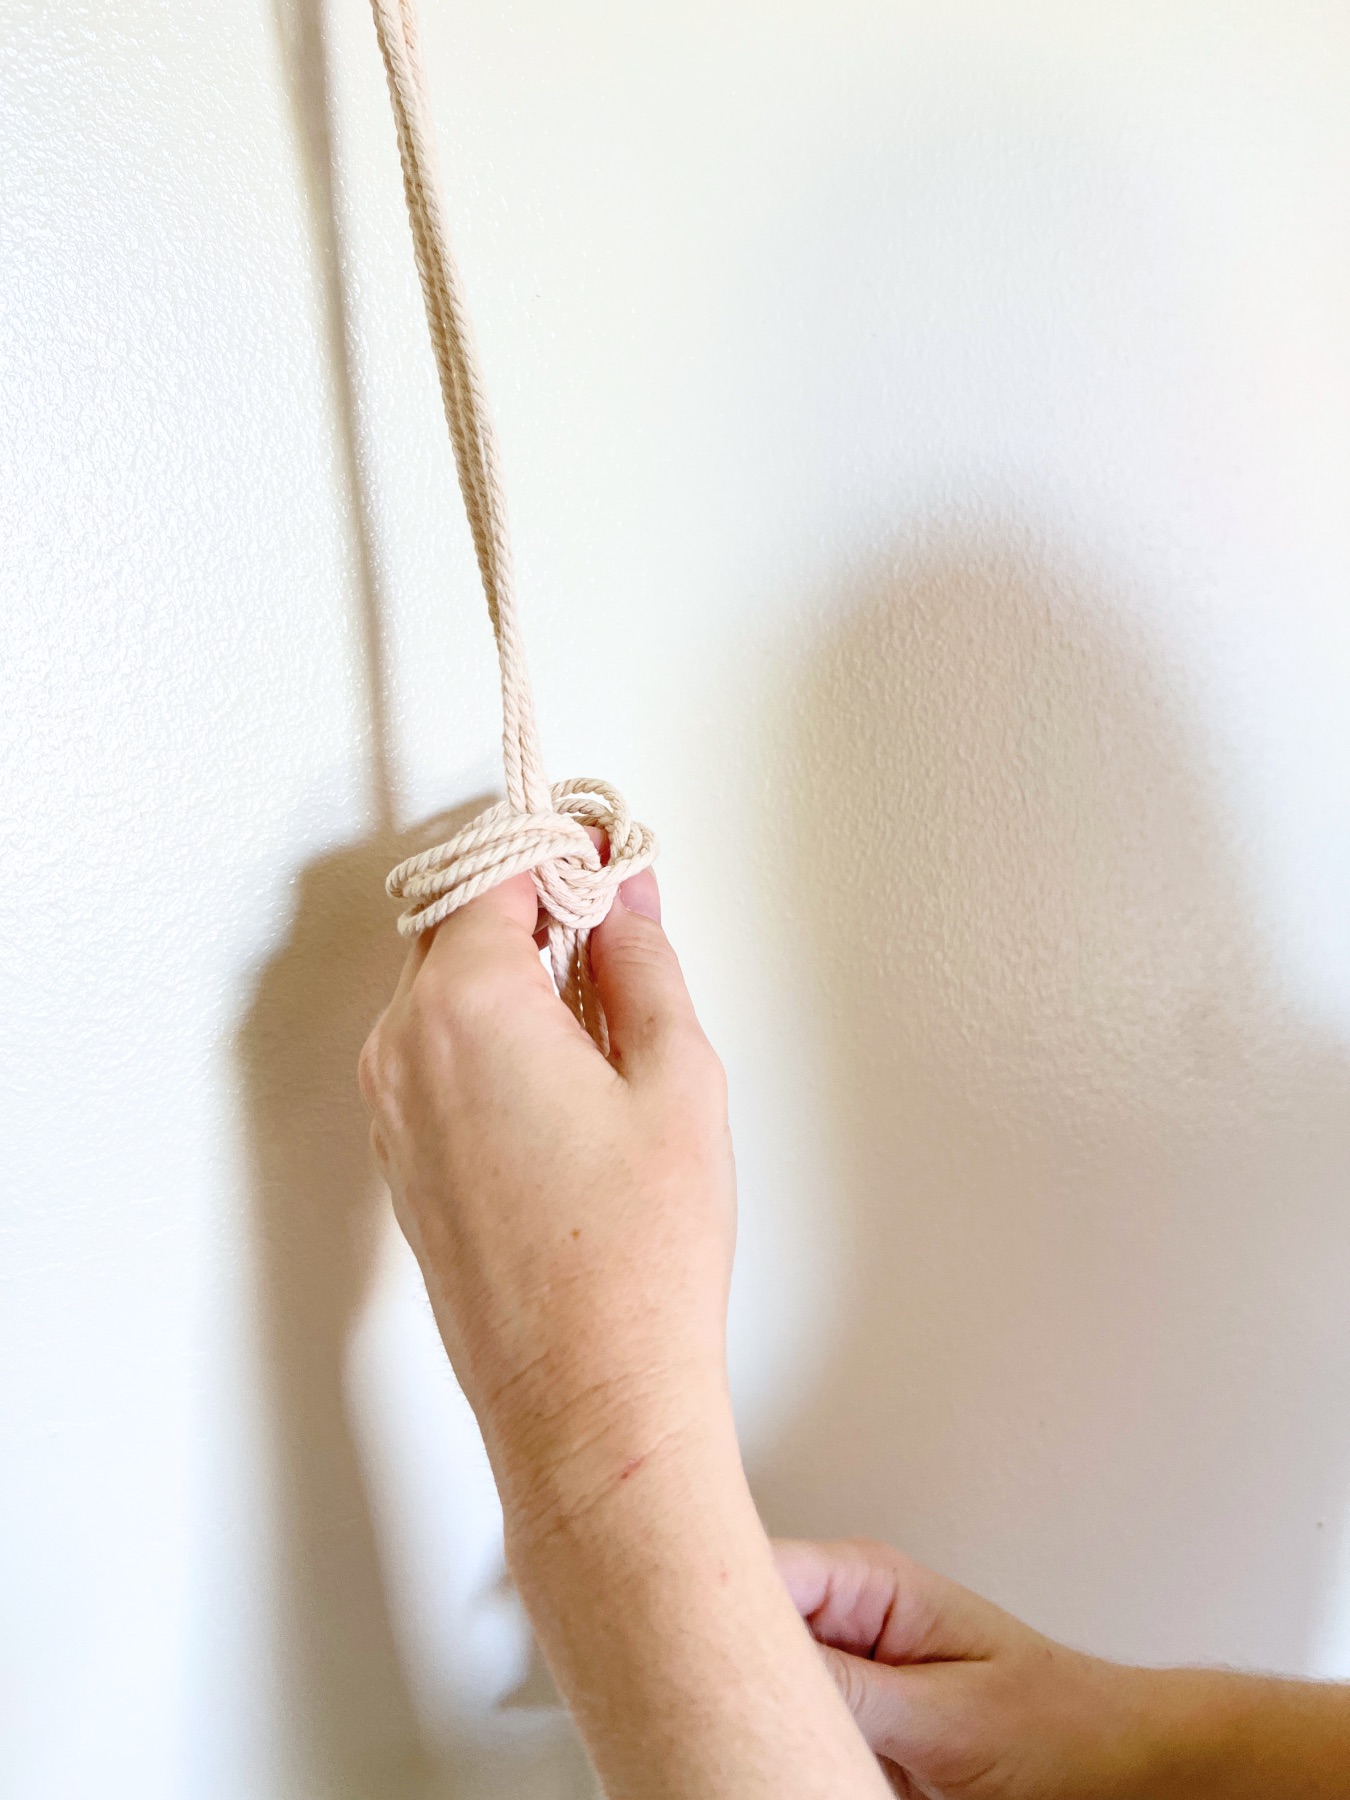
How to Make a Lark’s Head Knot
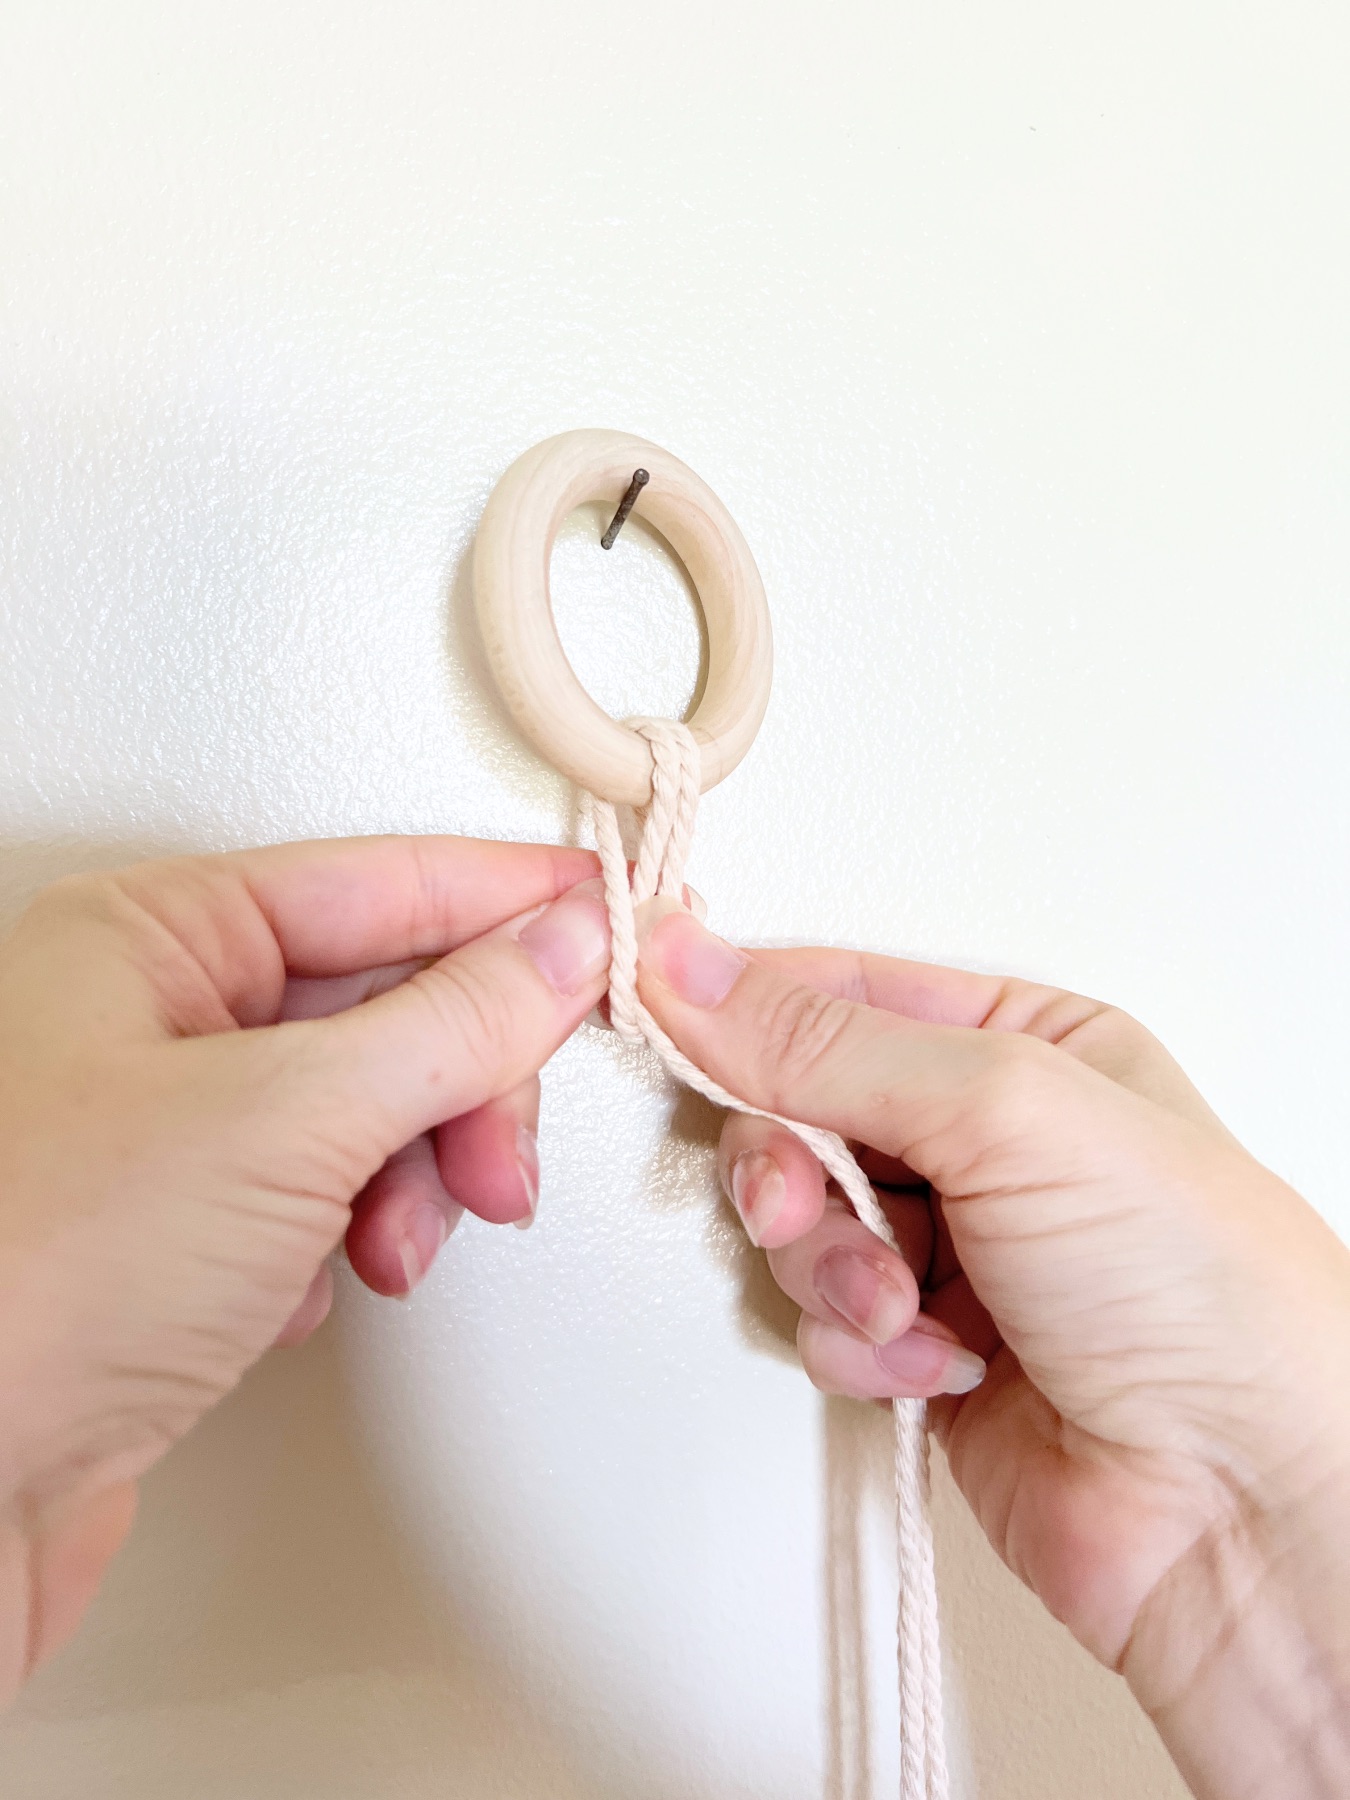
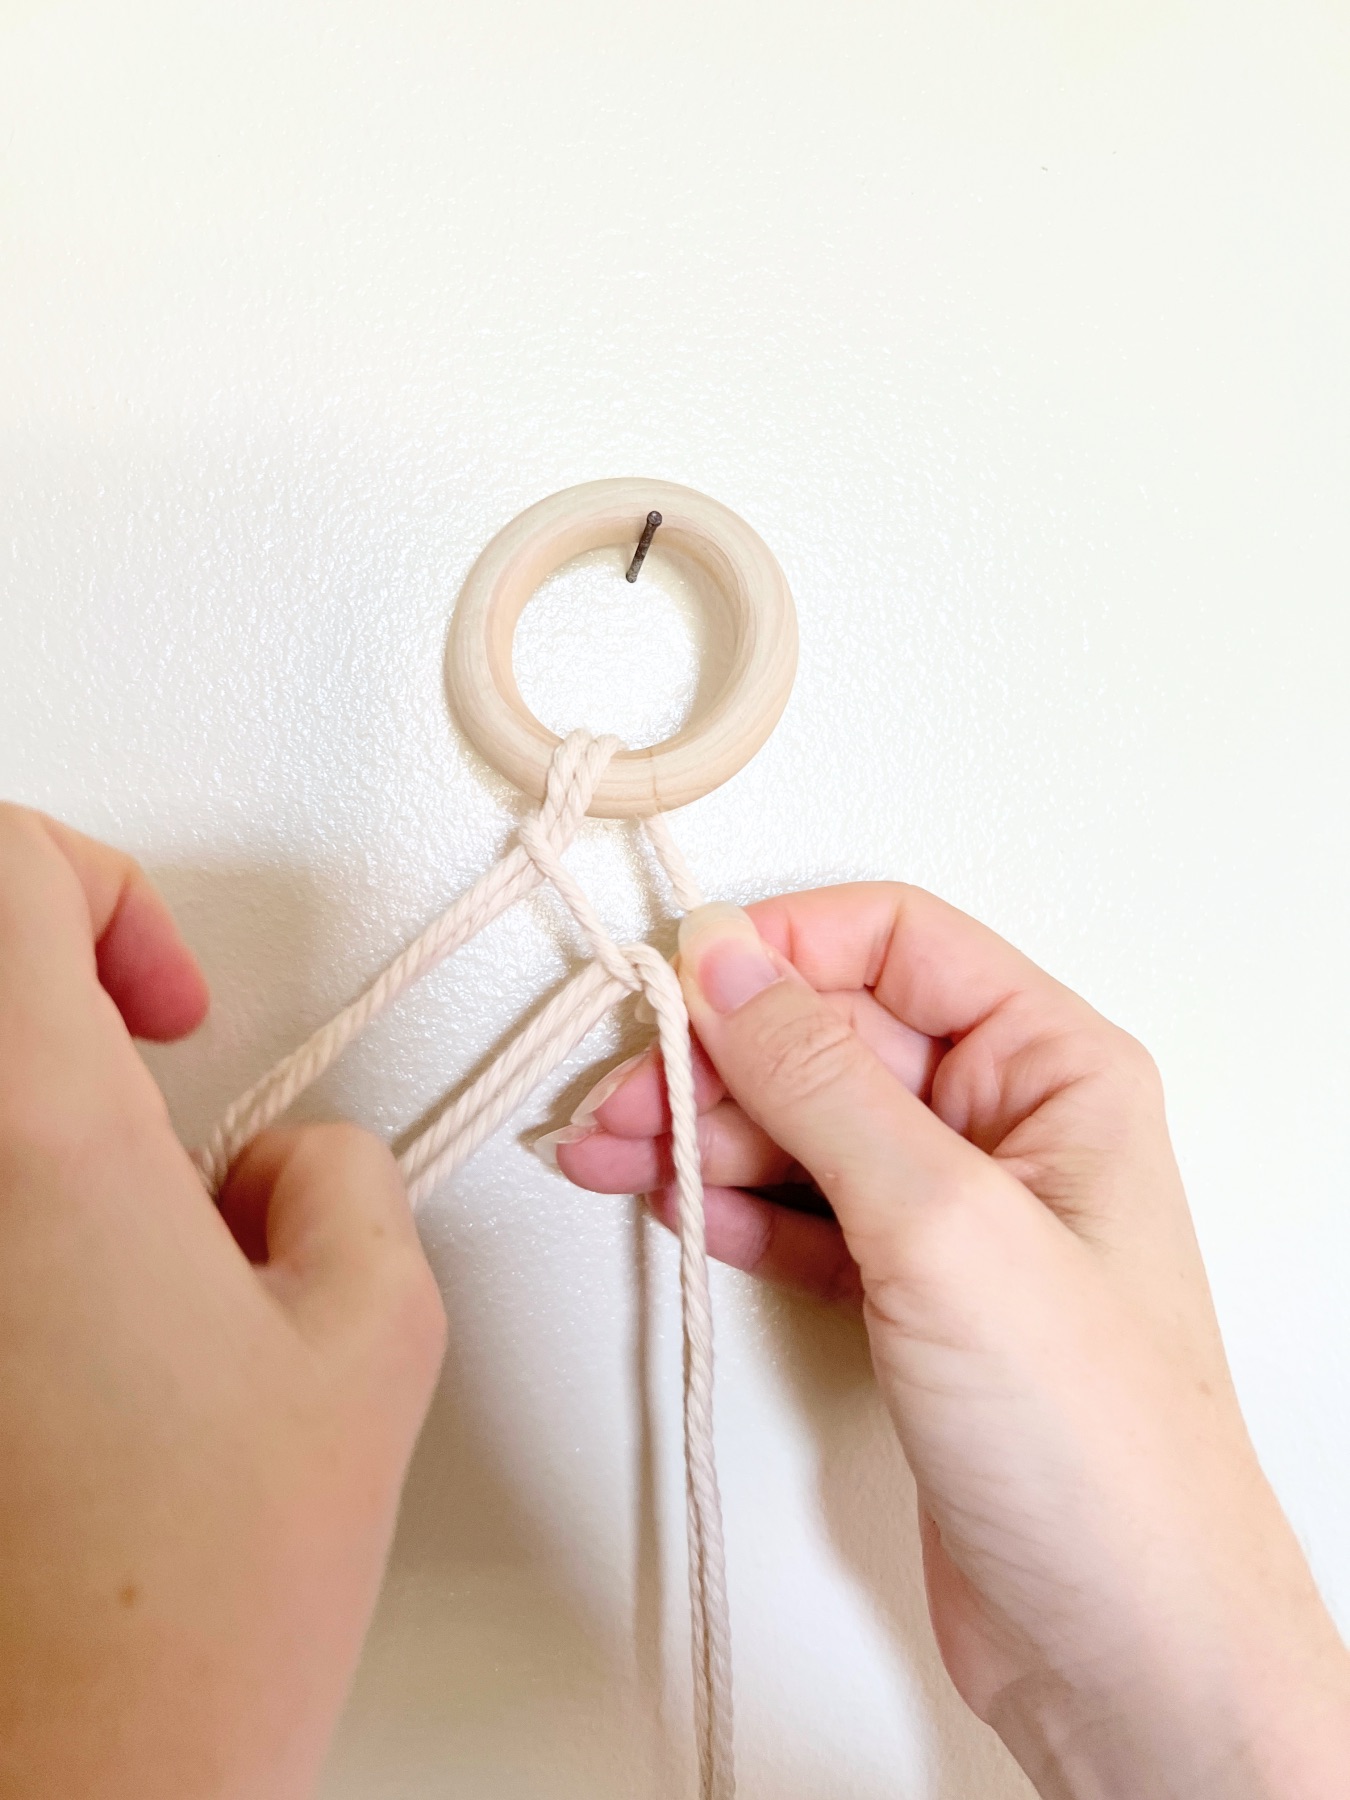
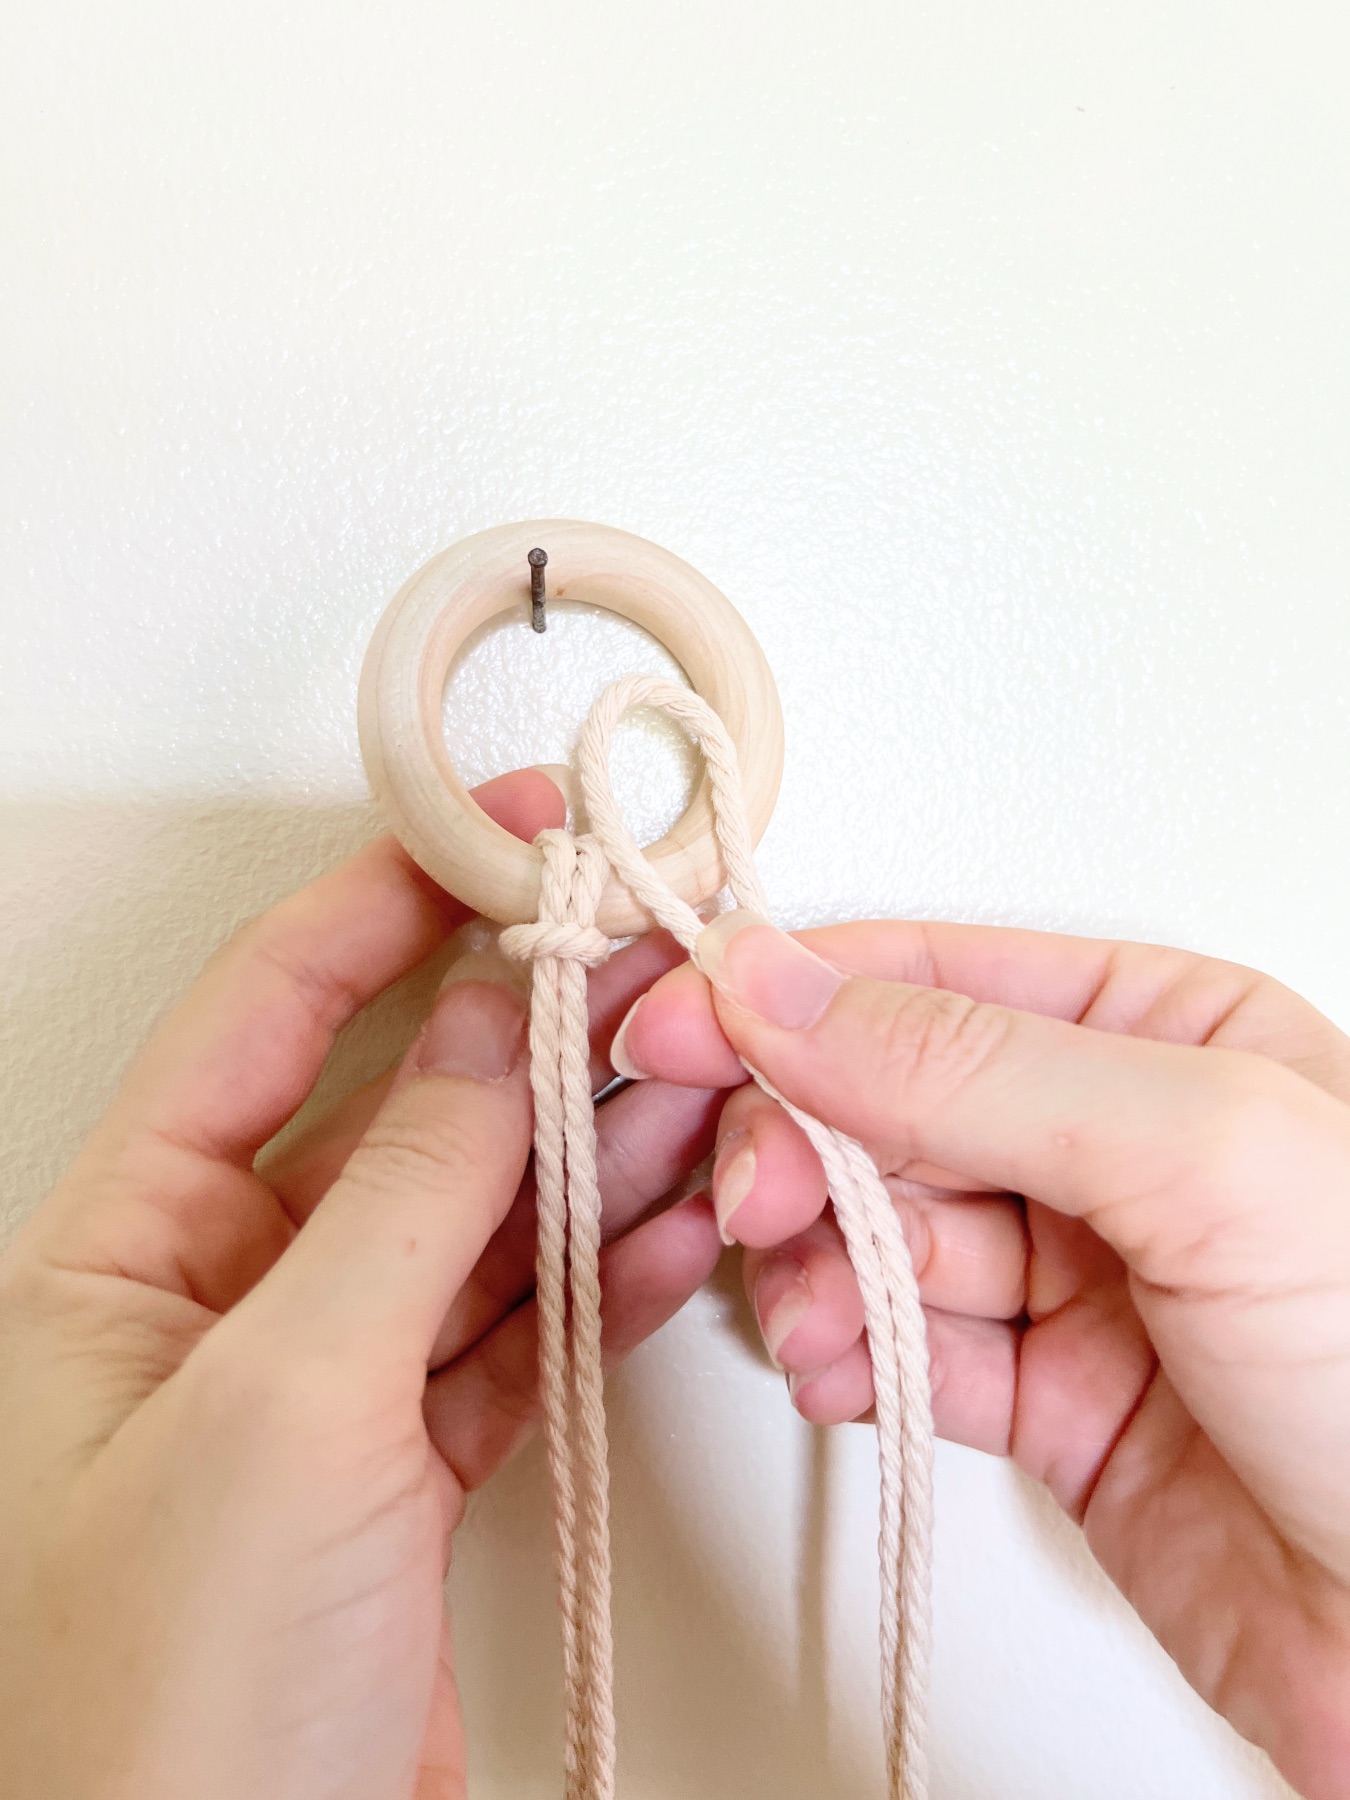
Take a macrame cord and place the ends together. Then find the center point. Using the center point, loop the cord around the wooden ring. Then pull the ends through. Last, straighten the cords. And tighten the cords.
When you find the center point and loop it around the wooden ring, you can place the cord in front of the wooden ring or behind the wooden ring to make the loop. Both will look different! Try them both to see which one you prefer.
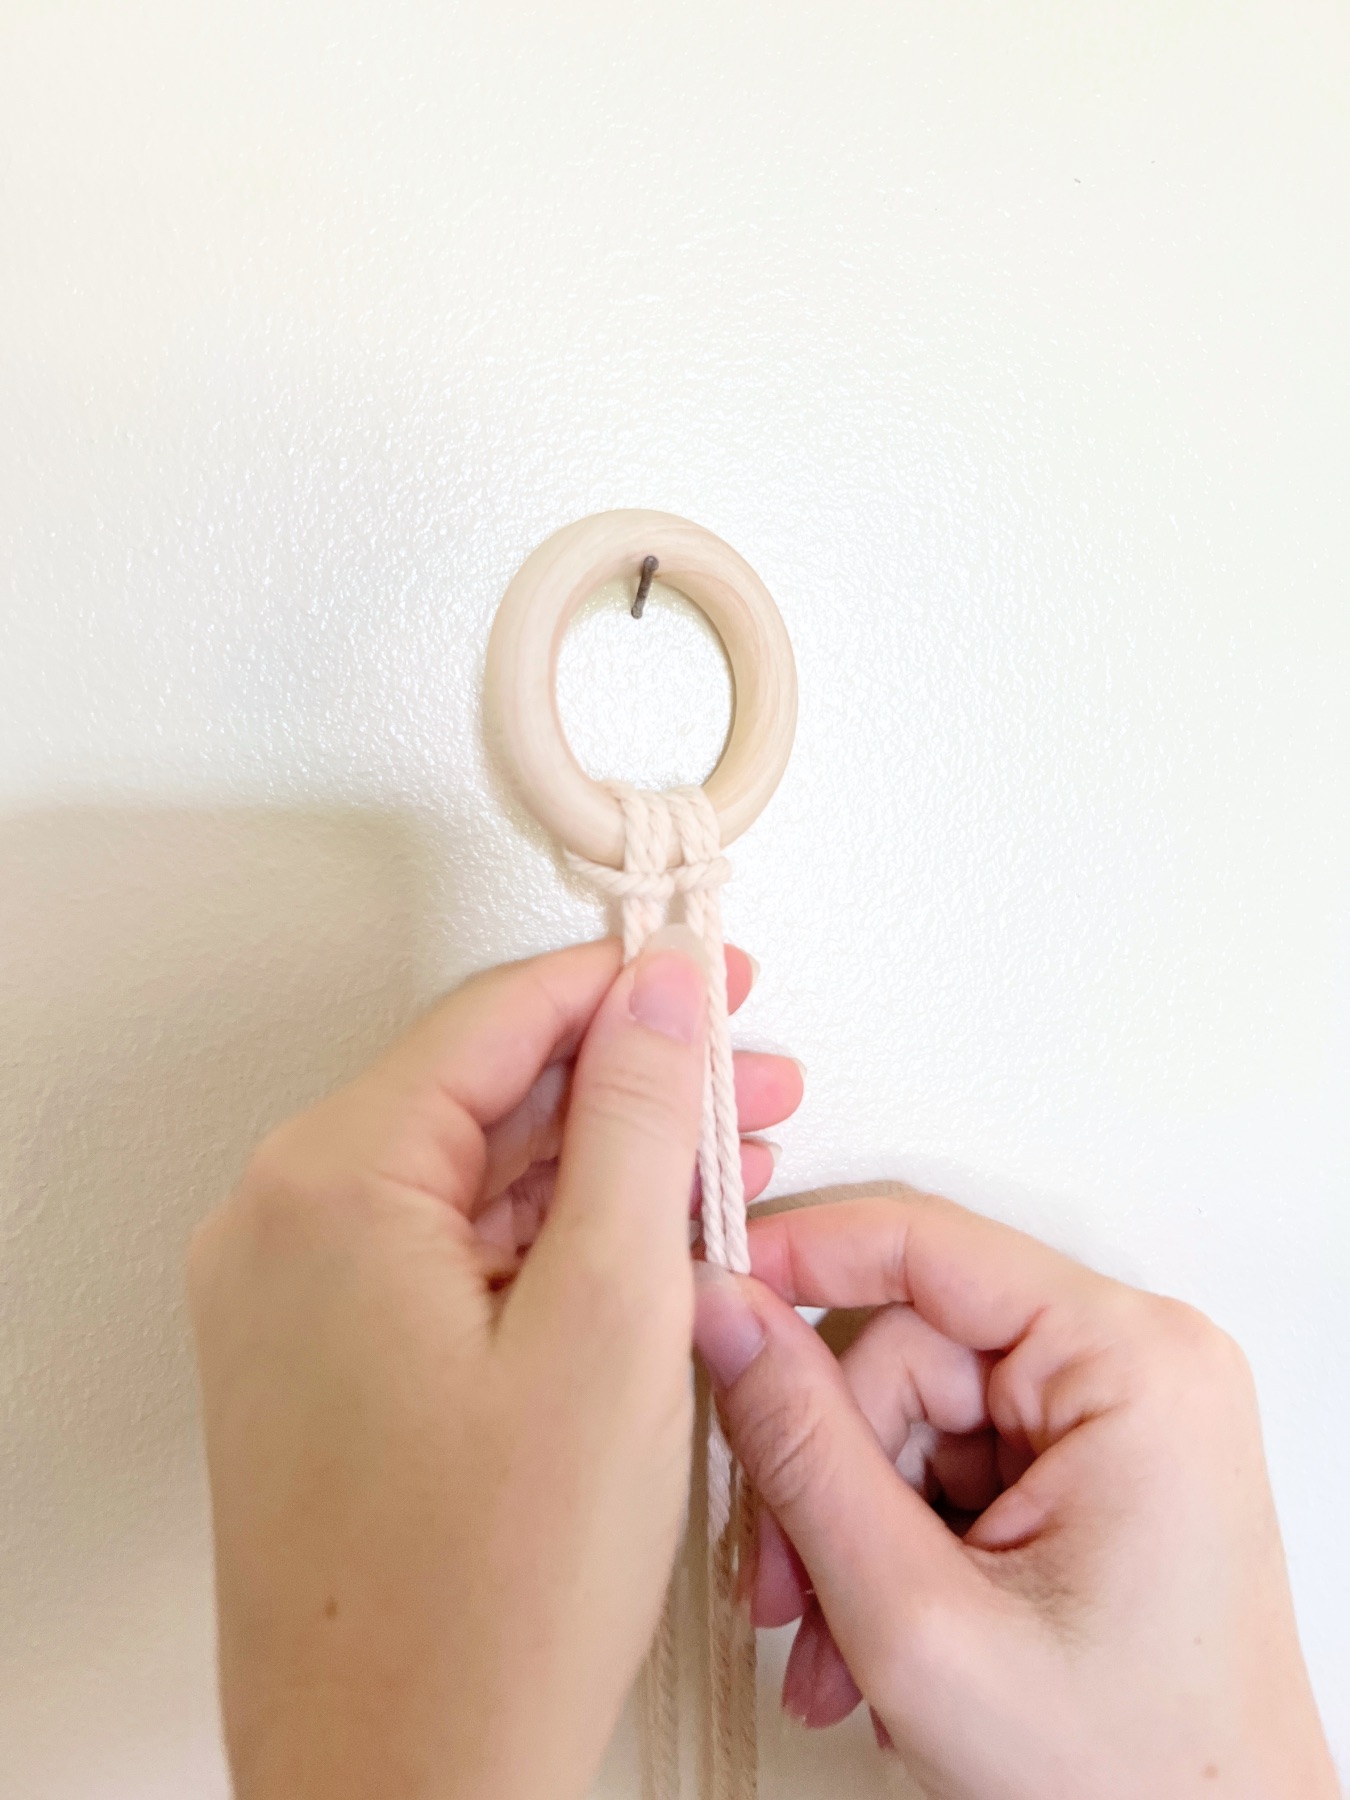
Once you make your Lark’s Head Knot, grab a second piece of macrame cord and make one more. This will give you 2 cords total and you will see 4 strings hanging down.
For more detailed macrame, you will need more cords – we are making the most simple DIY Macrame Floating Shelf, so you only need 4 cords.
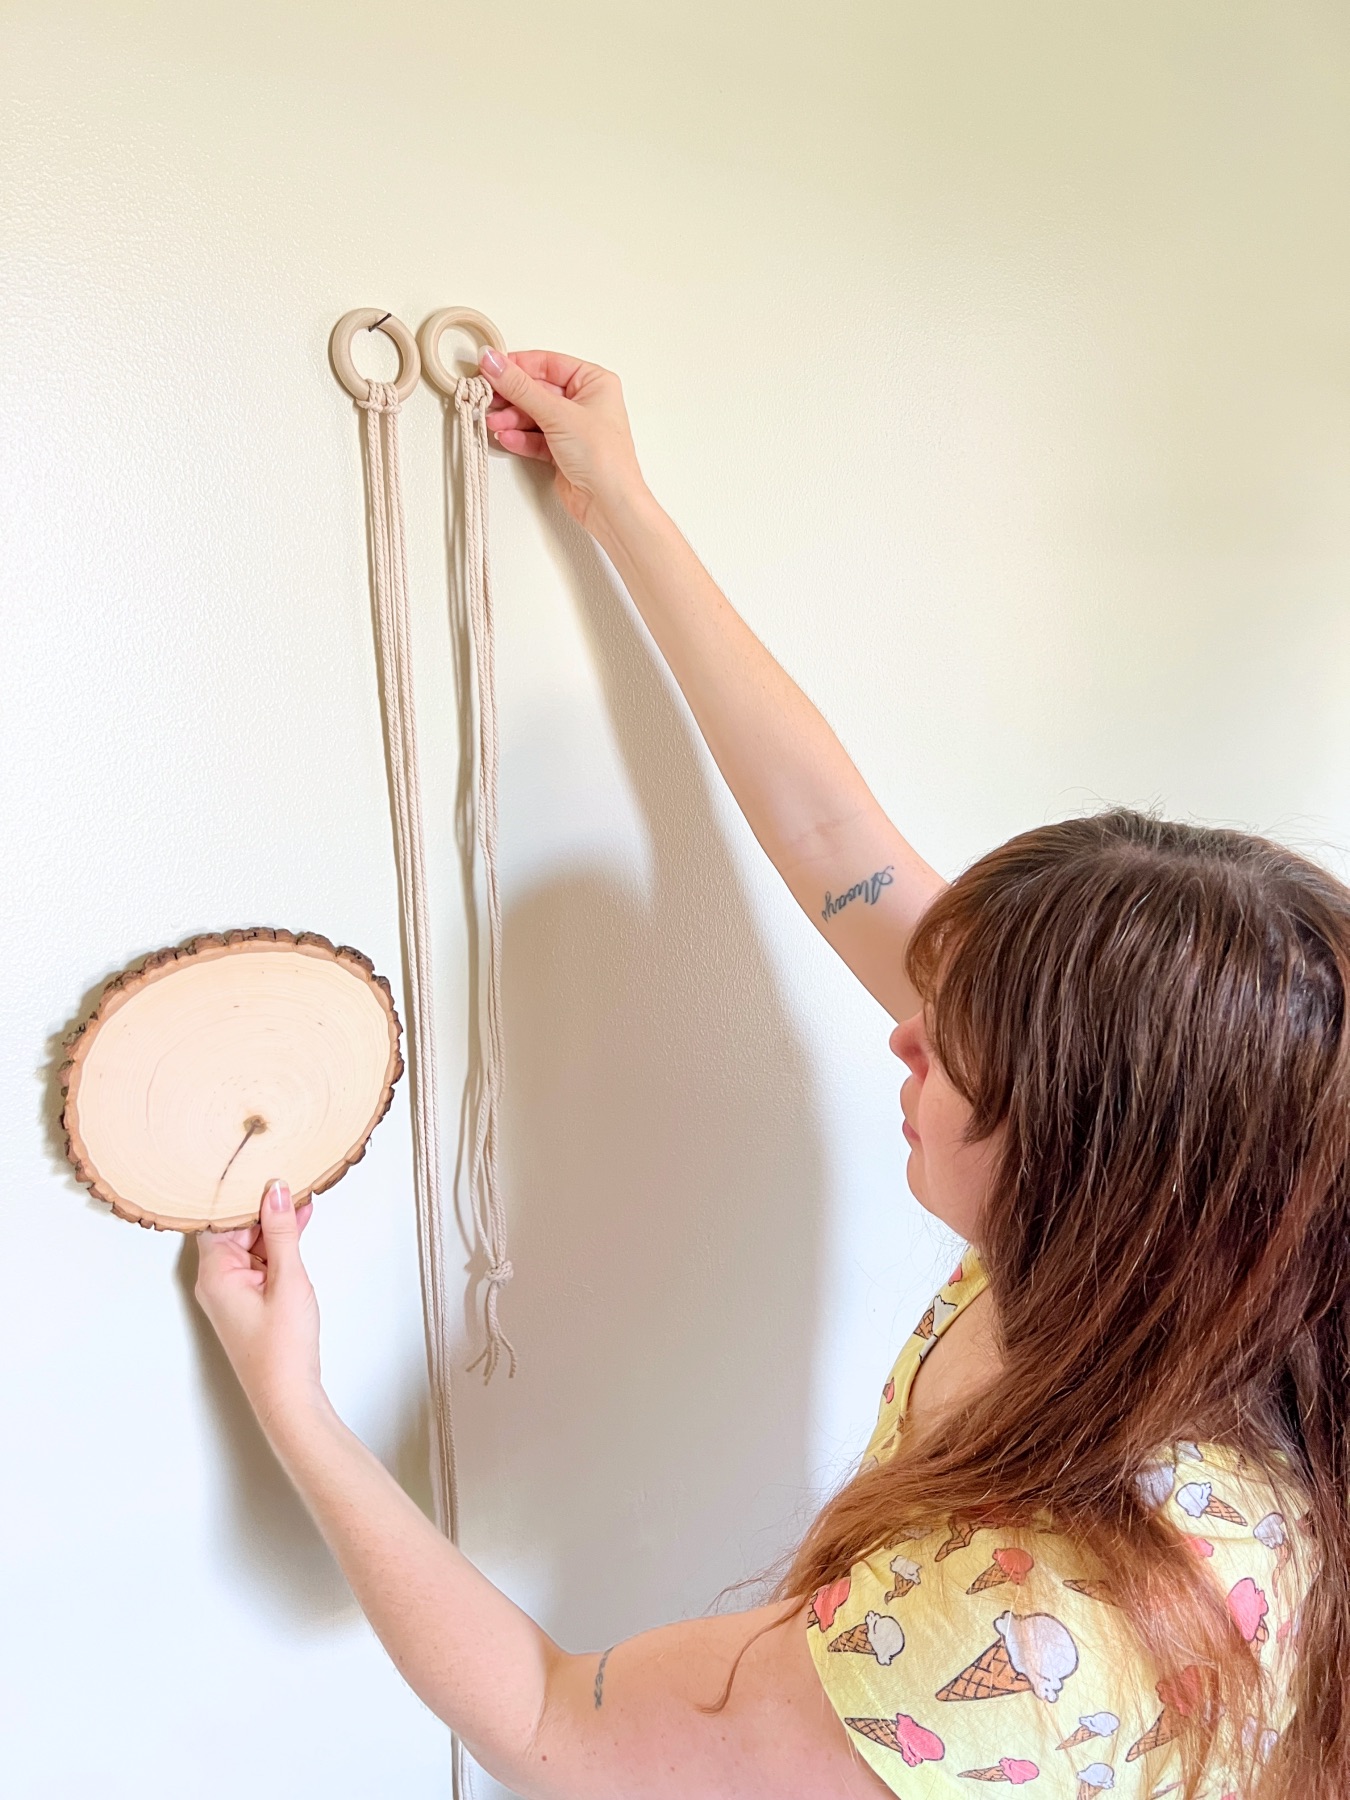
Determine How Tall You Want Your Shelf
Next, determine how long you want your shelf to hang. Keep in mind, the wood slice, when you place it inside the cords, will widen then cords and thus shorten the length of the shelf.
So, when you figure out how long your want your shelf to hang, add a few inches to compensate for this.
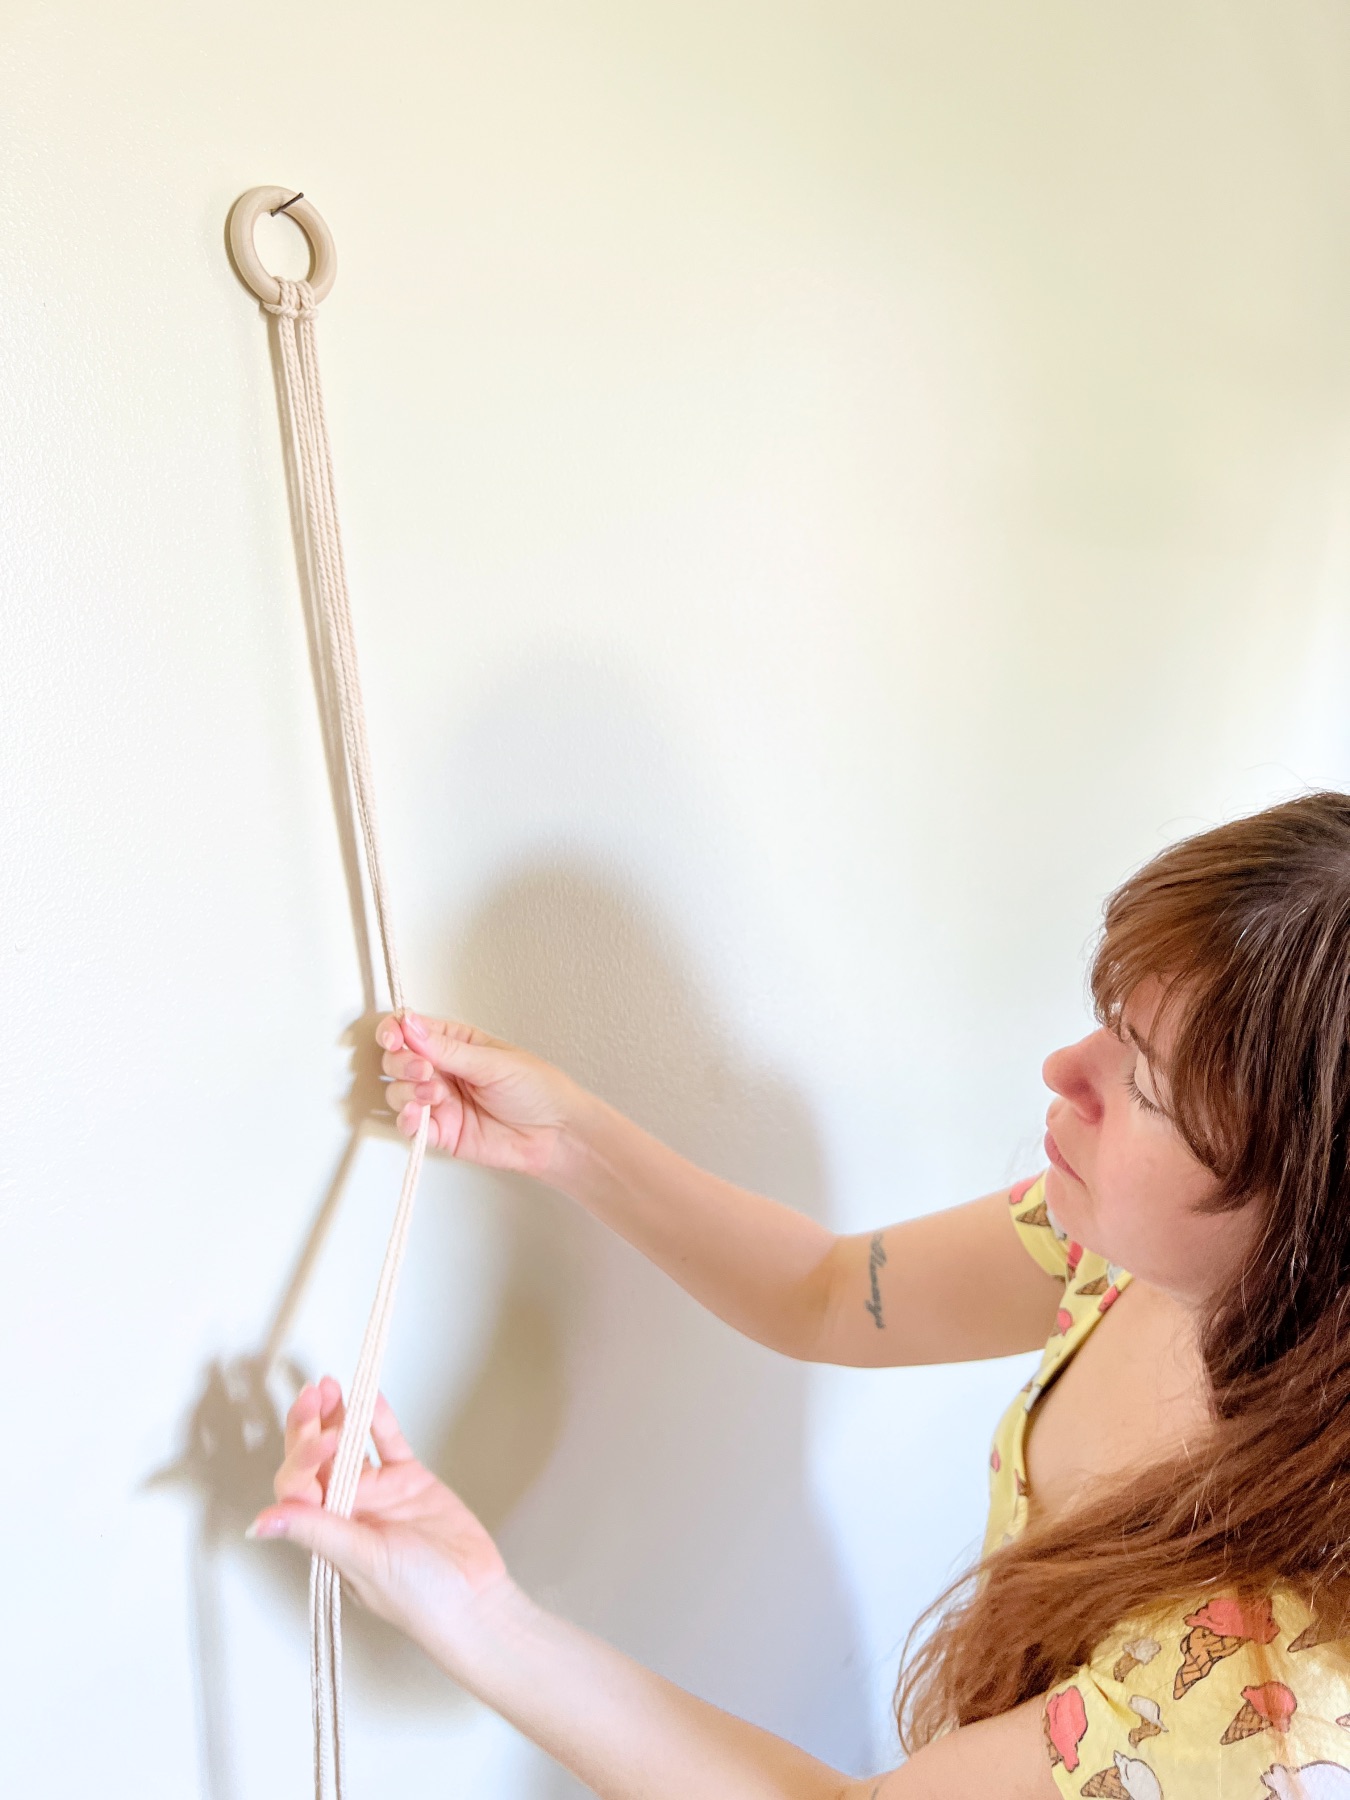
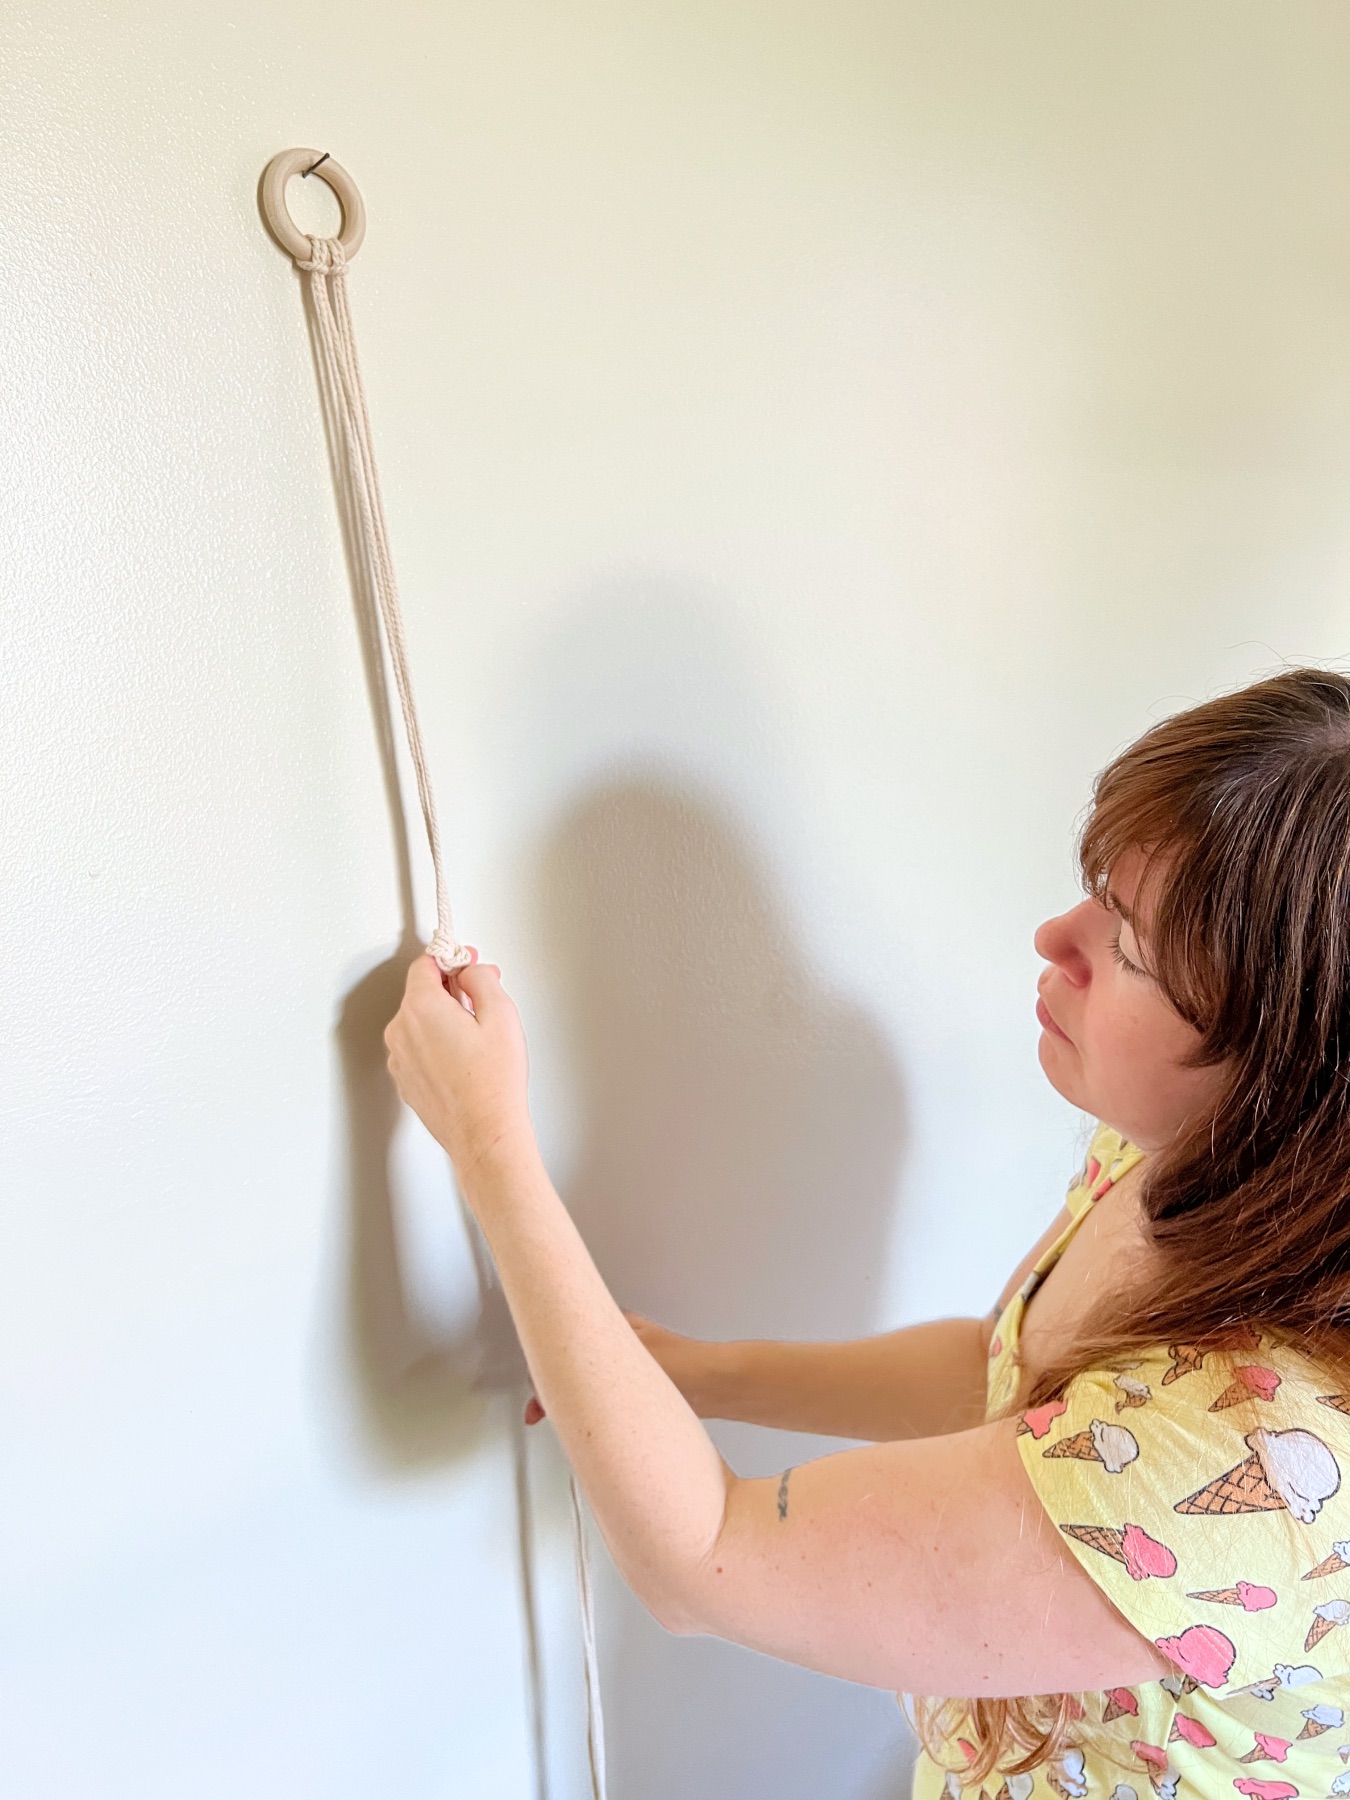
Make a Balloon Knot
When you know the length that you want your shelf, bundle all your cords together and make a balloon knot to mark the bottom of the piece – where your wood slice will sit.
To make a balloon knot, think about how you tie a balloon. Bundle all the cords and then pull all the cords through the loop.
Once your cords are tied, straighten and tighten the knot.
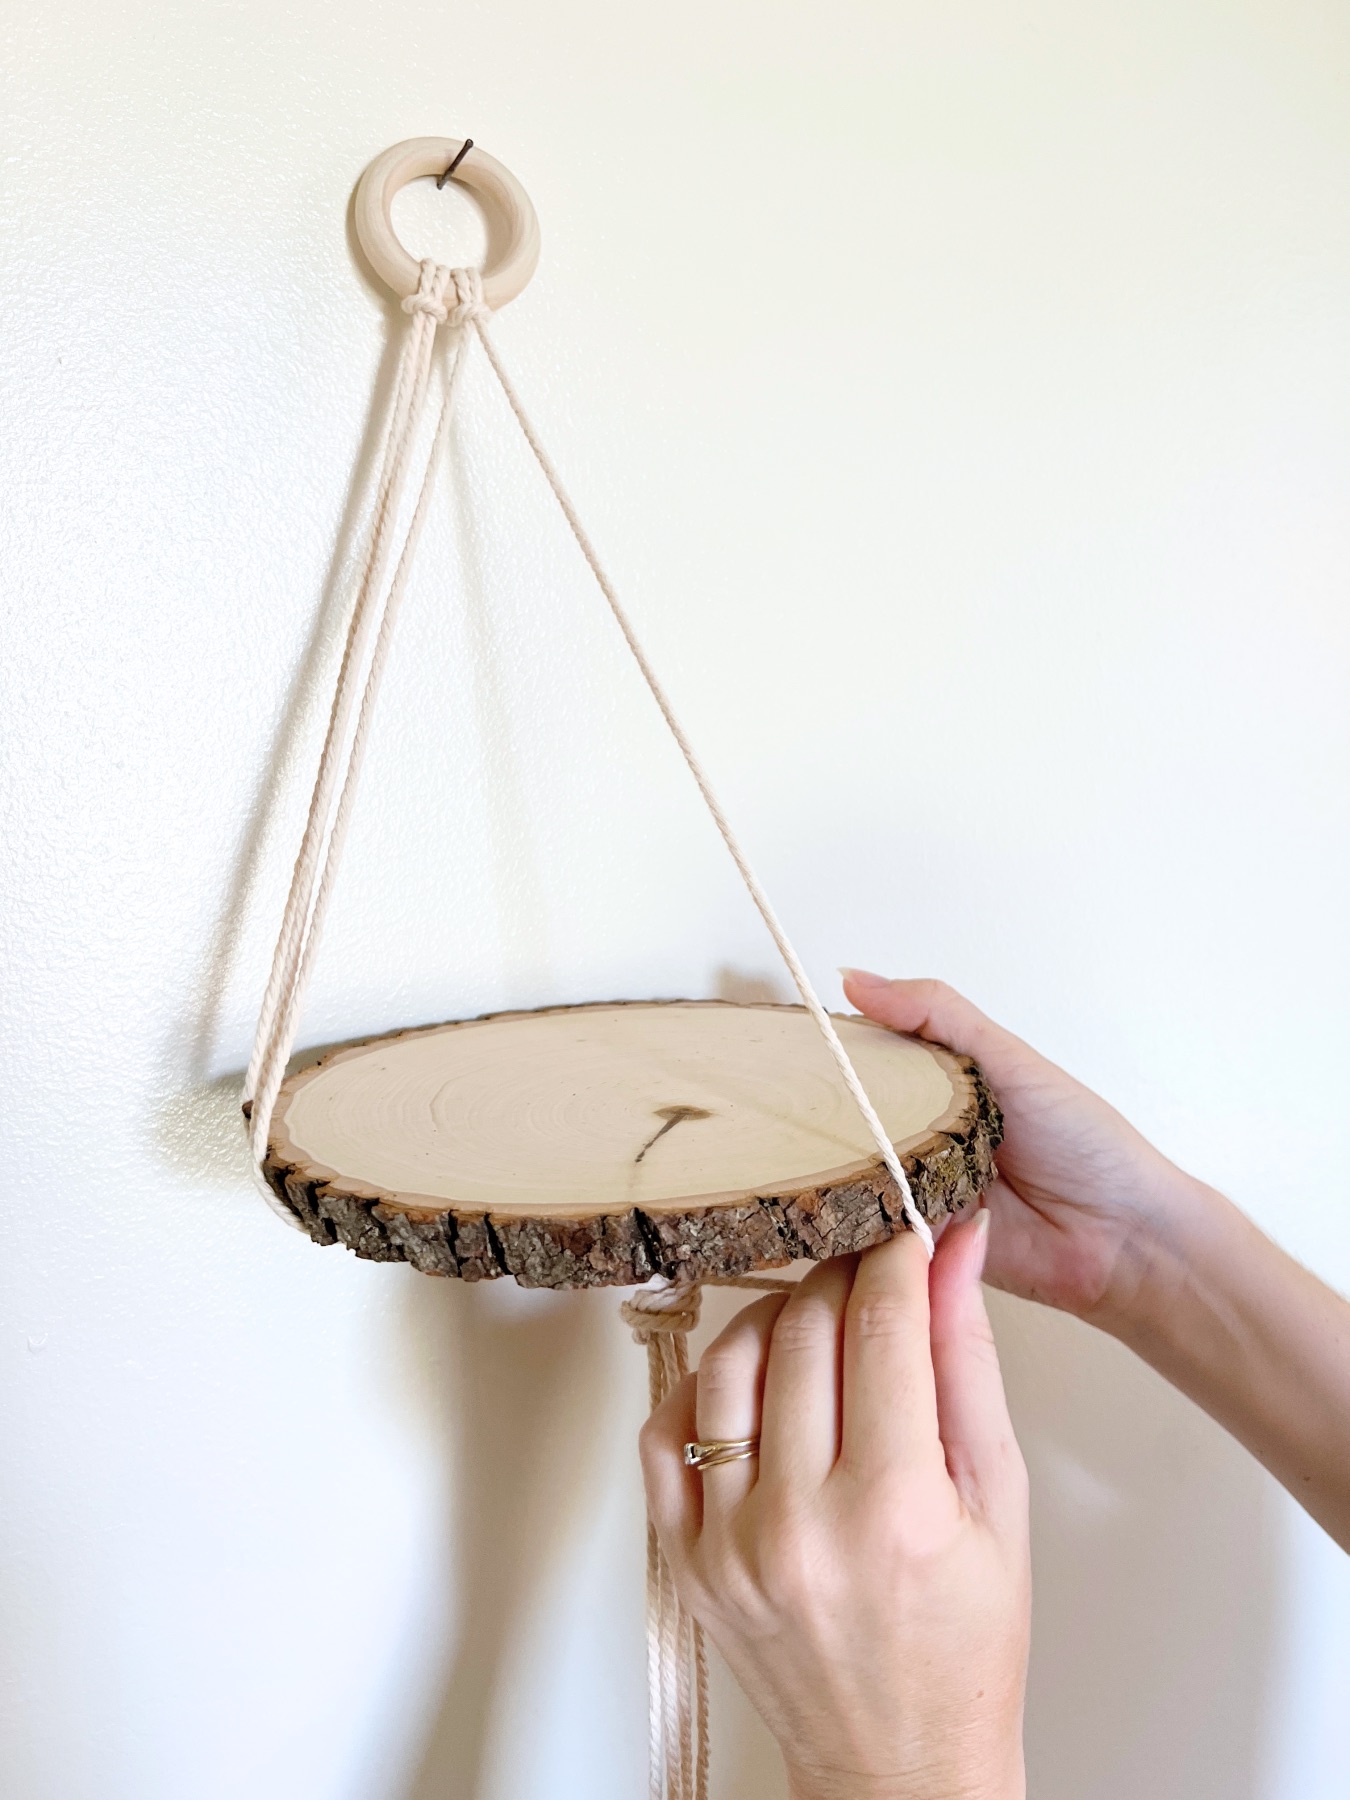
Place the Wood Slice Inside the Cords
Once your balloon knot is in place, place your wood slice inside the 4 macrame cords.
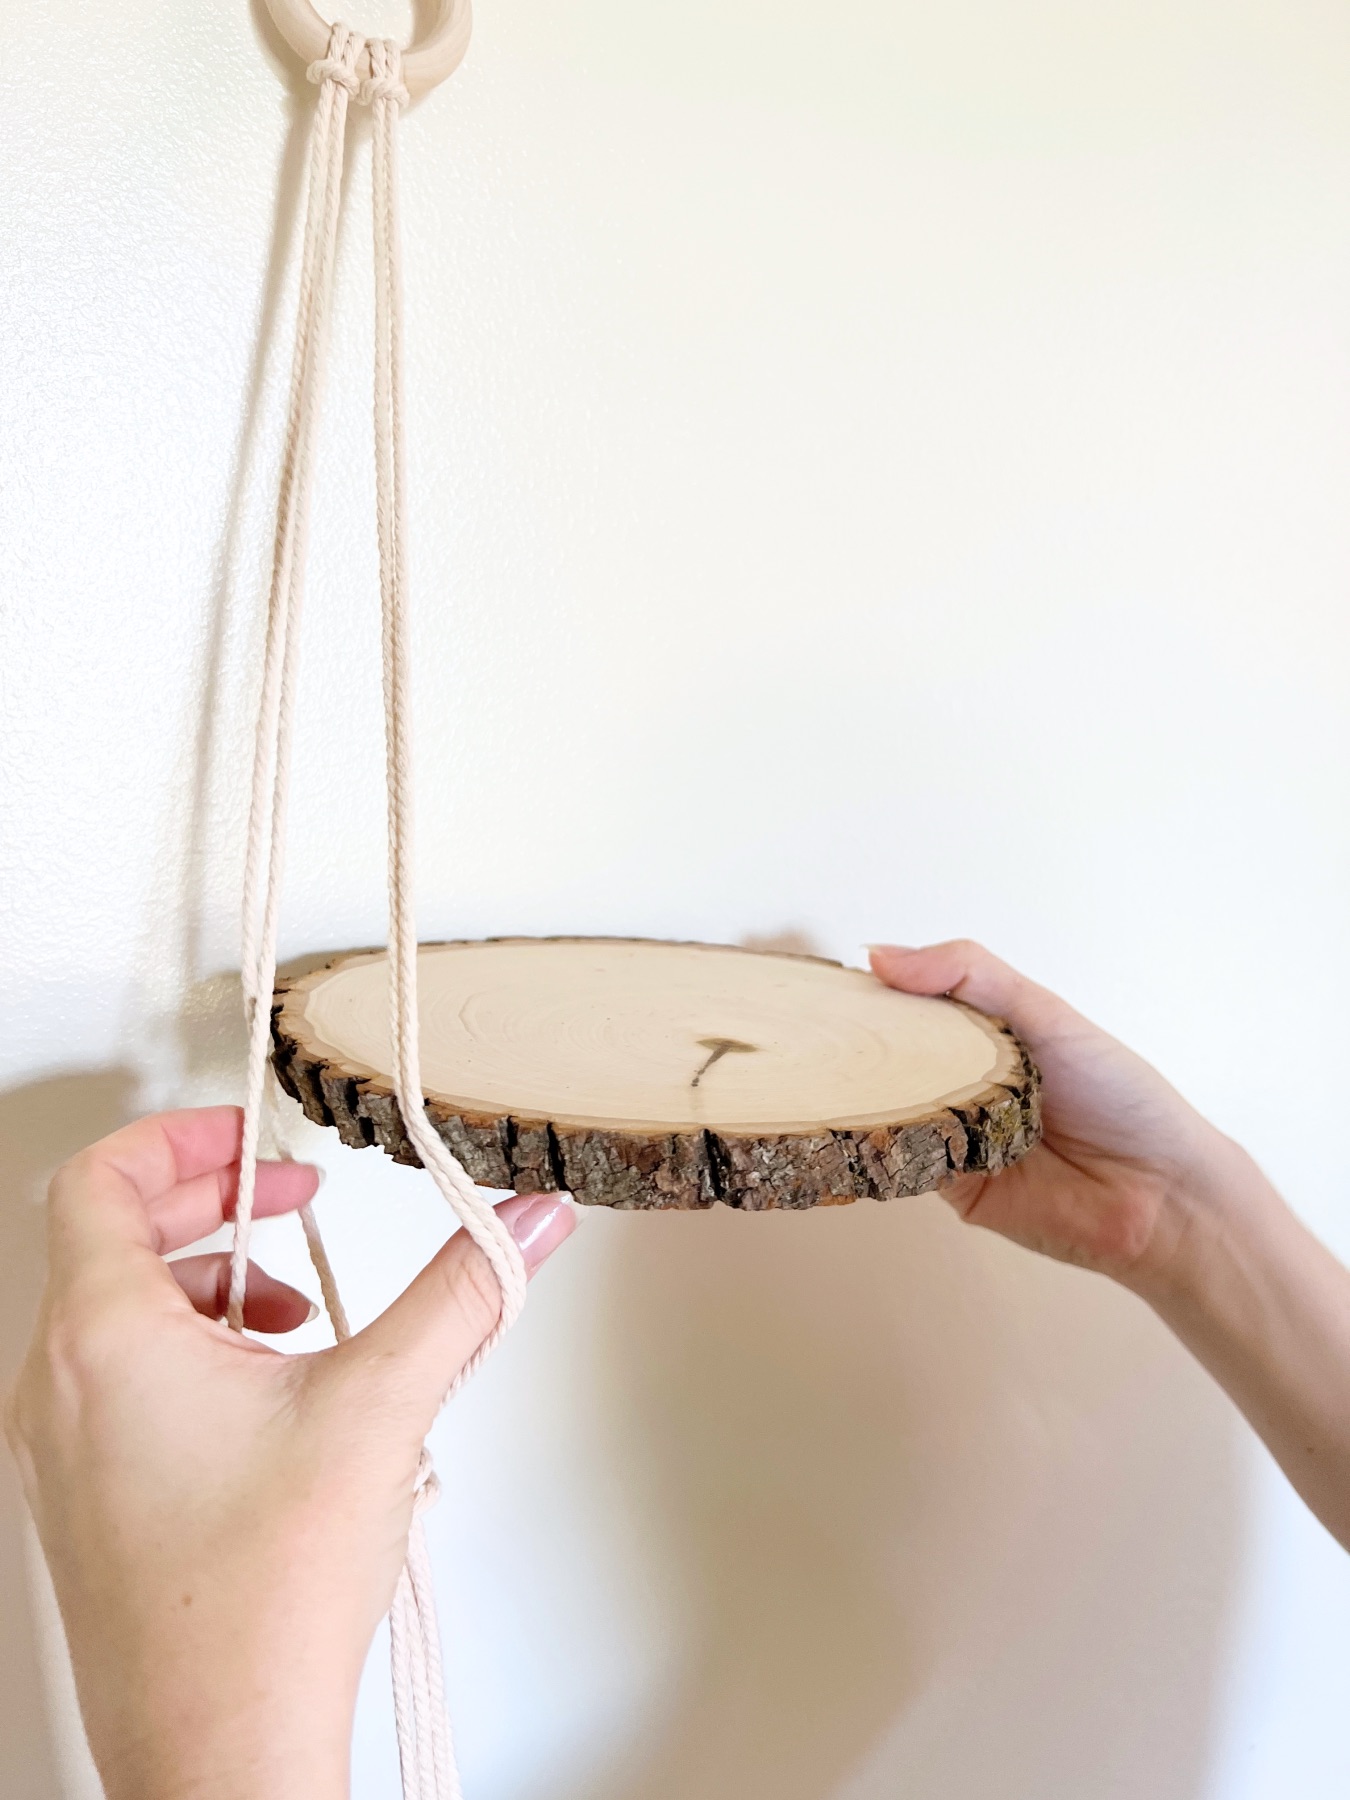
The easiest way is to take 1 cord at a time and place them evenly around the outside the wood slice. This will split the wood slice into 4 equal sections.
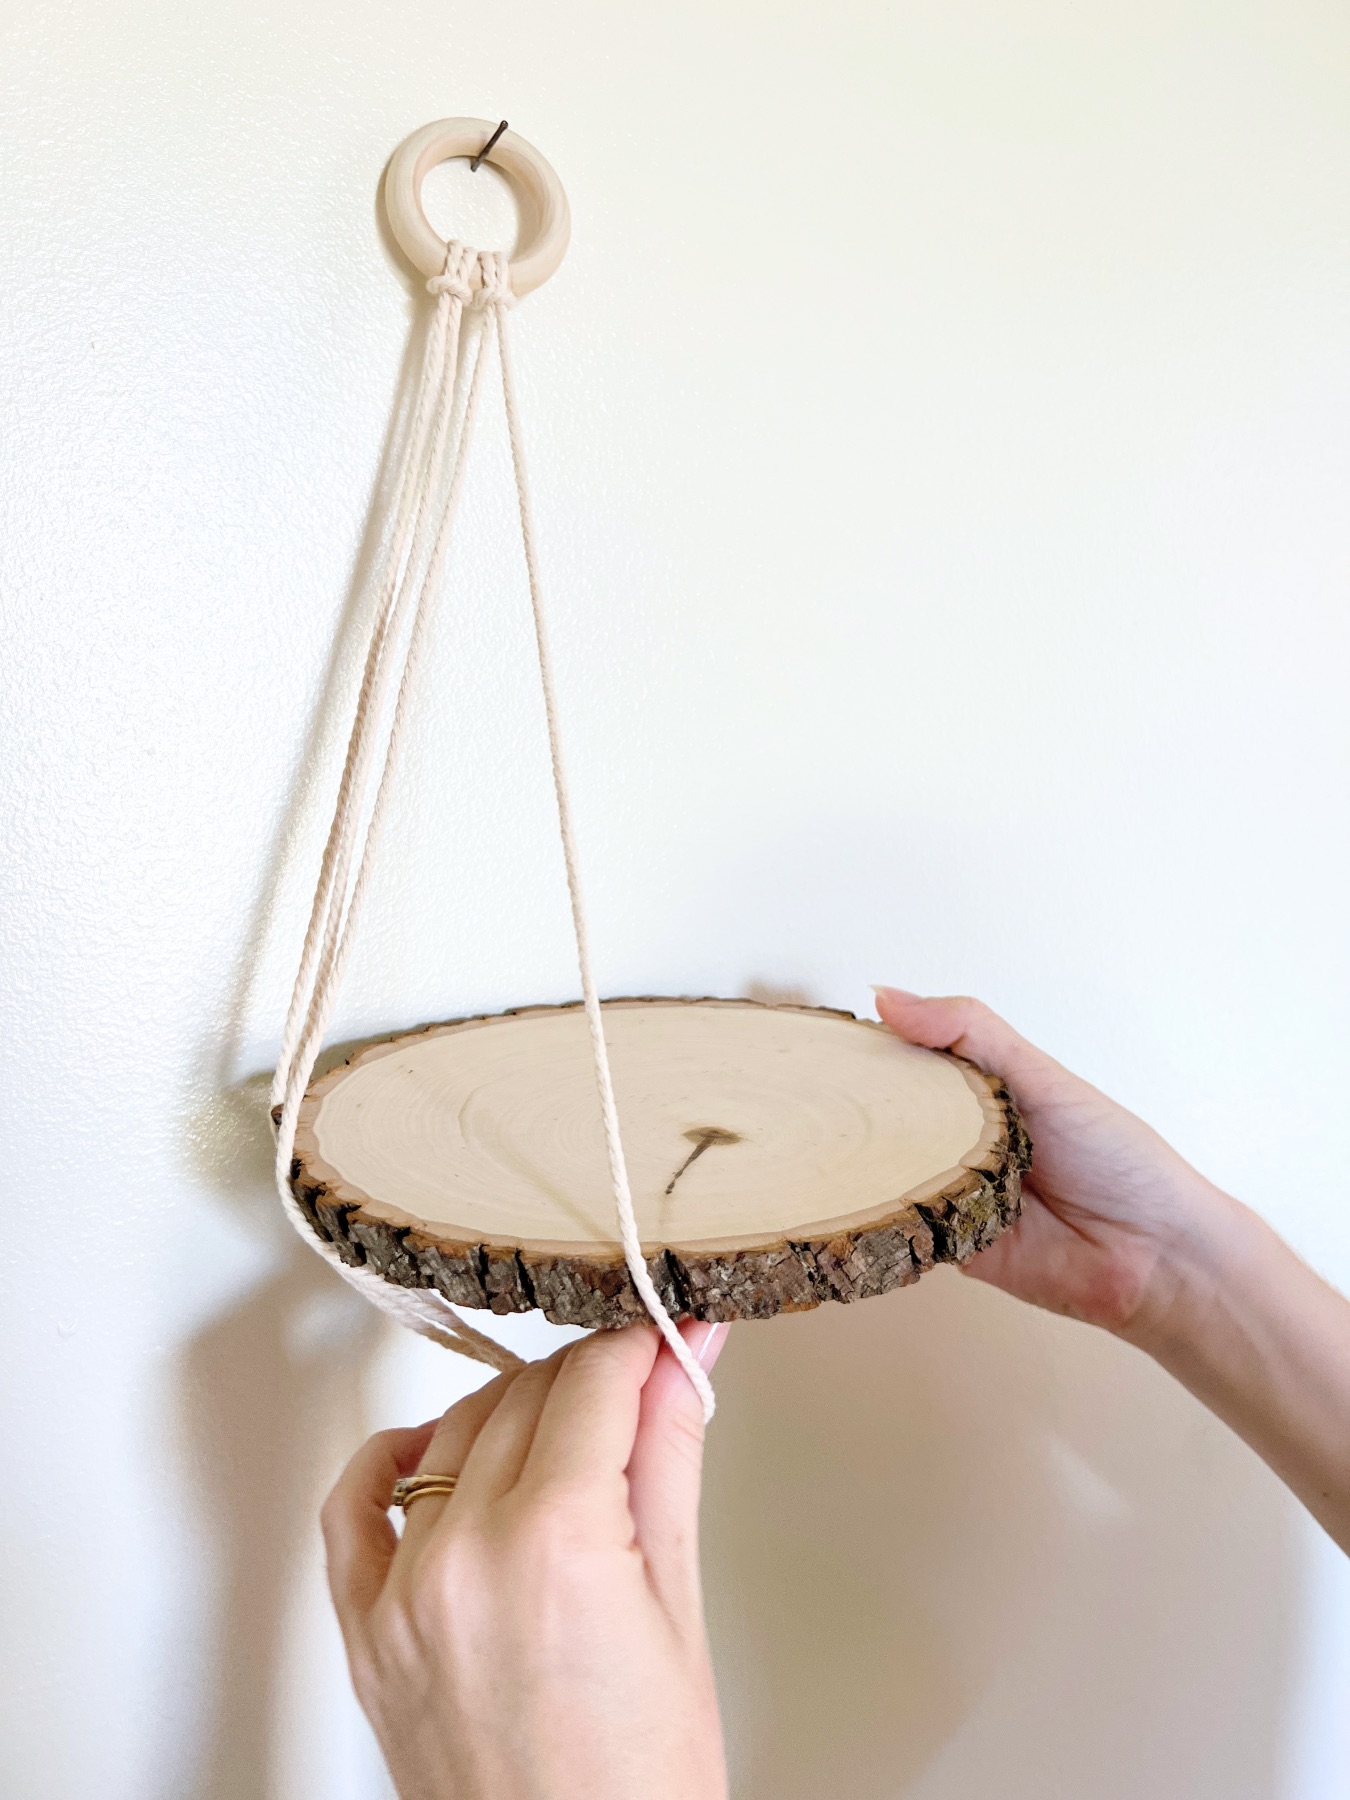
Straighten the cords so that the macrame cords at the top don’t cross over each other, but instead hang straight down.
Once your cords are straighten, make any adjustments to the cords you need.
Then make sure the balloon knot is in the very center of the wood slice.
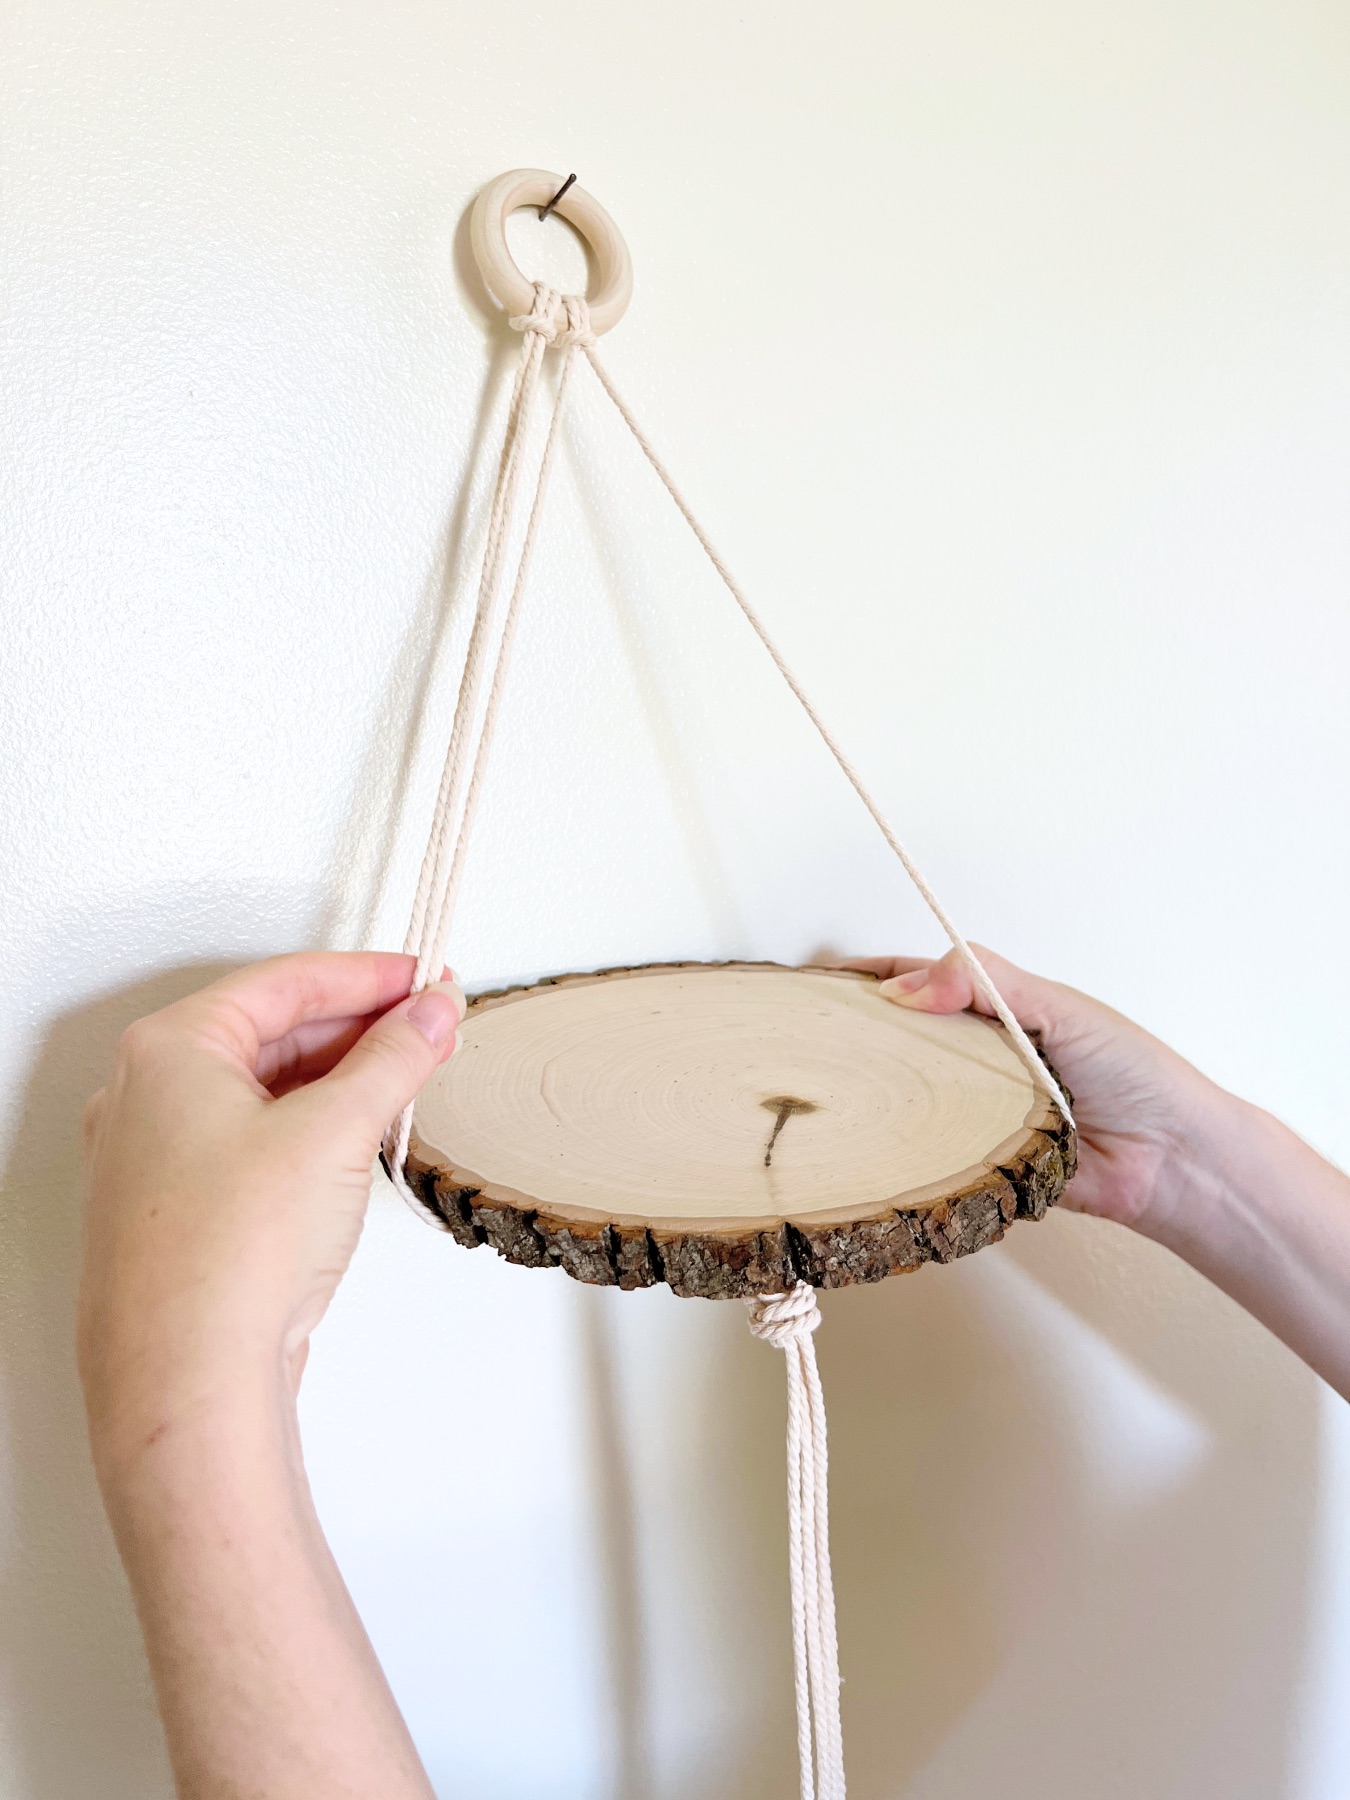
Why You Need to Keep the Balloon Knot Centered
Keeping your Balloon Knot centered will keep the shelf straight. This is the best way to keep all your decorative items on top safe. If the balloon knot becomes uncentered it will make the shelf angled so things can fall off. Plus it just won’t look as good!

If you are concerned about the shelf becoming uncentered, just use decorative items that aren’t breakable. And try to place the shelf somewhere where it won’t get bumped or moved.
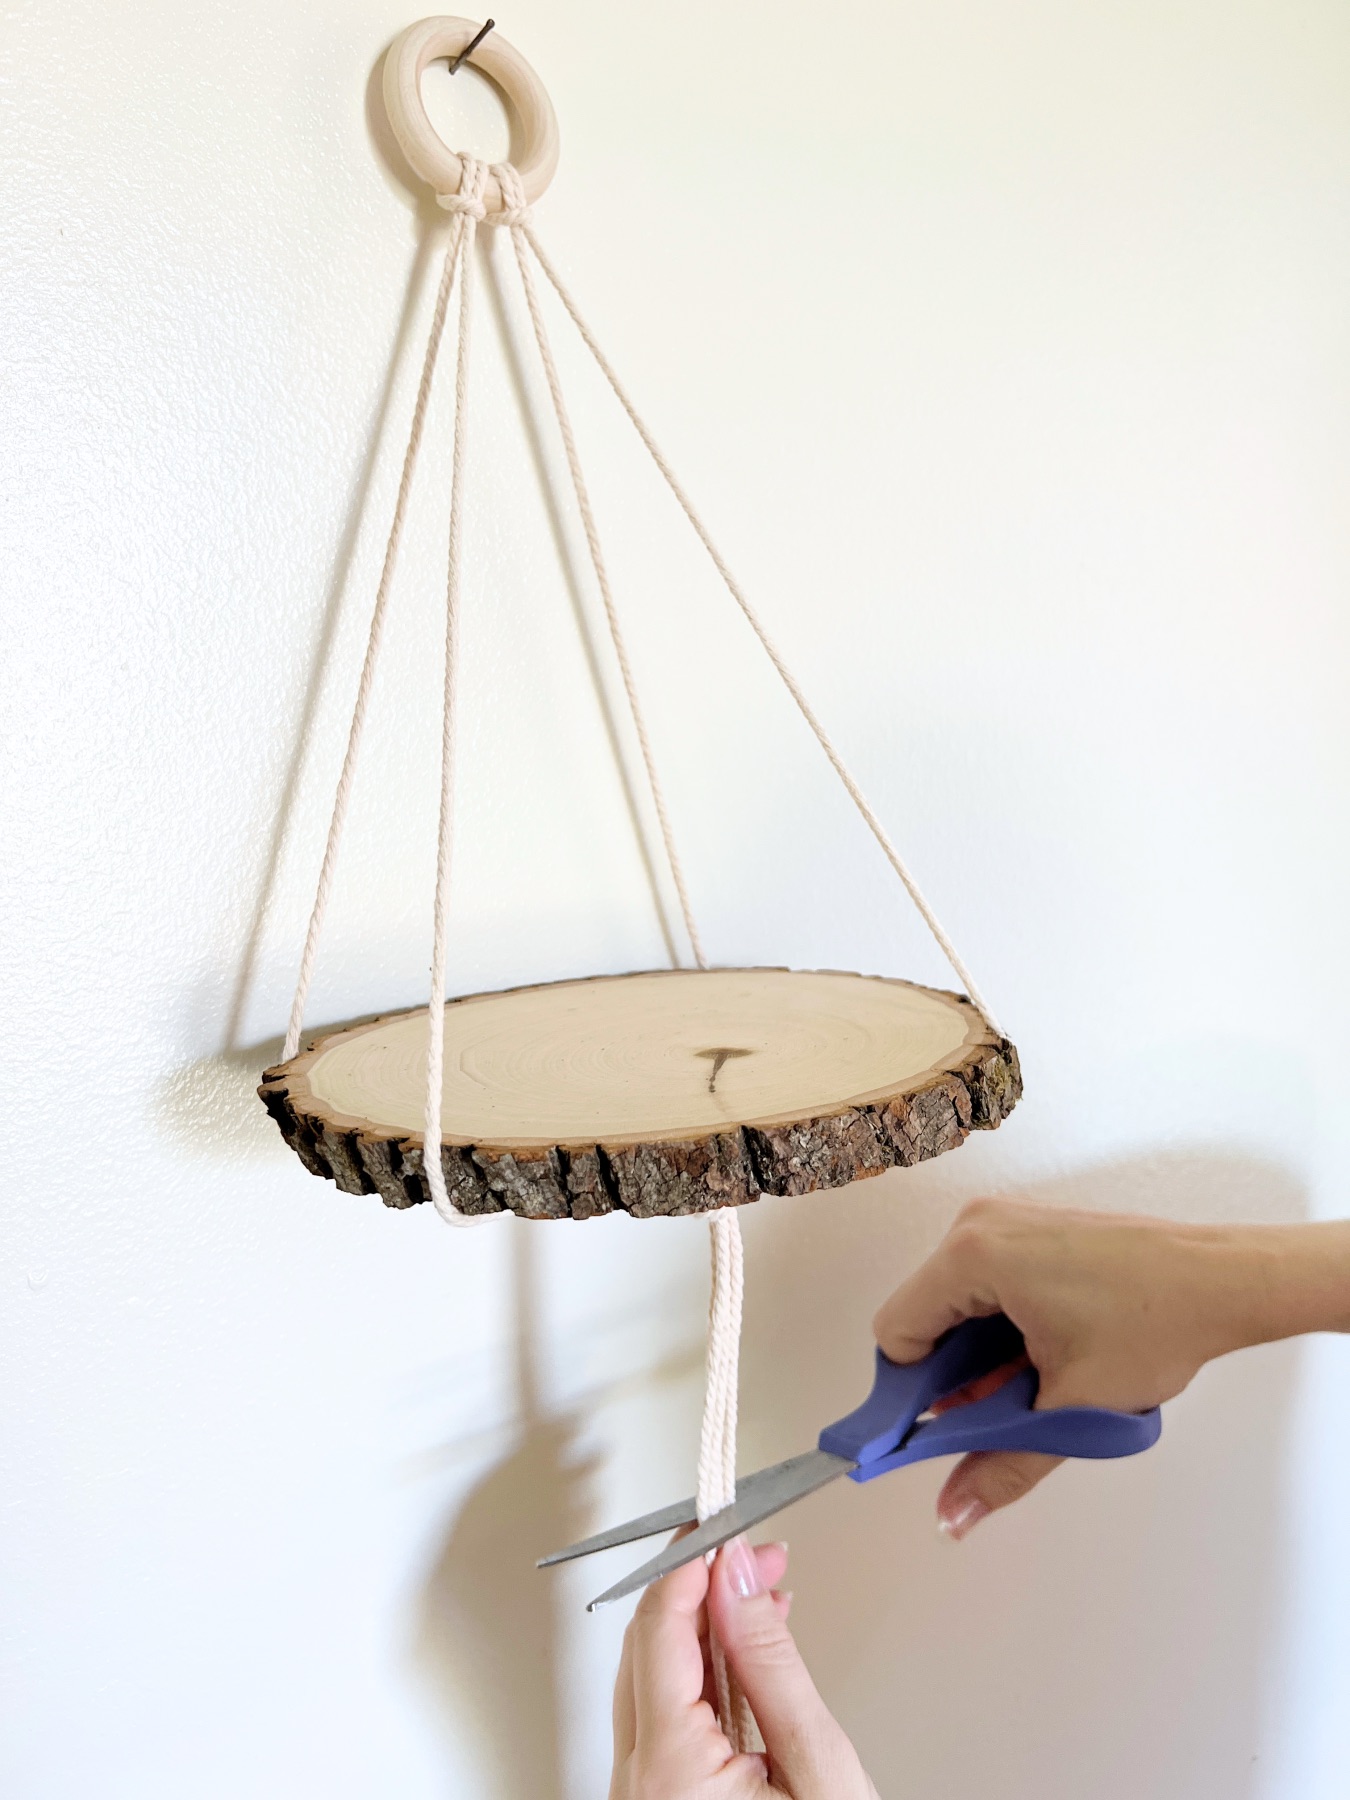
Cut the Threads at the Bottom
The last step in making this DIY Macrame Floating Shelf is to trim the ends of the macrame cord at the very bottom.
I like to keep a few inches of length because it looks pretty that way.
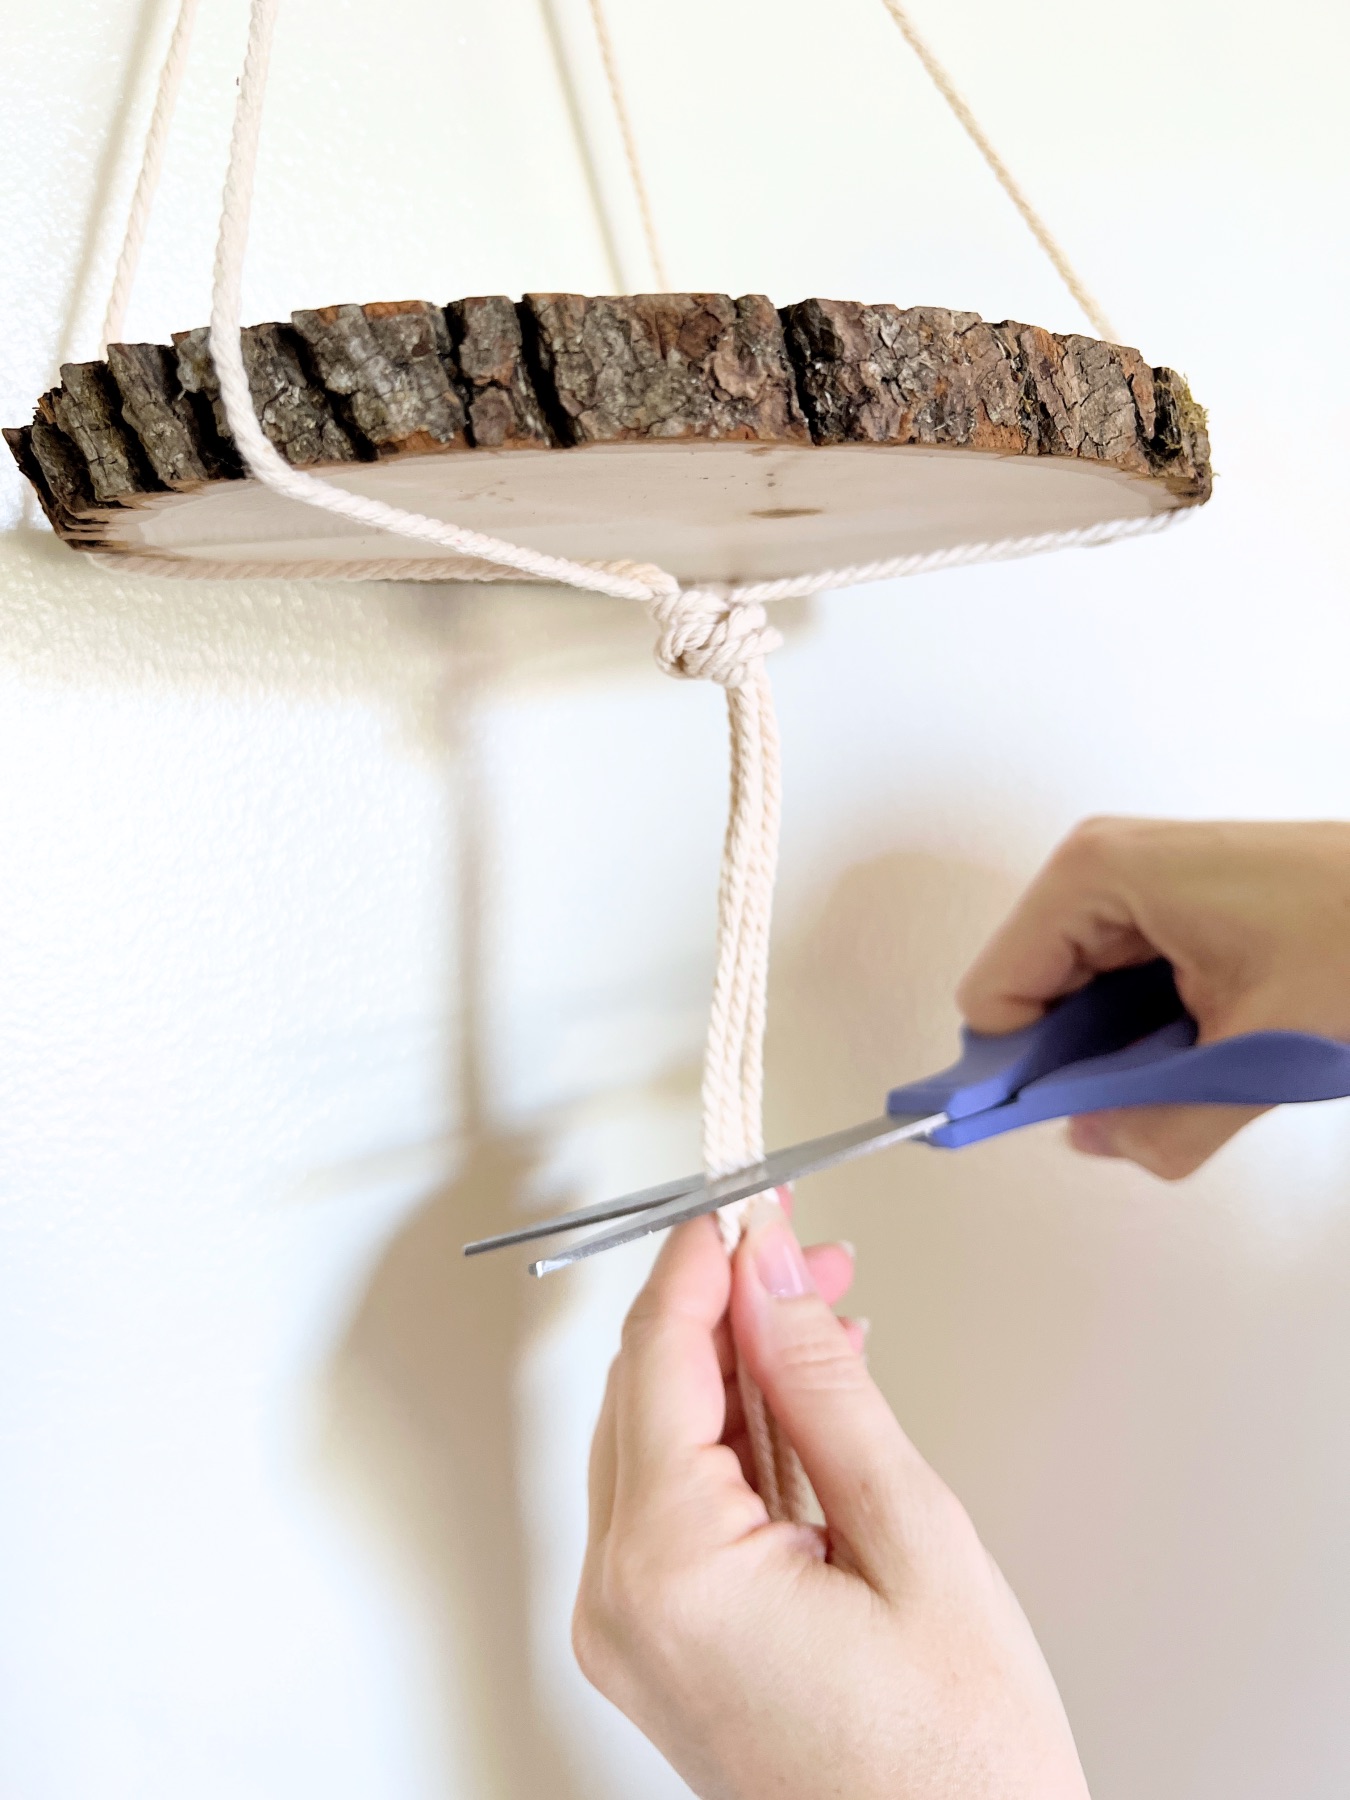
Once you cut the ends, you style them in lots of different ways. You can cut them to different lengths or you can even fray the edges. Even if you just cut them straight across it will still look great.
Hang & Decorate Your Shelf
Once your DIY Macrame Floating Shelf is finished, you can hang your shelf.
It’s easiest to hang with a c-hook from the ceiling but if you have a rod or any decorative object that protrudes from the wall, you could hang it there as well.
For example, a fireplace mantle would be a great place to hang it if you don’t have a c hook.
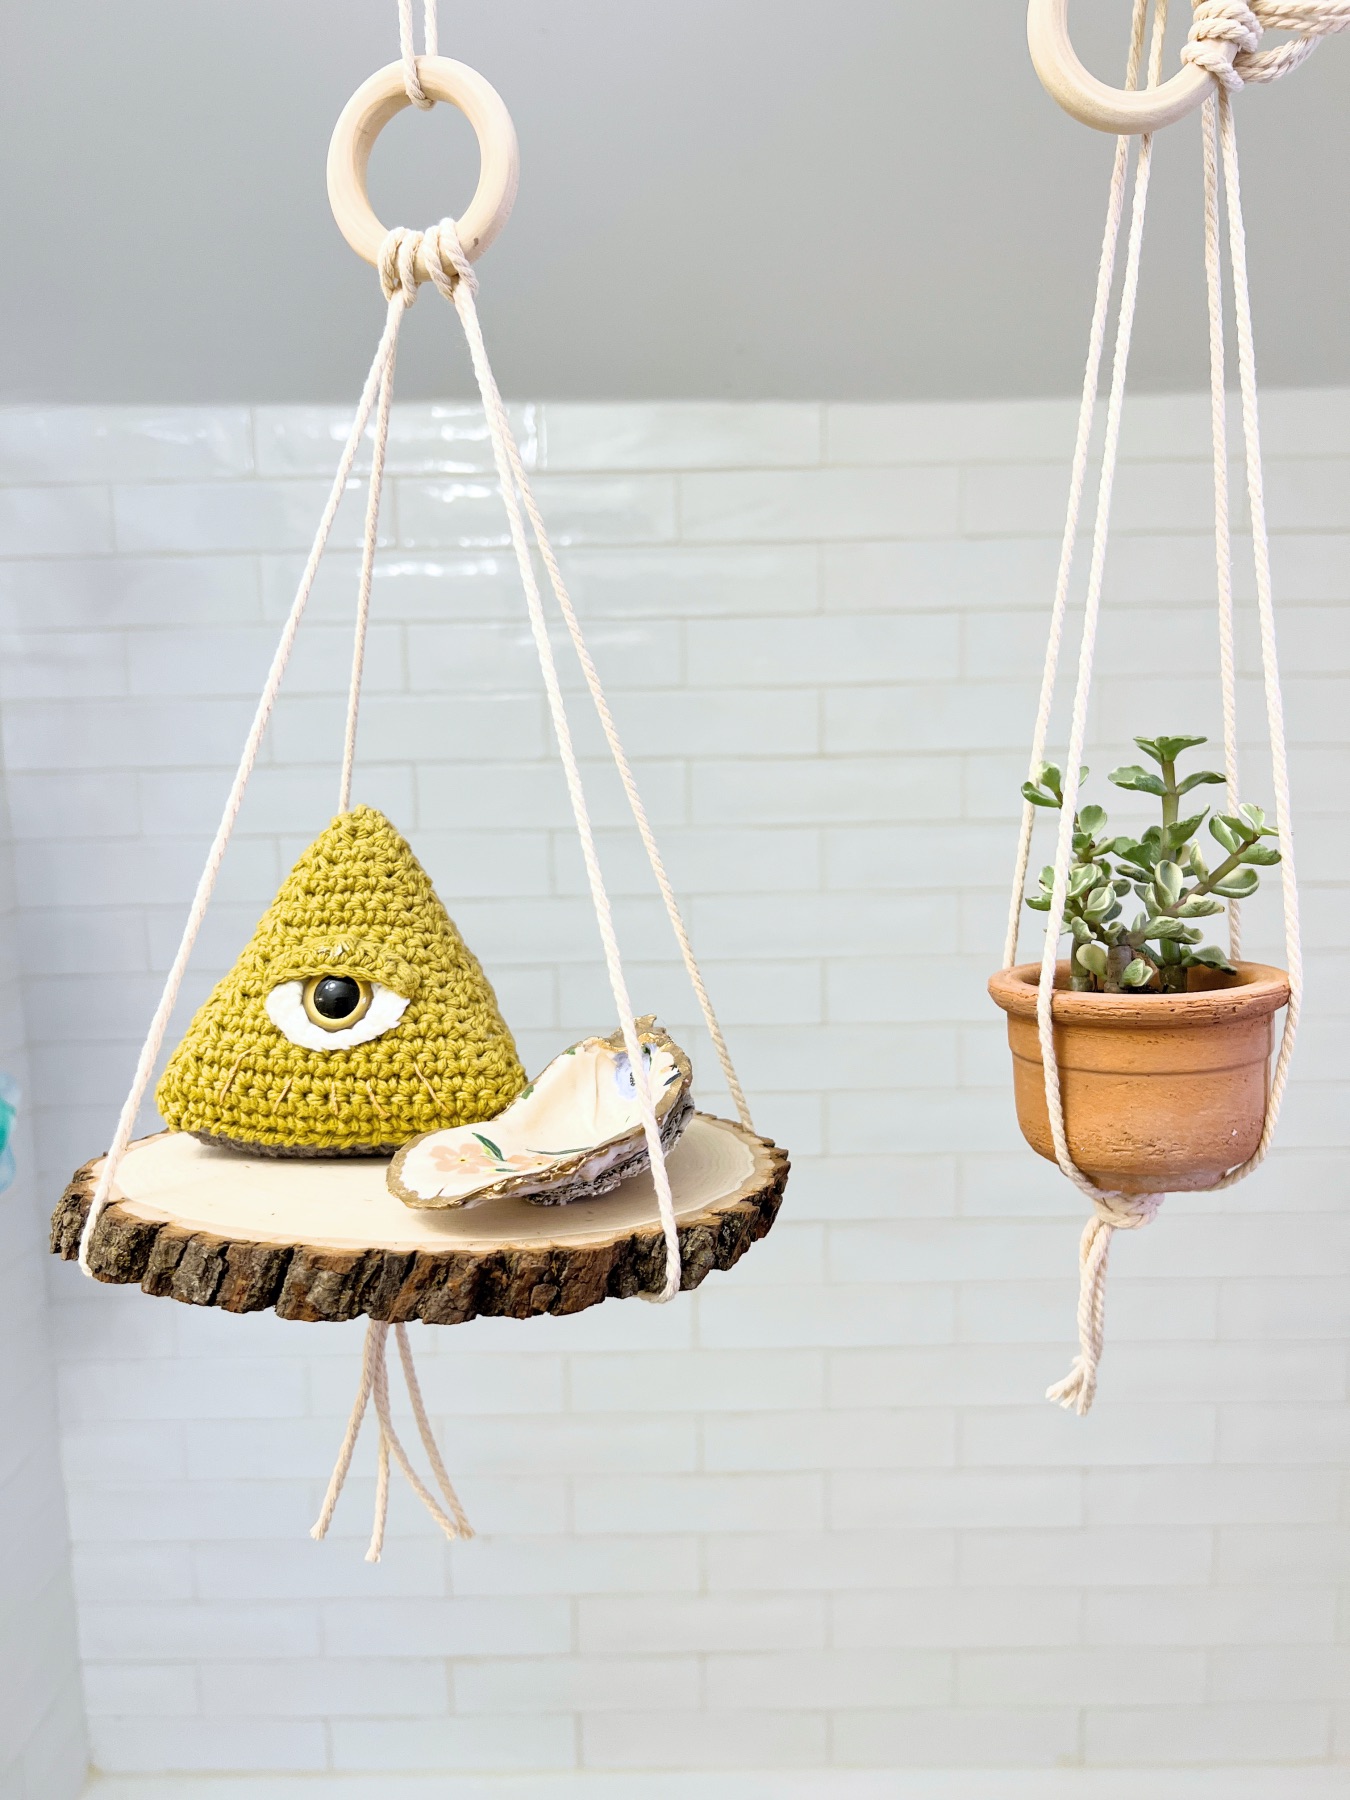
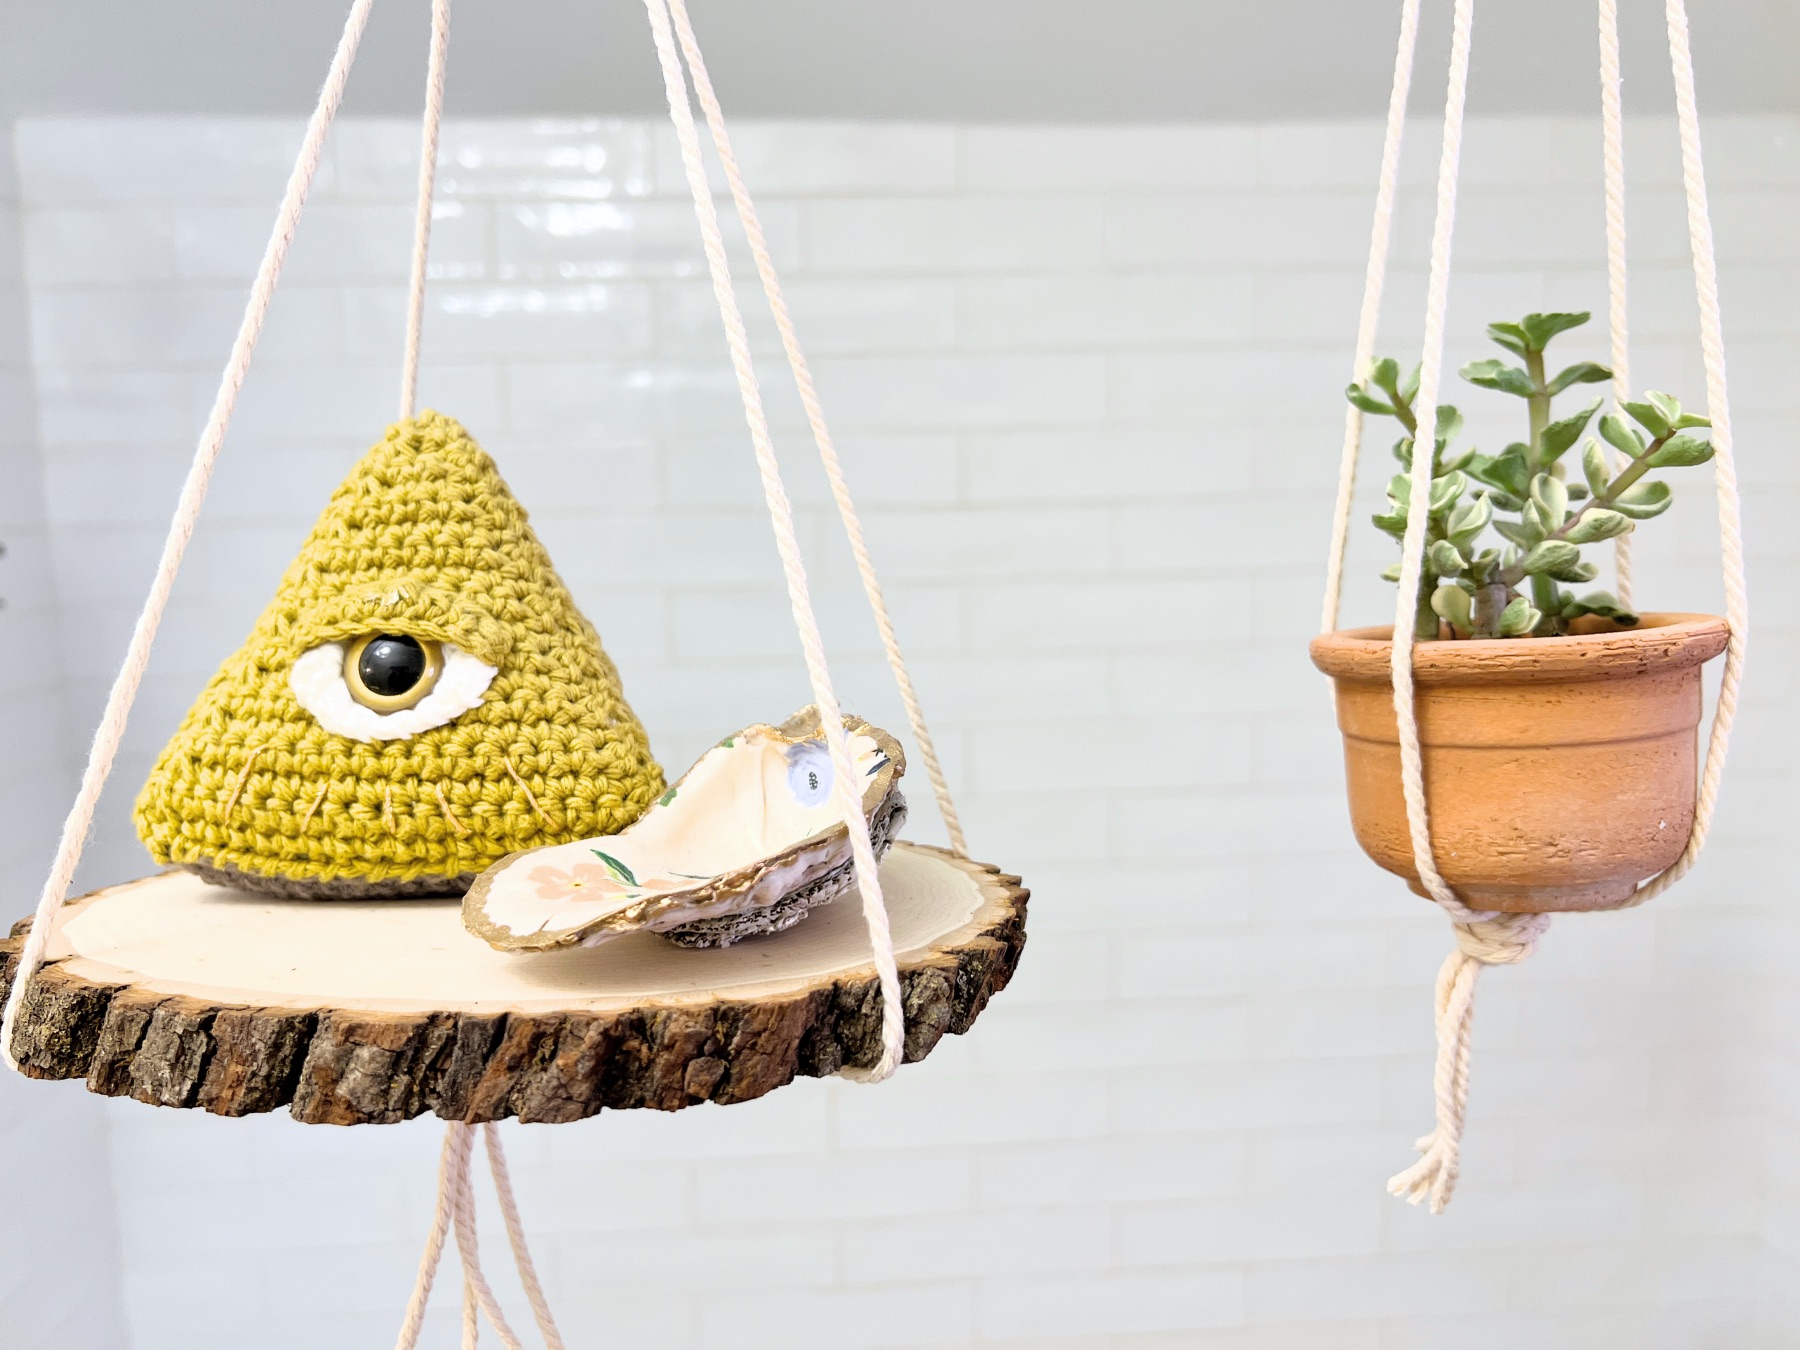
Your DIY Macrame Floating Shelf will look so cute if you hang it as a set. It pairs perfectly with these DIY Macrame Hanging Planters.
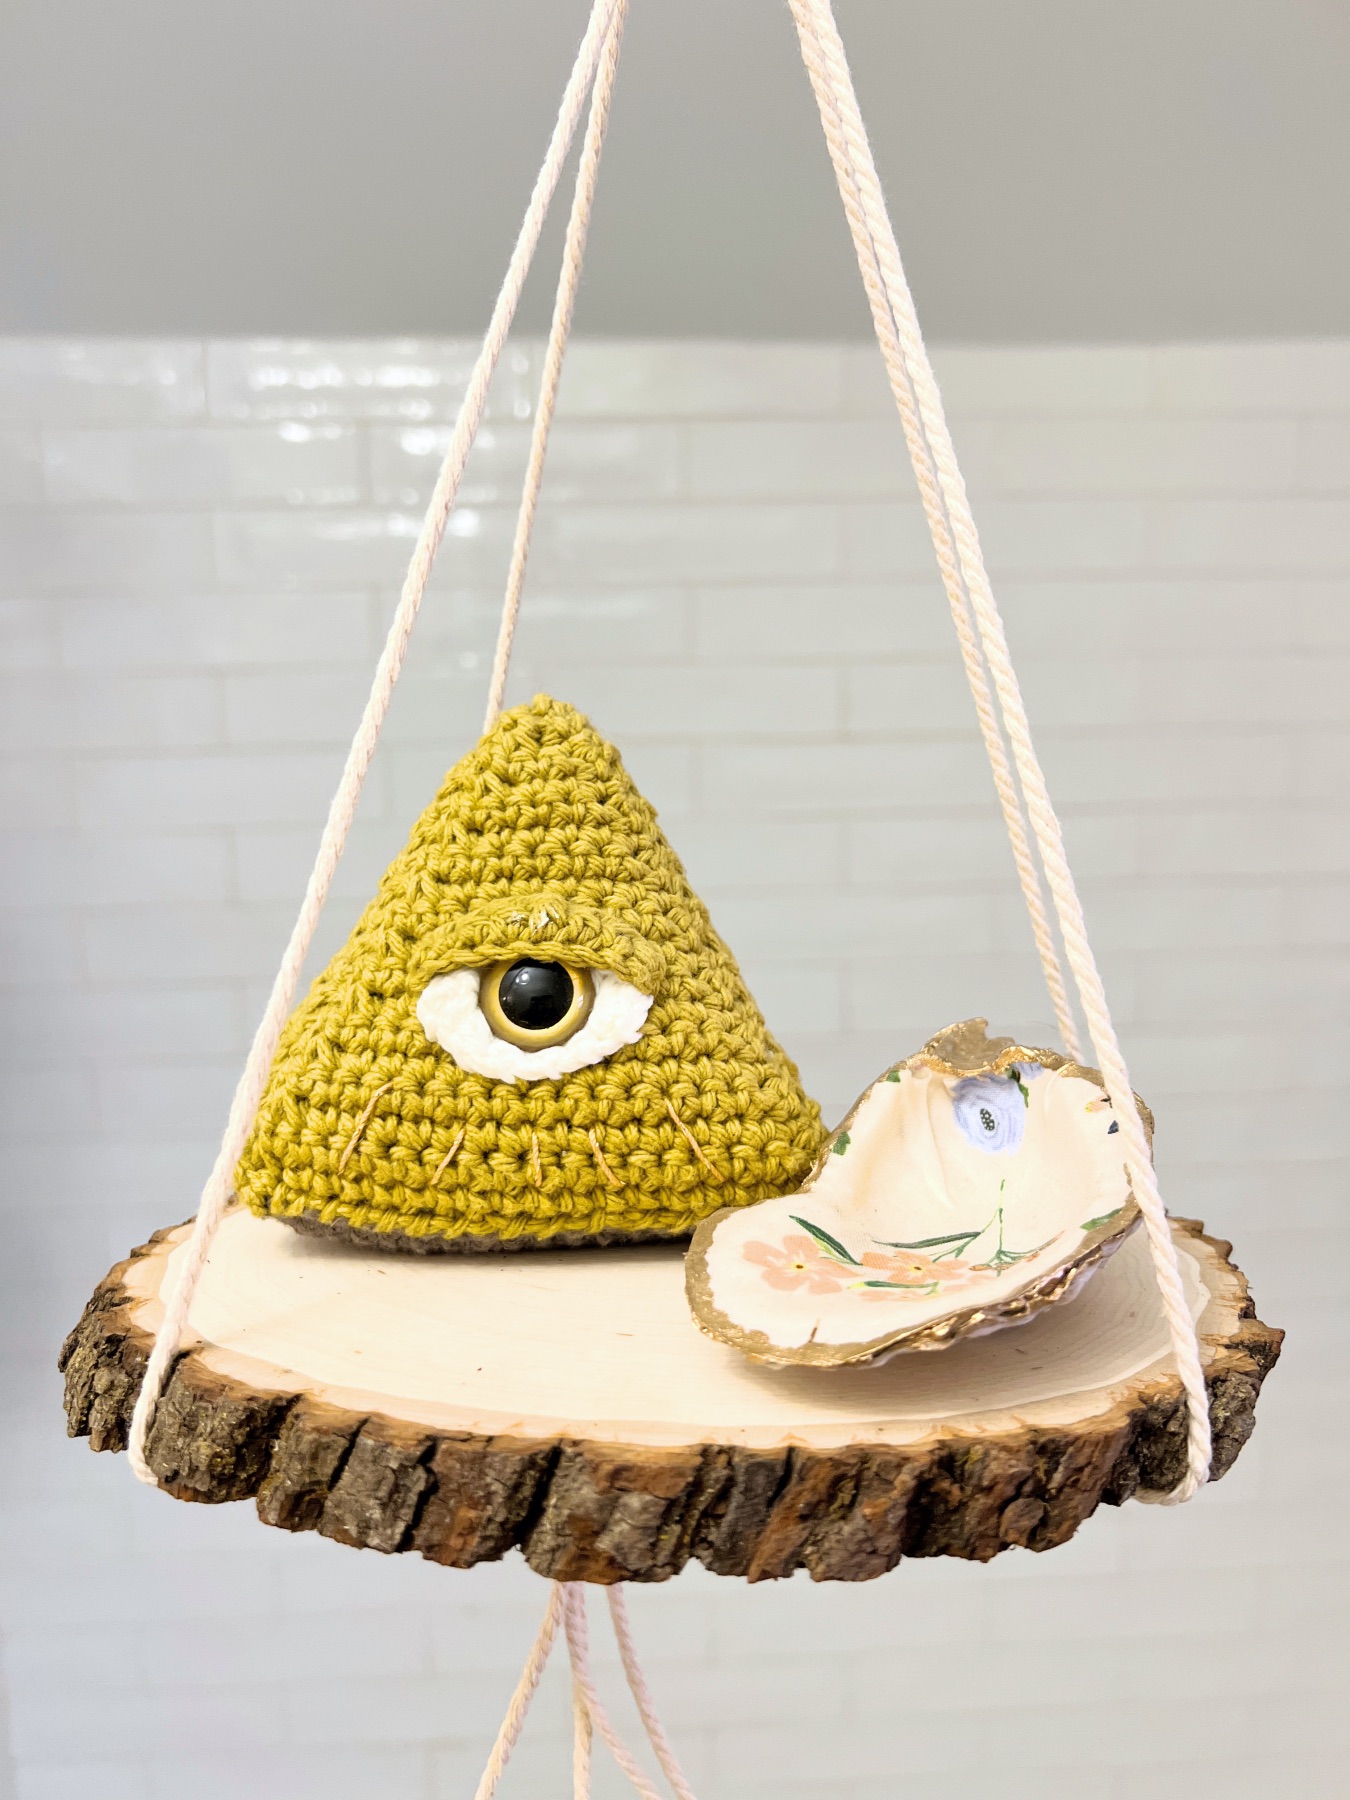
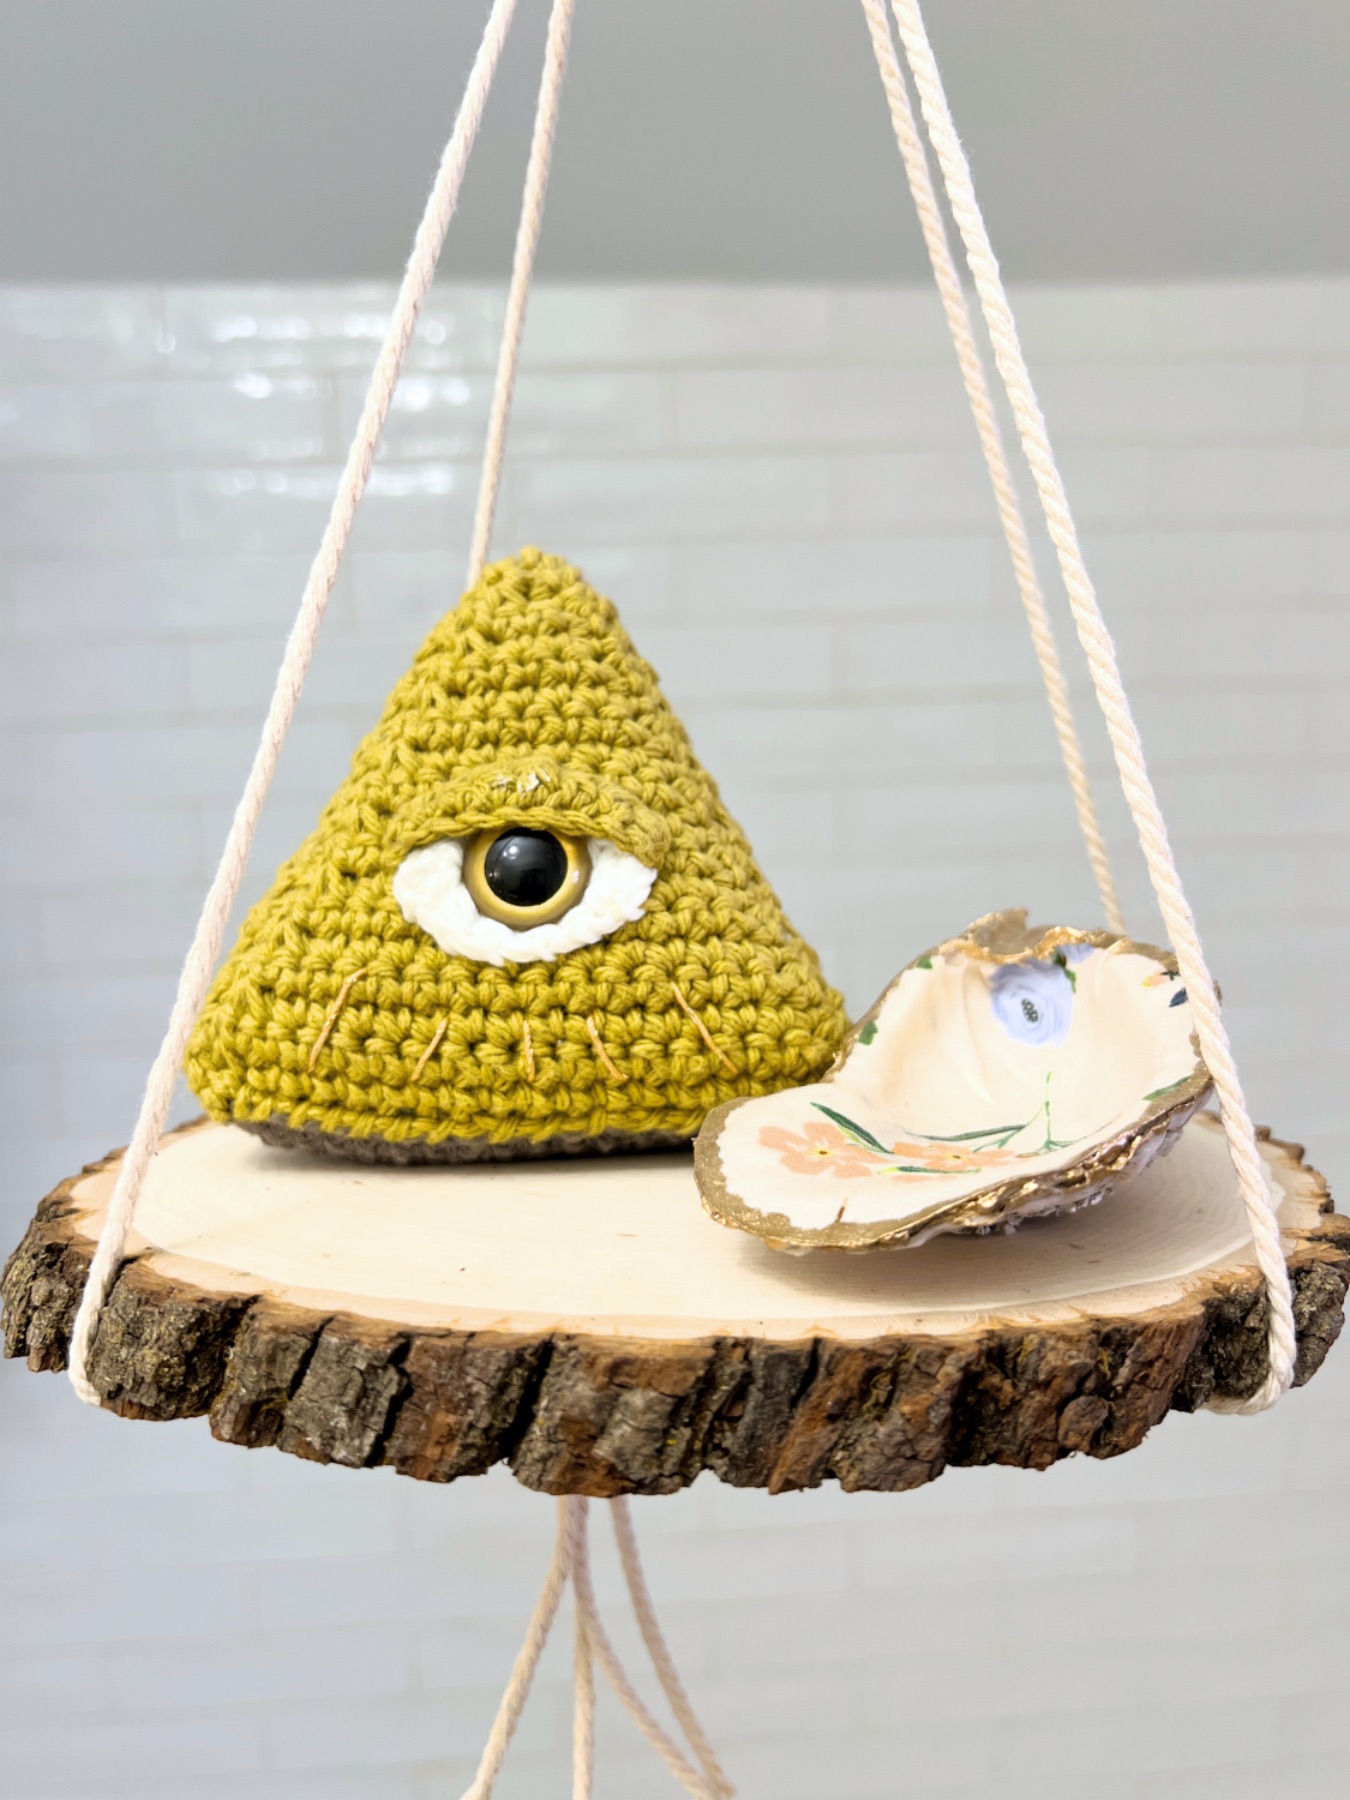
Once you have the shelf hung just where you like it, then straighten the shelf one last time. Decorate it with all your favorite small objects.
Any small pieces of art, sculptures, or plants are all perfect for these shelves.
And viola! Now you’ve made a simple DIY Macrame Hanging Planter. Ready for something a little more complex? Here are intermediate Hanging Planter tutorials – hanging planters are the exact same as this shelf – so the instructions can actually work for both pieces!
Love this tutorial? Then don’t miss our other macrame tutorials below. Happy crafting!
Let’s Stay Friends!
Insta | Pinterest | Enews | TikTok