Craft in Style Subscription Instructions, DIY
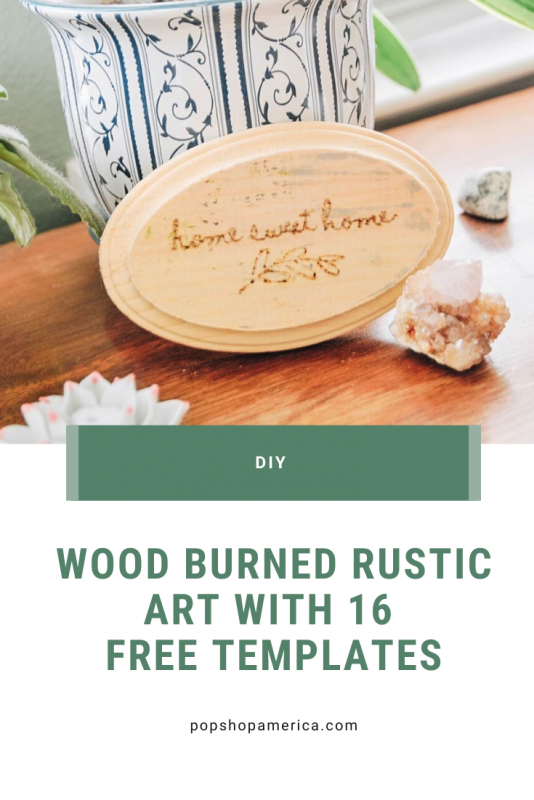
DIY Wood Burned Rustic Art with 16 Free Templates
Dec
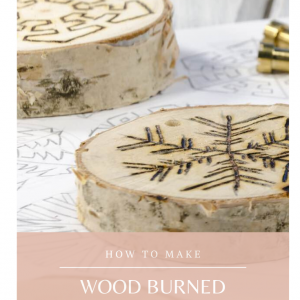
This is Part 4 of the Craft in Style Subscription Box tutorials for November 2019. Part 1: How to Make Wood Burned Ornaments can be found here. Part 2: How to Make Wood Burned Snowflake Coasters can be found here. Part 3: Everything You Need to Know about Wood Burning can be found here.
Have you been learning how to wood burn? It’s a gorgeous, rustic, fun craft supply and can represent styles as versatile as you are! You can make lots of different types of objects in tons of creative ways.
So here’s a simple diy that might be my most favorite to wood burn. It’s a miniature rustic art piece and this diy comes with 16 free templates that you can use. There are 10 travel themed templates and 6 holiday themed templates that are ready to be used with this project. So let’s get started!
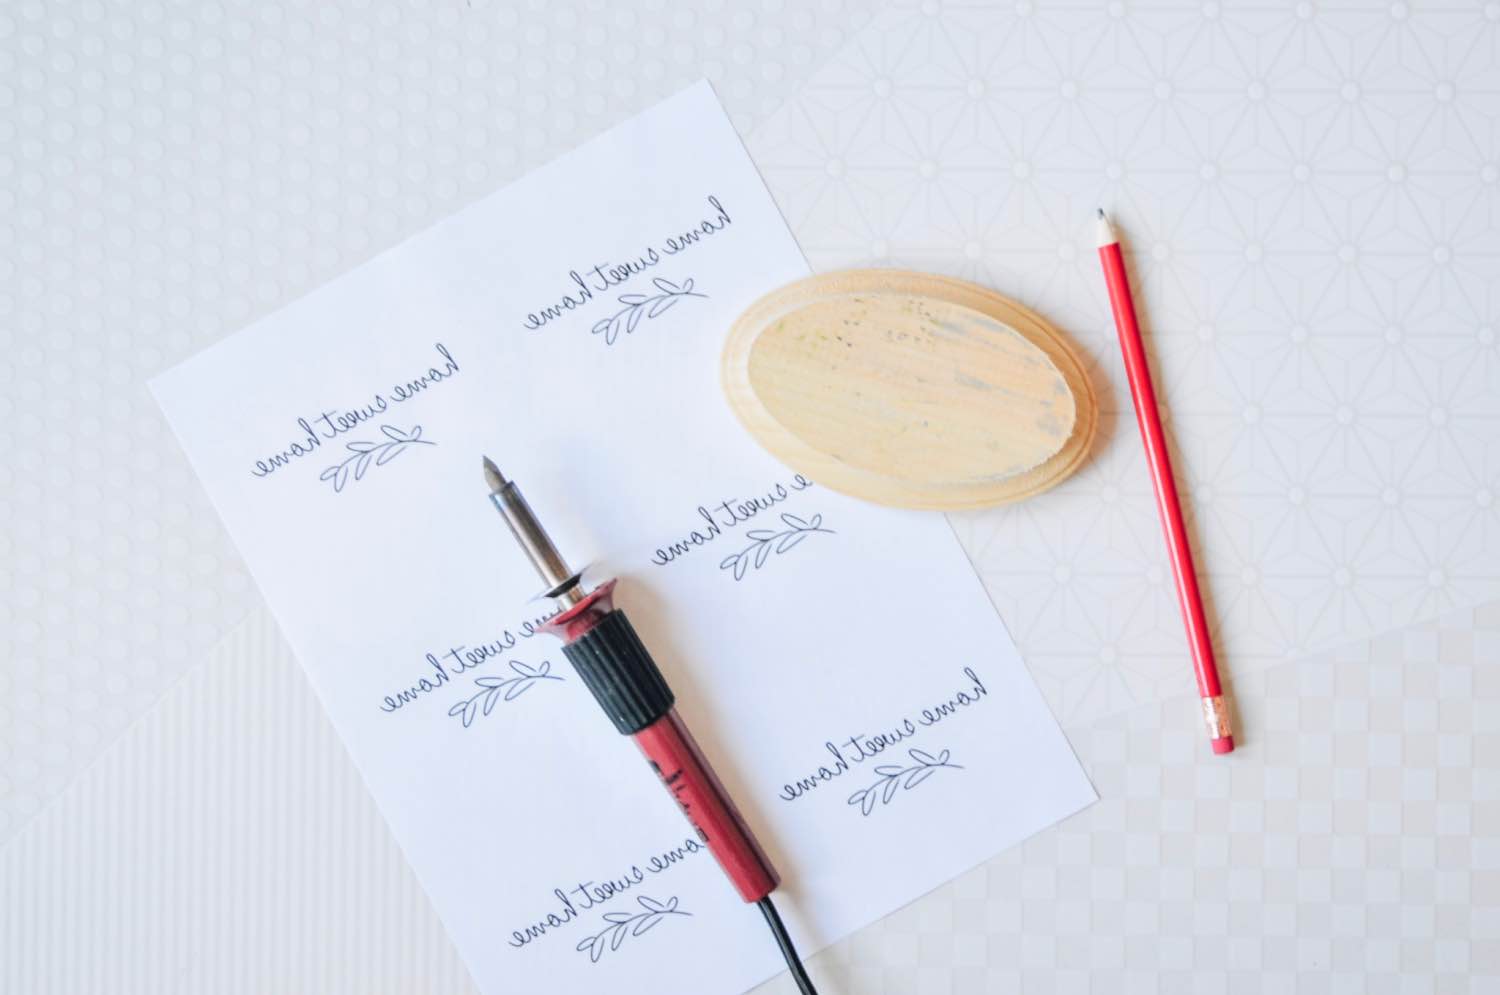
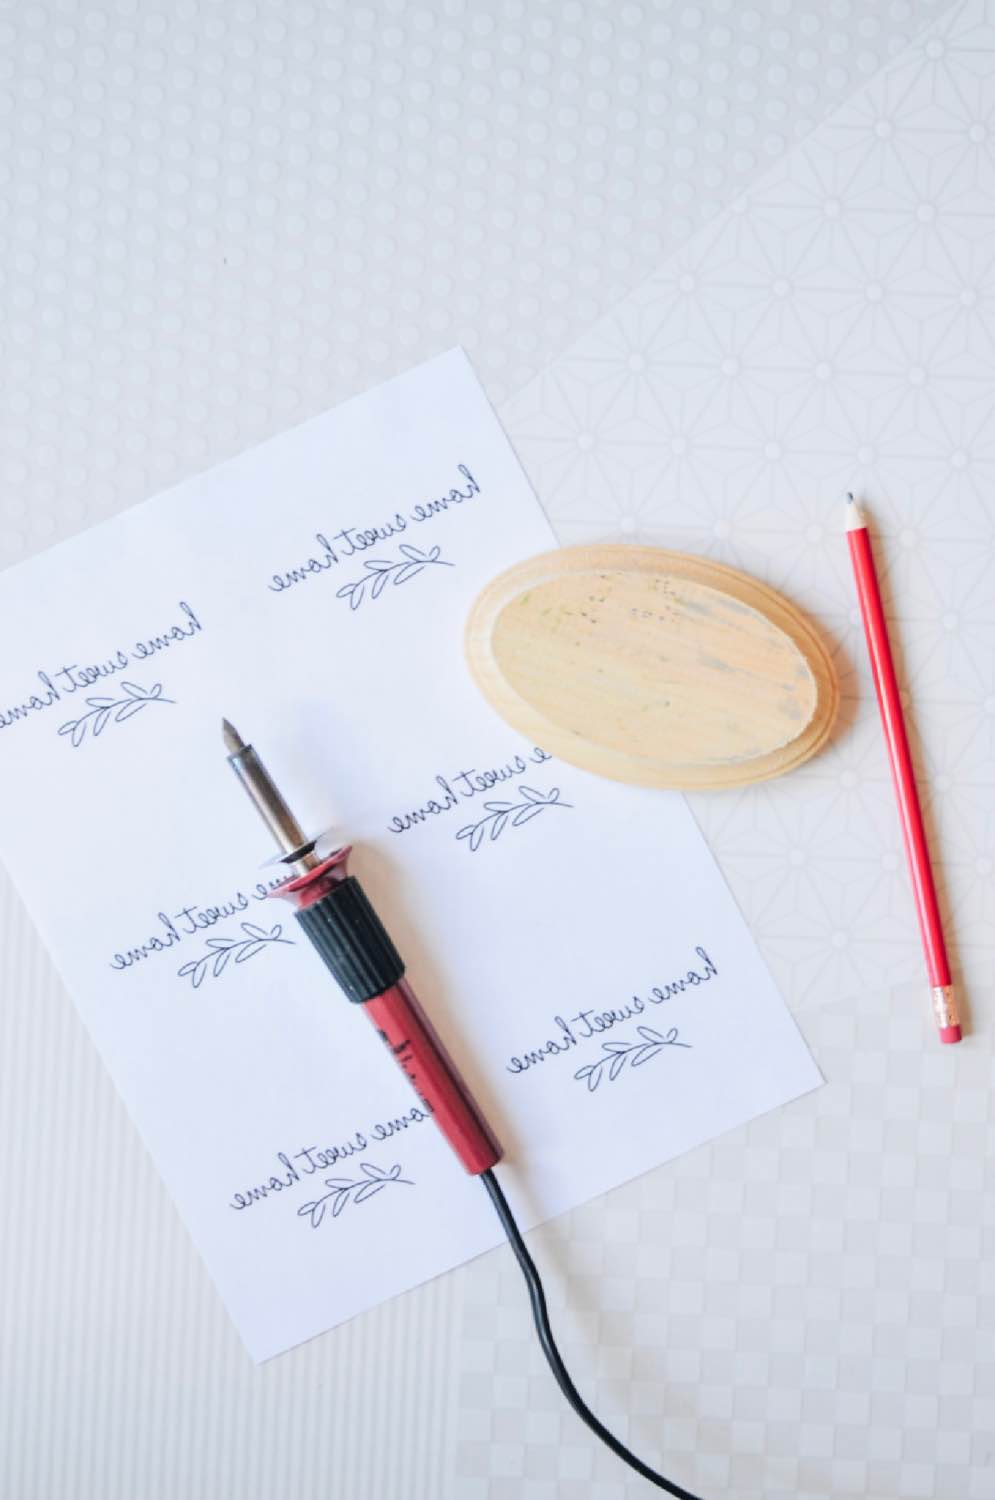
First of all, here are the supplies you need to make DIY Wood Burned Rustic Art:
10 Free Travel Themed Templates
6 Free Holiday Themed Templates
His & Hers Templates
+
Craft in Style Subscription Box November 2019
or
Wood Burning Tool Kit
Mini Rustic Wood Frame
and a Pencil
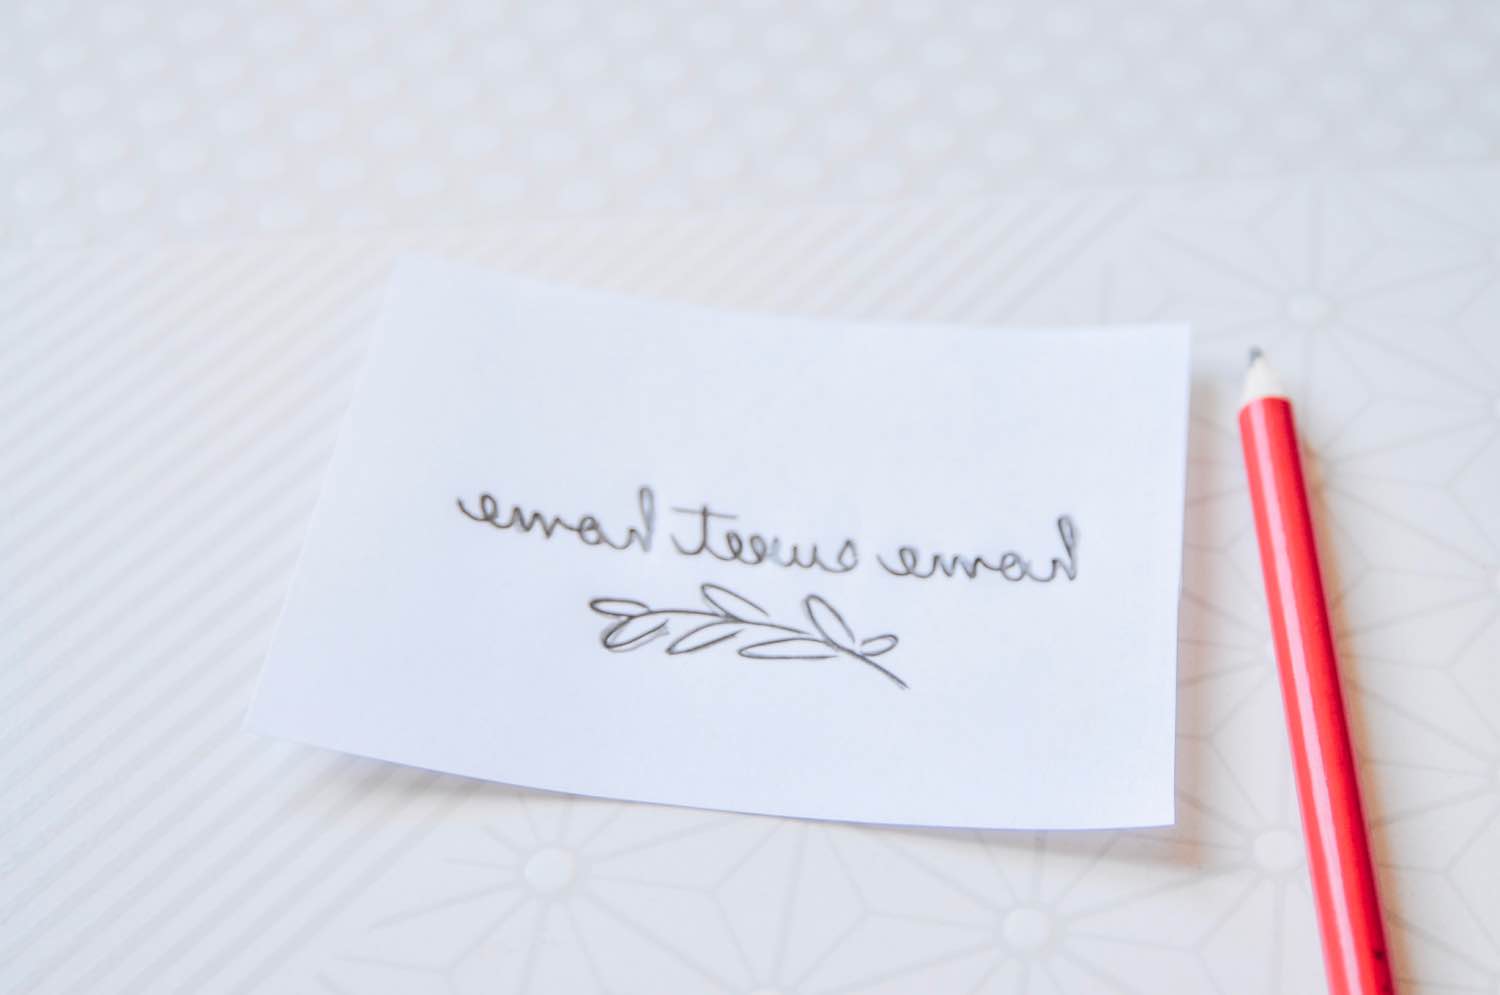
That’s all! You will want to get started by printing the template you want to use above. When you take a look at the templates, you will notice something special. The templates are all backwards!
Any lettering will need to be backwards but other types of images won’t matter. It’s because we need to reverse the lettering to apply the template to the wood itself. If you are creating your own templates, just drop the image files into Photoshop and reverse the lettering on a vertical axis. It only takes a couple of clicks.
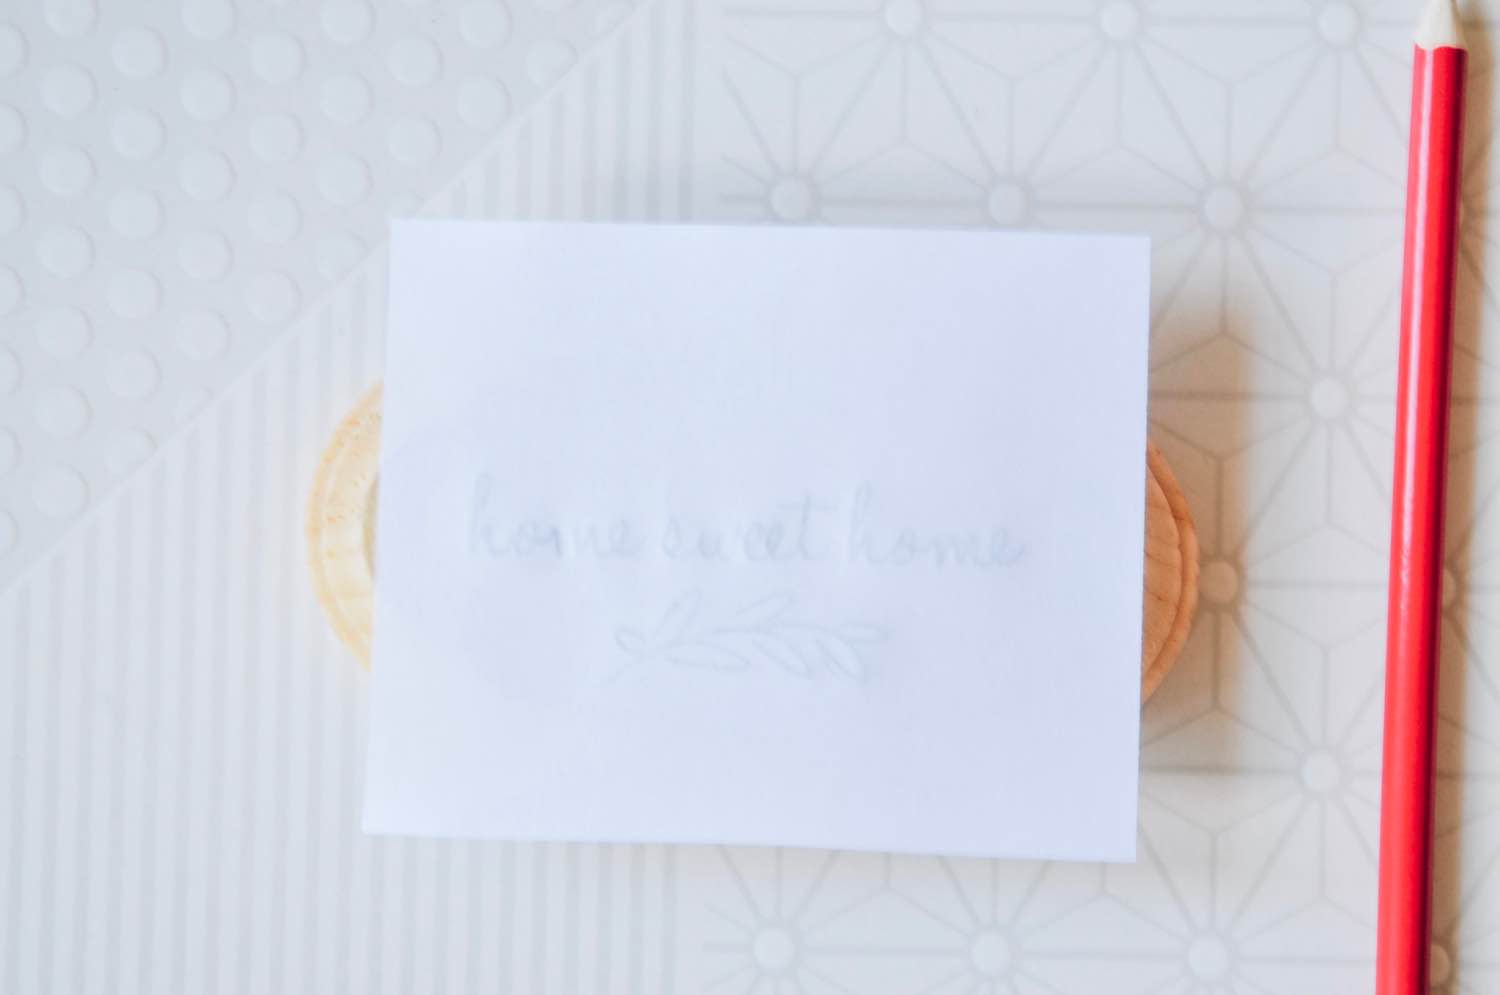
To use a template like this as a stencil, first pencil in all the lettering. Use hard pressure and use a lot of graphite on the paper.
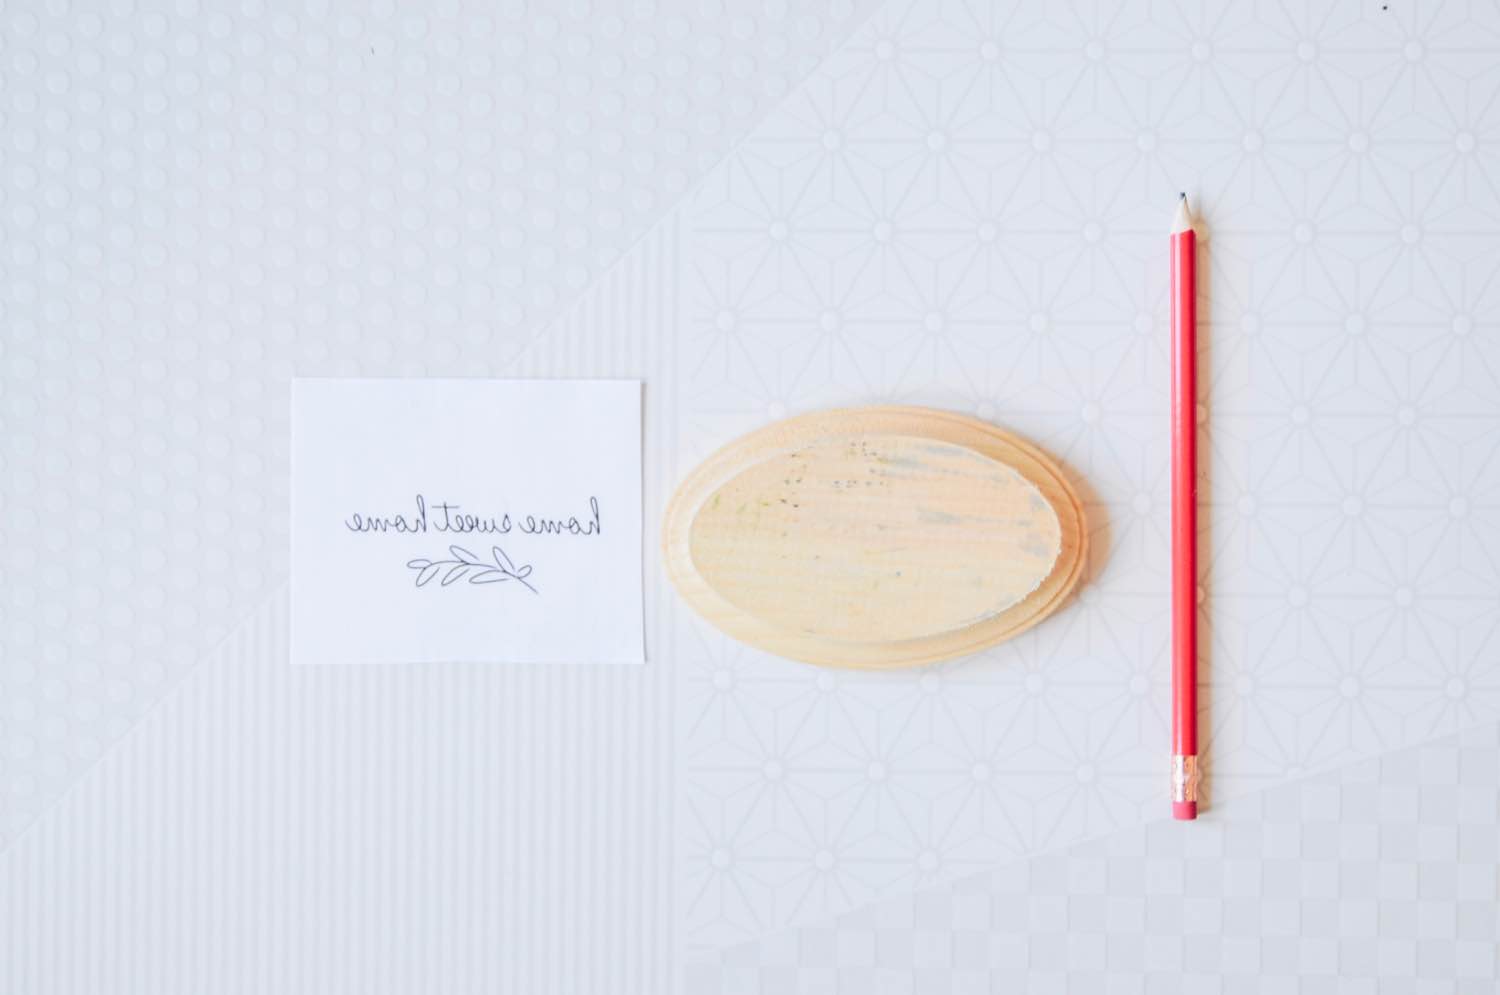
It doesn’t need to be perfect. My handwriting certainly isn’t as good when the letters are backward! Once you have the reversed lettering filled in, place the template on the wood. The penciled lettering should be facing towards the wood.
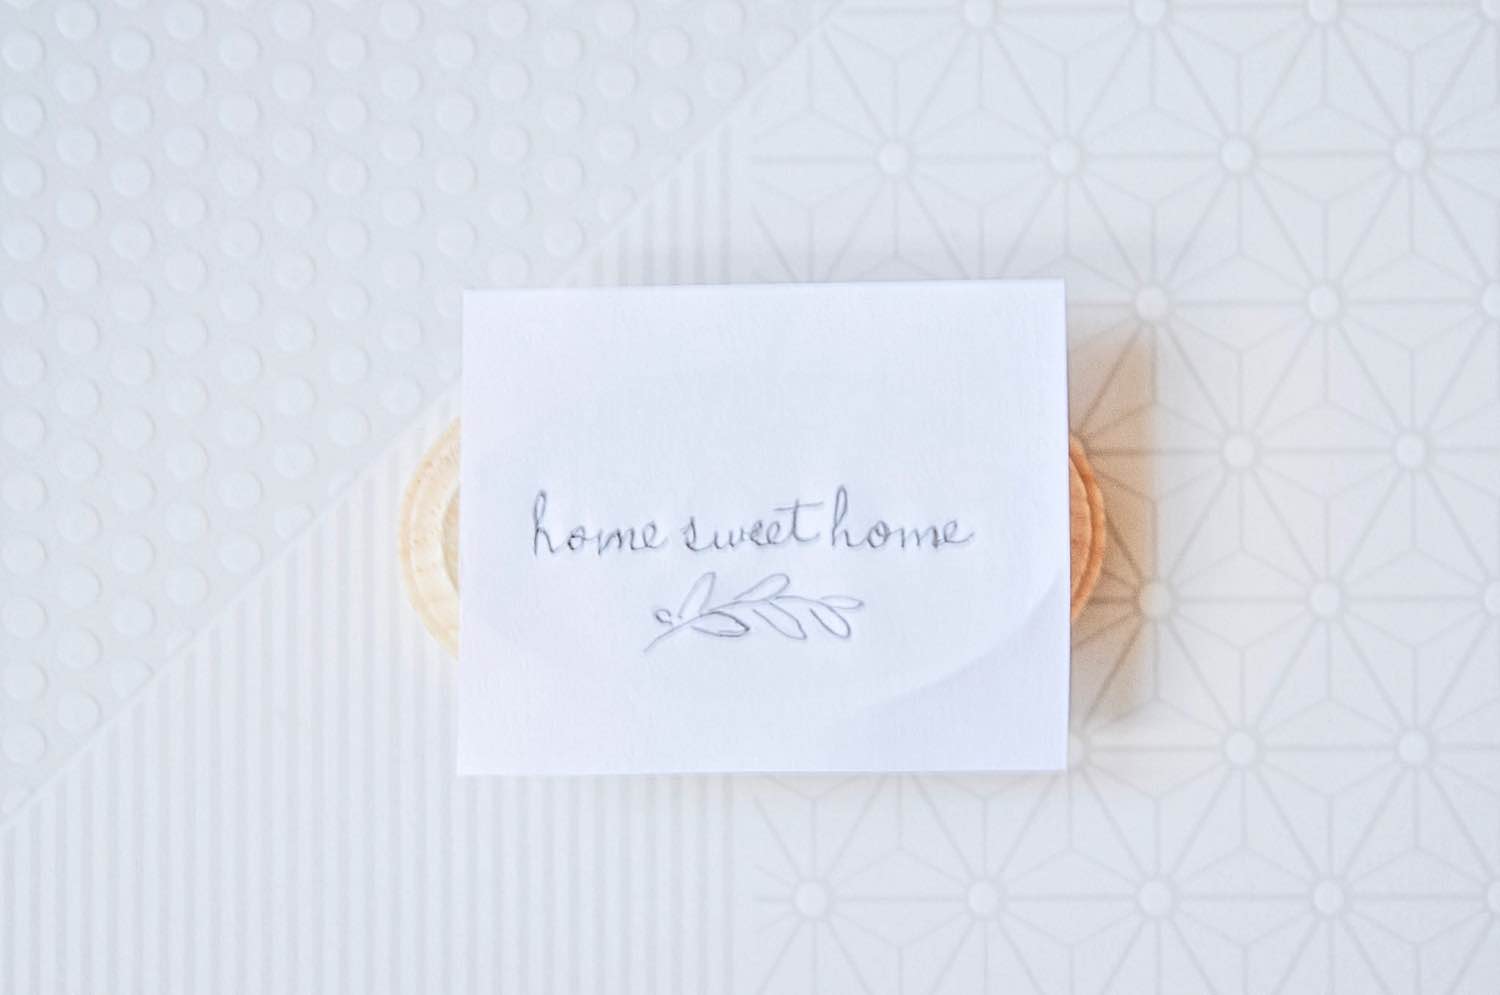
Be sure that your template is exactly where you want it to be positioned on the wood. Now pencil in the letters again on the blank side of the paper. Again, it doesn’t need to be perfect! Once your letters are where you want them on the wood, it’s time to start burning!
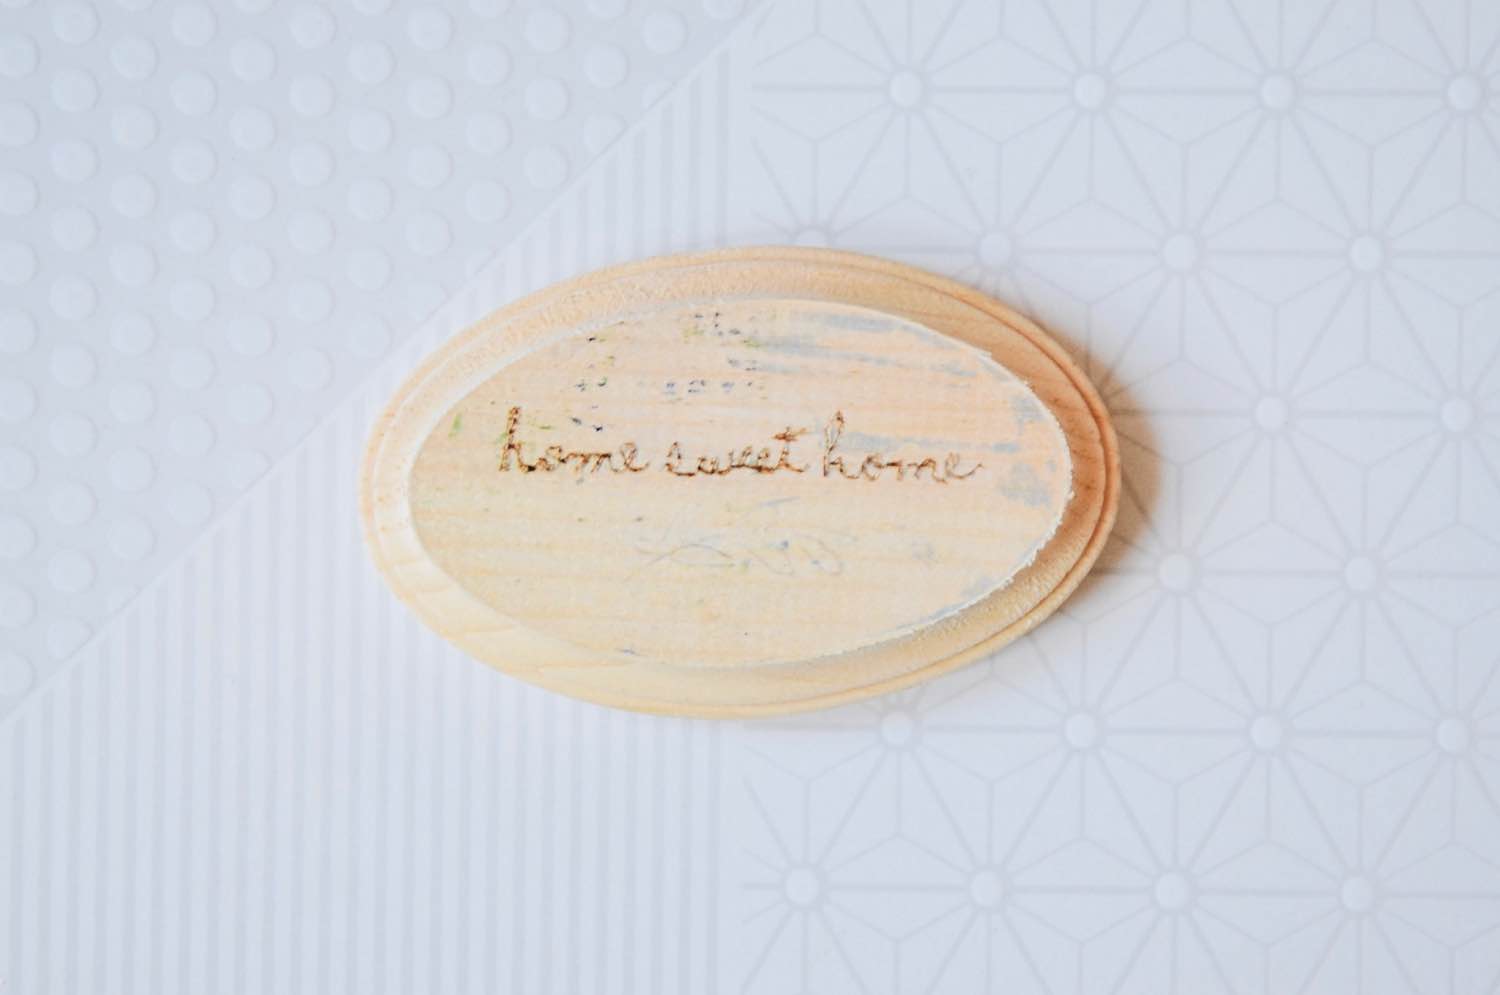
For this particular type of wood, I had to turn my heat setting down a little lower than how I usually work. I kept mine on low because this wood was soft and burned at a low temperature! Who knew there would be variation among different types of wood?!?
A lower setting on your wood burner will give you more control. You can read more about How to use a Wood Burner here. Now just slowly burn over your pencil lines treating the wood burner as a pencil too.
You may need to go over your burned lettering a few times. I will likely go over this DIY Wood Burned Rustic Art again later! Just burn in the letters, then take a look. Once it’s evenly burned and styled to your liking it’s finished!
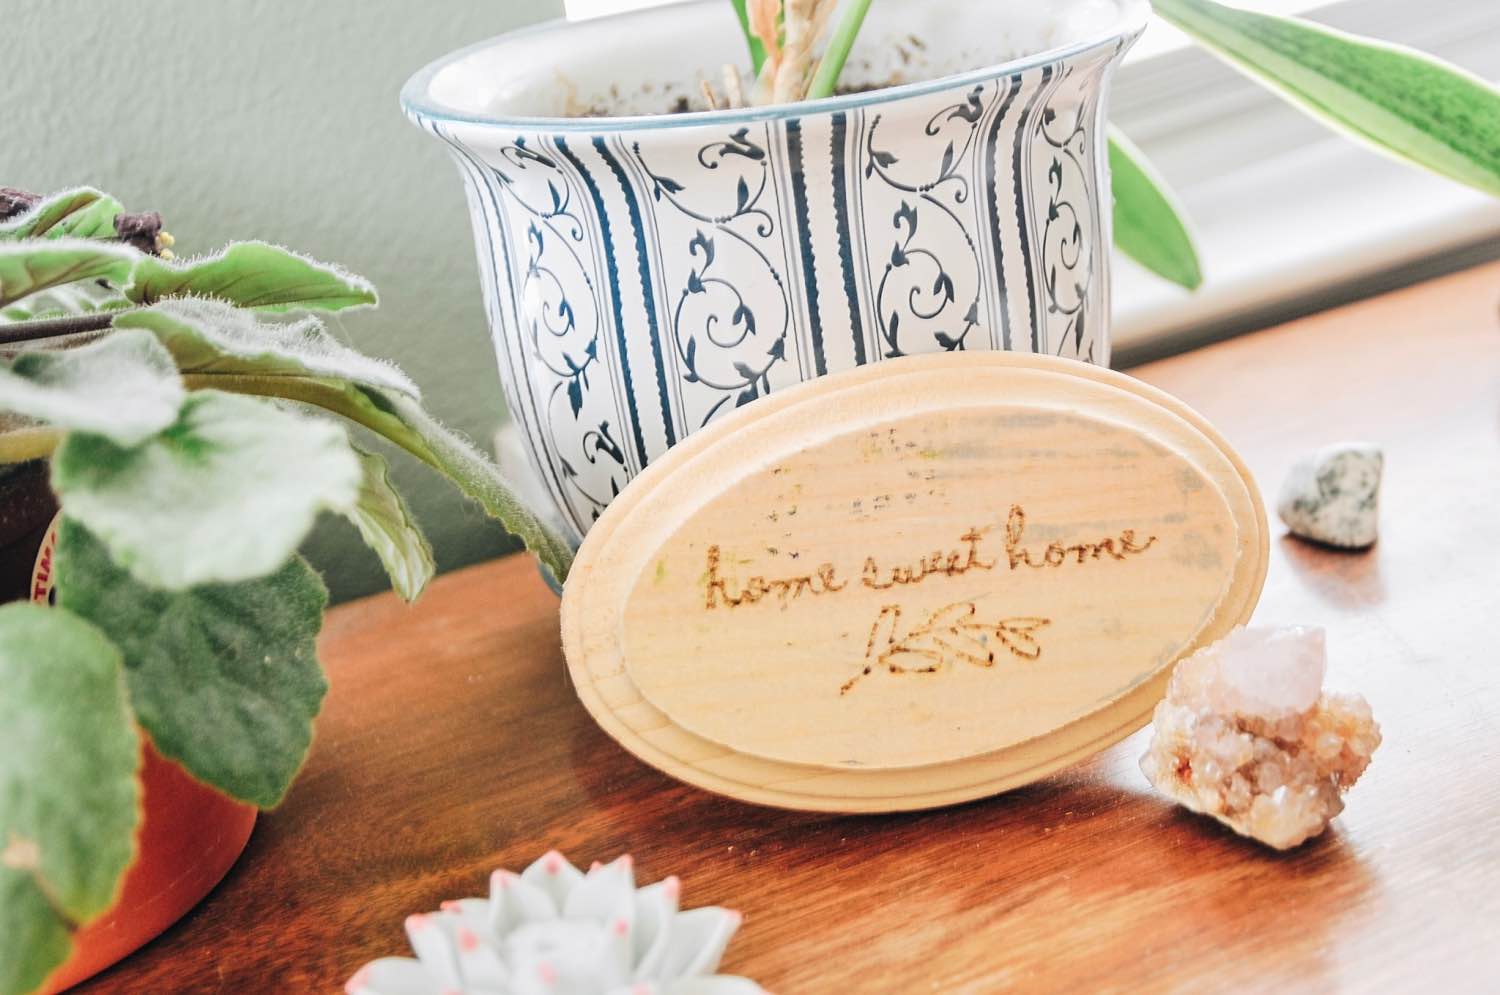
You could set this next to a planter like I did, or attach some hardware to the back and hang it on the wall. The possibilities are endless! So where are you going to hang your Wood Burned Rustic Art? Tell us in the comments! And if you love this DIY you need to try the Craft in Style Subscription Box that you can shop here.
Let’s Stay Friends!
Insta | Pinterest | Enews | TikTok