Craft in Style Subscription Instructions, DIY
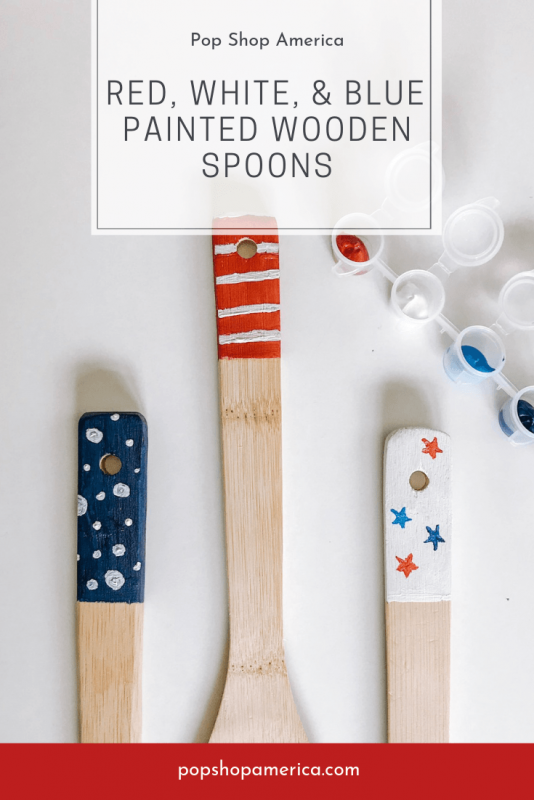
DIY Red, White, & Blue Wood Kitchen Spoons
Jun
Note: This is Part 1 of the 4th of July Cookout Craft Kit by Pop Shop America. I recommend doing this DIY before Part 3: Star Stamped Kitchen Towels because you will turn your acrylic paint into fabric paint to create the Kitchen Towels.
Are you getting in the 4th of July spirit? Because I am! That’s why I created this special Stars and Stripes Box for Craft in Style. You can purchase it as a standalone 4th of July Cookout Craft Kit here! It’s a collection of rustic red, white, and blue themed DIYs. Red, white and blue are my favorite colors so all these craft projects were so much fun.
I created them as a set for a Stars and Stripes Craft in Style Box. It was an alternative to our featured June 2019 Box – The Hot Sauce Making Kit because some people are looking for crafts that are relaxing. The Hot Sauce Box is a bit more of a culinary, gastronomical experiment! Both were great kits and all of our Craft in Style Subscription Box subscribers had choices, which makes everyone happy. If you think this sounds fun, make sure you check out our Craft in Style subscription!
So let’s get started making these DIY Red, White, and Blue Wood Kitchen Spoons!
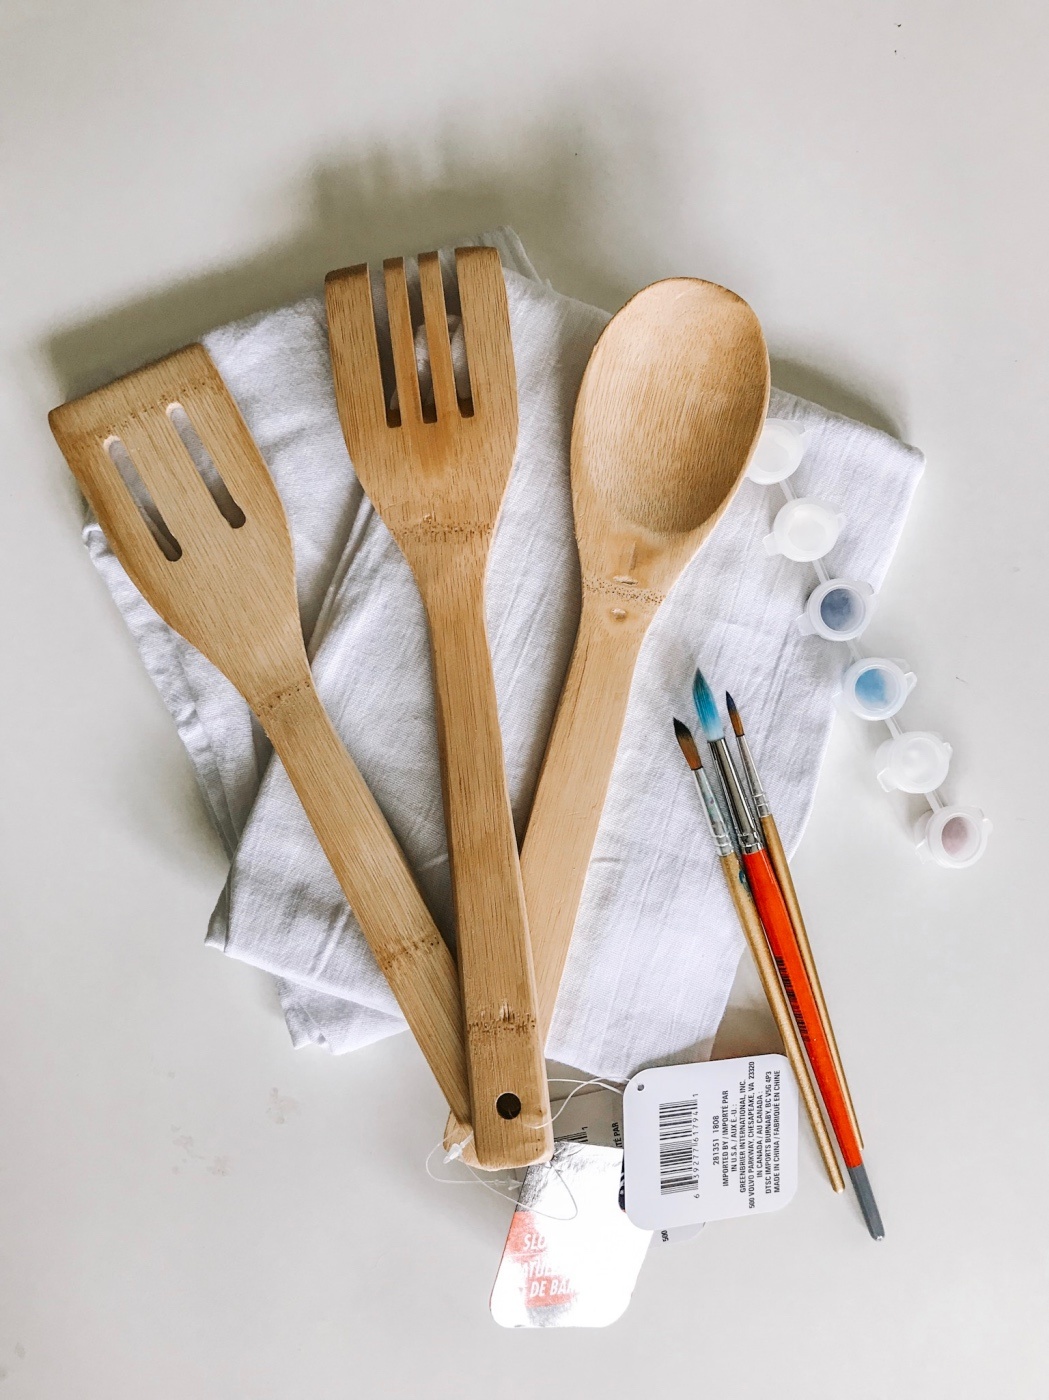
Supplies to Make these Hand Painted Wood Kitchen Utensils:
::OR::
3 Wooden Kitchen Utensils like wooden spoons and spatulas
Acrylic Paint in: White, Red, Light Blue and Royal Blue
Flat Tipped Paint Brushes in Size: 6, 8, 10
Additional Supplies:
Water & Paper Towels
Optional: Washi Tape or Painter’s Tape
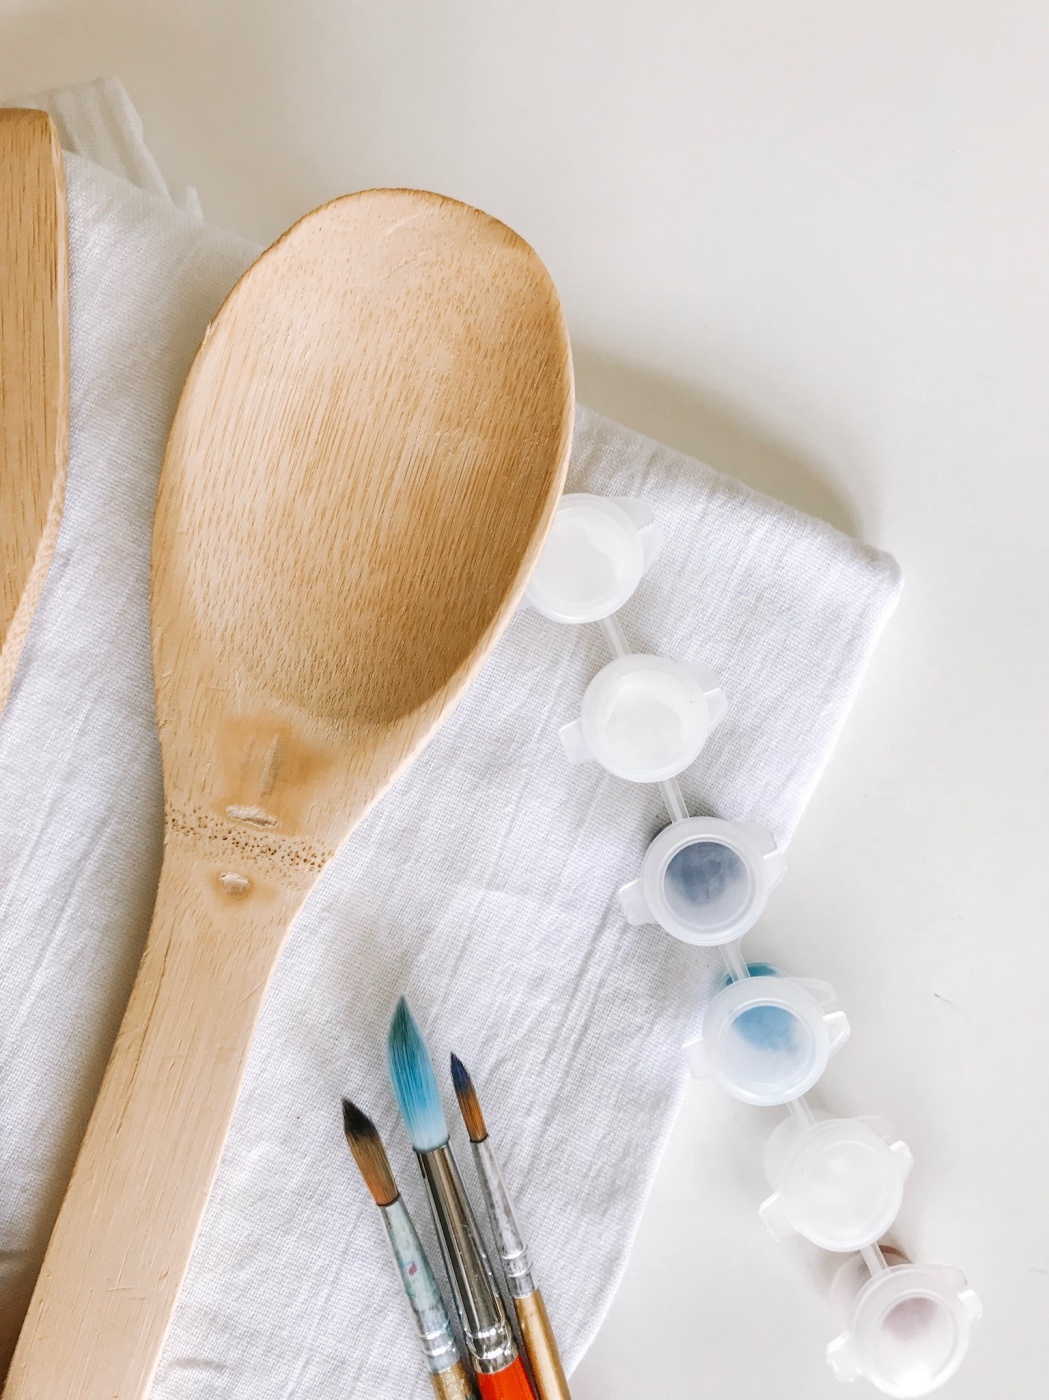
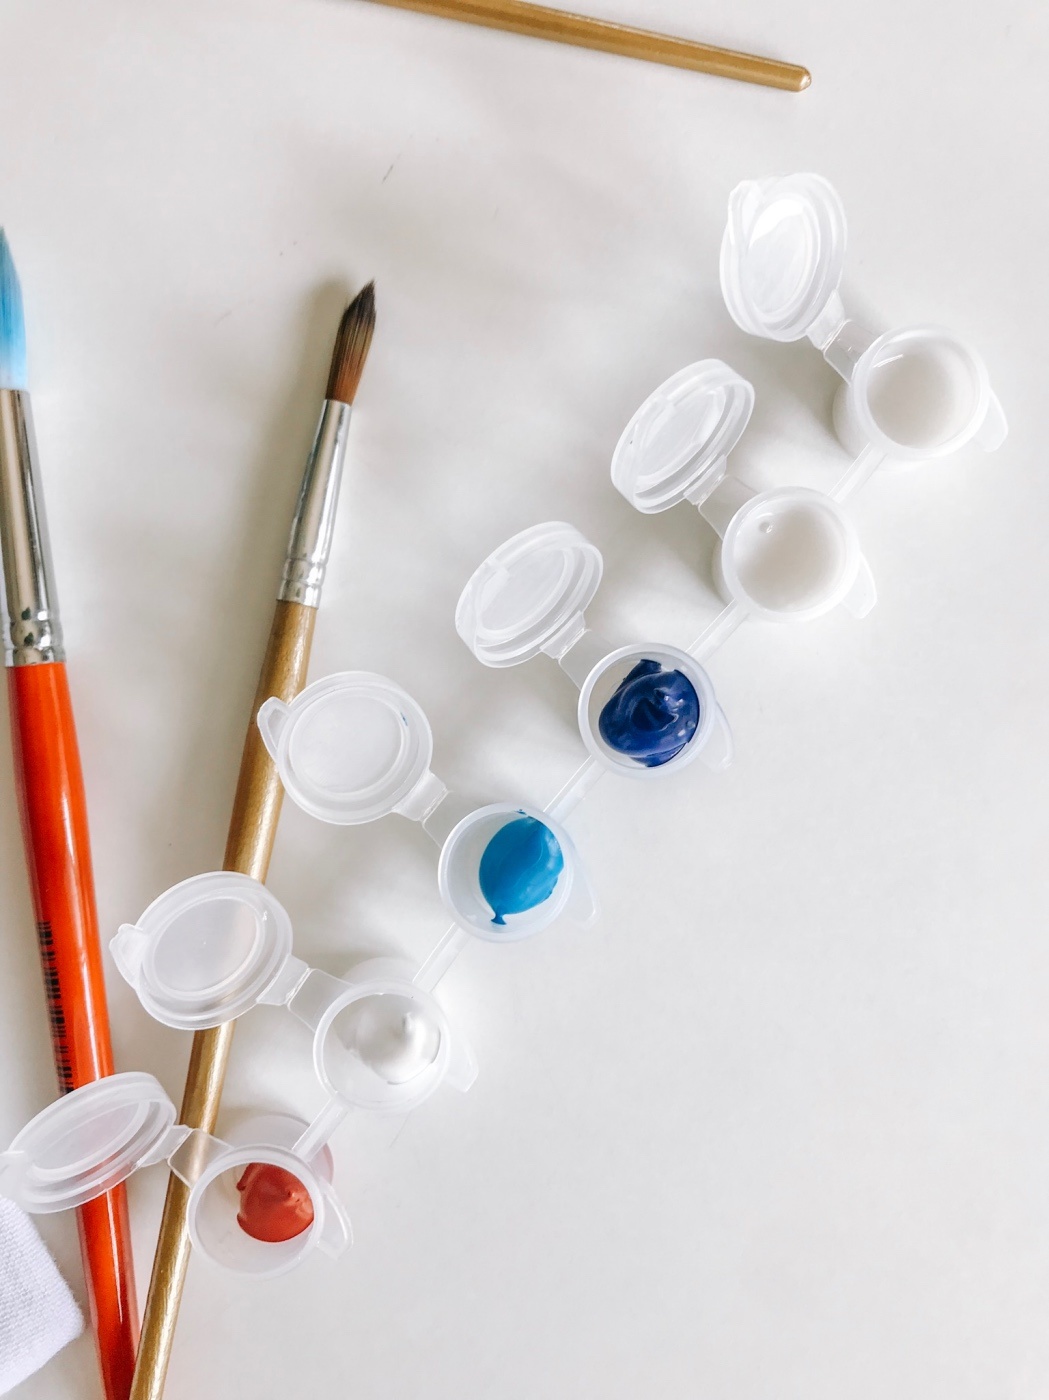
First, get your paint and brushes ready and set up your painting area. I would recommend laying a large piece of butcher paper, newspaper, or parchment underneath your painting area. Since you will want to paint the back front, and 3 sides of the wooden kitchen spoons, it’s easy to get paint in places you don’t want it!
Although acrylic is permanent if it gets on your clothes, it easily comes off of your hands, tile, melamine, glass, or other smooth surfaces.
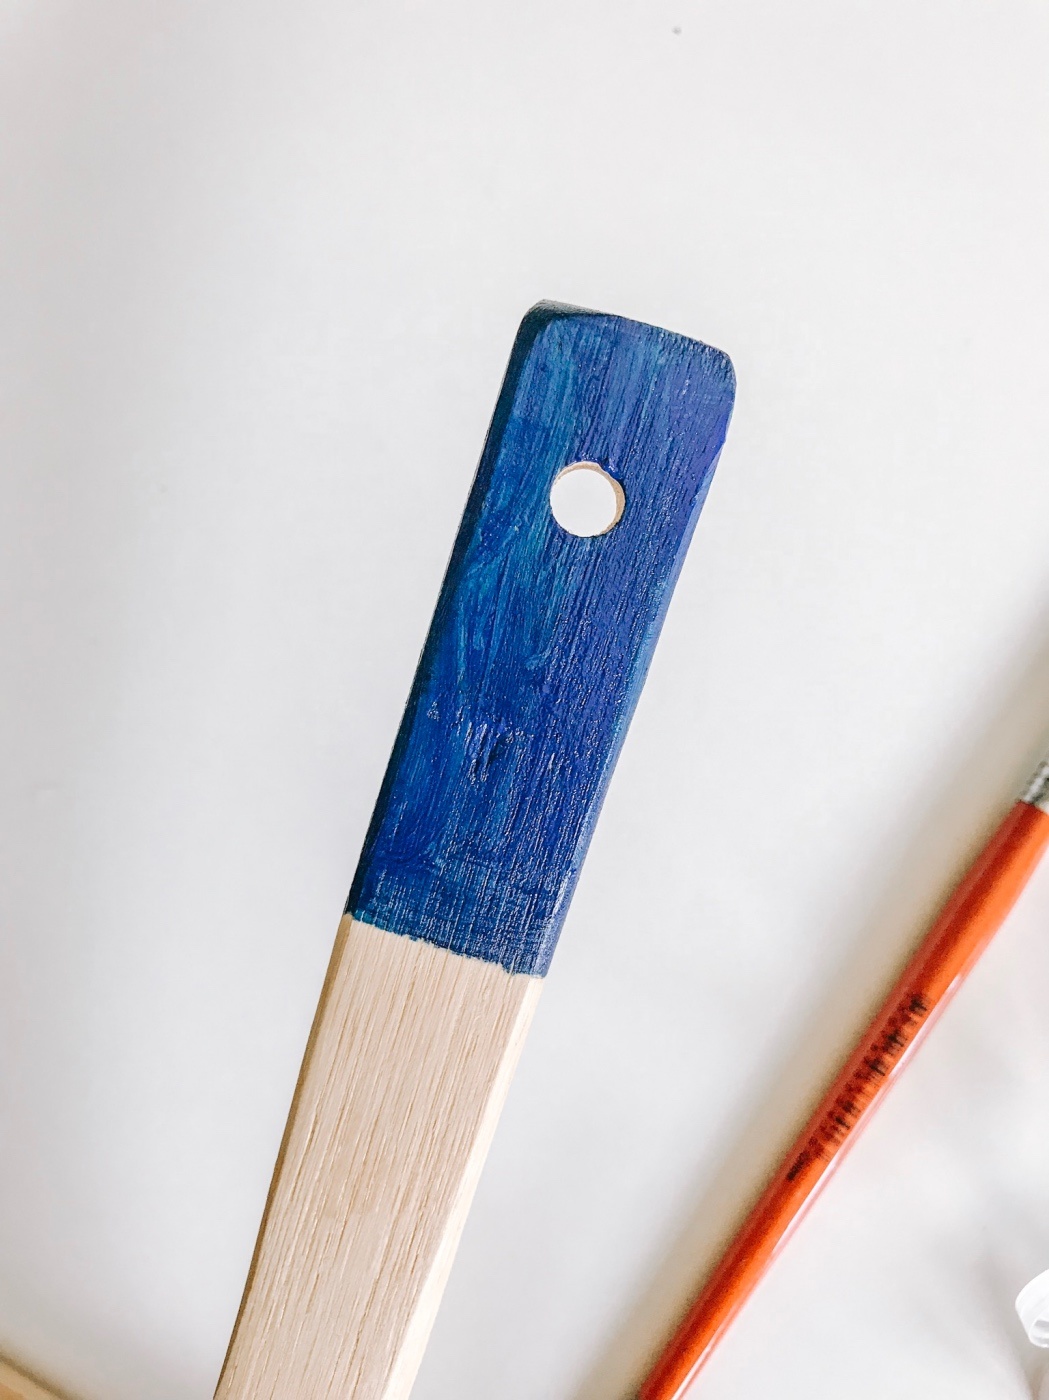
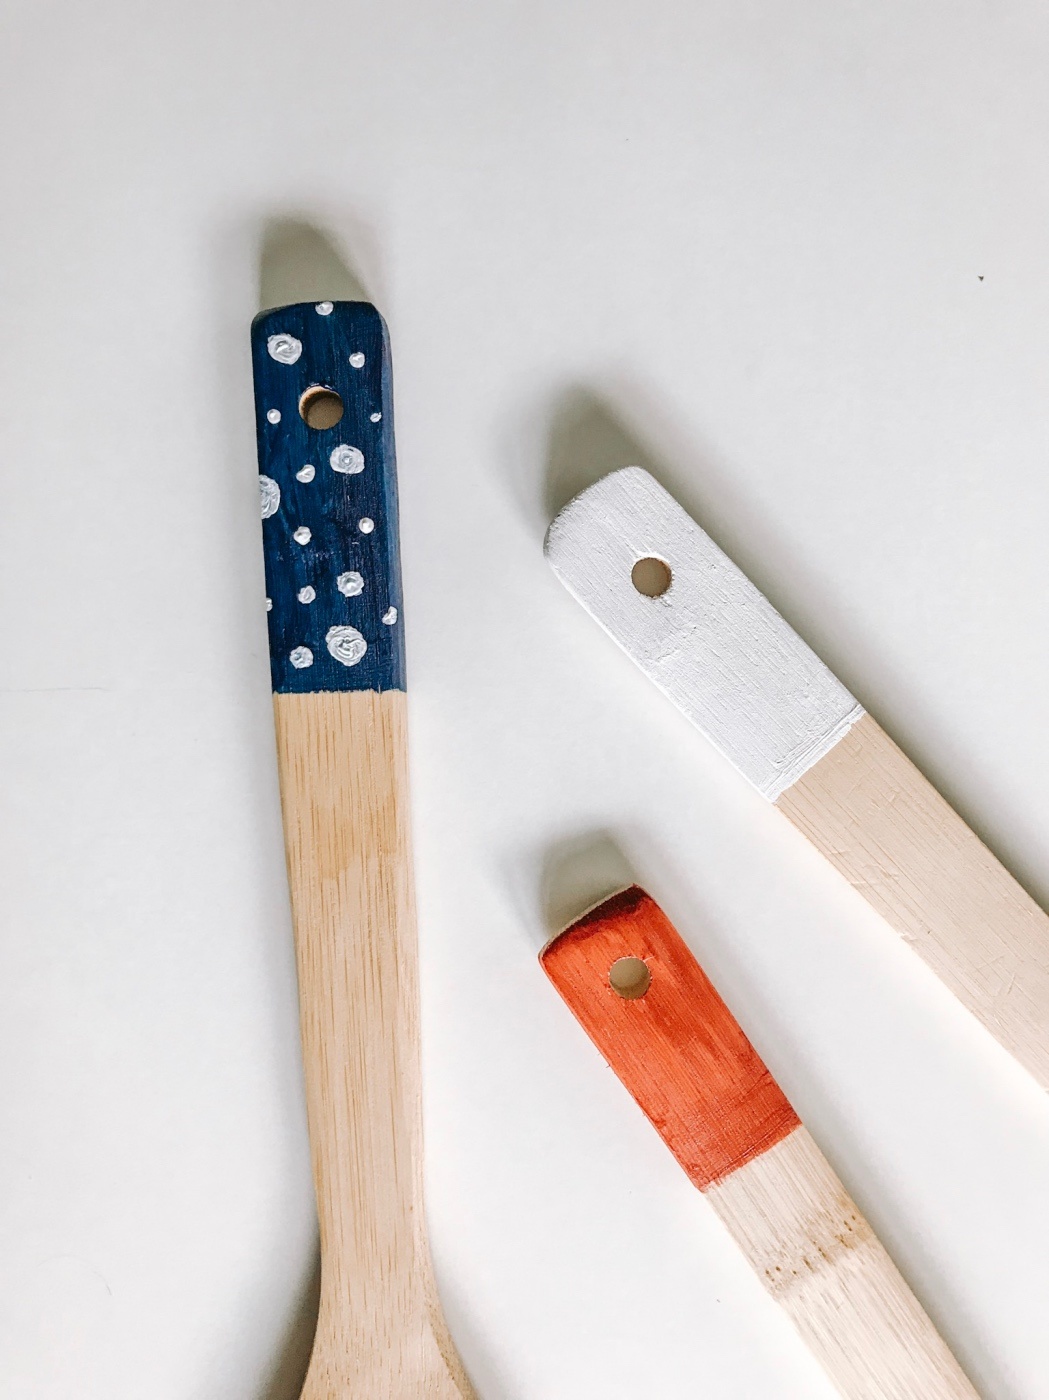
Start by adding a base coat of acrylic paint to each of the 3 wooden kitchen spoons. Choose one utensil to be red, one to be white, and one to be royal blue. To keep the utensils food safe and usable, just paint the end that you hold.
Paint the front, back and 3 sides. You will need to allow a few minutes for each side to dry before you can start on the next side. Acrylic paint dries really fast – in around 10 to 15 minutes, so you won’t need to wait long!
If you want a perfect edge, wrap your painters tape around the the spoon handle. Press the tape down firmly and make sure the tape is nice and tight. I however, wanted my spoons to take on the quality of rustic Americana, so I did not tape the edge.
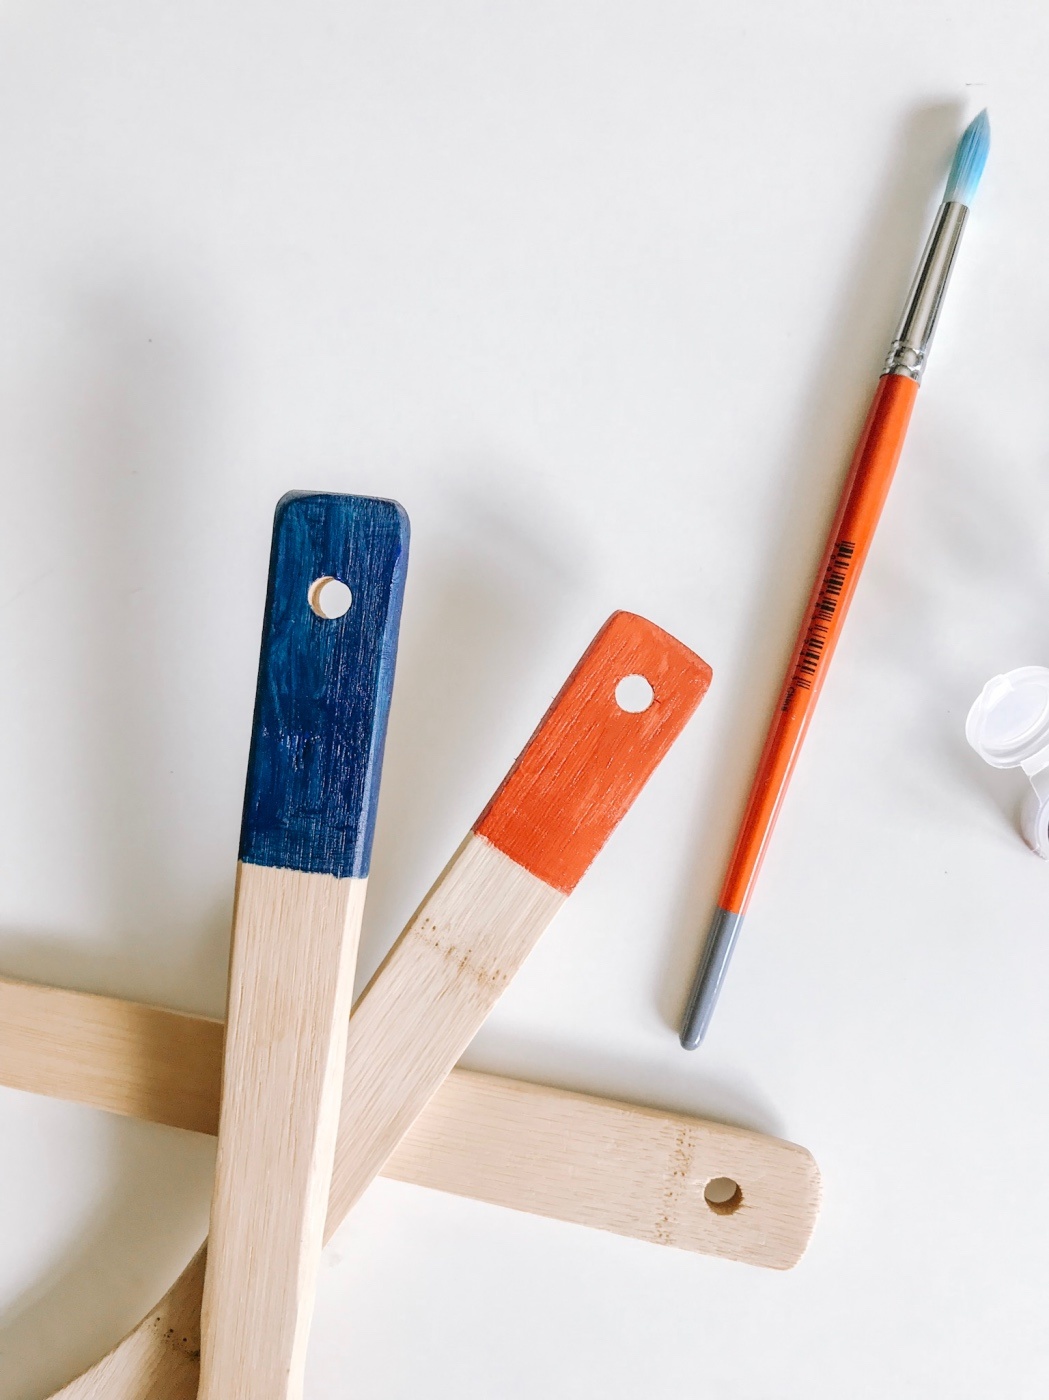
Remember that the painting does not need to be perfect for it to be cute!

These Wooden Kitchen Spoons are already looking fabulous, huh?! And we’re not even done yet.
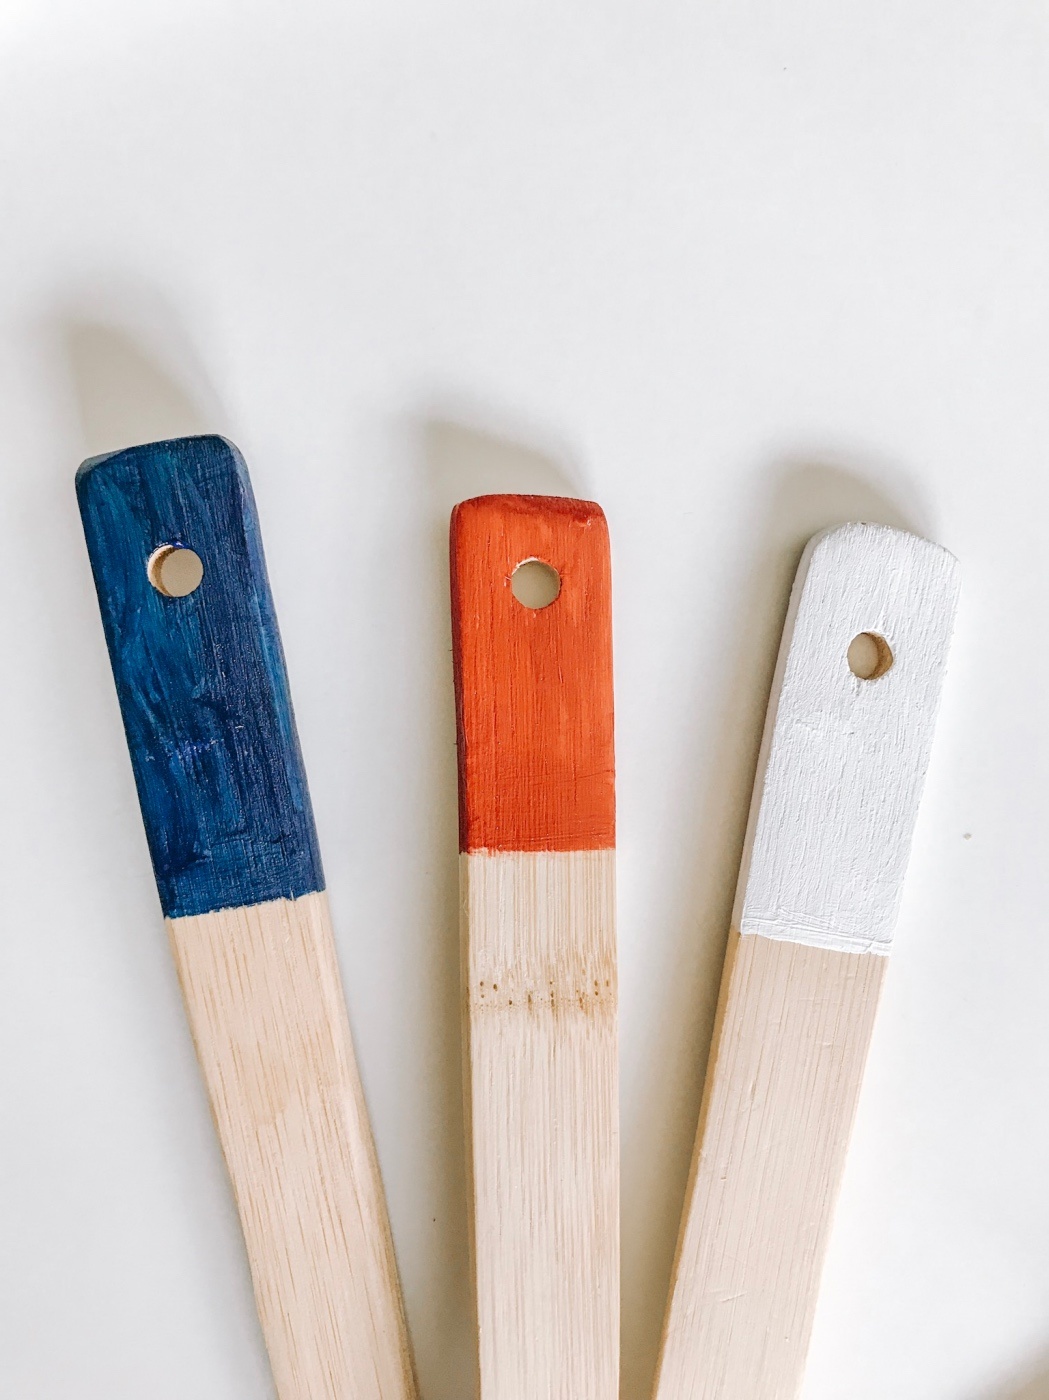
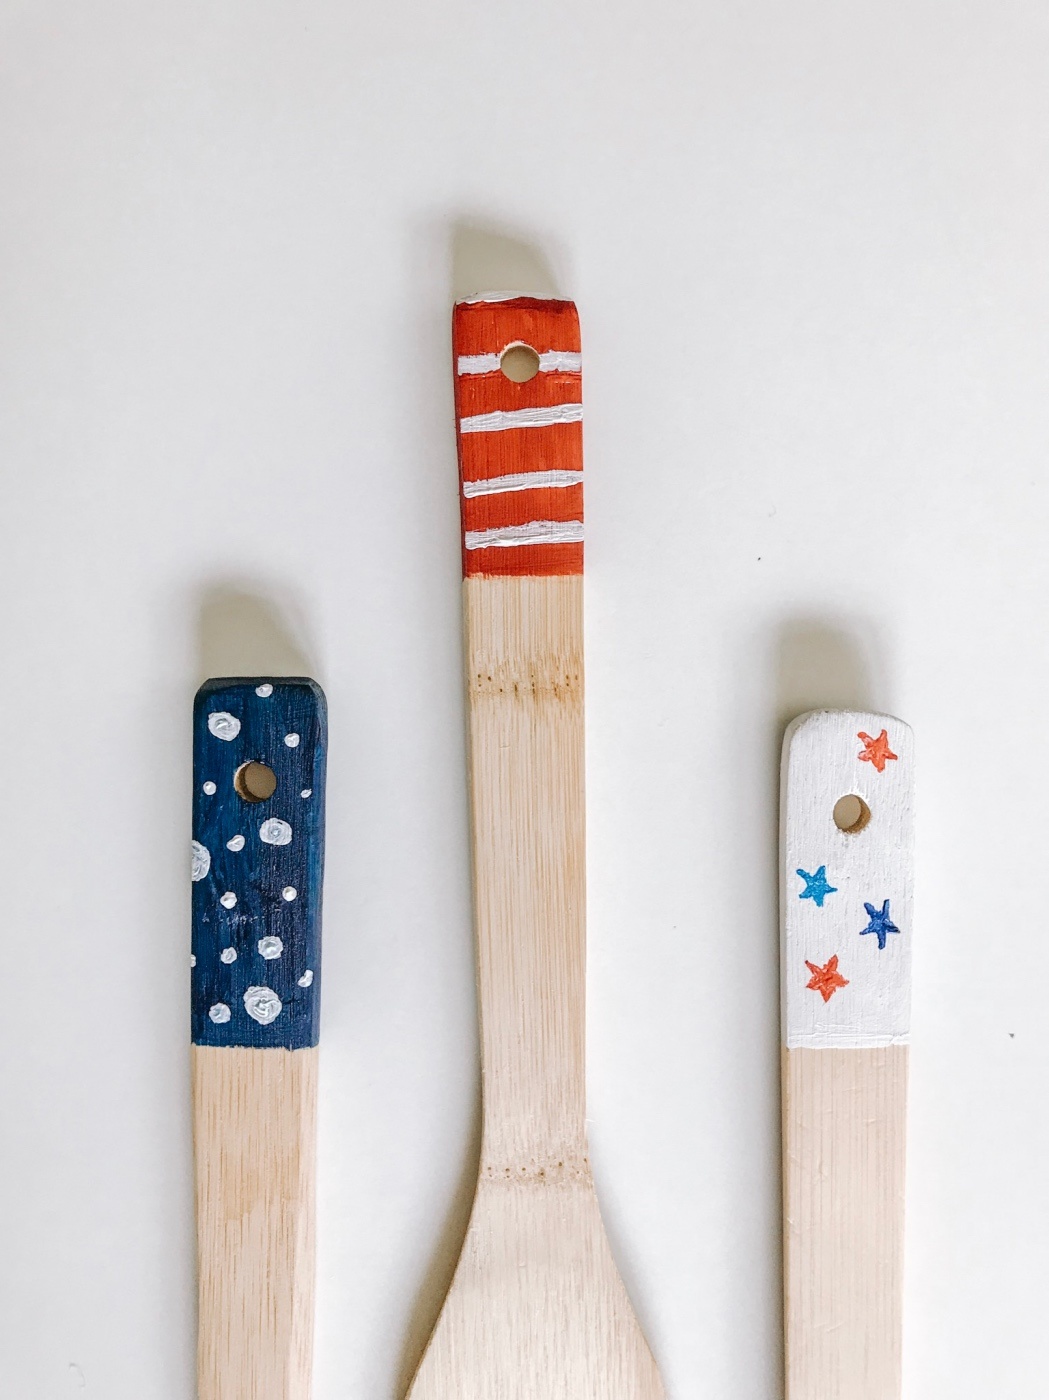
Now you will want to choose 1 utensil to cover in polka dots, 1 utensil to cover in stripes, and 1 to cover in stars. I chose to add stars to the white so that the stars would pop! This also gave me the opportunity to use both blues on top of the white.
I chose to add white stripes on the red utensil because I love that candy cane look. That left polka dots for the blue utensil!
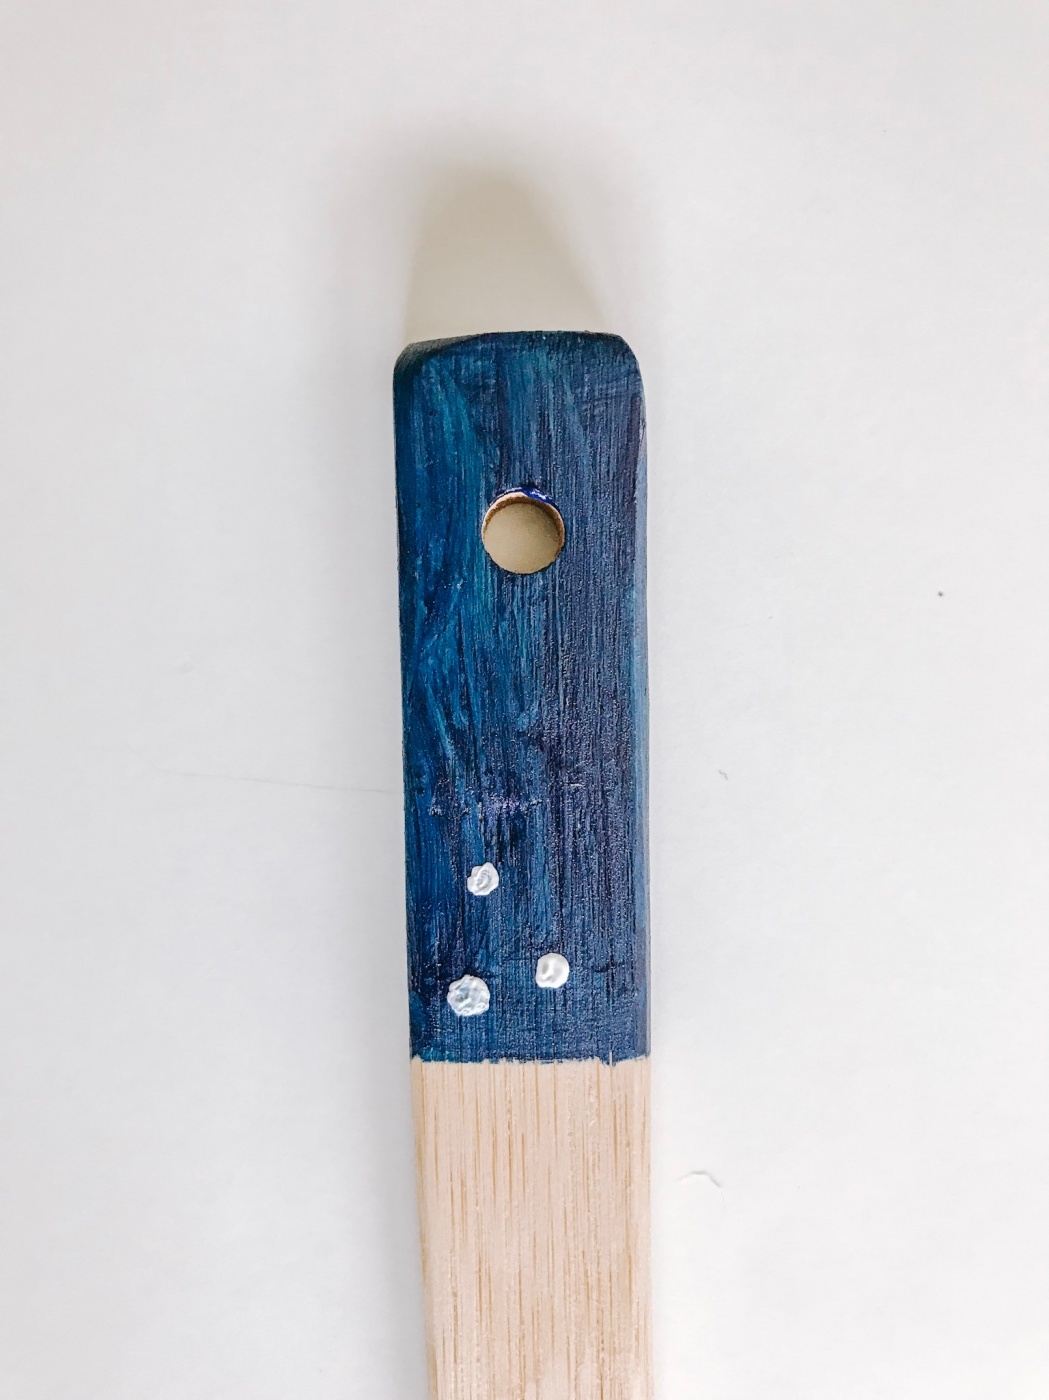
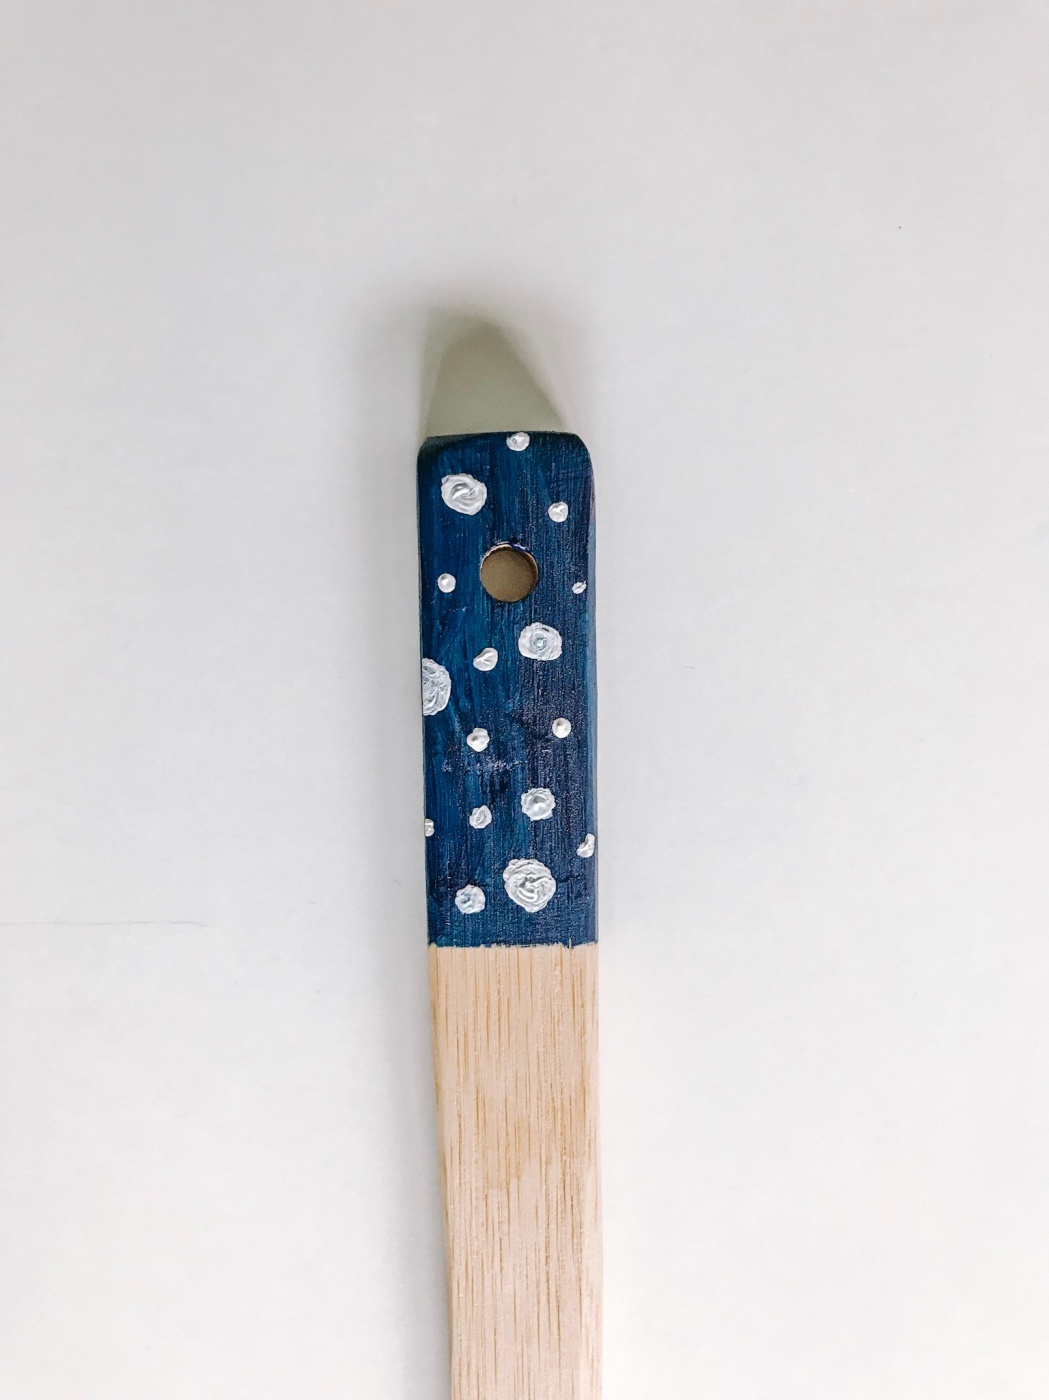
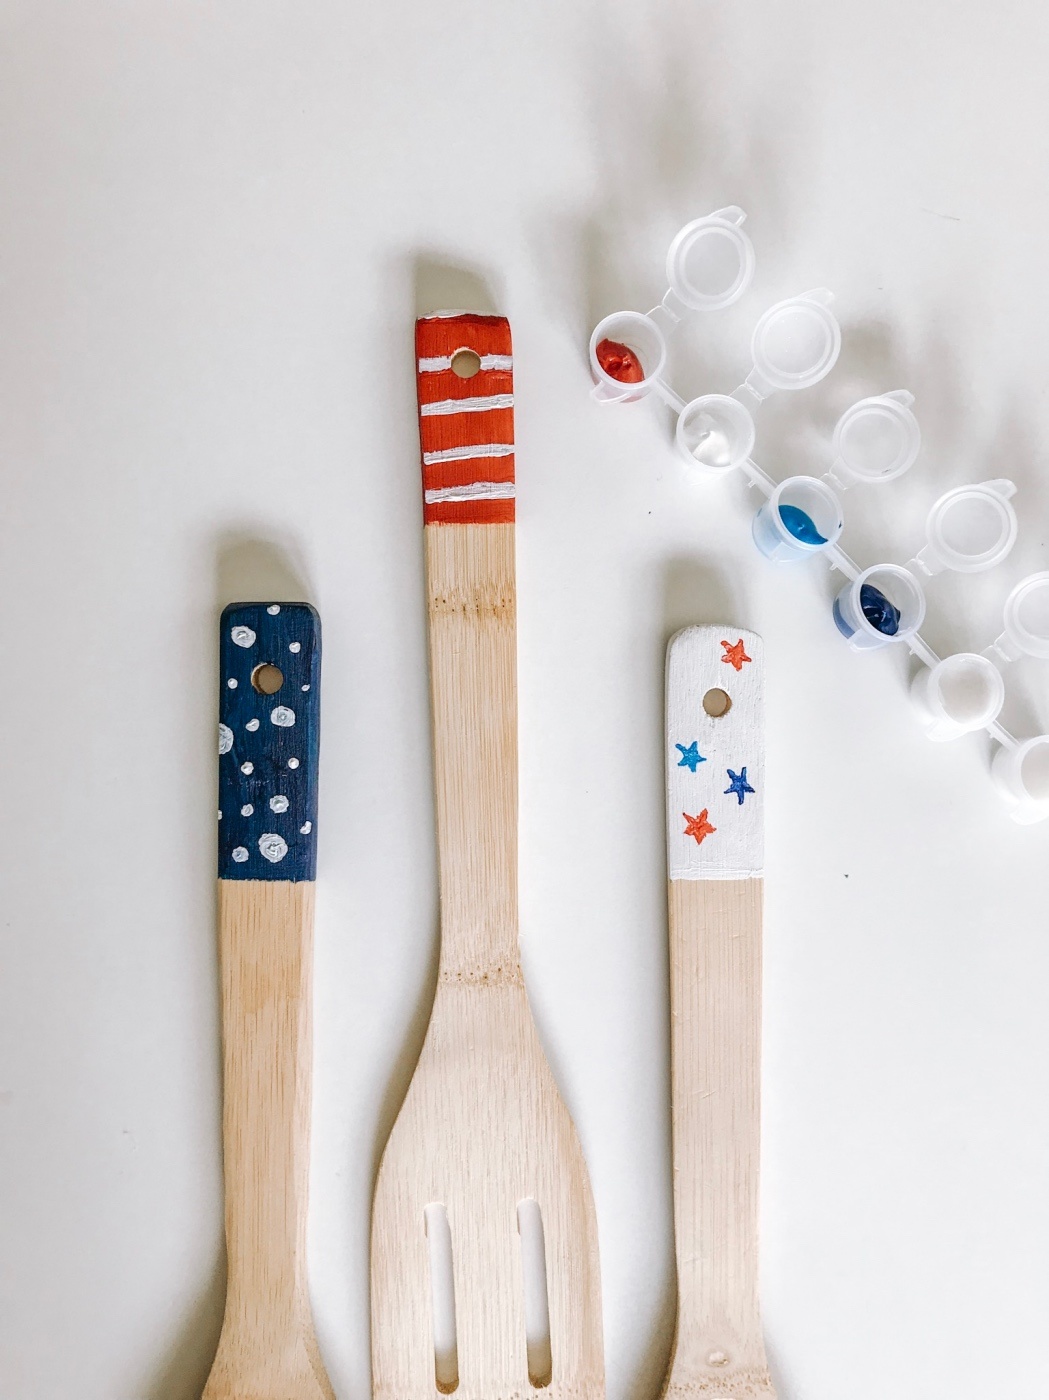
I started with the polka dots because they are the easiest. It’s a great warm up before painting stars. The easiest way to create a polka dot is to dip your brush in the paint so that a dollop of acrylic hangs off the brush. Then just gently press the acrylic paint flat down onto the brush.
Try adding small polka dots and larger polka dots for a fun finished product!
In between each color, be sure to wash your brush thoroughly with soap and water. Squish the brush bristles into your hand to be sure that there’s not acrylic lingering in the depths of the brush. Then dry it completely before using again.
I personally didn’t wash my brush because I used white paint on the blue spoon and white paint on the red spoon. But I wanted to be sure that you knew now in case you are painting yours differently!
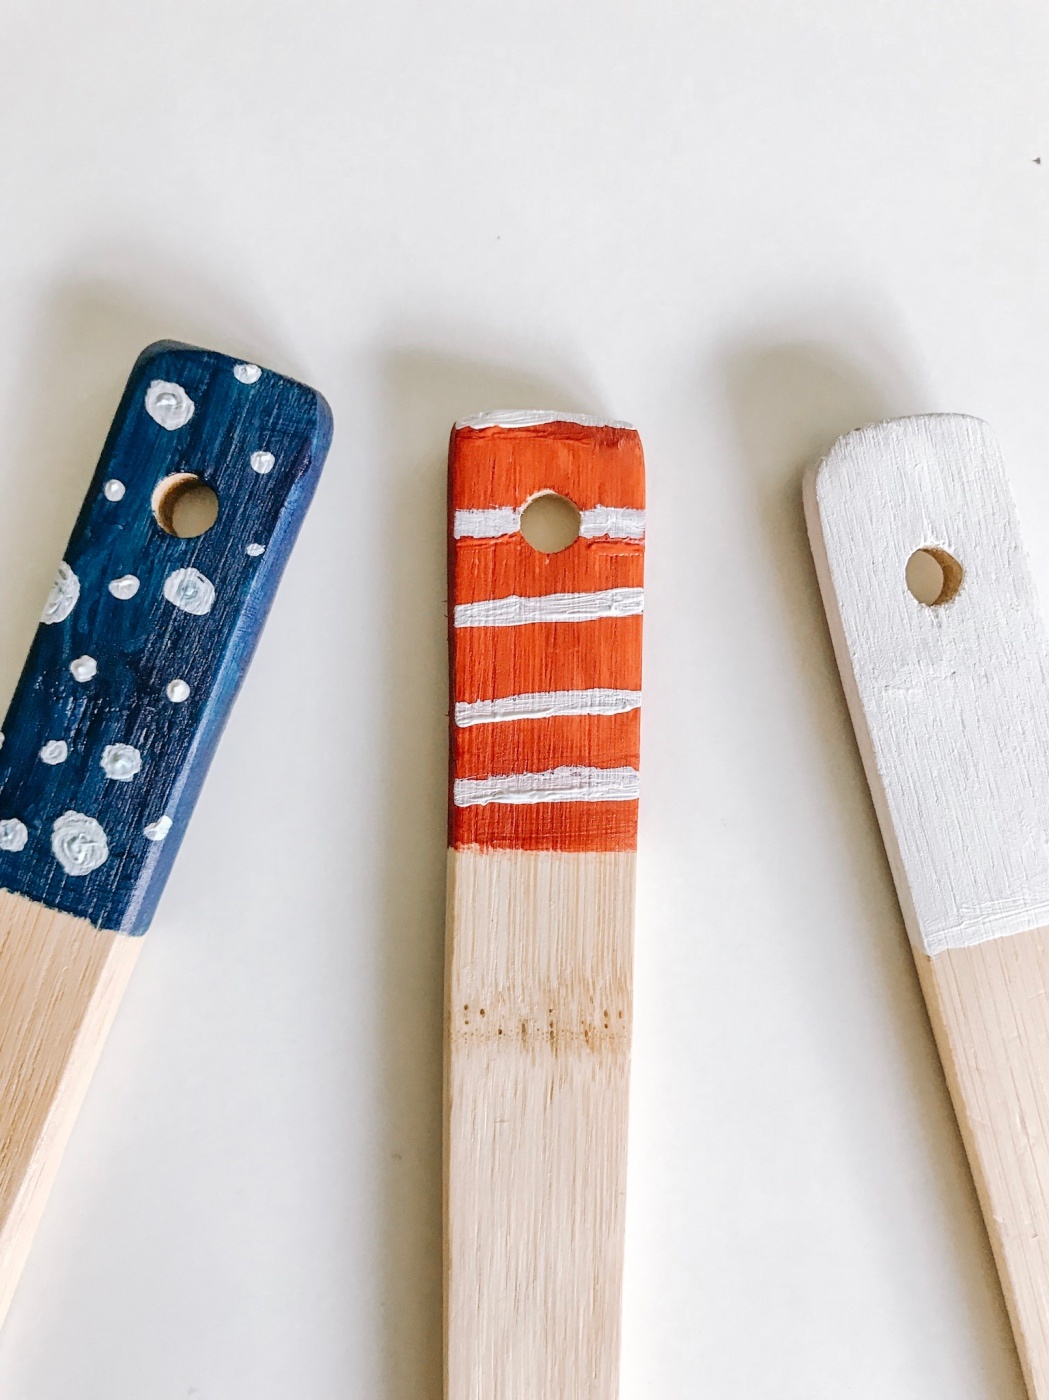
I didn’t add tape lines to create perfect stripes either. Again, I wanted my kitchen spoons to look rustic, so I painted the stripes free hand. Remember, if you make a mistake, you can cover it up by allowing the paint to dry and then adding more of the background color of paint.
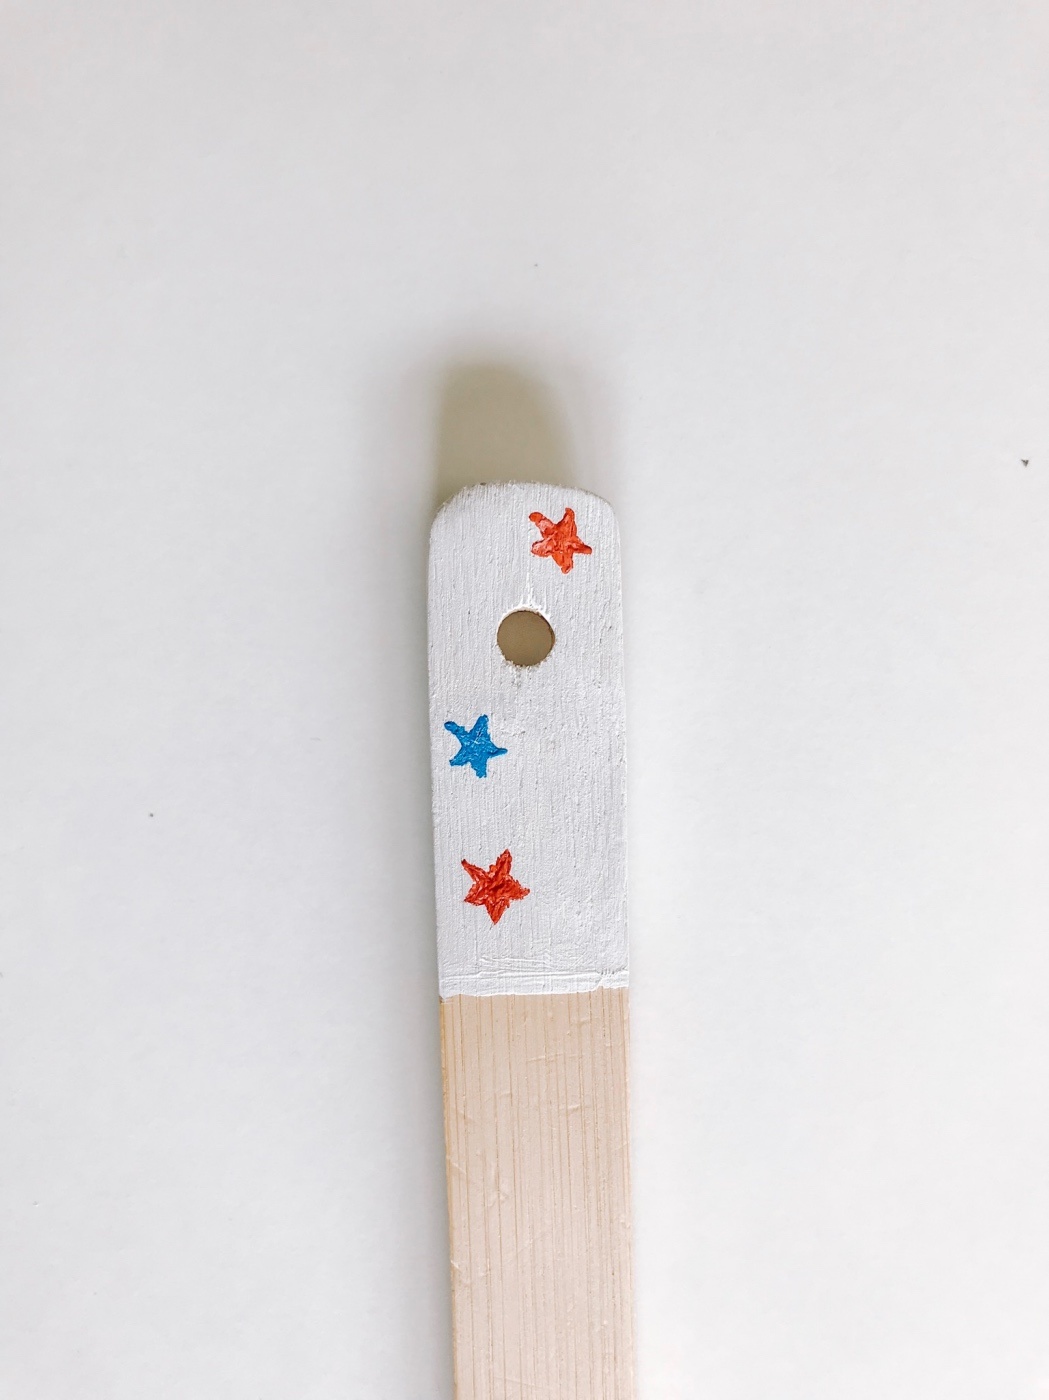
The last spoon to paint is the one with stars. This will be the hardest, but your flat brush will do most of the work.
Add just a tiny amount of paint to your brush. You may even want to scrape off any excess paint. Create your star in paint, the same way you would draw it with a pen or pencil. Create the outline of the star first and then carefully fill it in.
Add the stars across the spoon sporadically, like the polka dots.
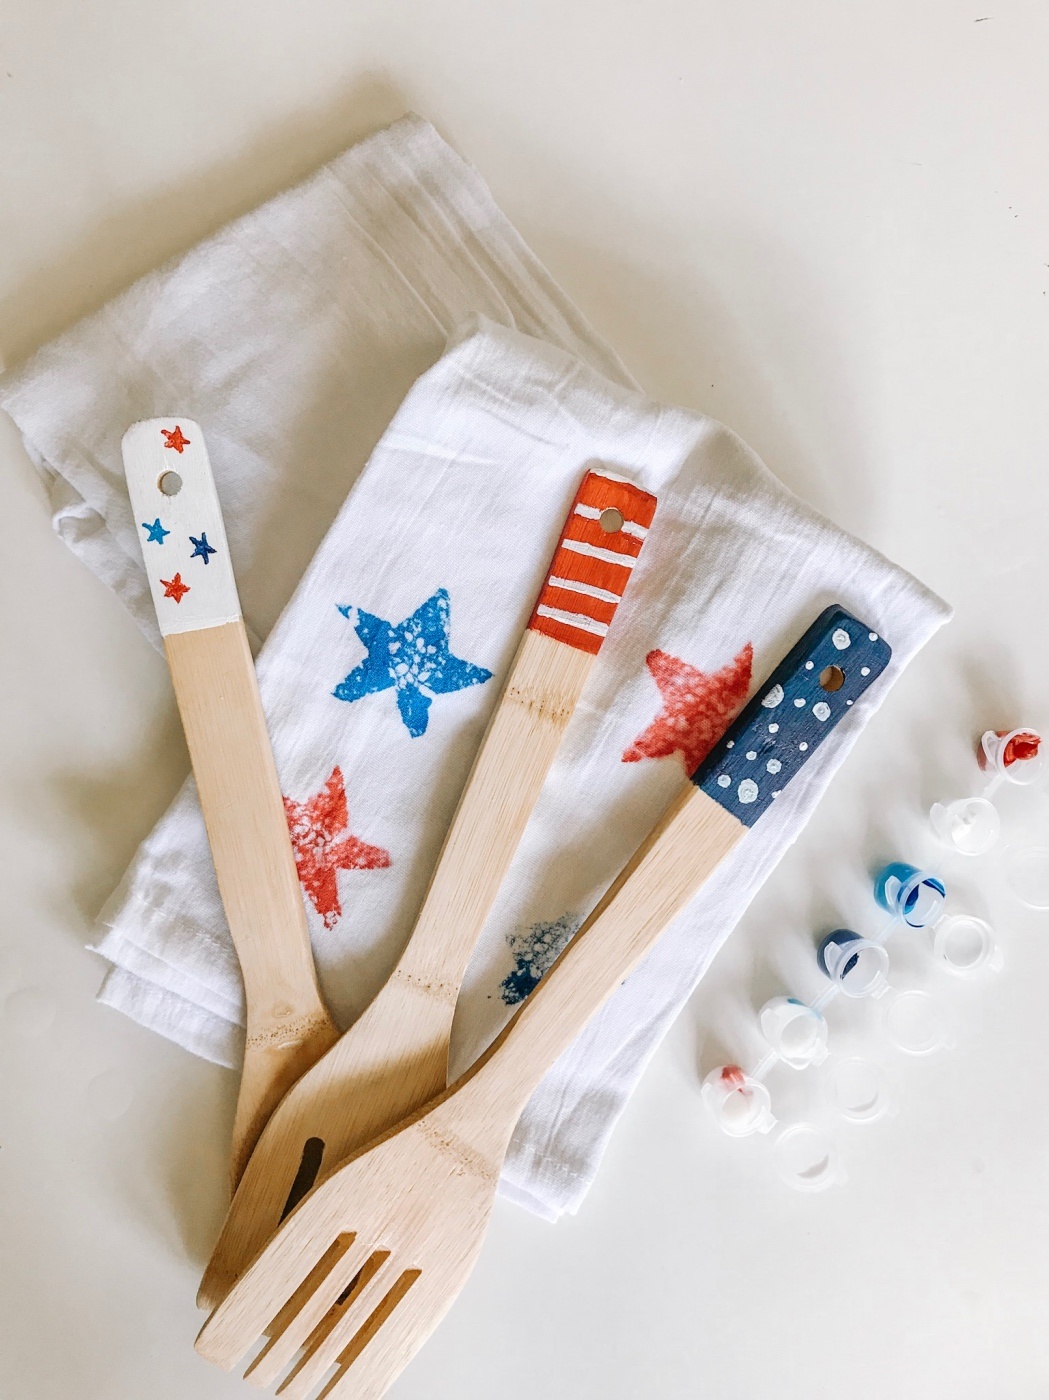
These serving spoons are ready for use just as soon as the paint dries! To clean them, you can put them in the dishwasher but anything handmade is always best hand washed.
Now aren’t these 4th of July perfect? I could imagine using them in serving bowls at a holiday BBQ or even giving them as a housewarming gift. Where will you use these Hand Painted Serving Spoons? Tell us in the comments!
And if you love this DIY, shop the Craft in Style Box from Pop Shop America here.
Let’s Stay Friends!
Insta | Pinterest | Enews | TikTok