DIY
Easter Bunny & Starburst Easter Basket Stuffer
I’ll say it now and I’ll say it again. Easter is my favorite holiday just for the colors. I love rainbows. I love pastels. and I love sweet candy, bunnies, nature and all the things that make Easter so special!
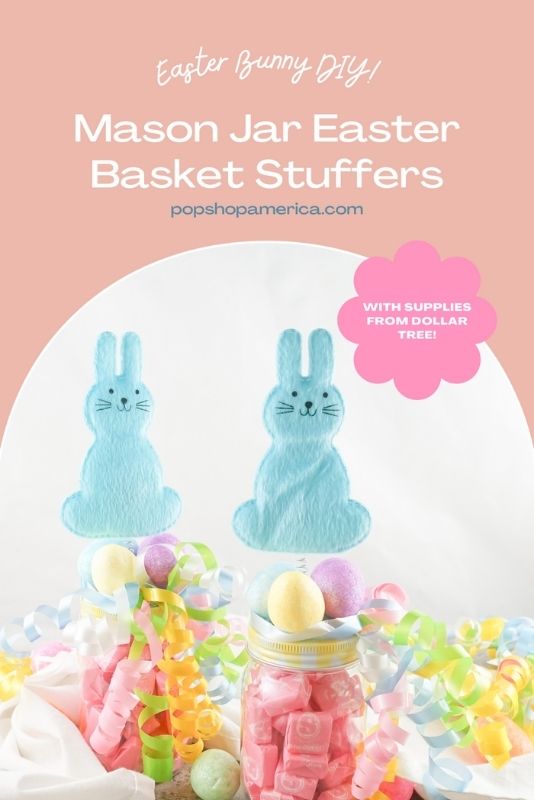
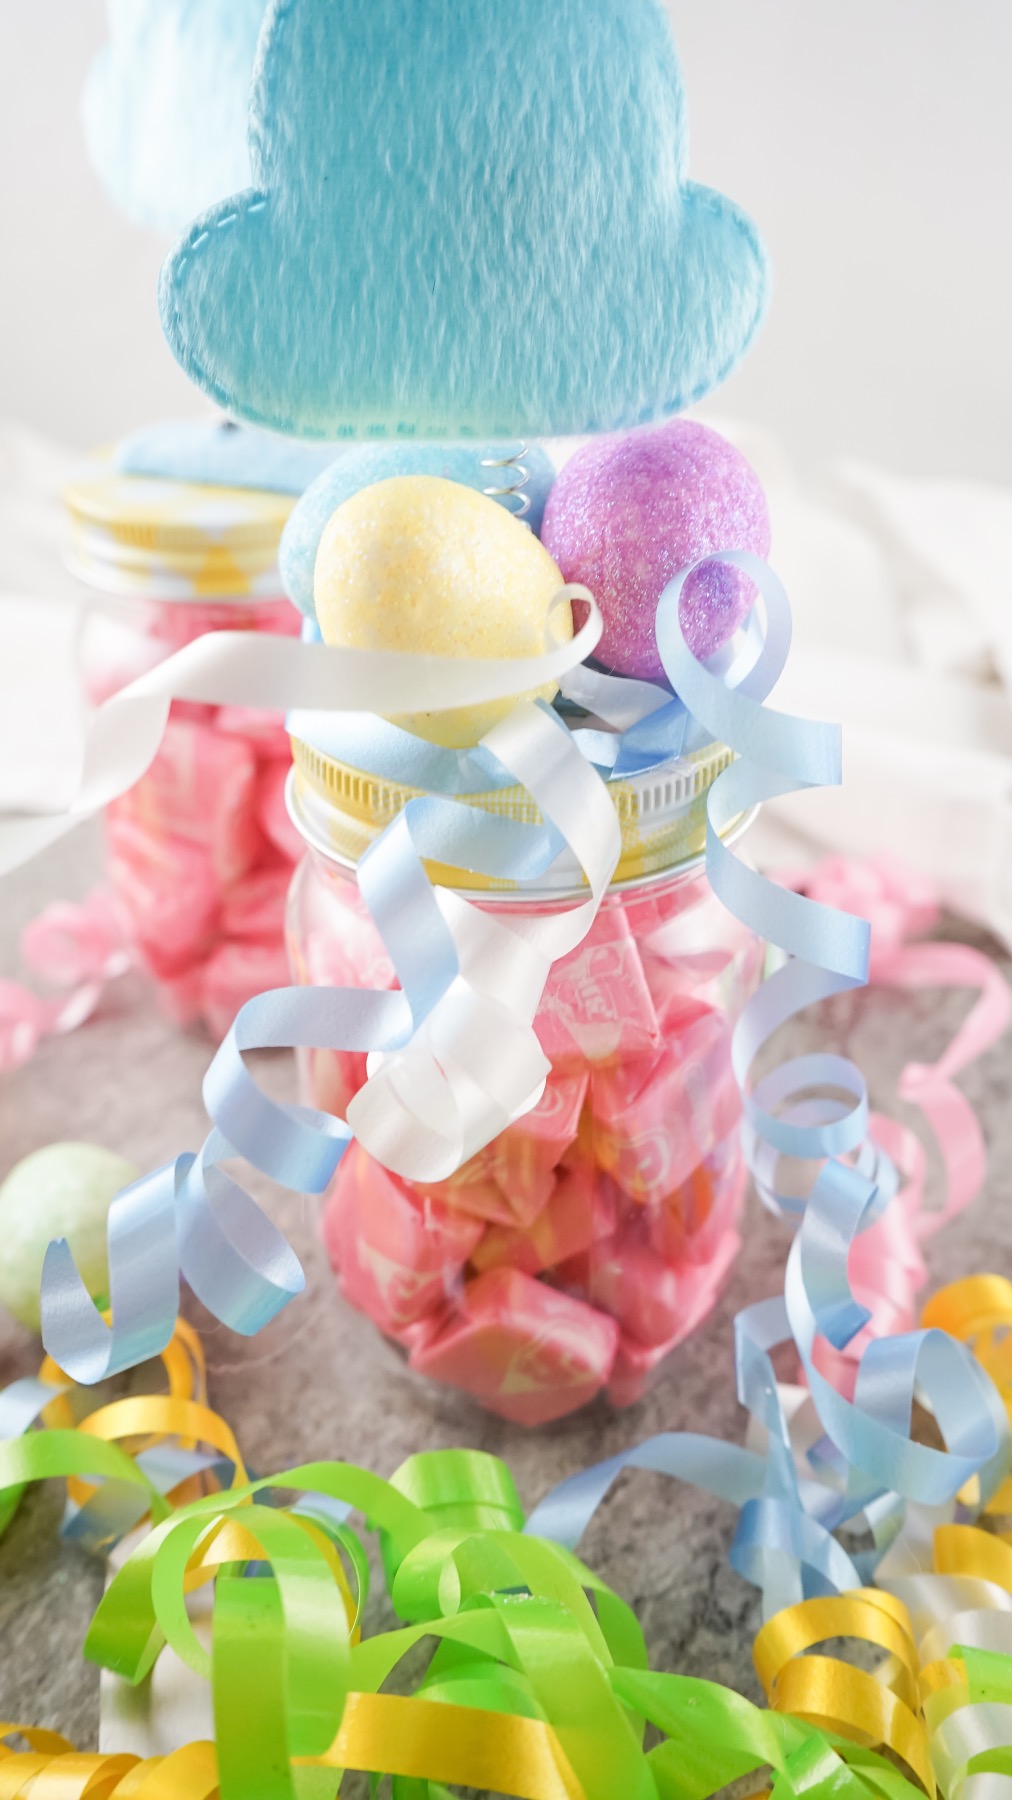
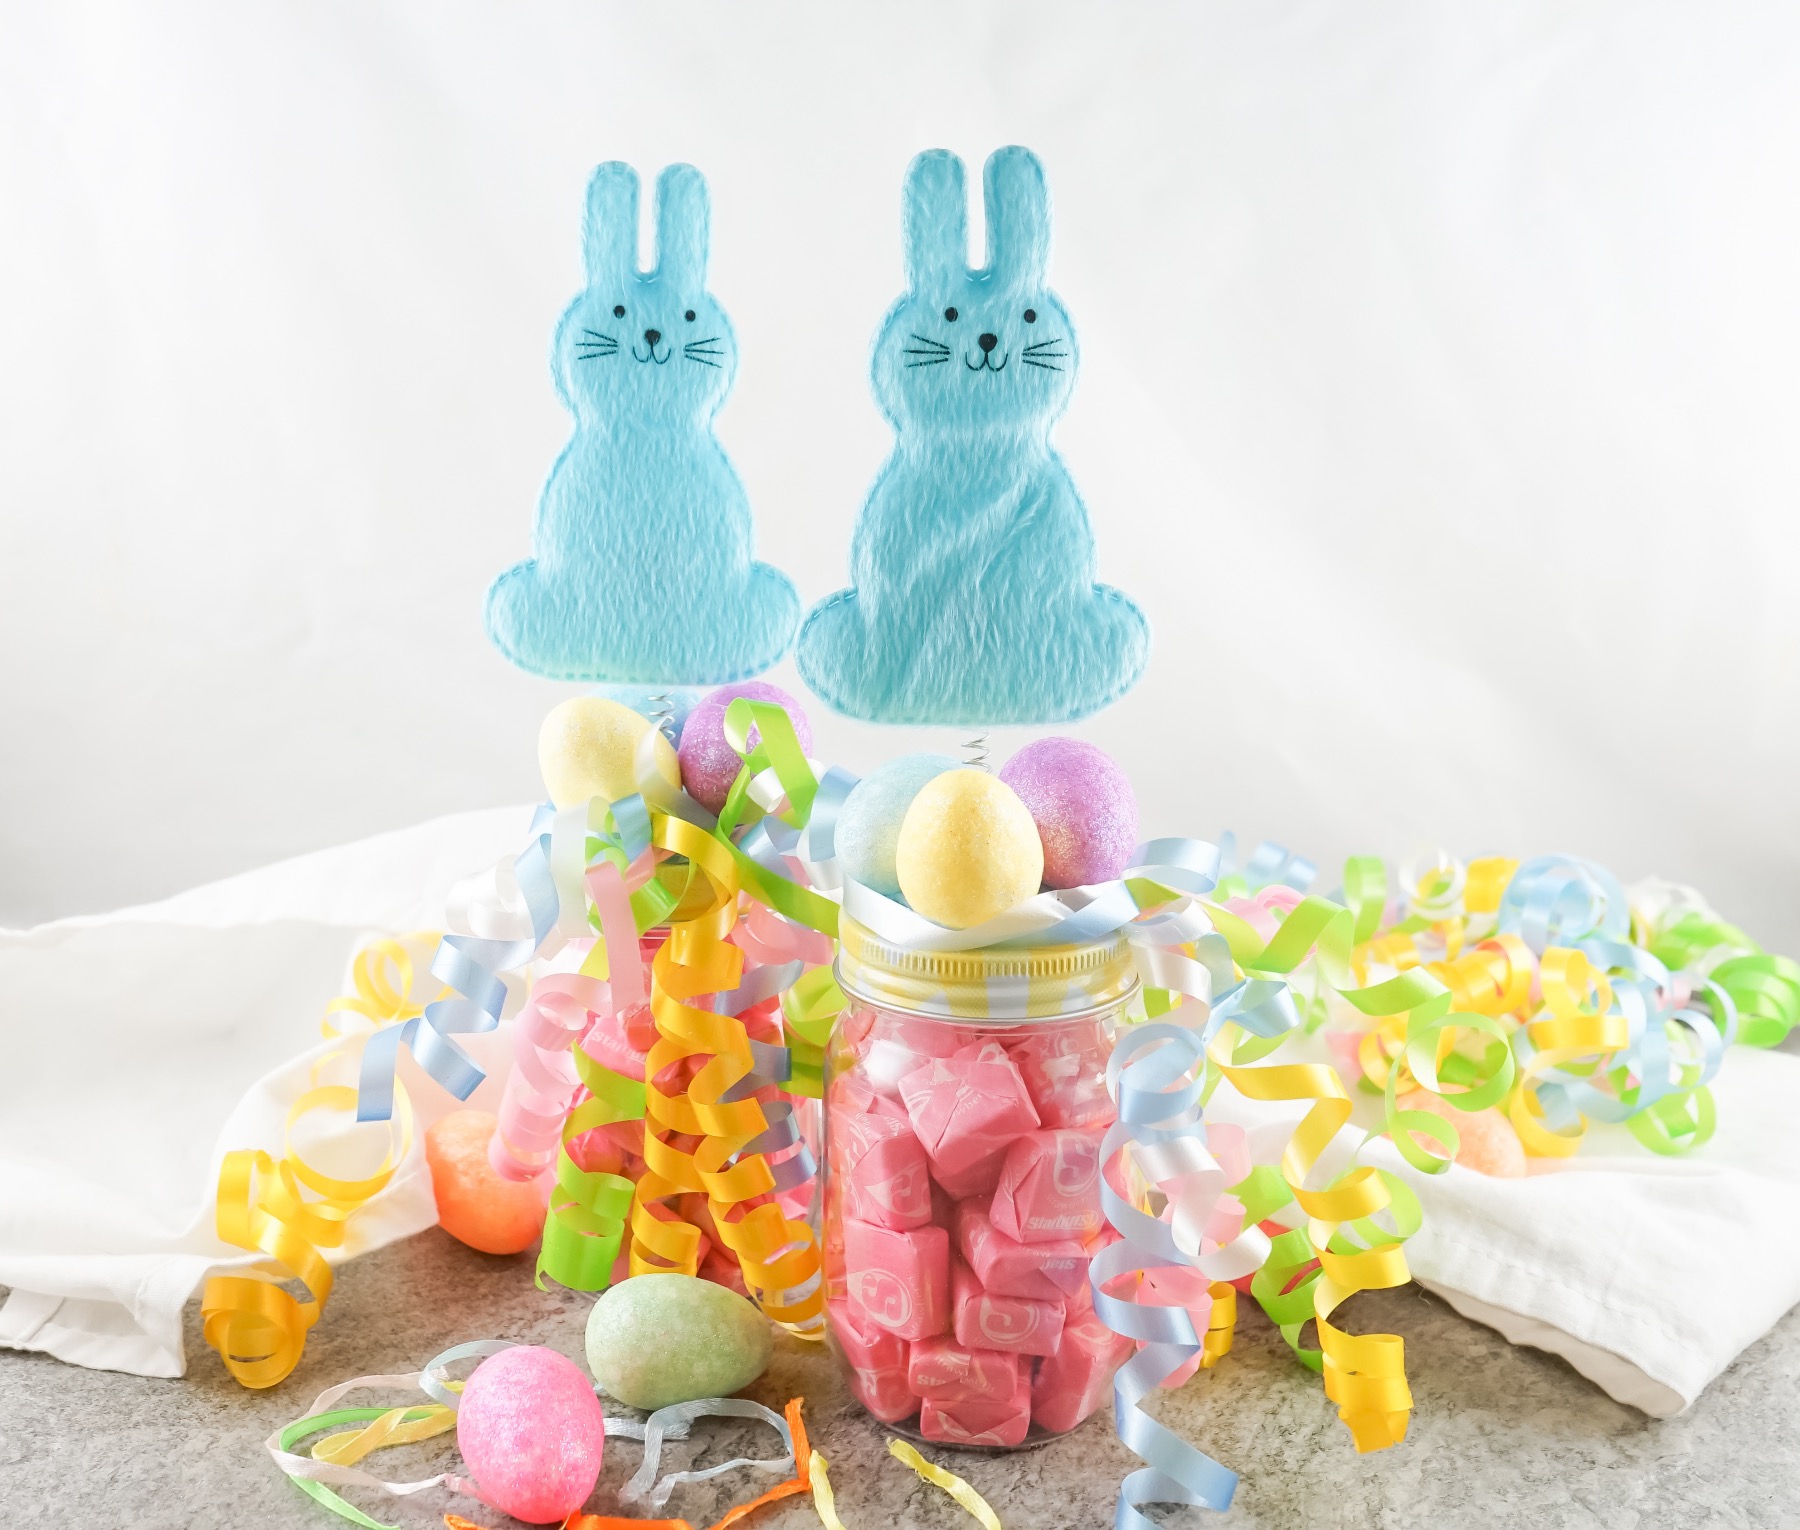
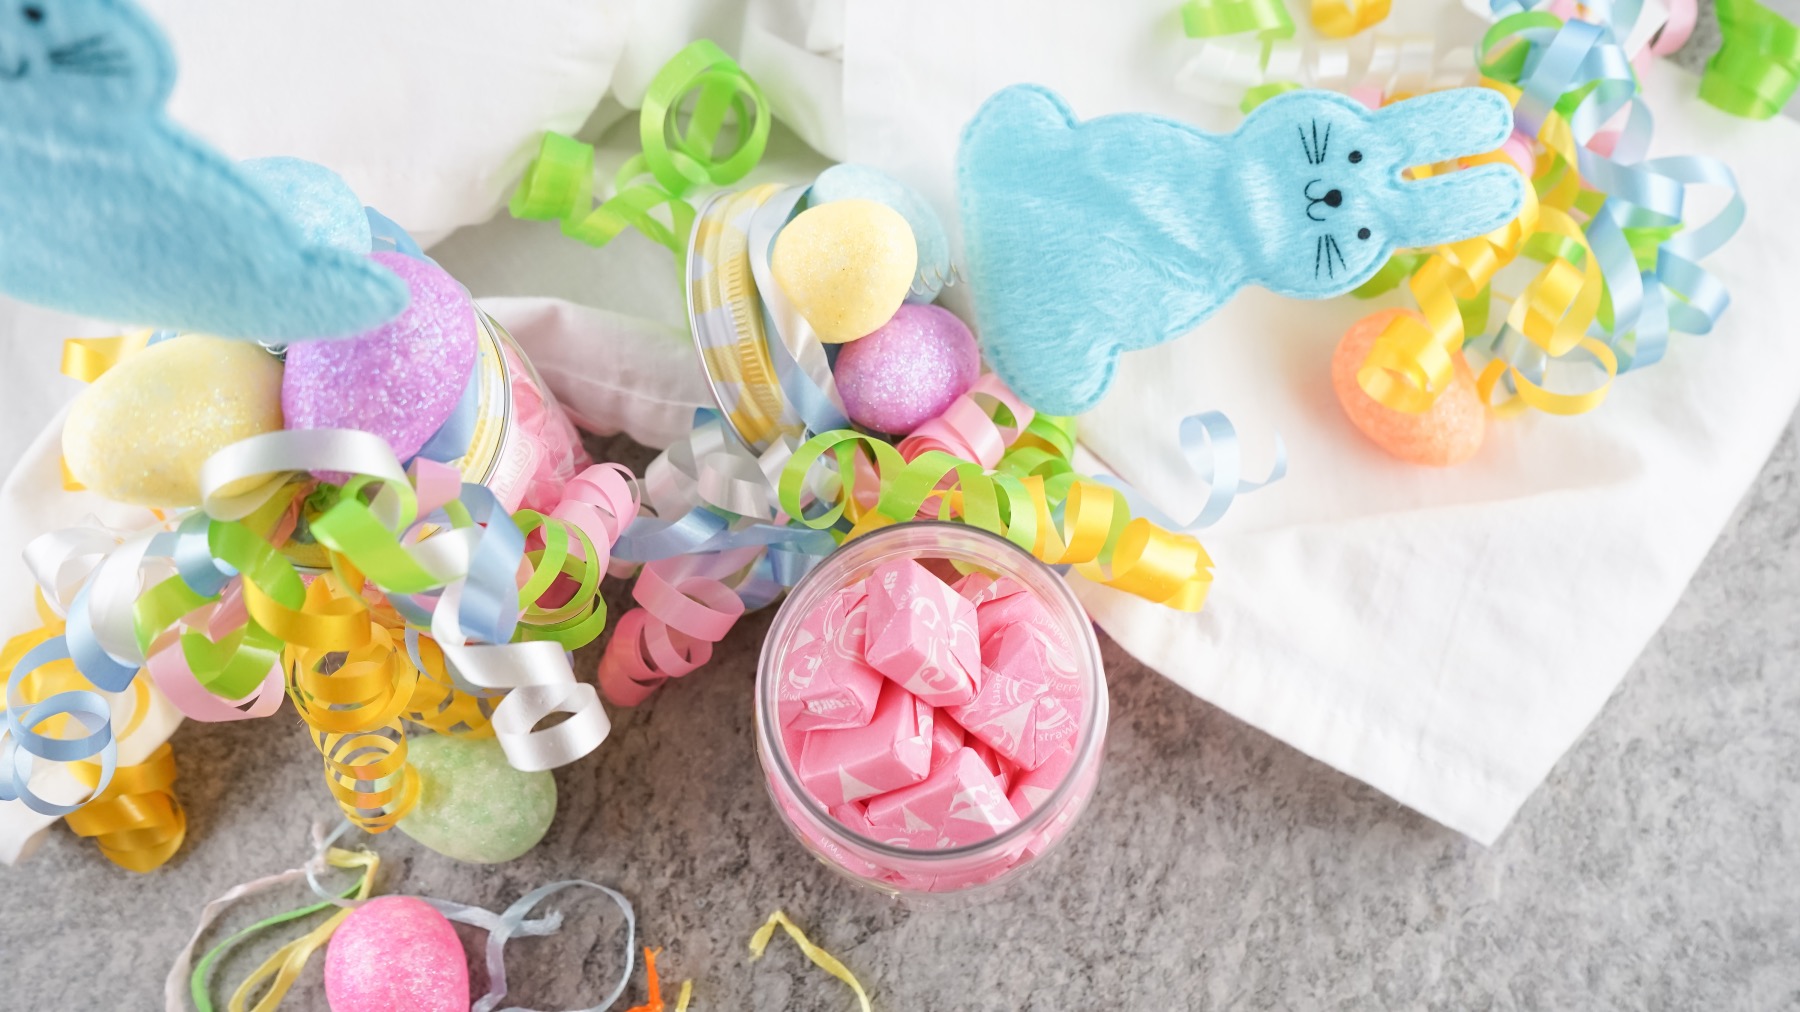
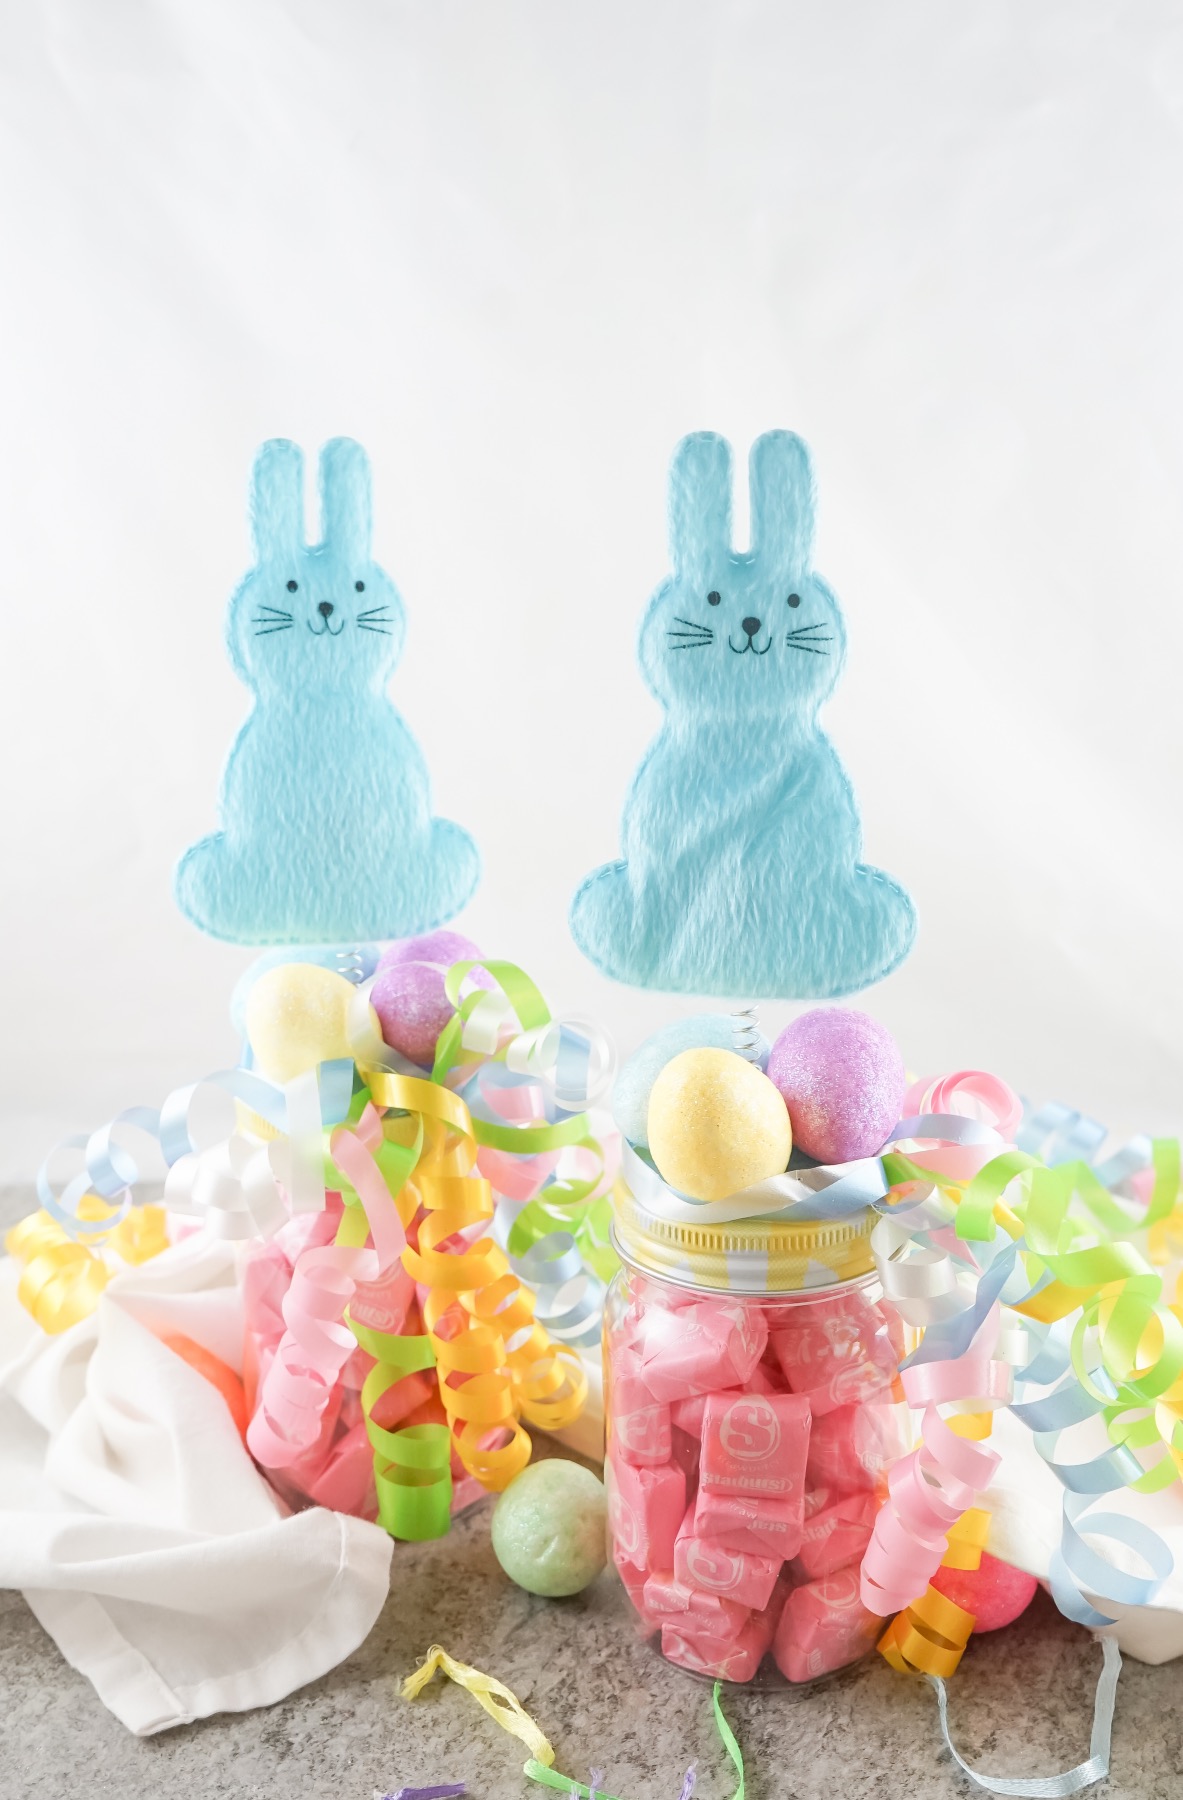
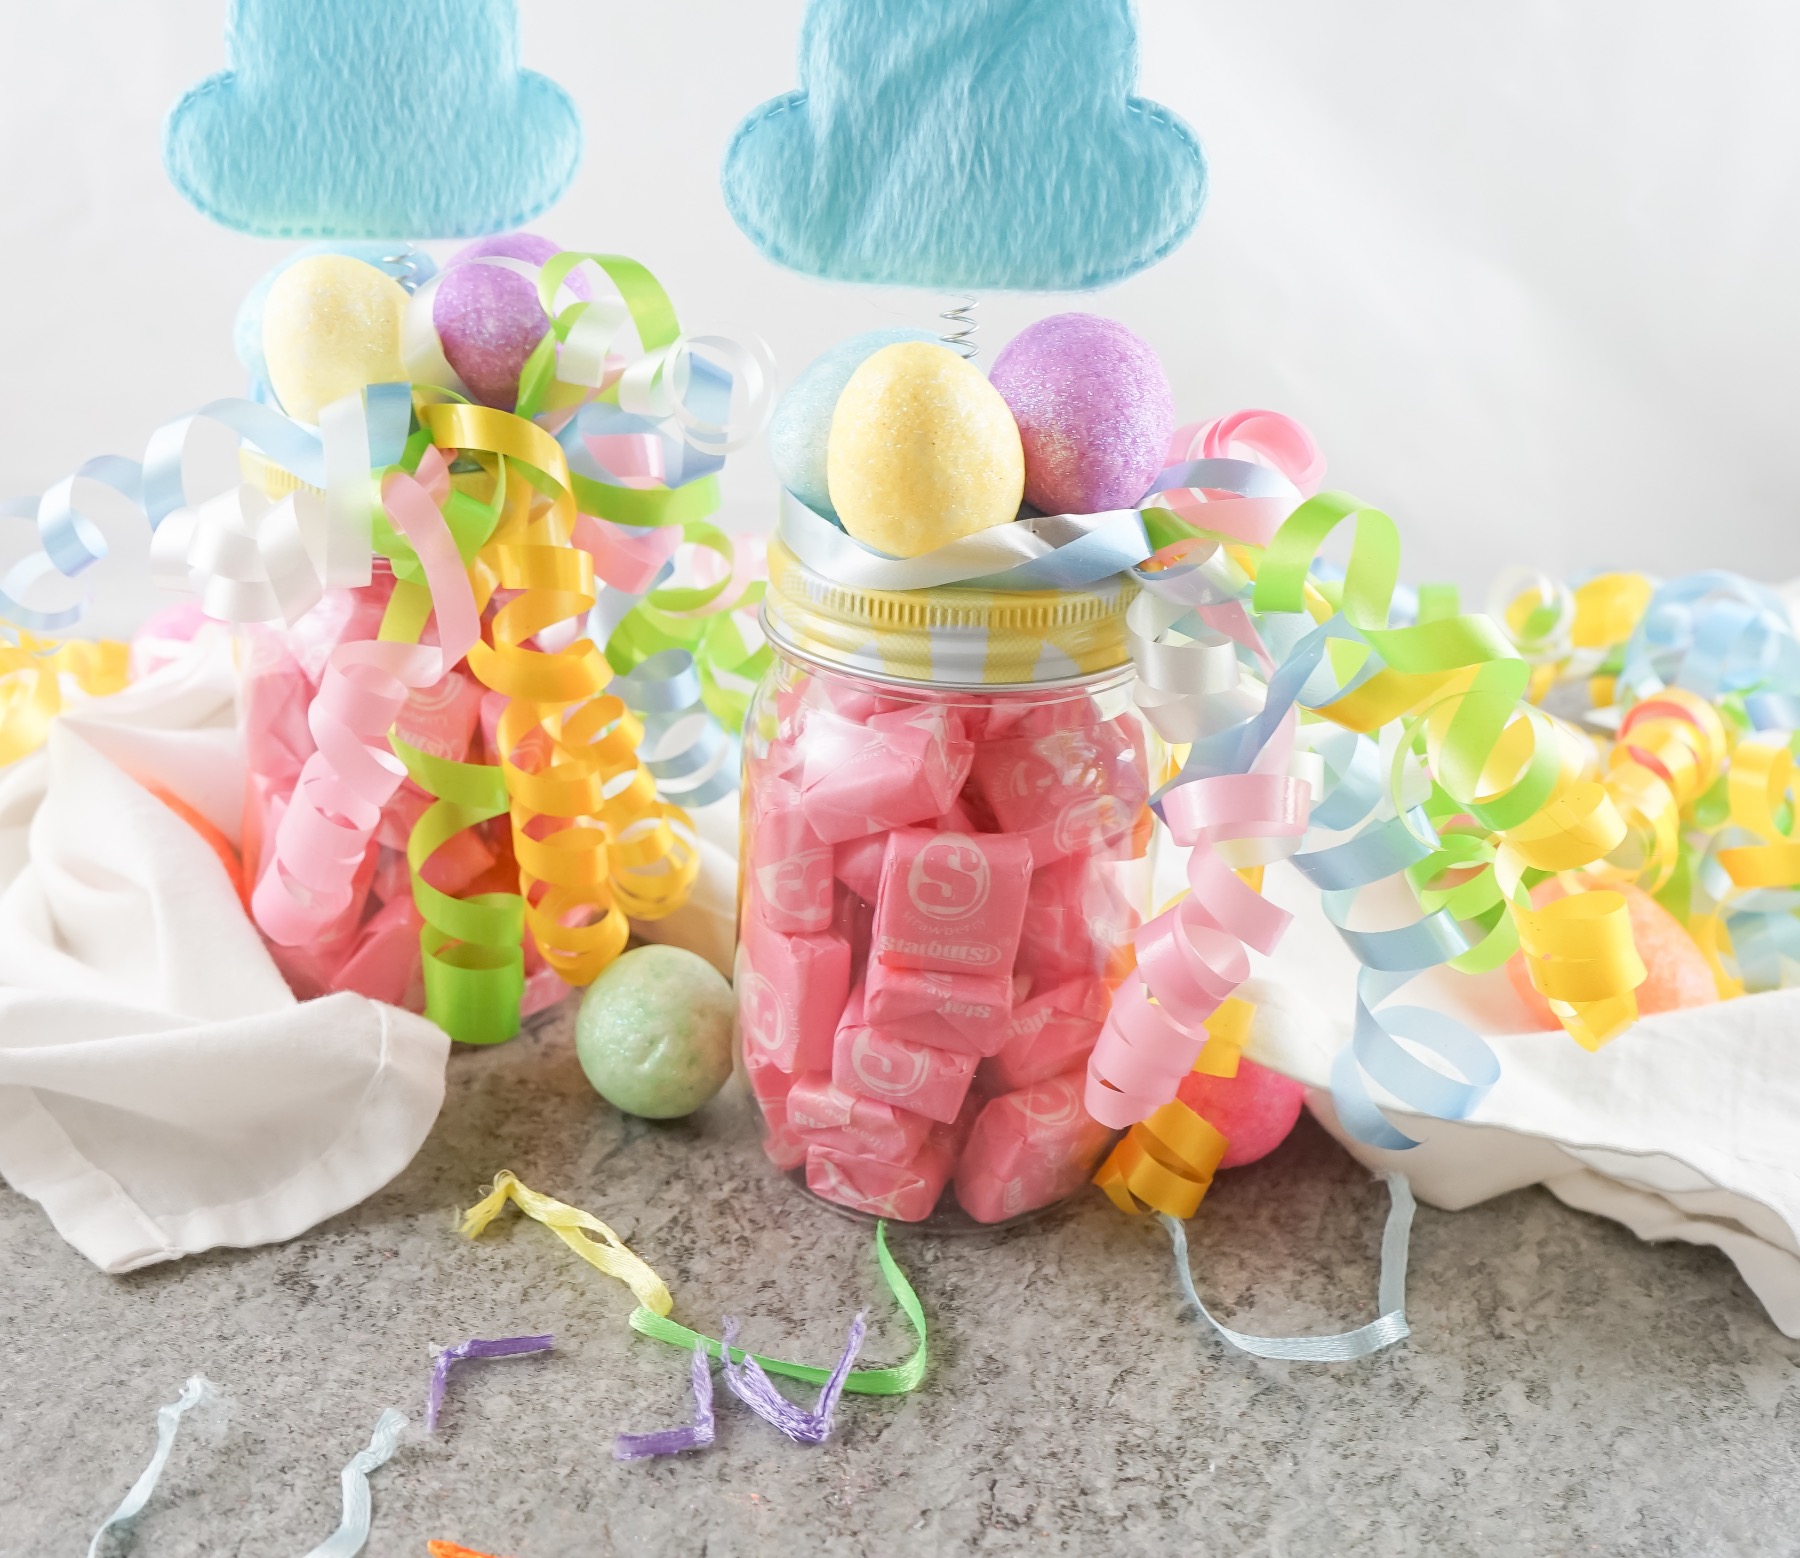
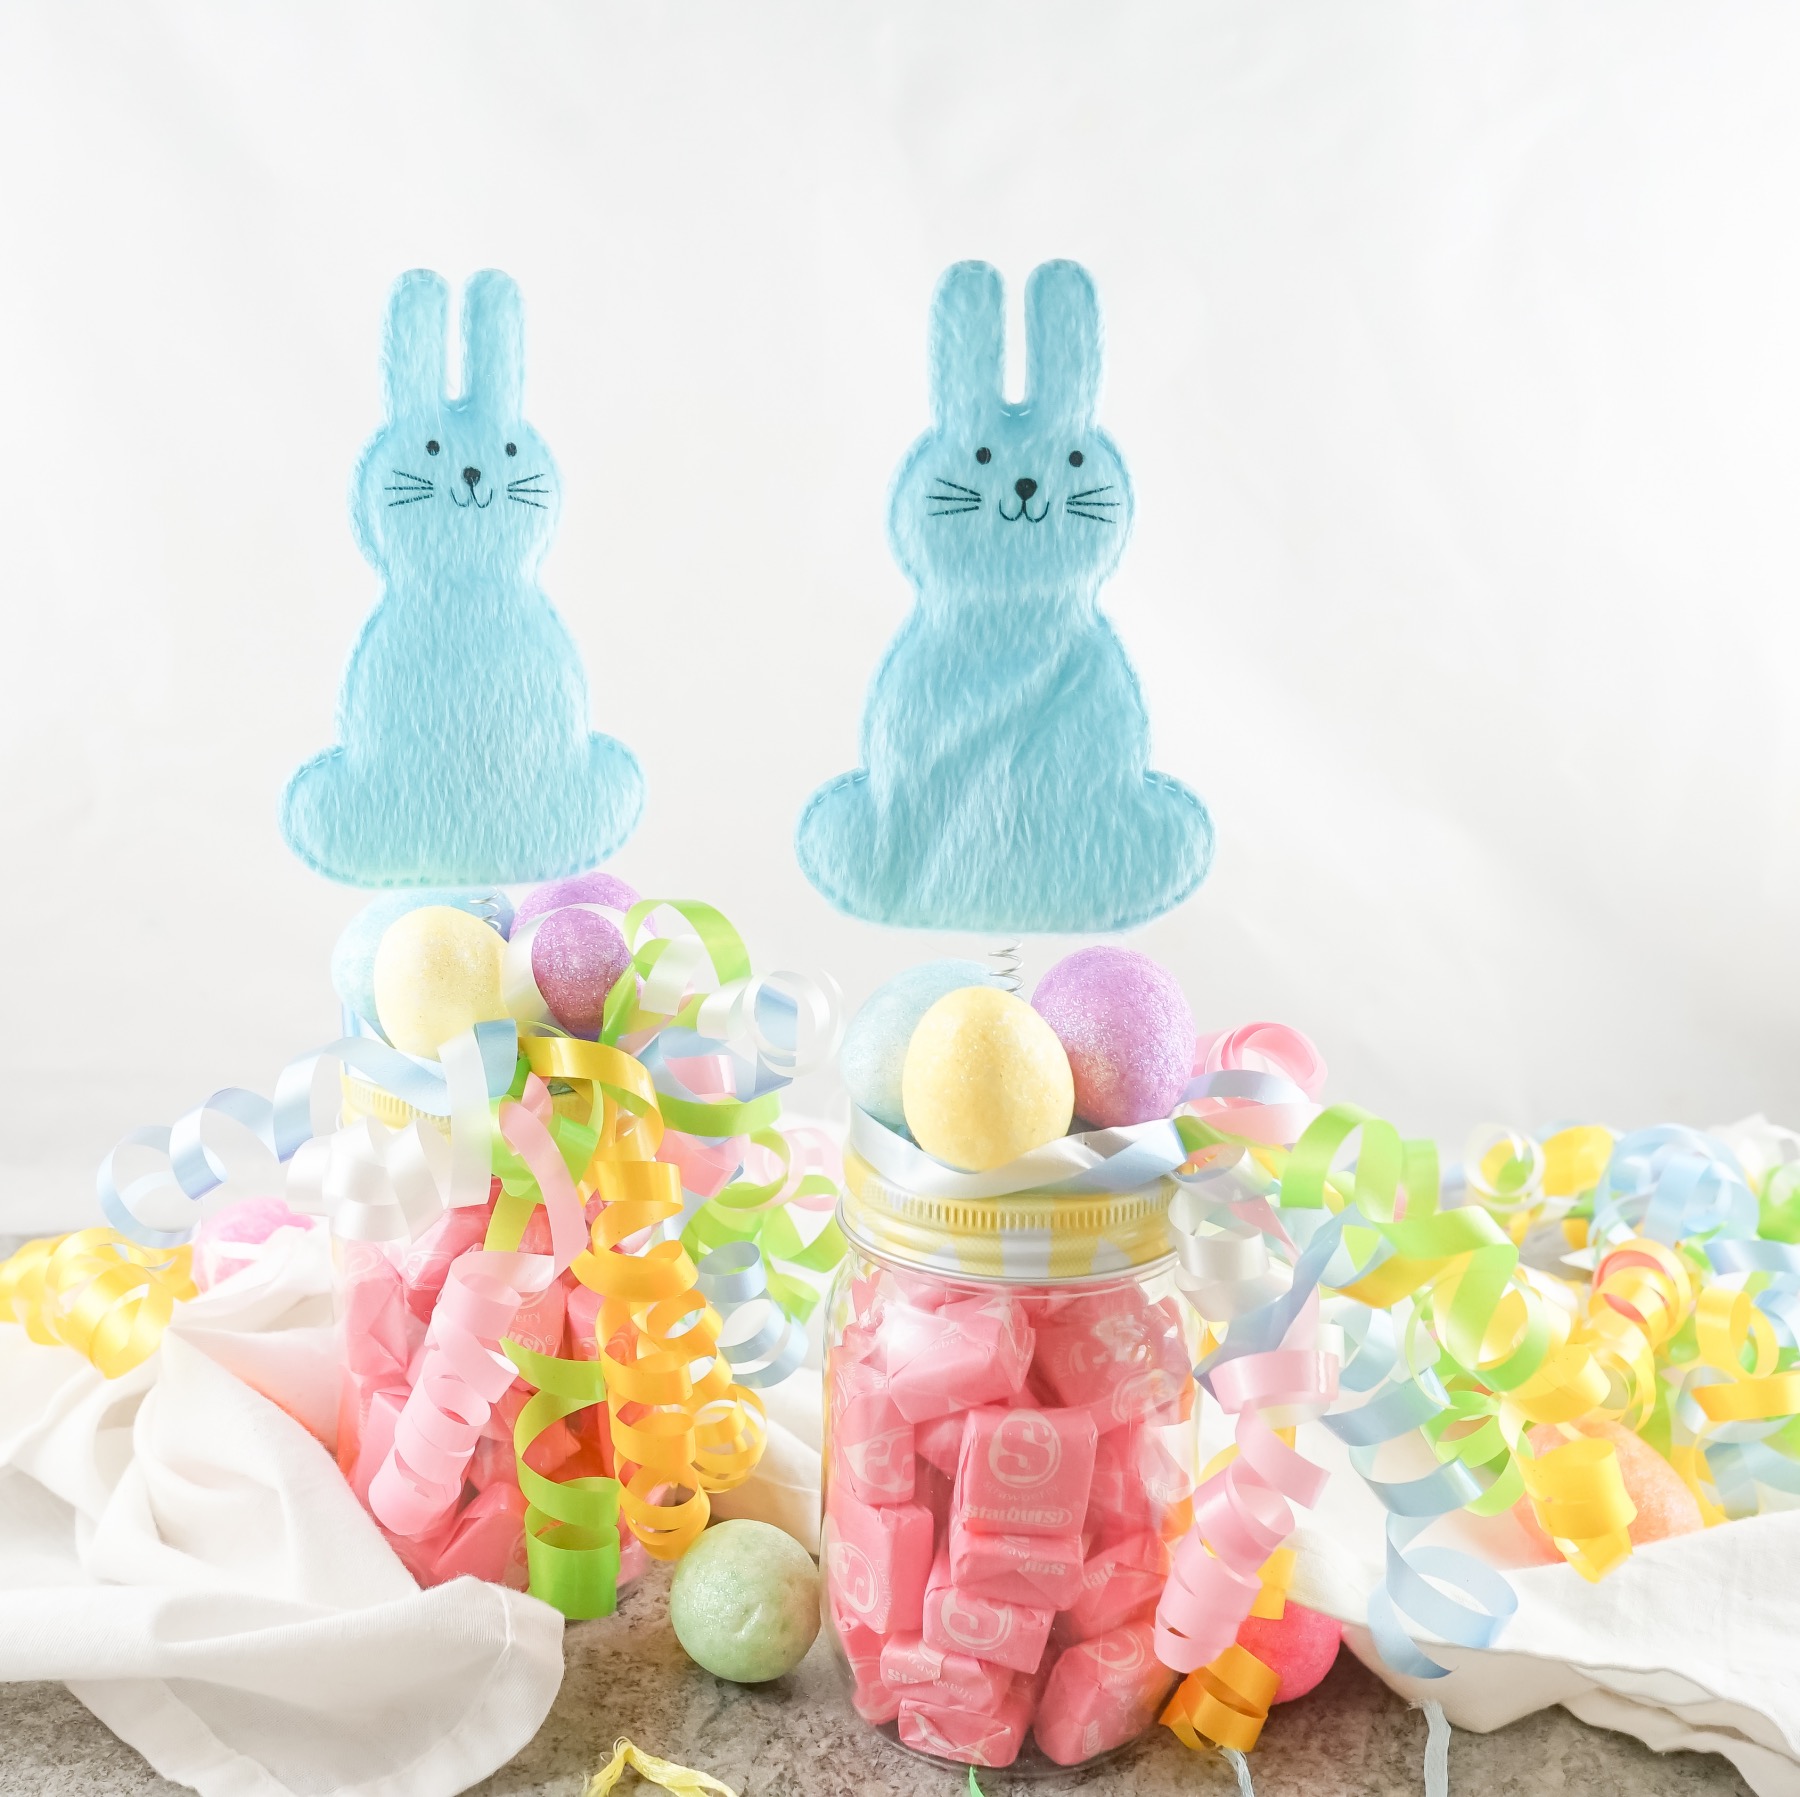
That’s why I had to make these Easter Bunny & Starburst Easter Basket Stuffers! They made with mason jars with yellow gingham lids that are so darling. And best of all, the supplies are all from Dollar Tree making these Easter Basket Stuffers so affordable to make!
So let’s get started.
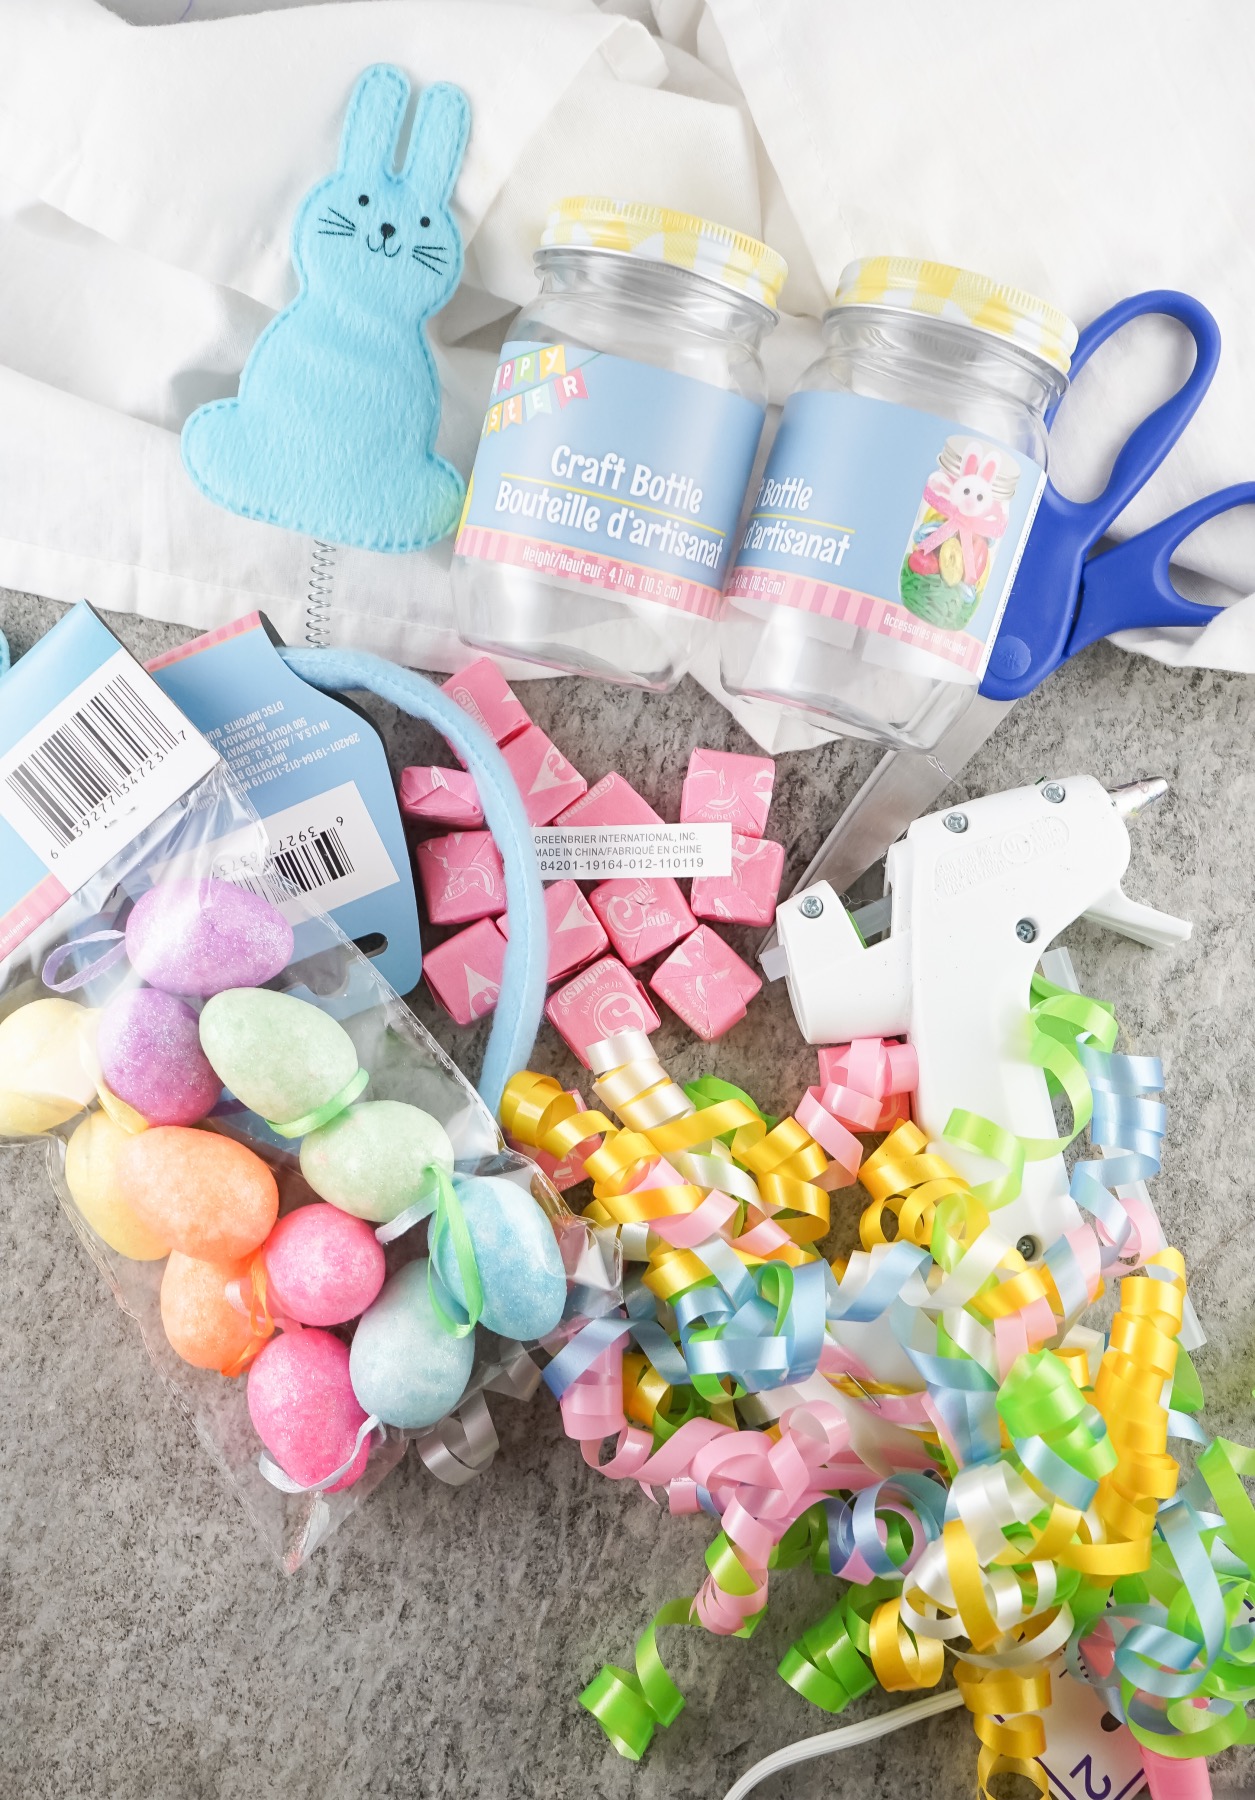
Supplies to Make a Easter Bunny & Starburst Easter Basket Stuffer
I Got All the Supplies Here:
1 Felt Bunny Headband
2 Easter Mason Jars Bottles
1 Bag of Pink Starbursts (or choose a different Easter candy)
1 Multi-Colored Curled Ribbon Bunch
1 Package Easter Egg Ornaments
Plus You Will Need:
Scissors
Glue Gun & 1 Mini Glue Stick
The supplies are actually fairly flexible. You will need scissors and a glue gun, but most items can be customized to your tastes and styles!
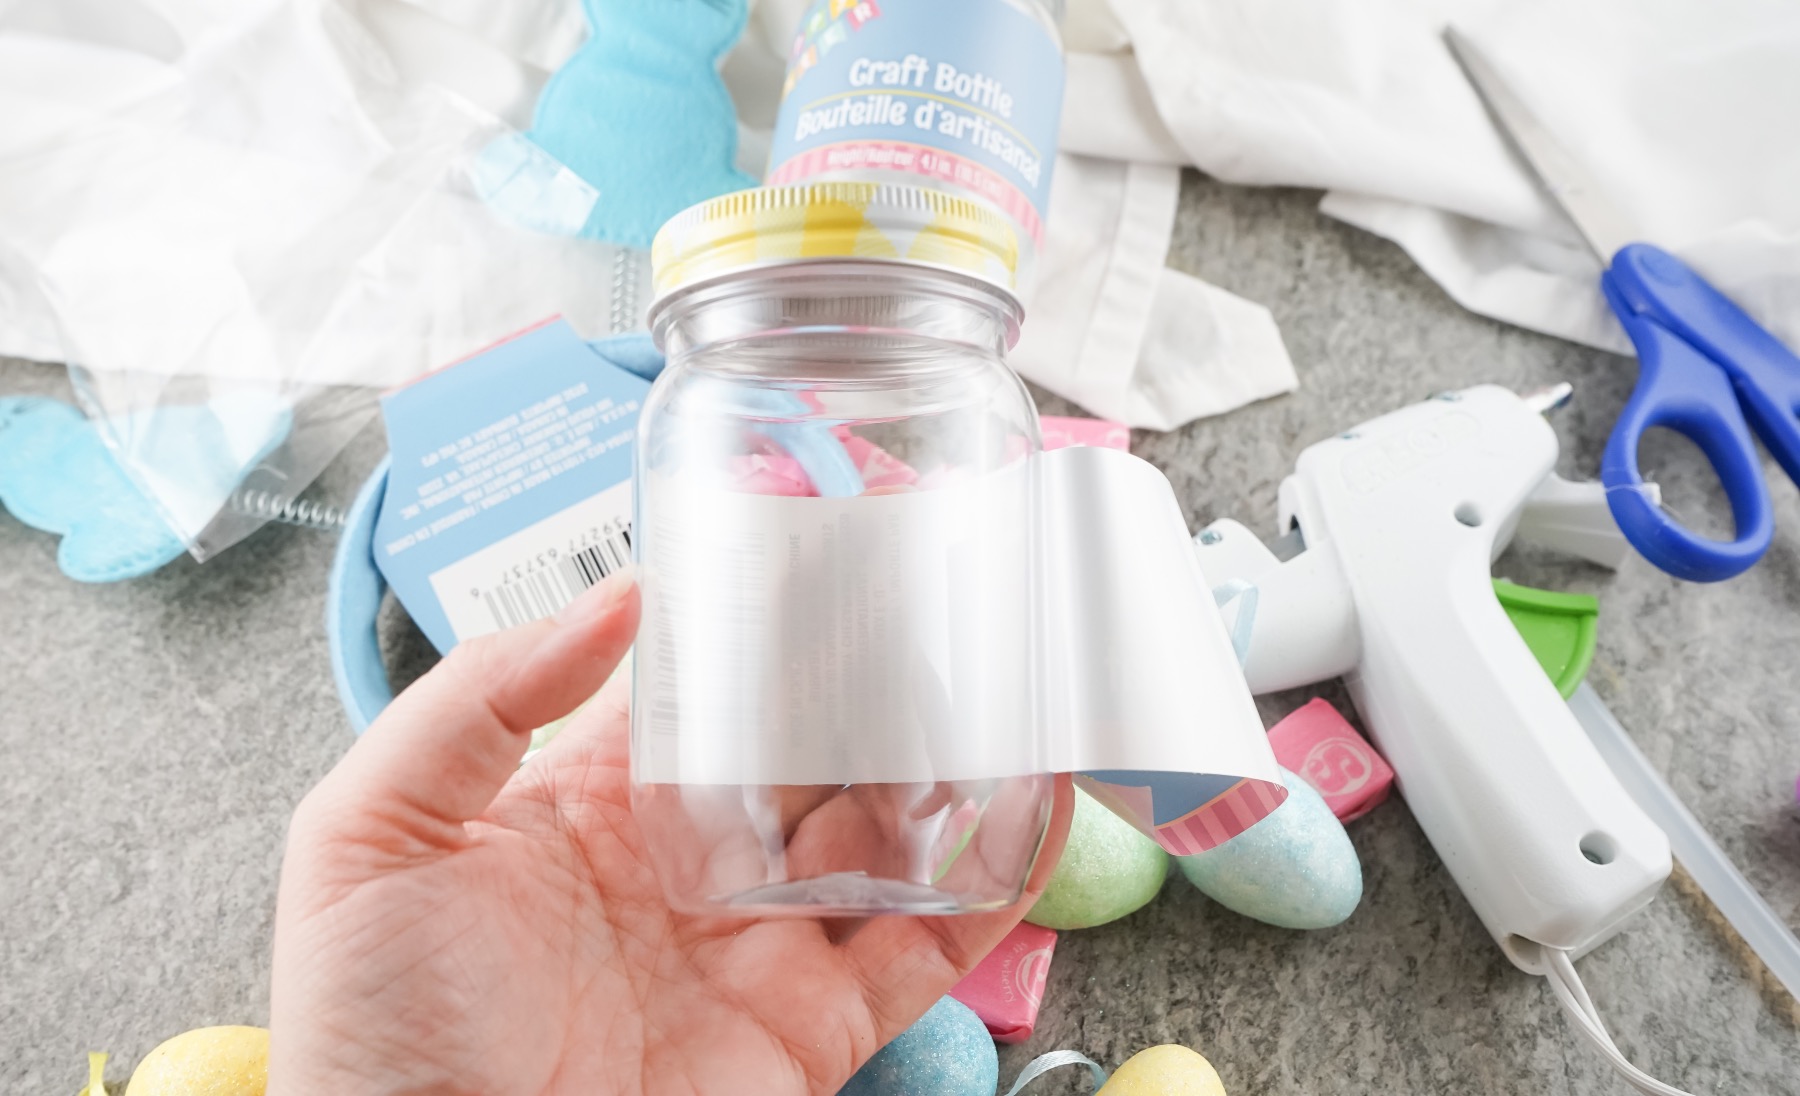
To get started, first plugin your glue gun. They always take a minute to get warmed up. And wash, clean, and prep your mason jars.
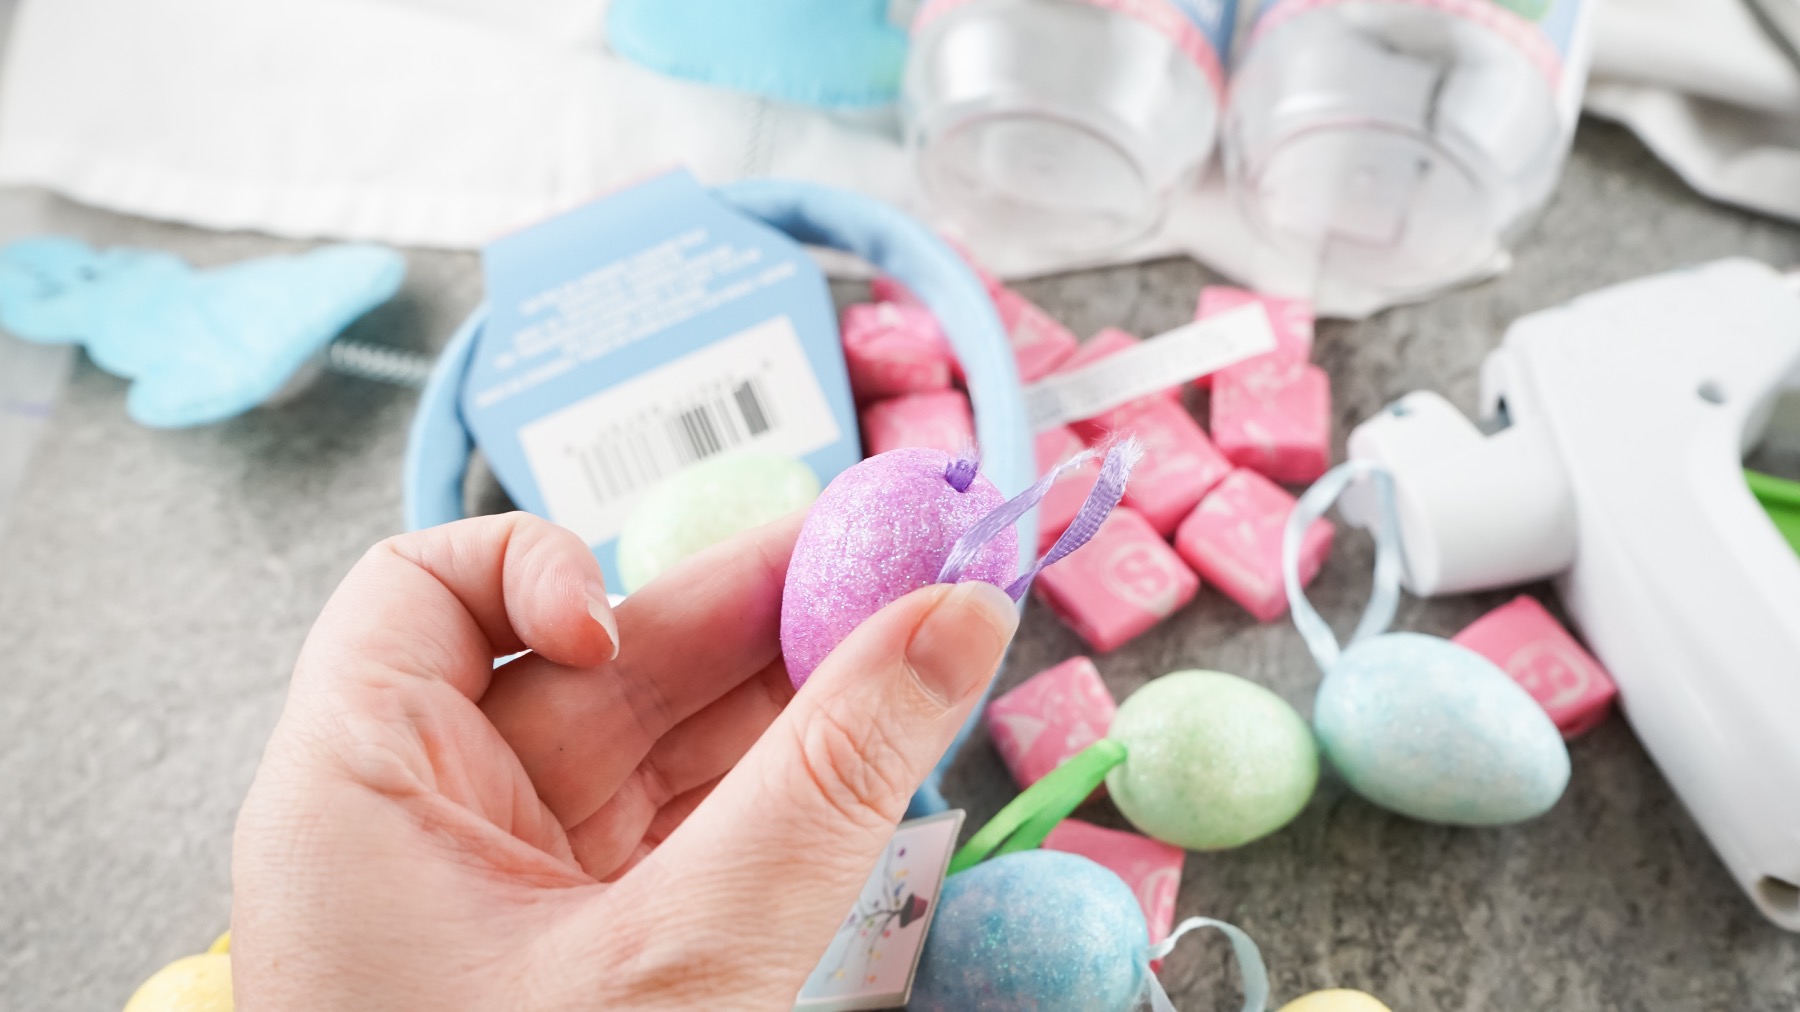
Next, prep your easter eggs. I found some adorable Easter Egg ornaments, so I needed to cut the strings away.
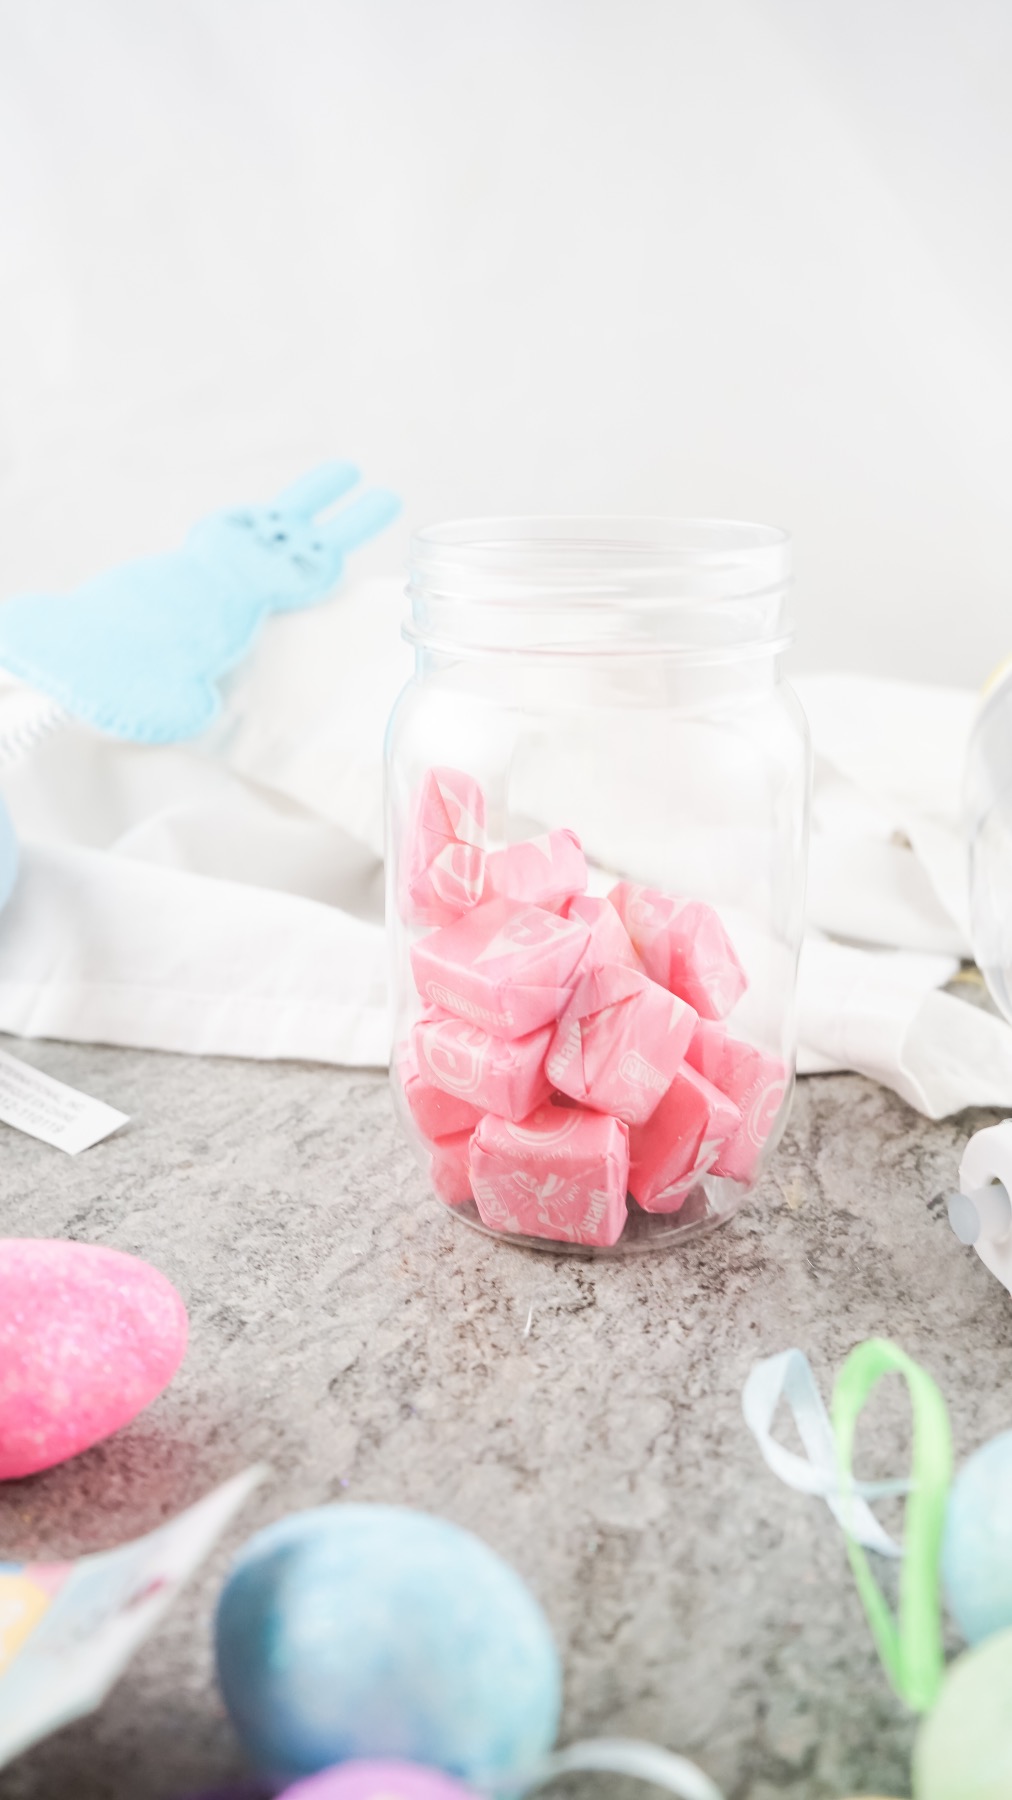
Next, fill the jar with Starbursts! Just don’t eat too many during this step.
I filled mine to the top, but you can also leave room for other items like notes, stickers, erasers, or more.
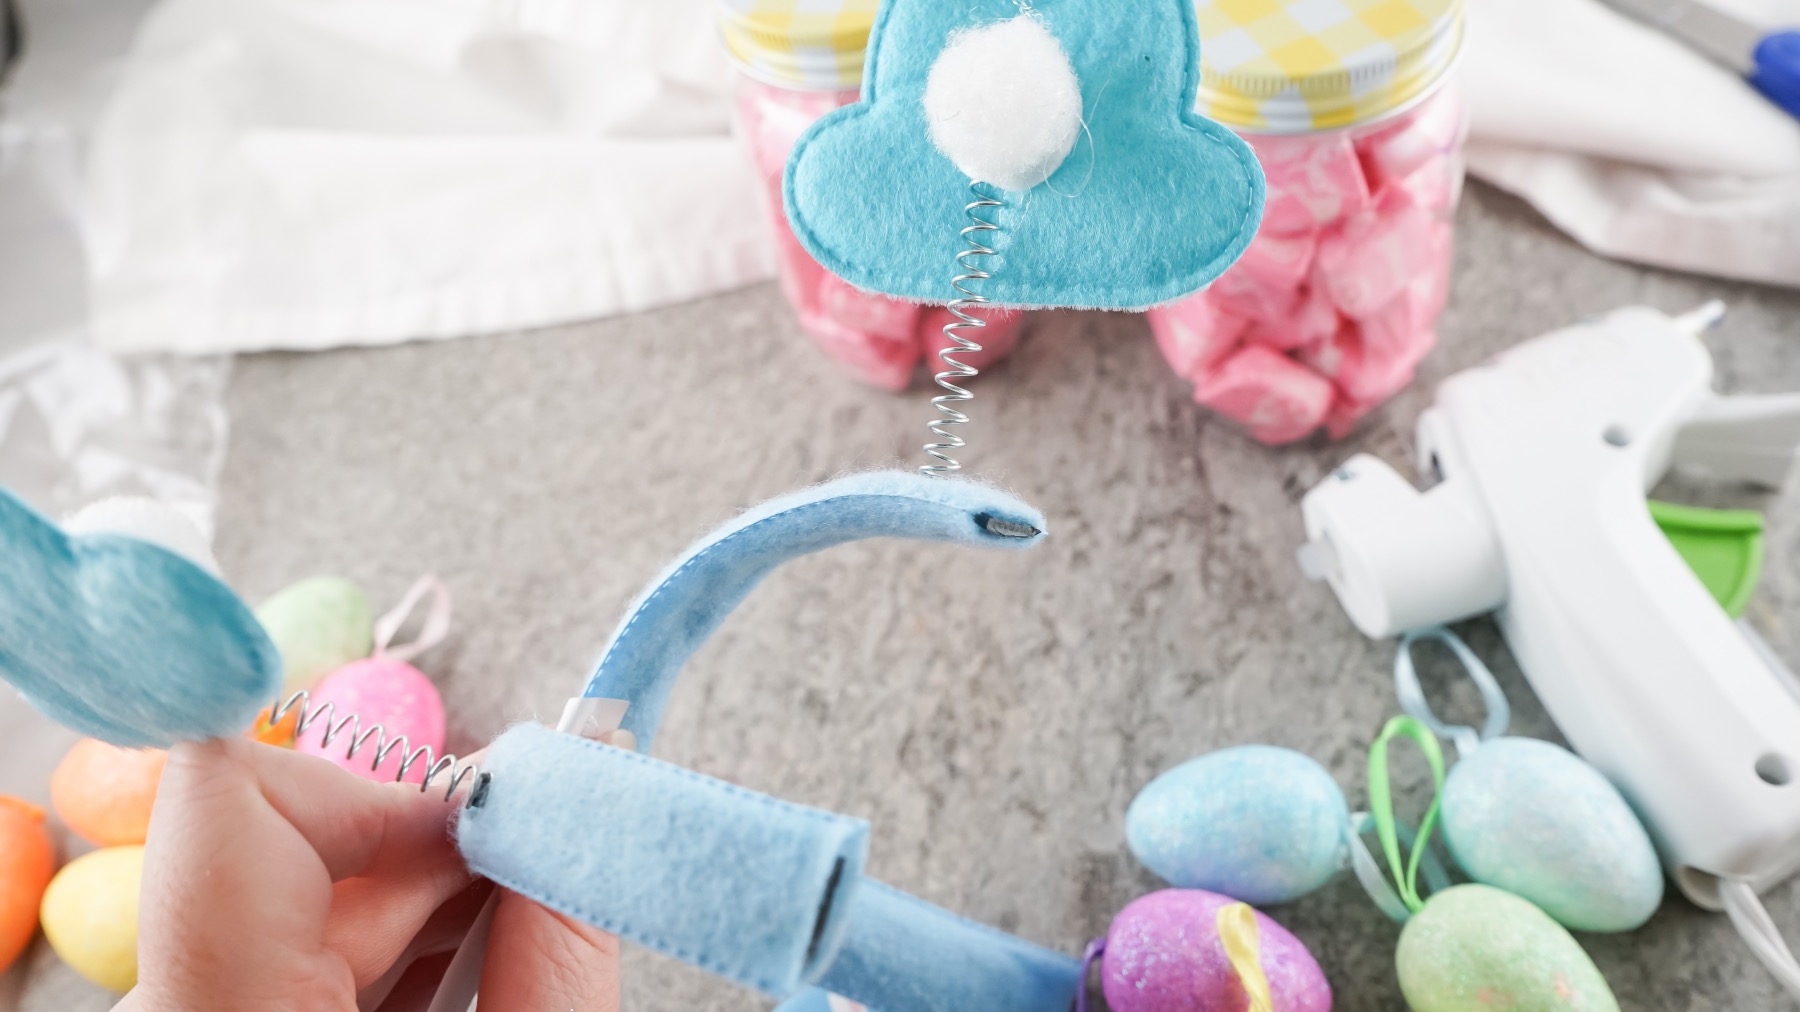
Now attach the bunnies to the lids. I used a headband to make mine, and broke the plastic on the inside with my hands. I just grabbed the headband with my hands on both sides of the bunny, as close as possible and gave it a snap!
You could also use wire cutters or a heavier tool to break it. It all depends on the material and how comfortable you are getting rough with these supplies.
Once your headband is broken, trim the fabric around the Easter bunny. Make sure these cuts are even with clean edges to help the Easter Bunny & Starburst Easter Basket Stuffer look really professional.
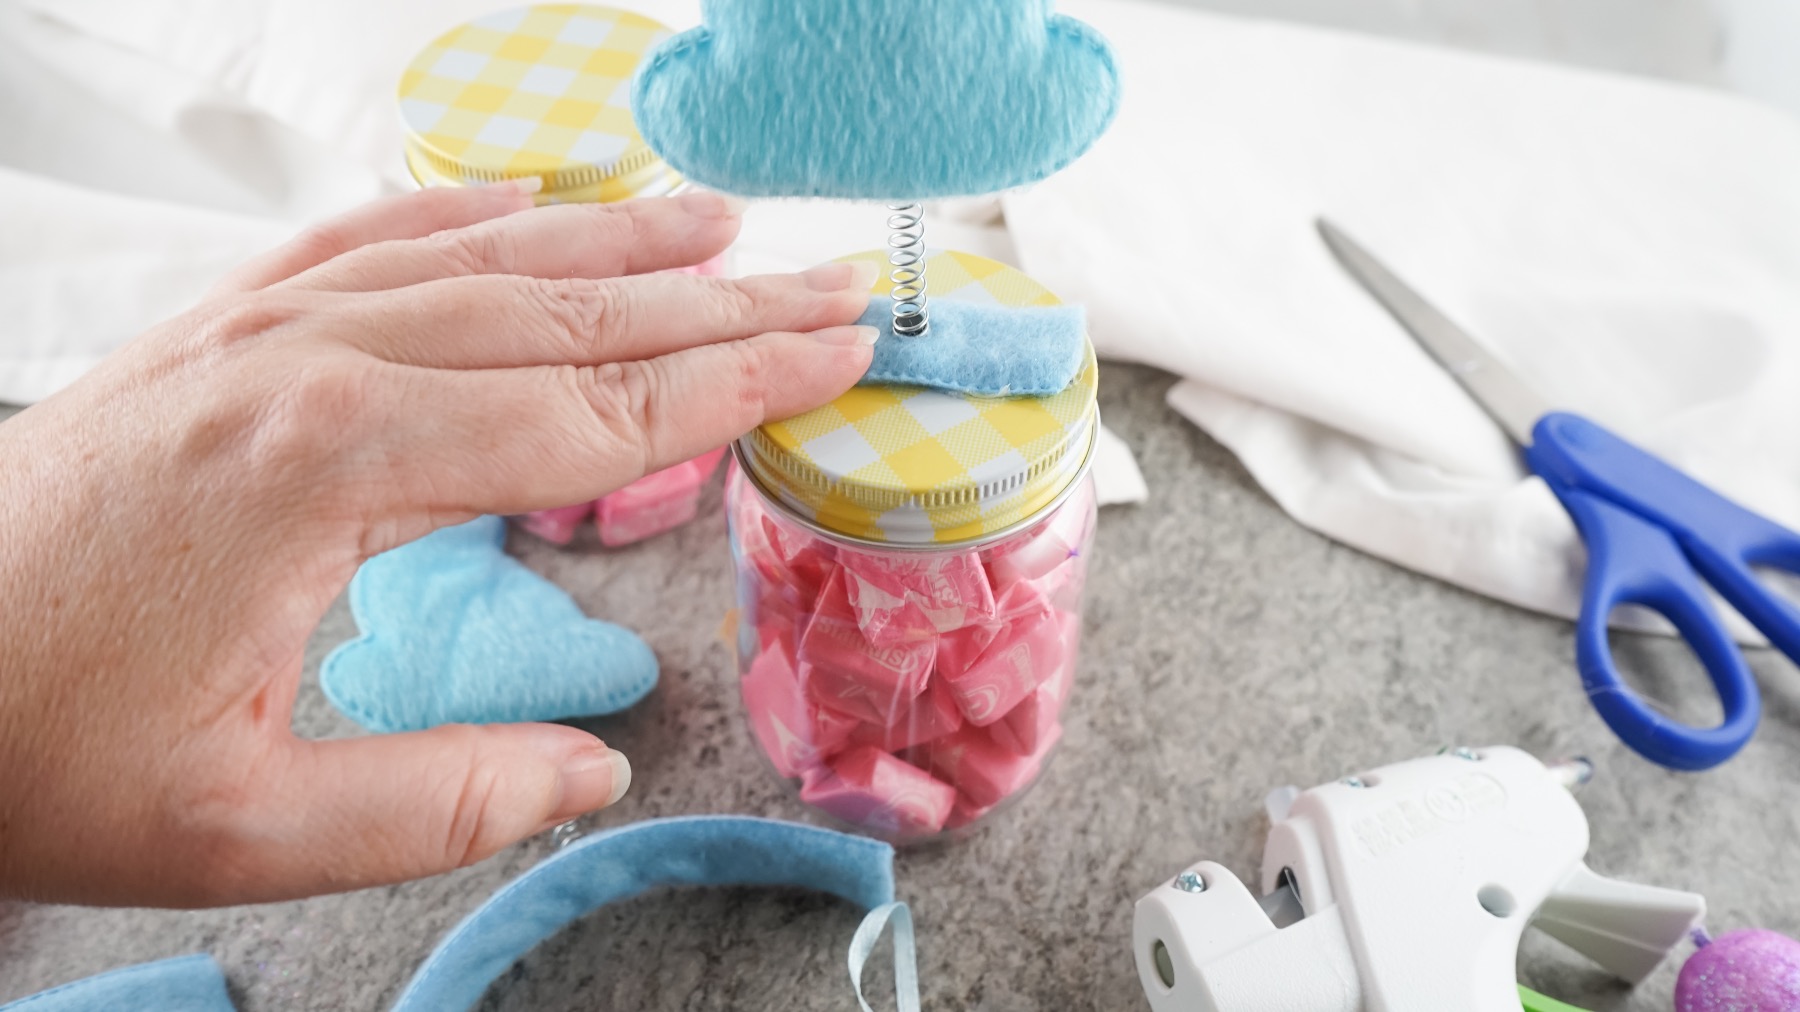
Use the hot glue gun to attach it to the center of the mason jar lid. With any hot glueing, you will want to hold the pieces in place for a few seconds to make sure it holds sufficiently.
Once your springing bunny is in place, you can start to fill in the top of the lid. The best way to fill it in, is to work from the largest objects to the smallest.
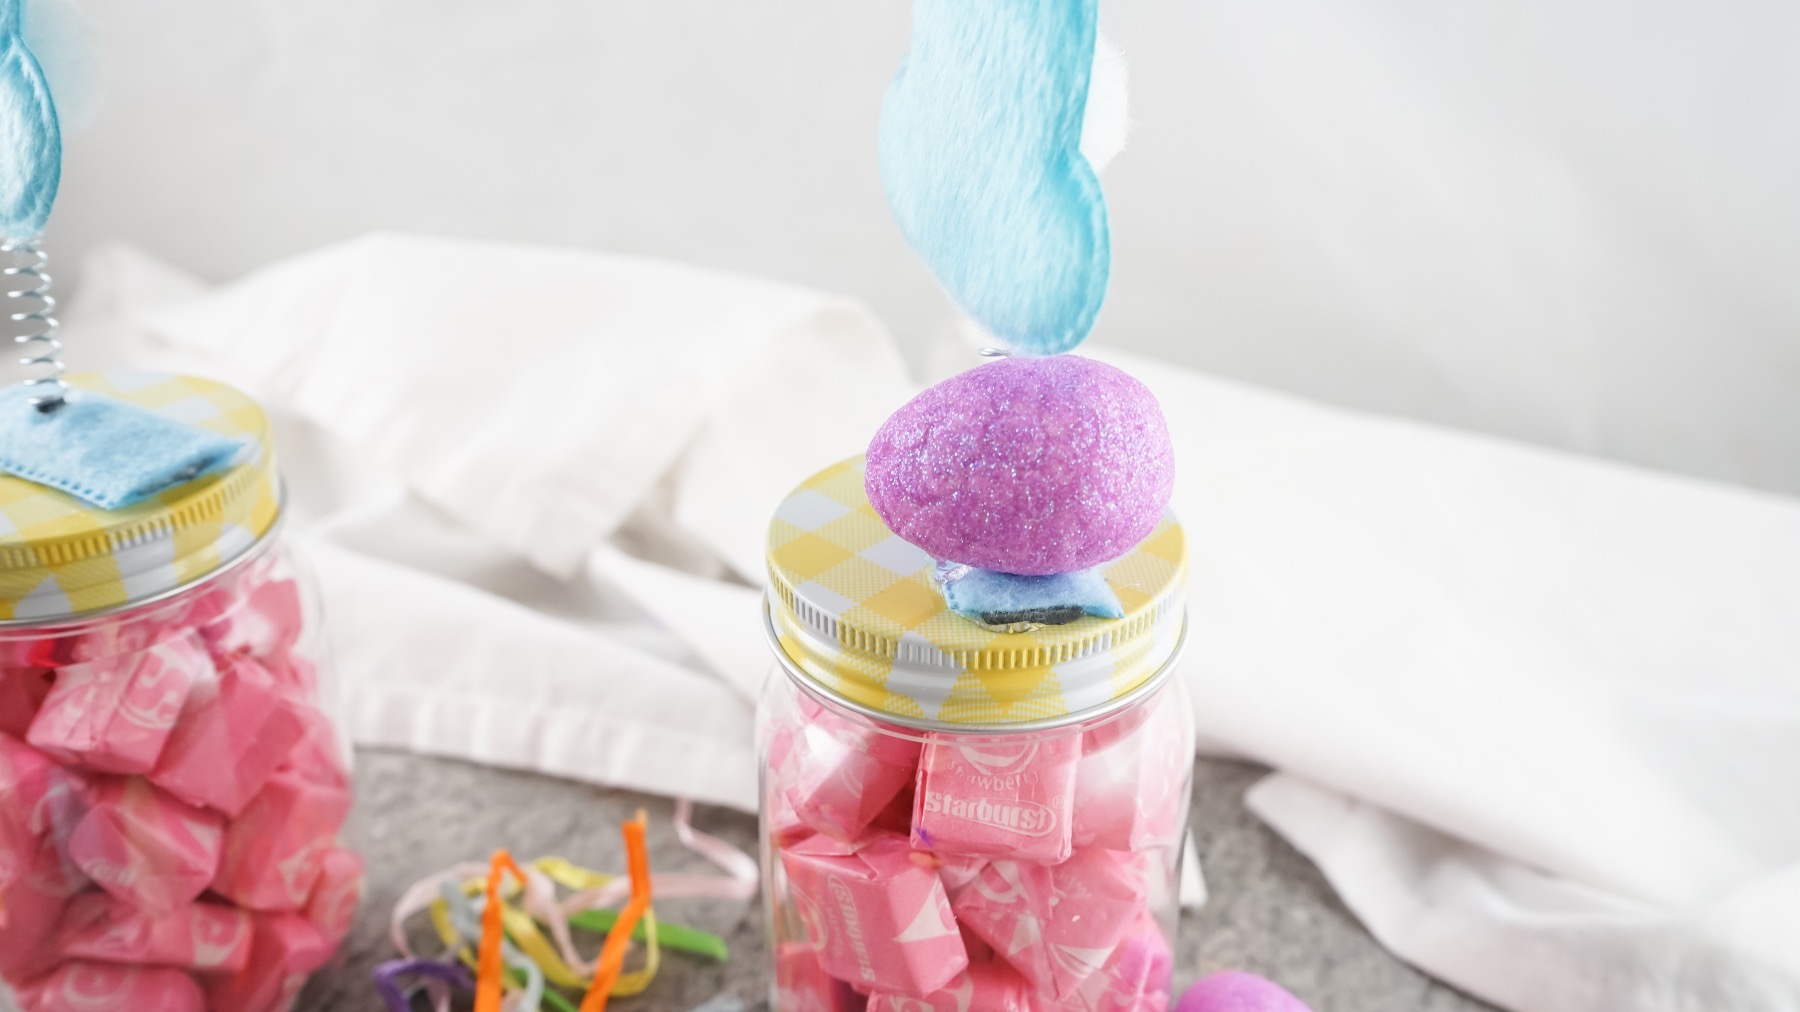
That’s why I started attaching my Easter Eggs next!
Again, hold these pieces in place while you attach them with hot glue. I was able to fit 3 eggs on each Mason Jar. So I made each one the same with 3 different colors of eggs.
Last, add the ribbon. The best way is to take apart the ribbon bunches gently and use them as individual strands.
You will want to continue to handle the ribbons carefully so you can retain as much bounce and curl as possible!
Wrap the ribbon around the eggs covering anything on the mason jar lids that needs to be hidden from view. For example, if you have any seams in the eggs that you don’t want people to see. I also covered the edges of the Easter Bunny where I attached it to the mason jar.
Once you have the ribbon wrapped in place, use tiny dots of hot glue to hold it in place. Let your Easter Bunny & Starburst Easter Basket Stuffer dry for 20 minutes or so, just to be sure all the hot glue is perfectly set.
Hot glue produces a lot of strings that you will want to clean up before adding your Candy Stuffed Mason Jar to an Easter Basket.
Once the glue is dry, peel away the strings with your hands. And viola! Your Easter Bunny & Starburst Easter Basket Stuffer is ready for gifting!
Add it to an Easter Basket or just give the finished mason jar to a colleague in the office or your favorite teacher. It’s the perfect gift for anyone on your list.
I’ve seen mason jars & accessories like this at Dollar Tree for other holidays too! You can use this same concept to create other jars for other holidays. Just think about how cute a Halloween black cat or Santa’s elves would be too.
Need even more Easter Bunny ideas? These are just perfect!
Let’s Stay Friends!
Insta | Pinterest | Enews | TikTok


