Food
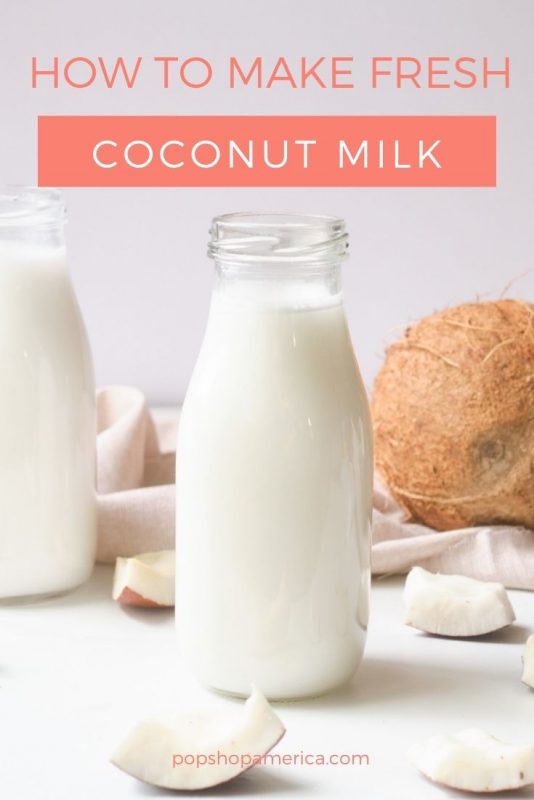
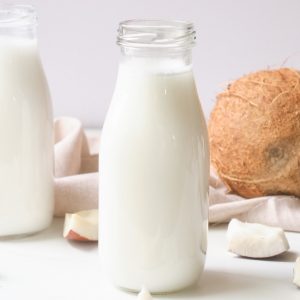
How to Make Coconut Milk
Sep
Are you a coffee drinker or a matcha drinker like me? Or how about a fan of breakfast cereal, that’s looking for a delicious way to add a twist to your morning ritual?
Then making fresh coconut milk from scratch is a must! The flavor is out of this world incredible and better than any store bought version.
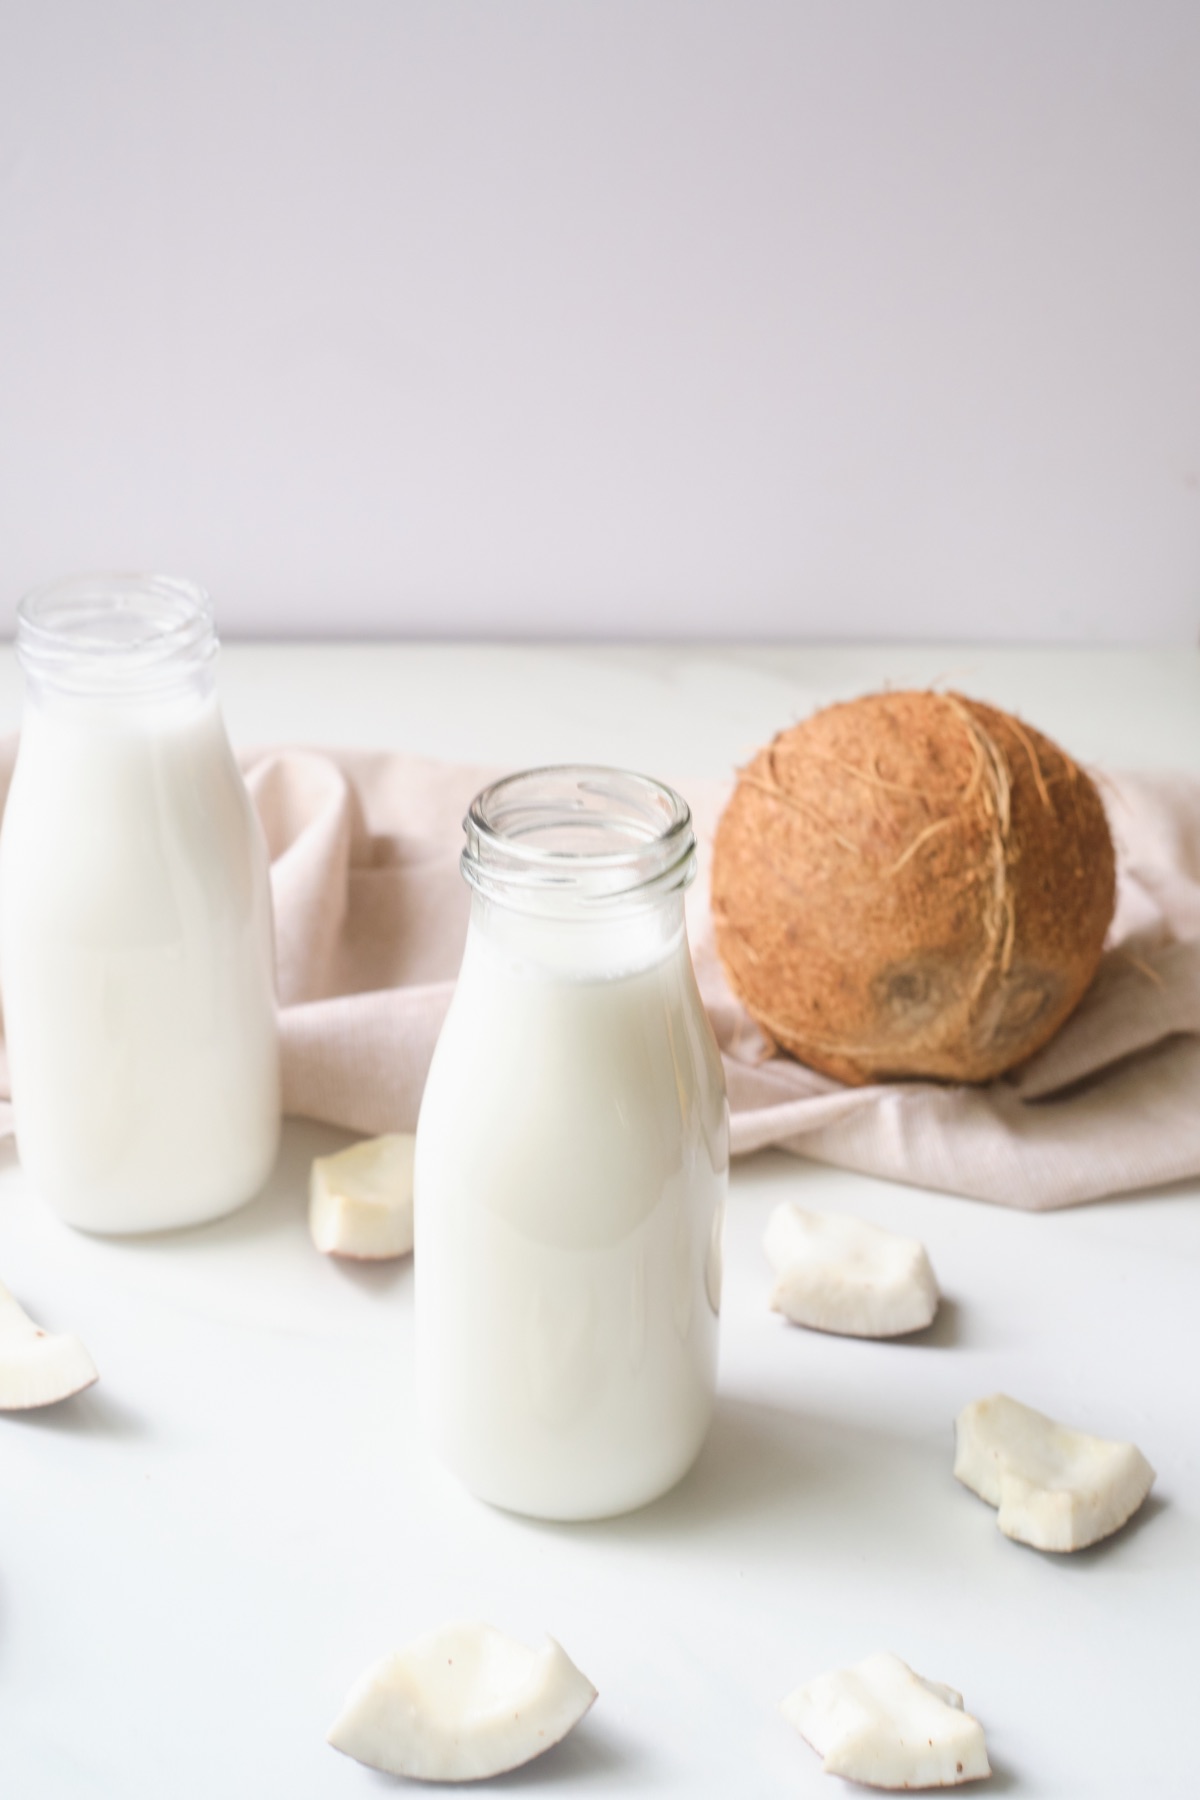
What Type of Coconut to Use for Making Coconut Milk
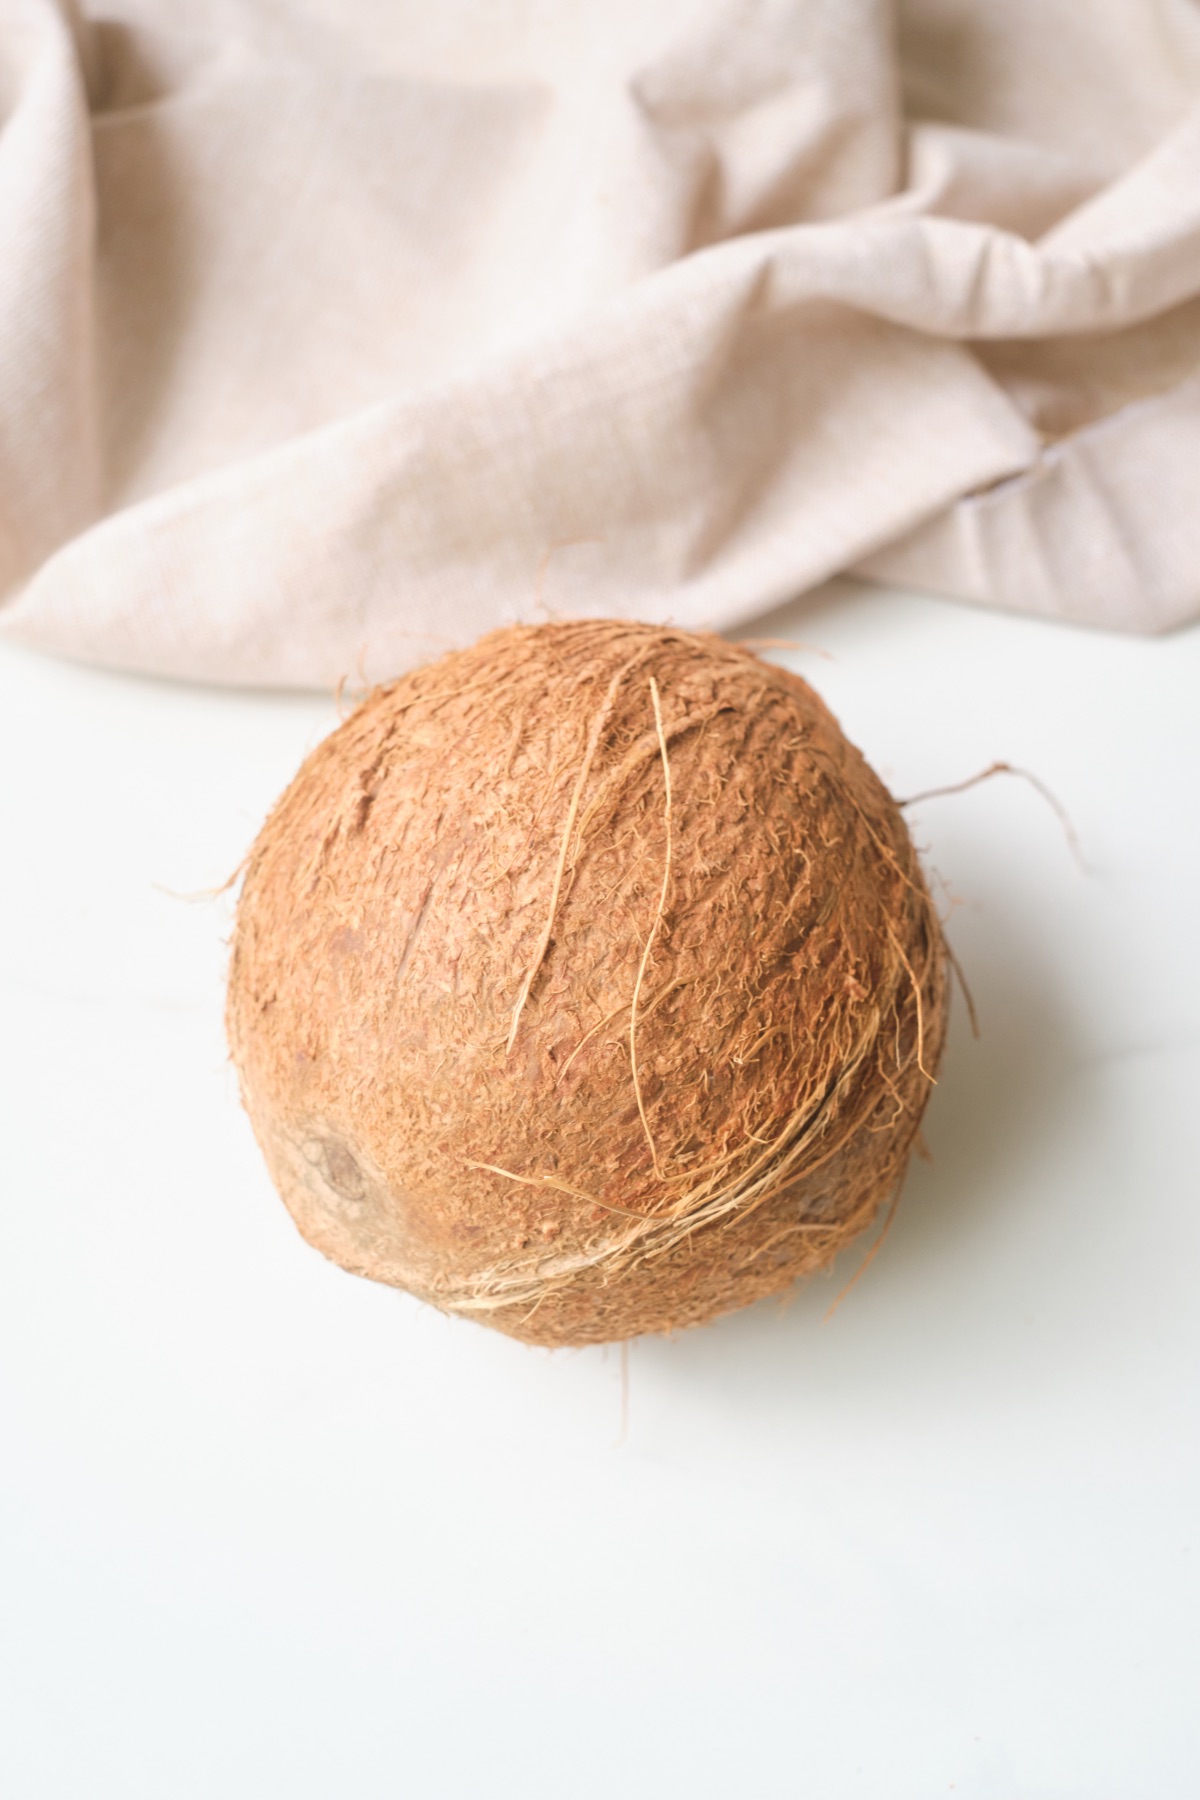
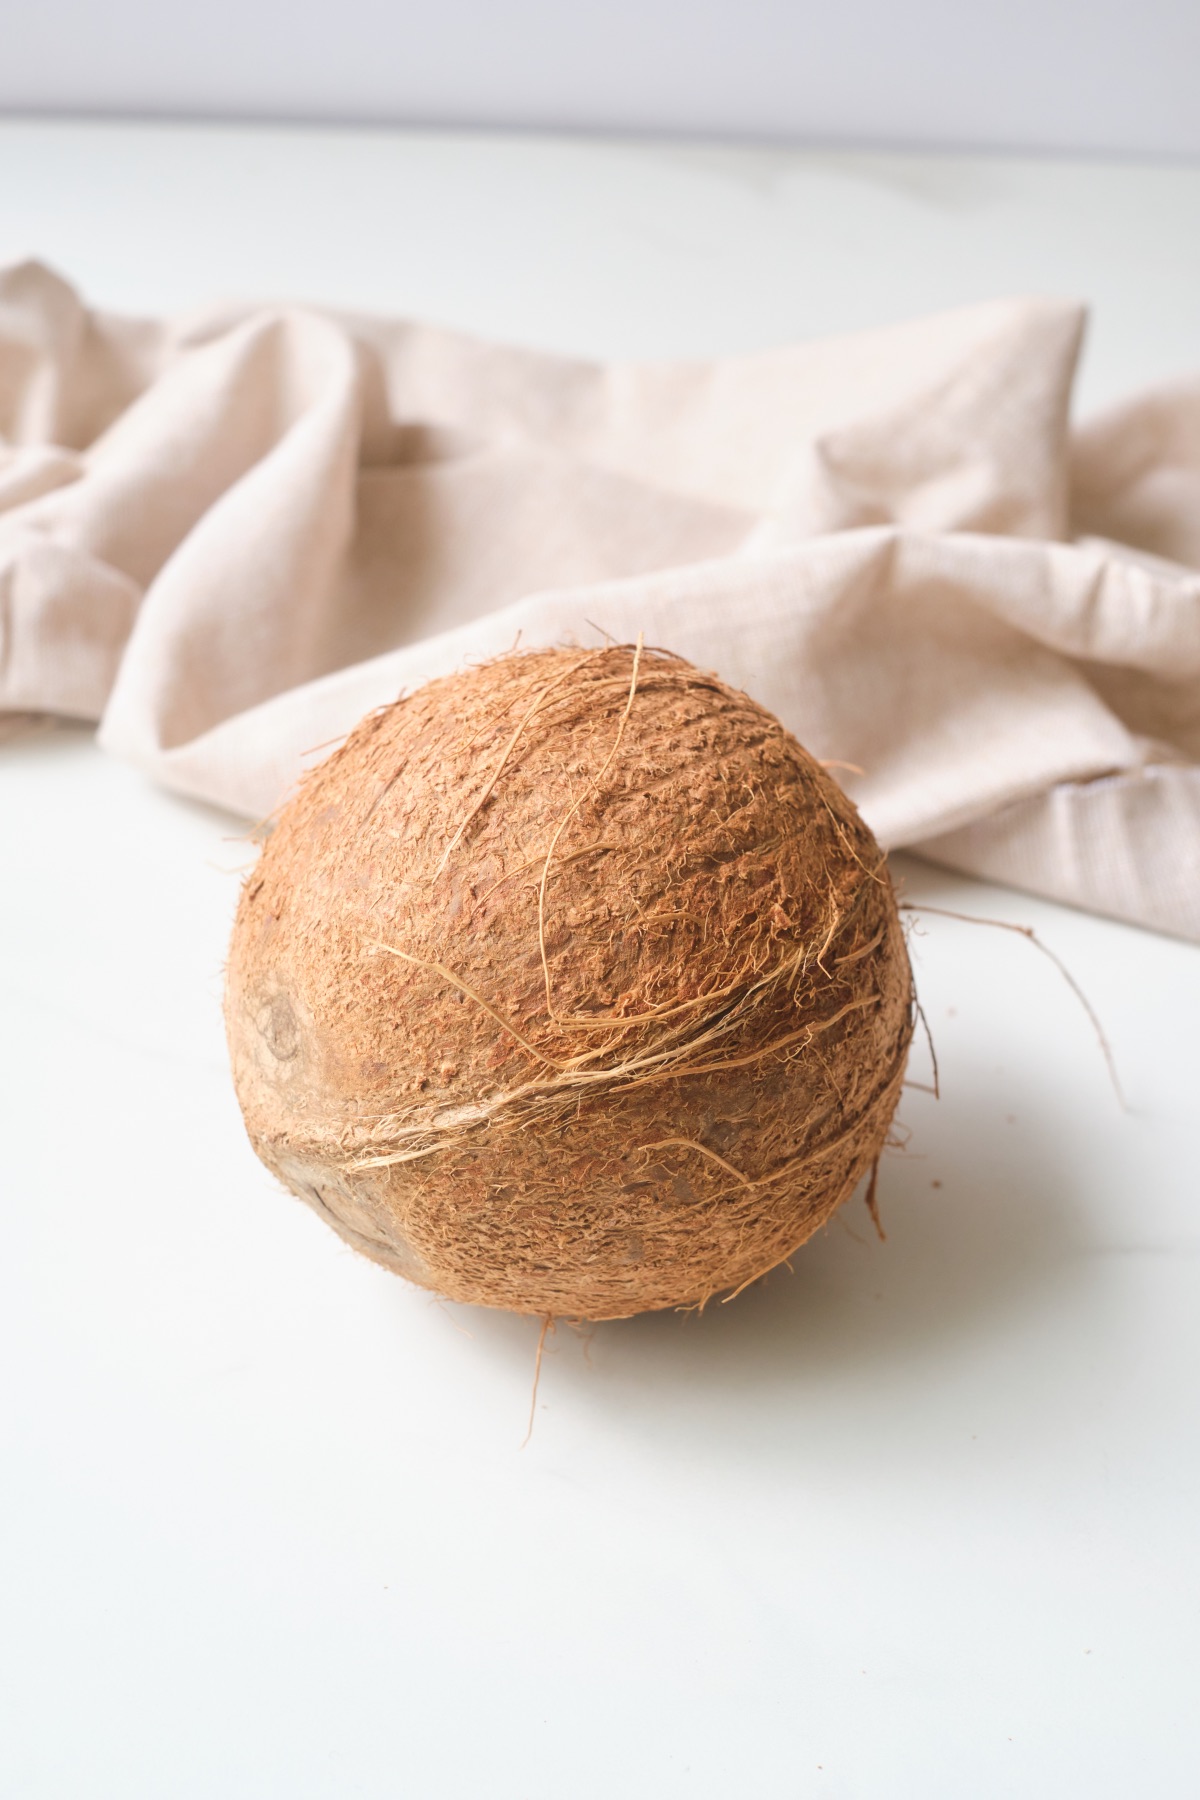
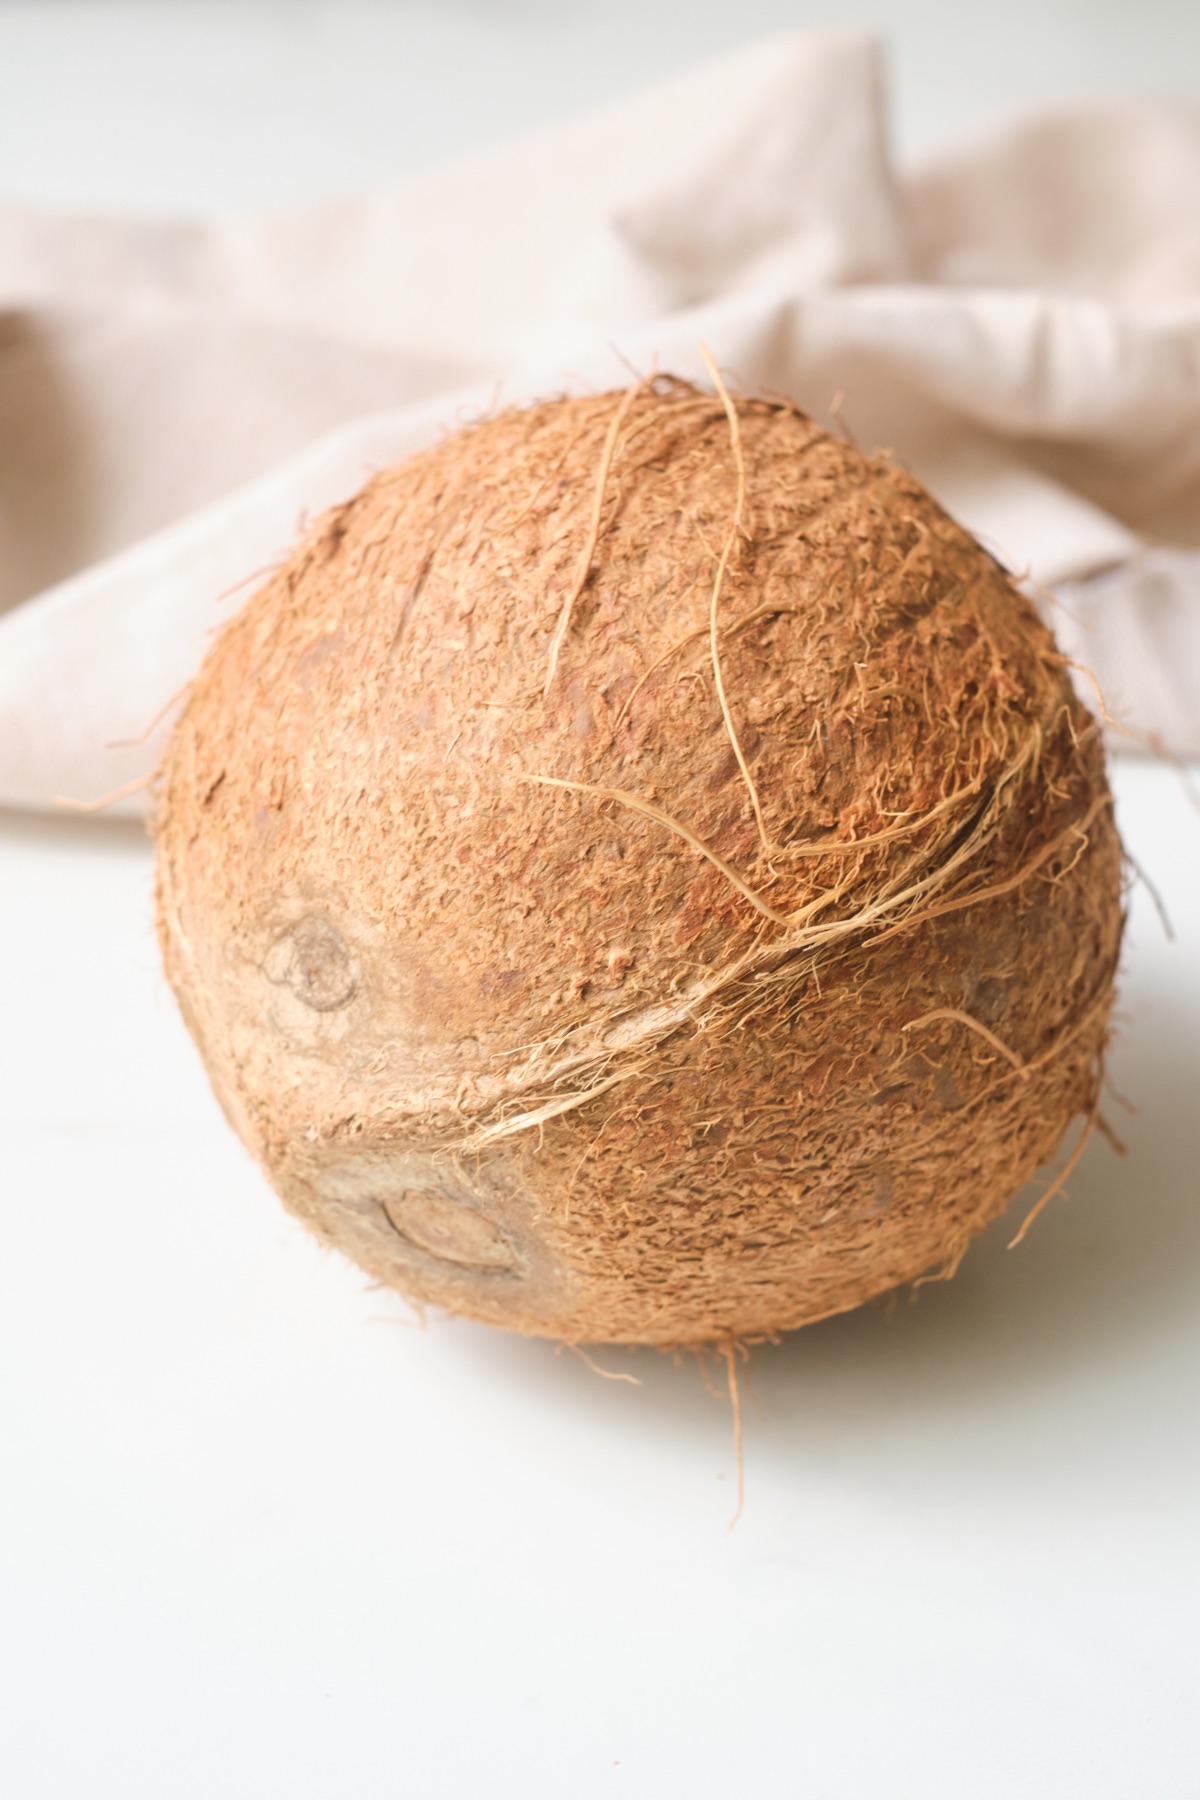
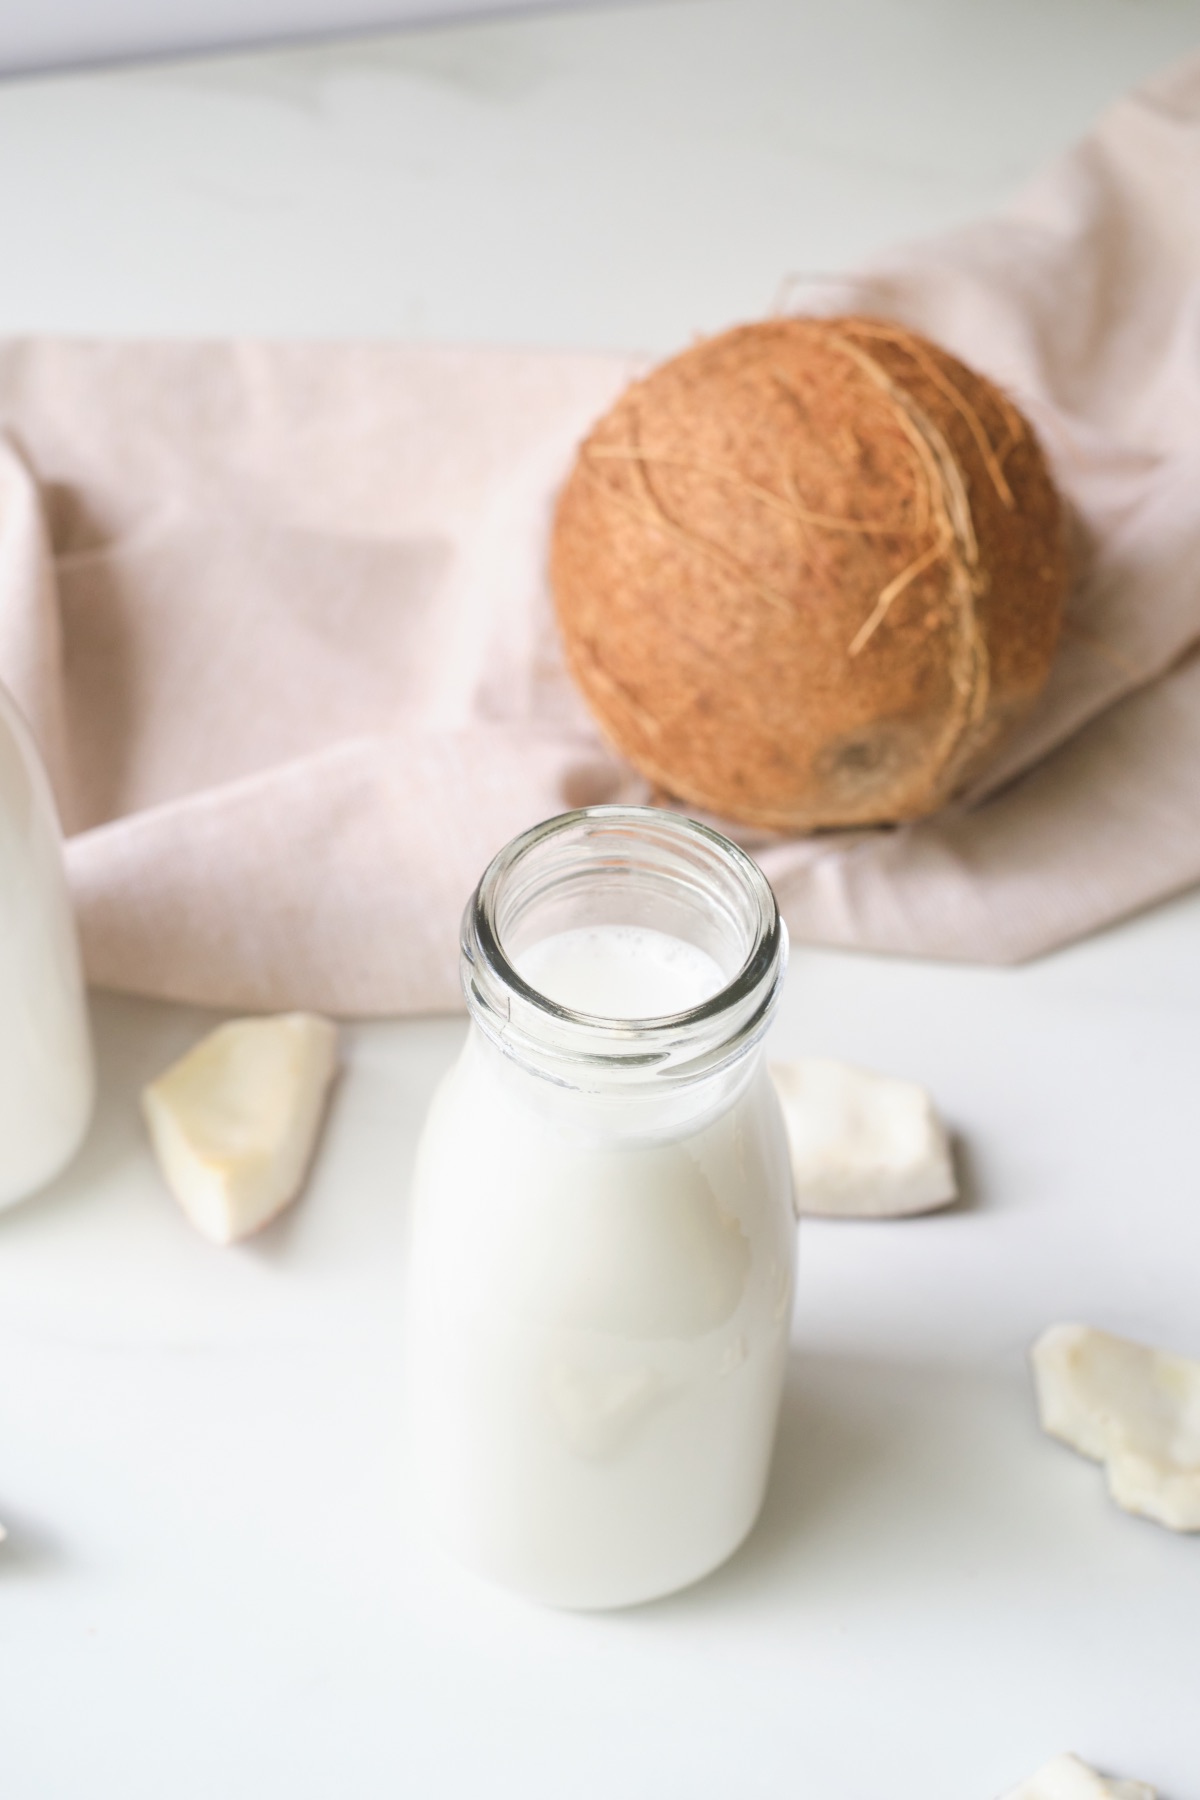
To make coconut milk, the best ingredient is a mature coconut. That’s the brown hairy-type found at most grocery stores. Pick one that has liquid inside when you shake it. If you shake it and don’t hear any liquid the coconut may be old or dry.
As an alternative, you can use unsweetened dried coconut from the dried fruit or baking sections too. Of course, a fresh coconut is best if it’s available.
A young coconut will product coconut water but not coconut milk. It’s still delicious, but it’s not thick and creamy. So don’t use white coconuts with a triangular top.
How to Break Open a Coconut
If you break it the right way, it’s a lot easier than you think. All you need is a hammer and a bowl. First, peel off any excess hair on the outside. It will make the coconut easier to handle and prevent the hair from ending up inside the coconut water later.
Then hold the coconut in one hand so that the ends (one end will have 3 dots) are on the left and right side. Hold the hammer with your other hand and float the coconut right above the bowl. Hit the coconut in the center. Use quick and hard hits and after each hit rotate the coconut around keeping the sides of coconut pointed in the same direction. Continue hitting the coconut around in a circle until it breaks open – then catch the coconut water in the bowl.
Here’s a really easy to follow video tutorial.
Remove the Peel
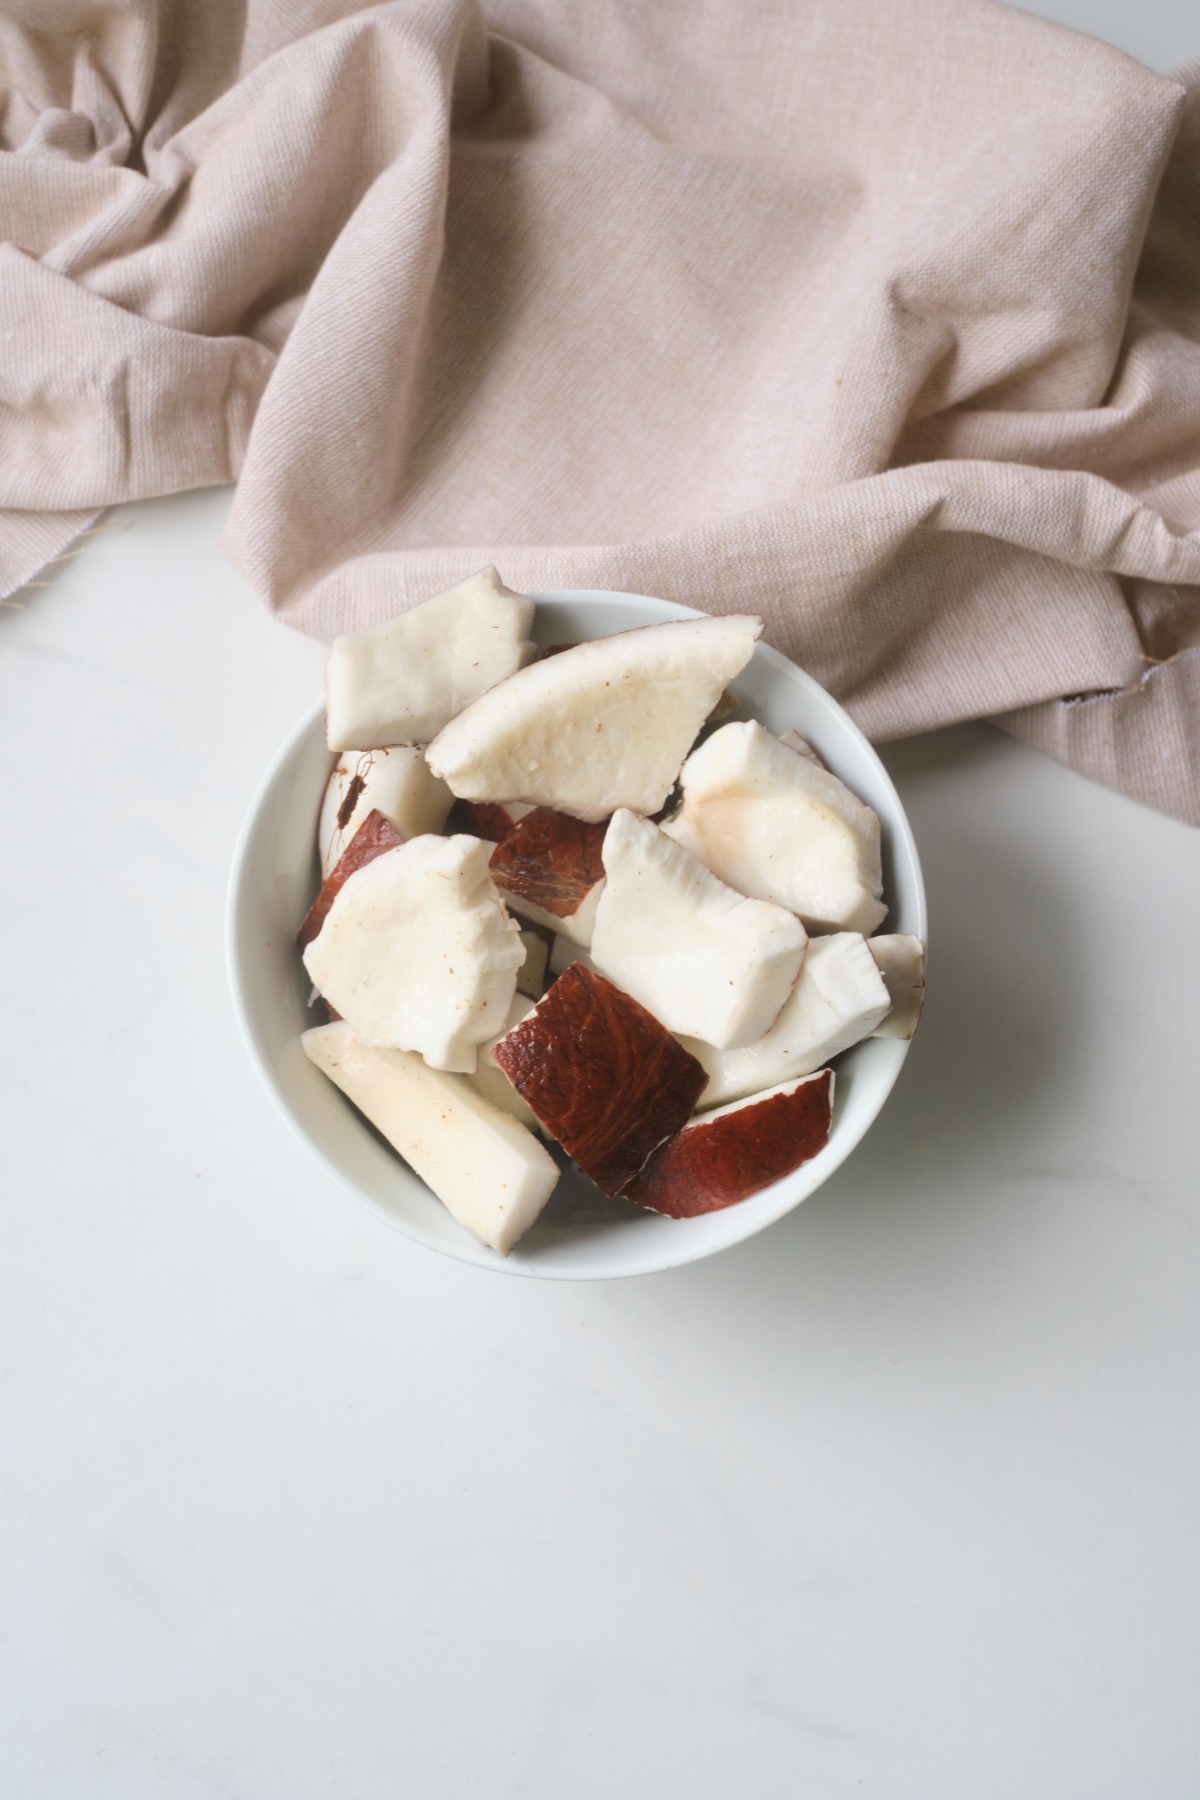
To make coconut milk, you DO need to remove the skin or peel. That’s the brown layer underneath the coconut’s hard shell. It’s easy to remove with a vegetable peeler, just like you would peel carrots.
But if you are keeping any of this coconut to eat, you may want to leave the peel ON. The peel or the “aleurone layer” of the coconut is rich in B vitamins, vitamin E, and other vitamins, and minerals. It’s the healthiest part of the coconut!
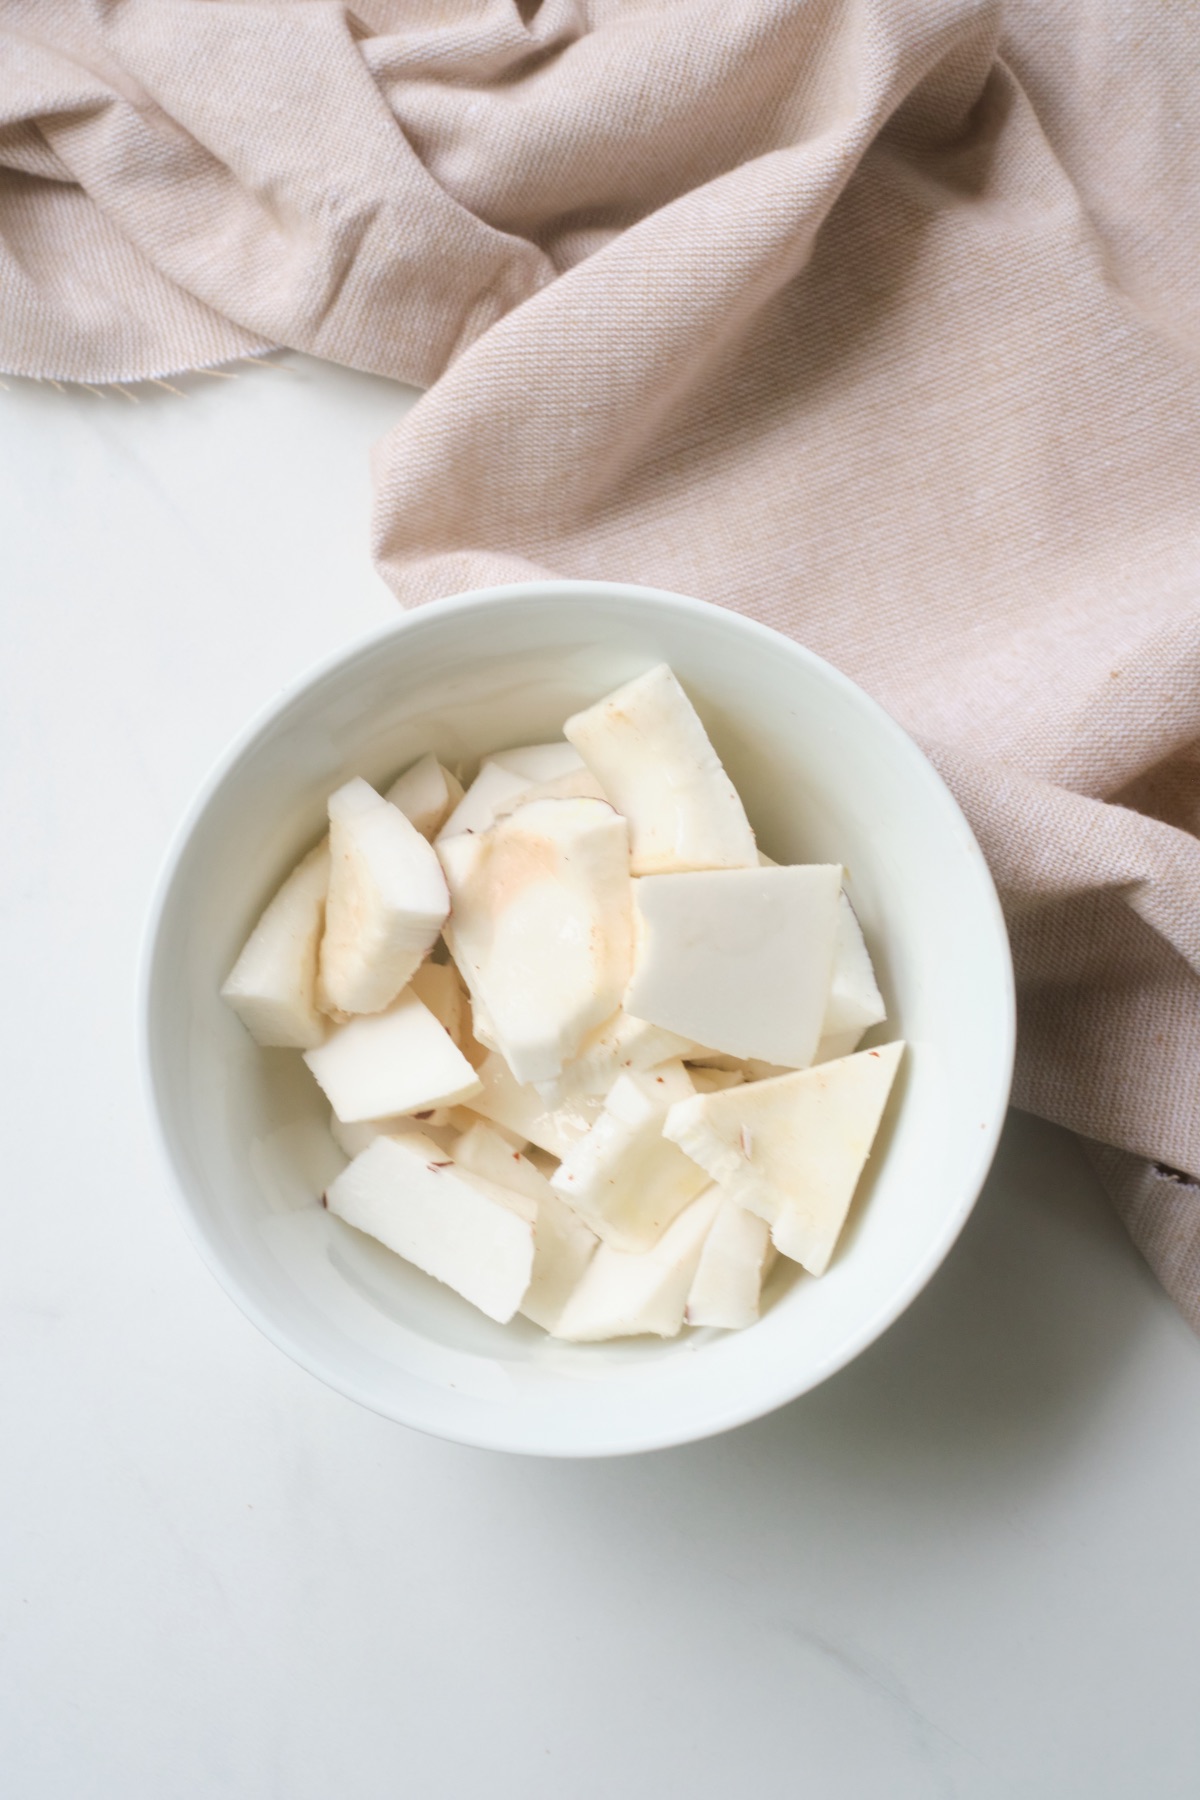
Once you remove the peel, cut the coconut into small pieces and place it inside a blender. A food processor will work too – but if you use a food processor, be careful with all the liquids! They are best for dry ingredients.

How to Make Coconut Milk Step 1: Sweet or Unsweet?
Once your coconut chunks and water are in the blender, there’s just a couple of option ingredients that you can choose to add. First of all, you can add a sweetener like honey, sugar, or agave.
The choice is up to you whether you want it sweetened or unsweetened. It just depends on your palette and your preferences. Consider what type of coconut milk you usually buy at the grocery store?
Now, I love “unsweetened vanilla” coconut and almond milk. If you are like me, you could also add a touch of vanilla extract or scrape a fresh vanilla pod and add it to your blender. If you want to go super fancy and do something really original, you could process freeze-dried strawberries until fine and add them to coconut and water to make your own Strawberry Coconut Milk!
Whatever you choose – honey, agave, sugar, vanilla or something else: be sure to add the ingredients BEFORE you blend the coconut and water so that you can start to break them down and evenly mix them into your drink!
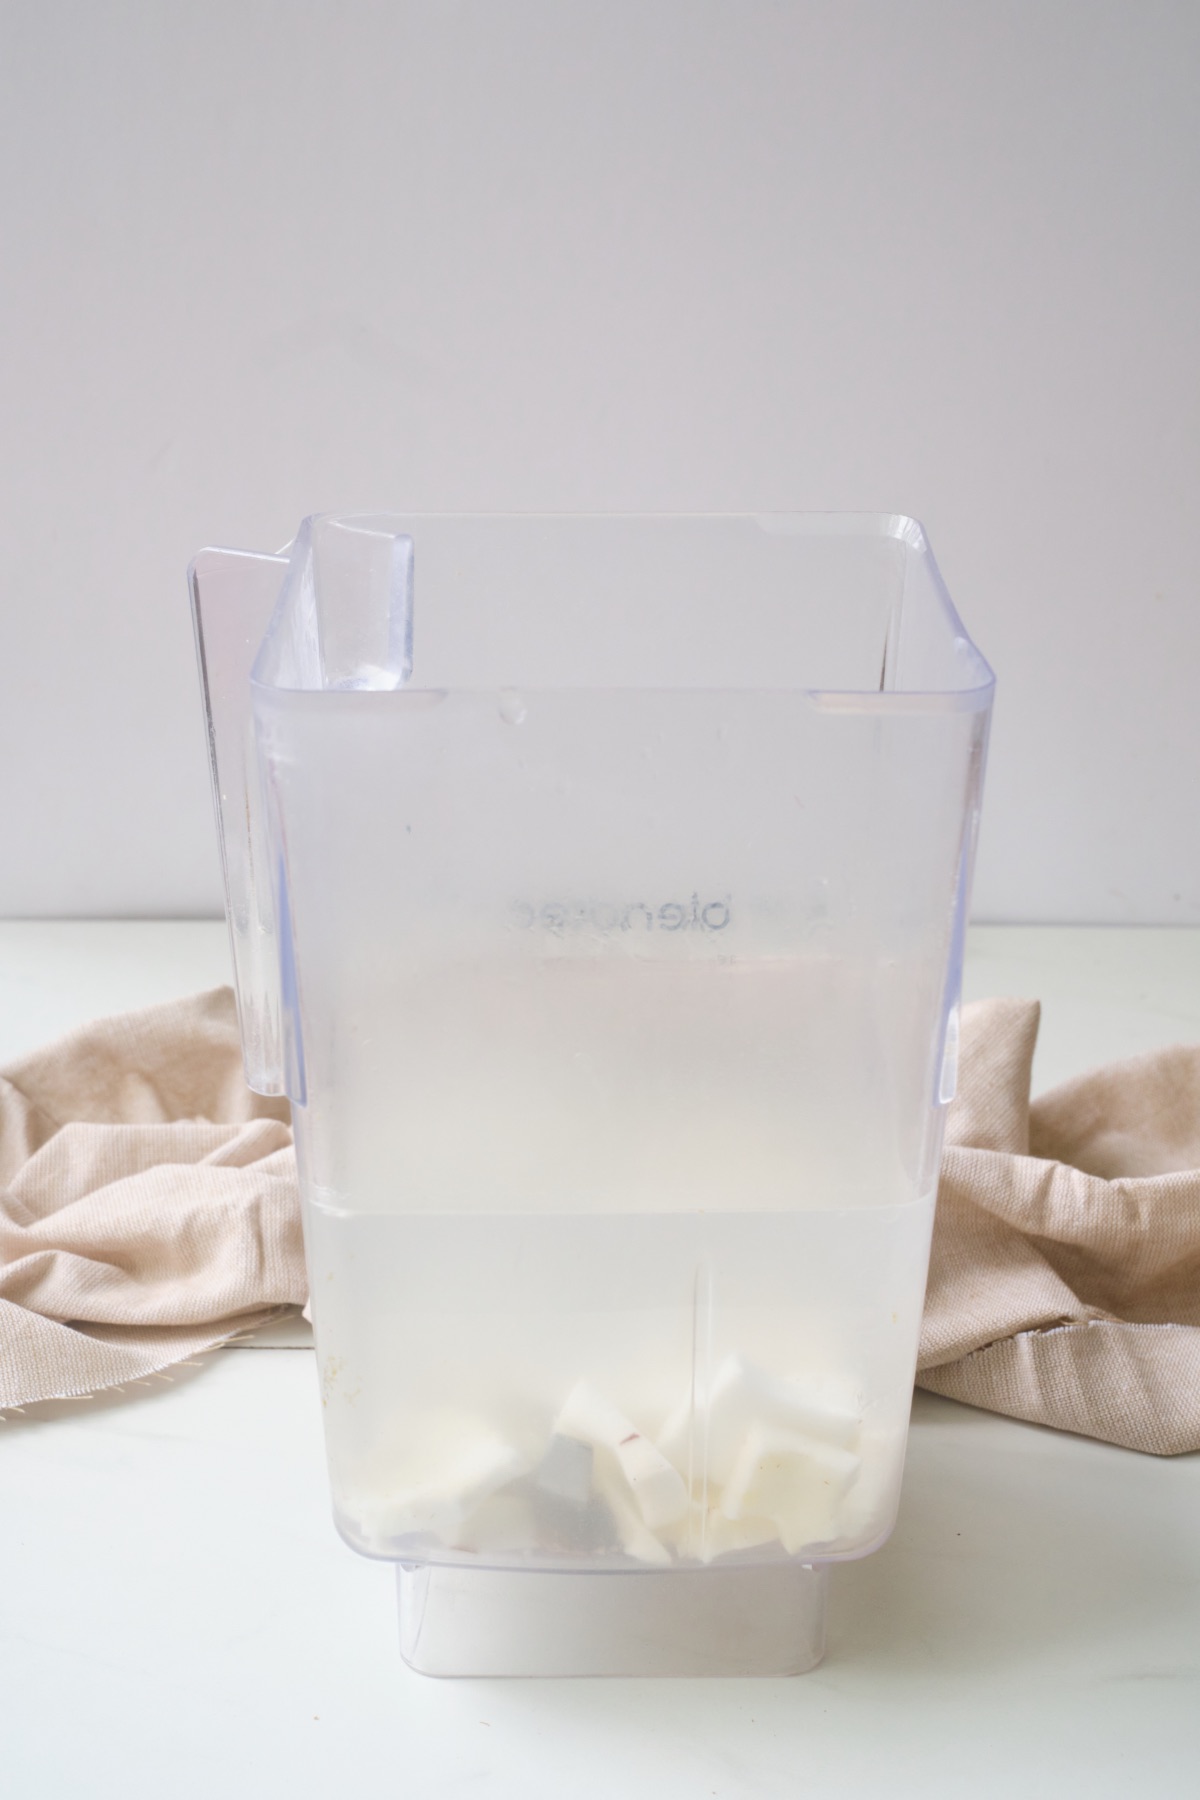
Step 2: Blend the Coconut & Water
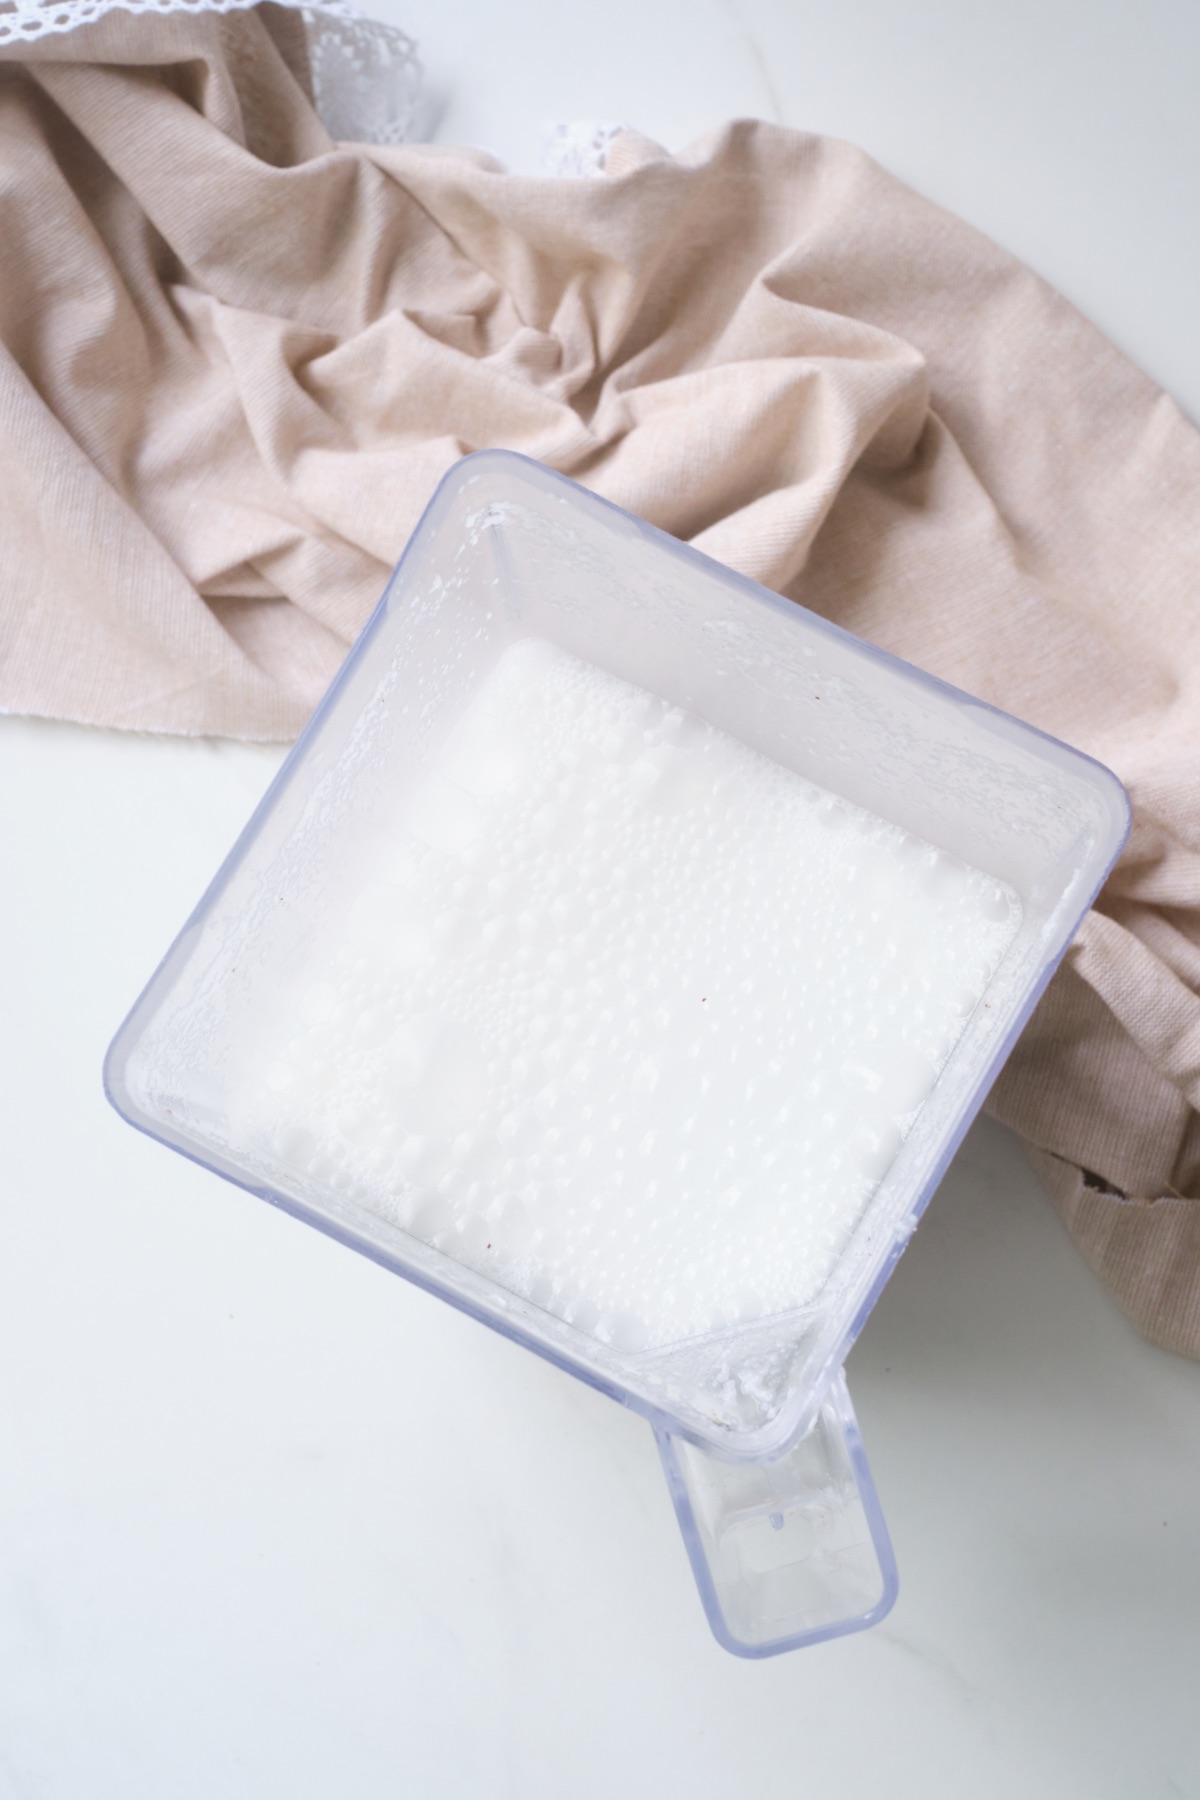
To blend your coconut and water, use a high speed setting and blend it for around 90 seconds. You may need to pulse a few times or use a wooden spoon to move your ingredients around in the blender.
Your coconut texture will still have some small pieces and will still have a bit of grit. It’s won’t be perfect, even, or smooth. You can only get that texture from straining the milk.
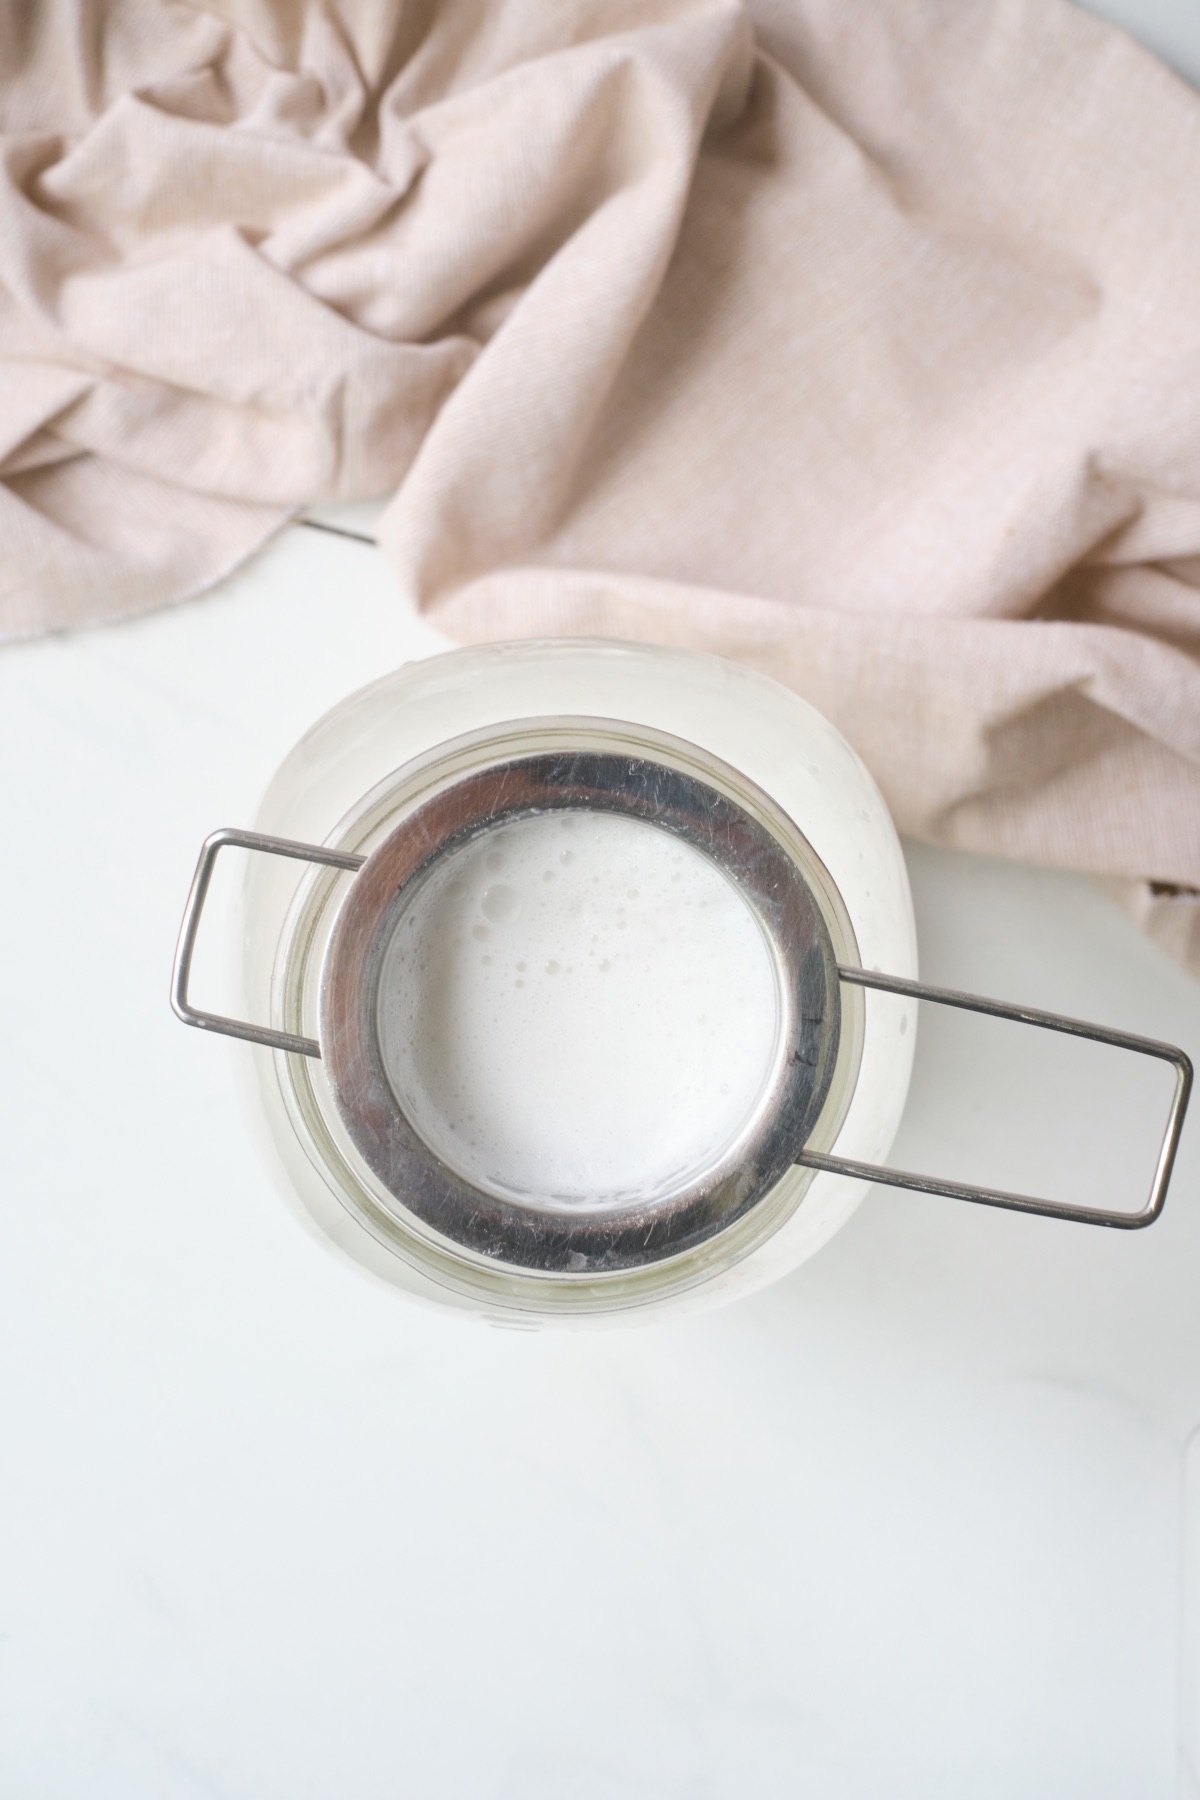
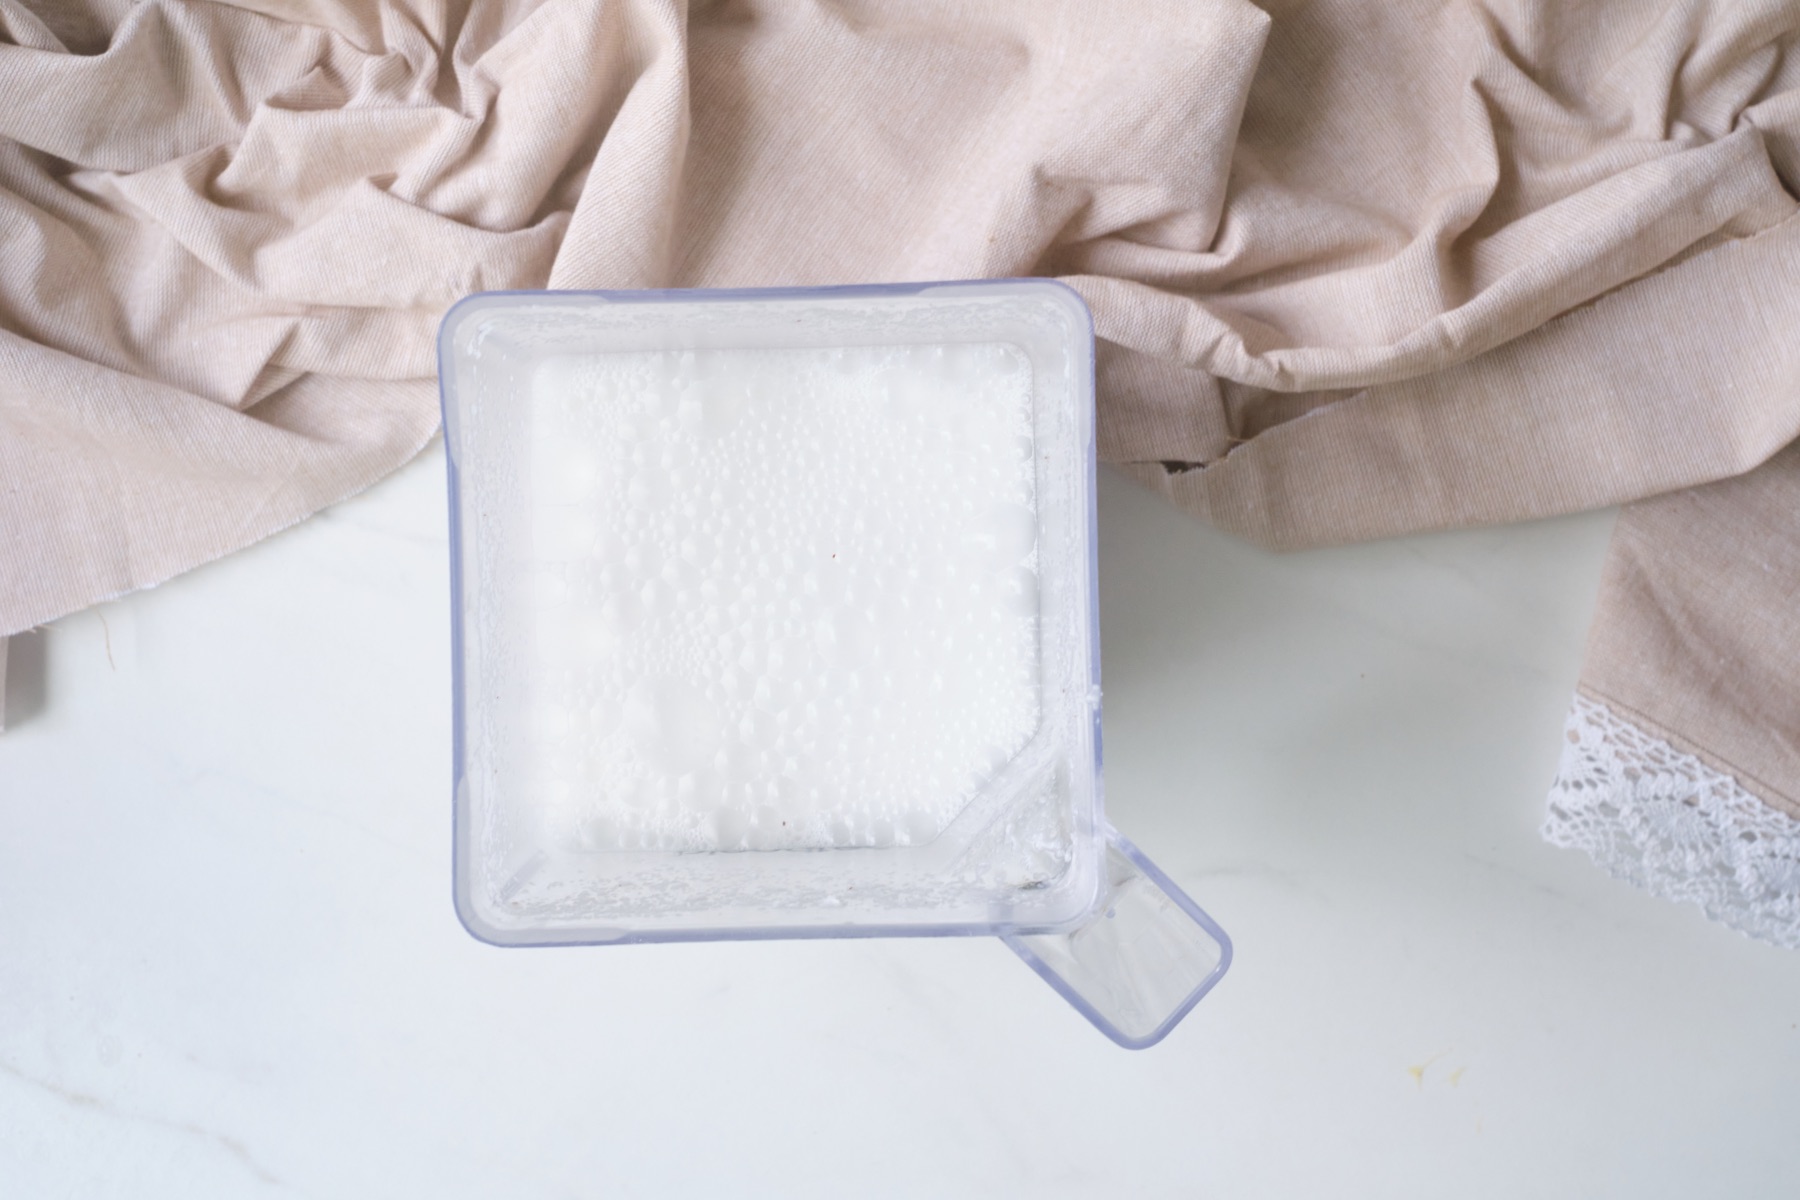
Step 3: Strain the Coconut Milk
To remove any of the grit or small particles that are left, you have to strain it. A cheesecloth is my preferred method because a cheesecloth has a really fine weave, so it can remove the grit from the coconut milk easily. The drawback is it can get a little messy. If you hold it in your hands, you’ll likely get your hands covered and may miss your container. If you attach cheesecloth around a lid, the fabric can soak up the coconut milk and it can drop around the outside.
Whatever supplies you have around are best and if you have to choose something cheesecloth is the easiest to find and an inexpensive approach.
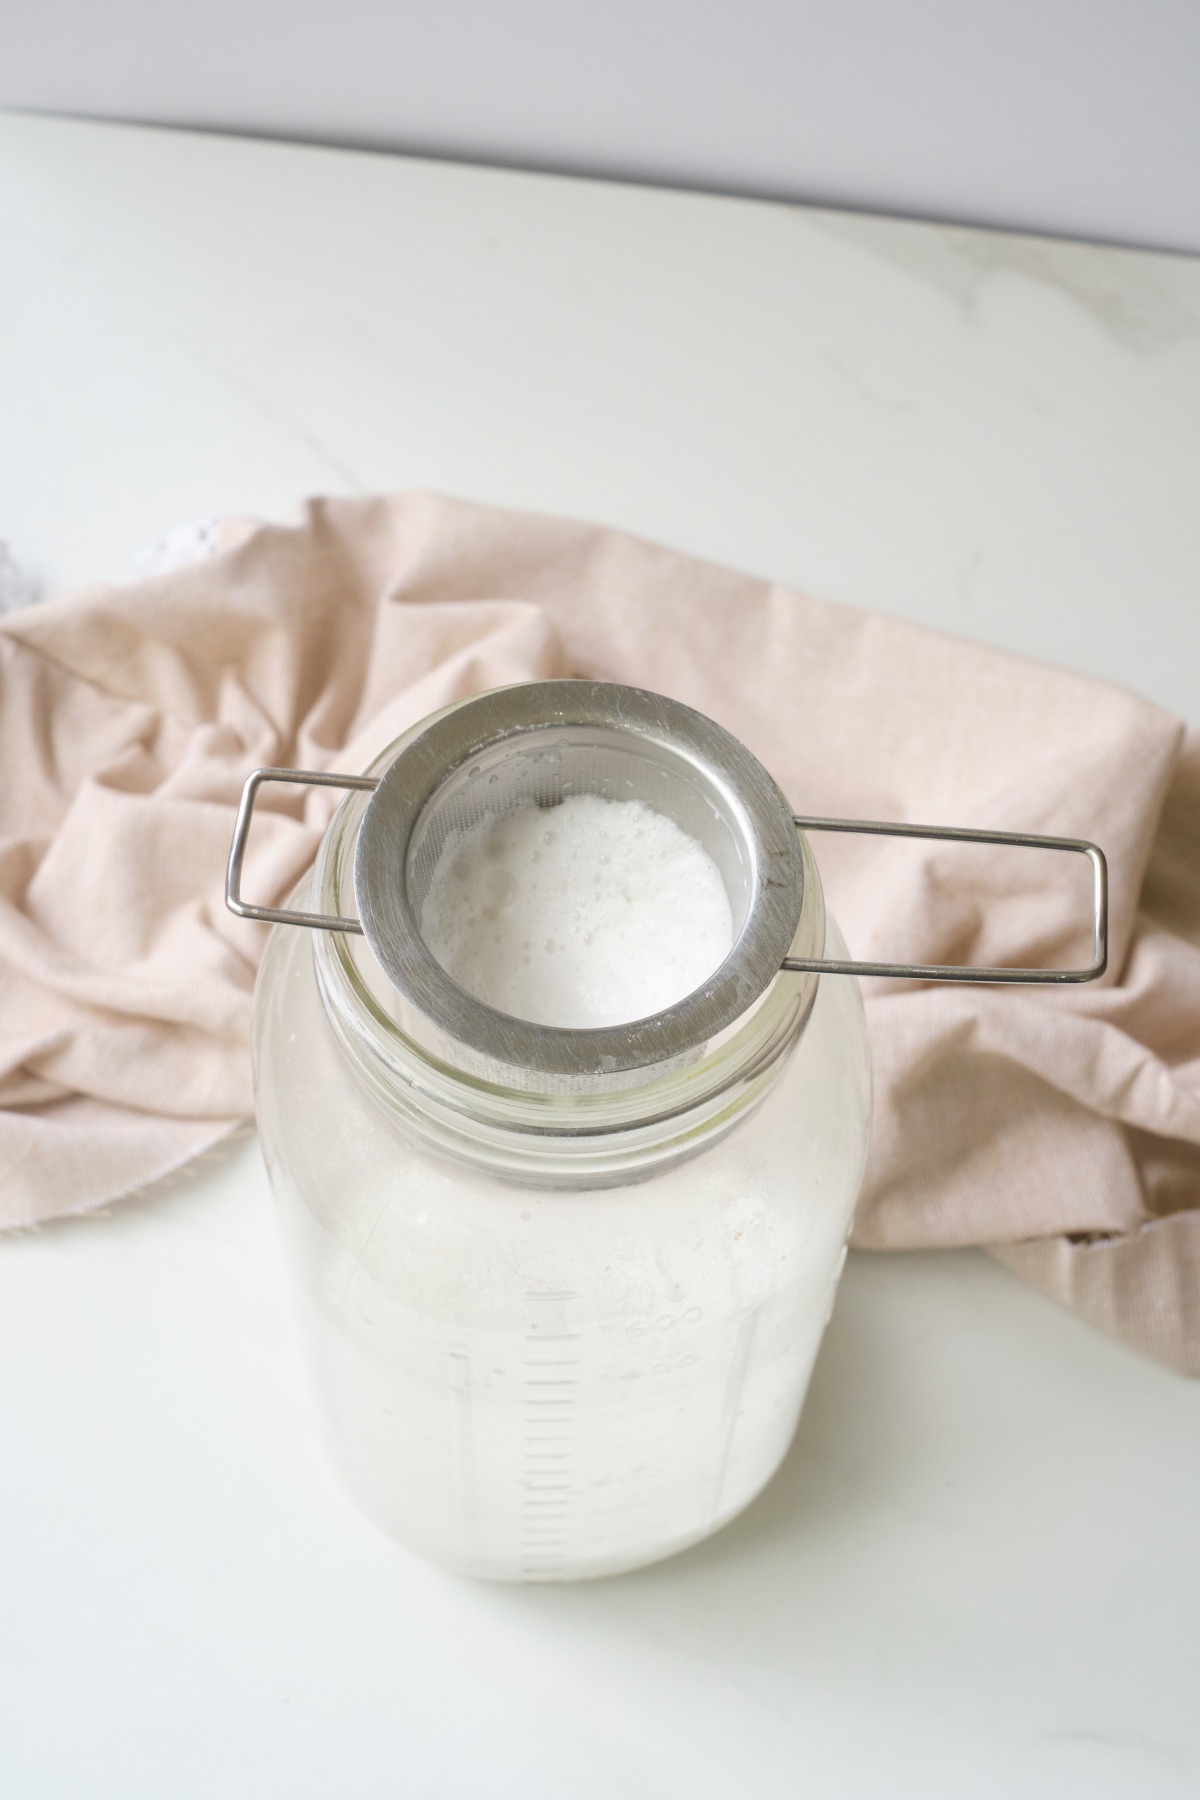
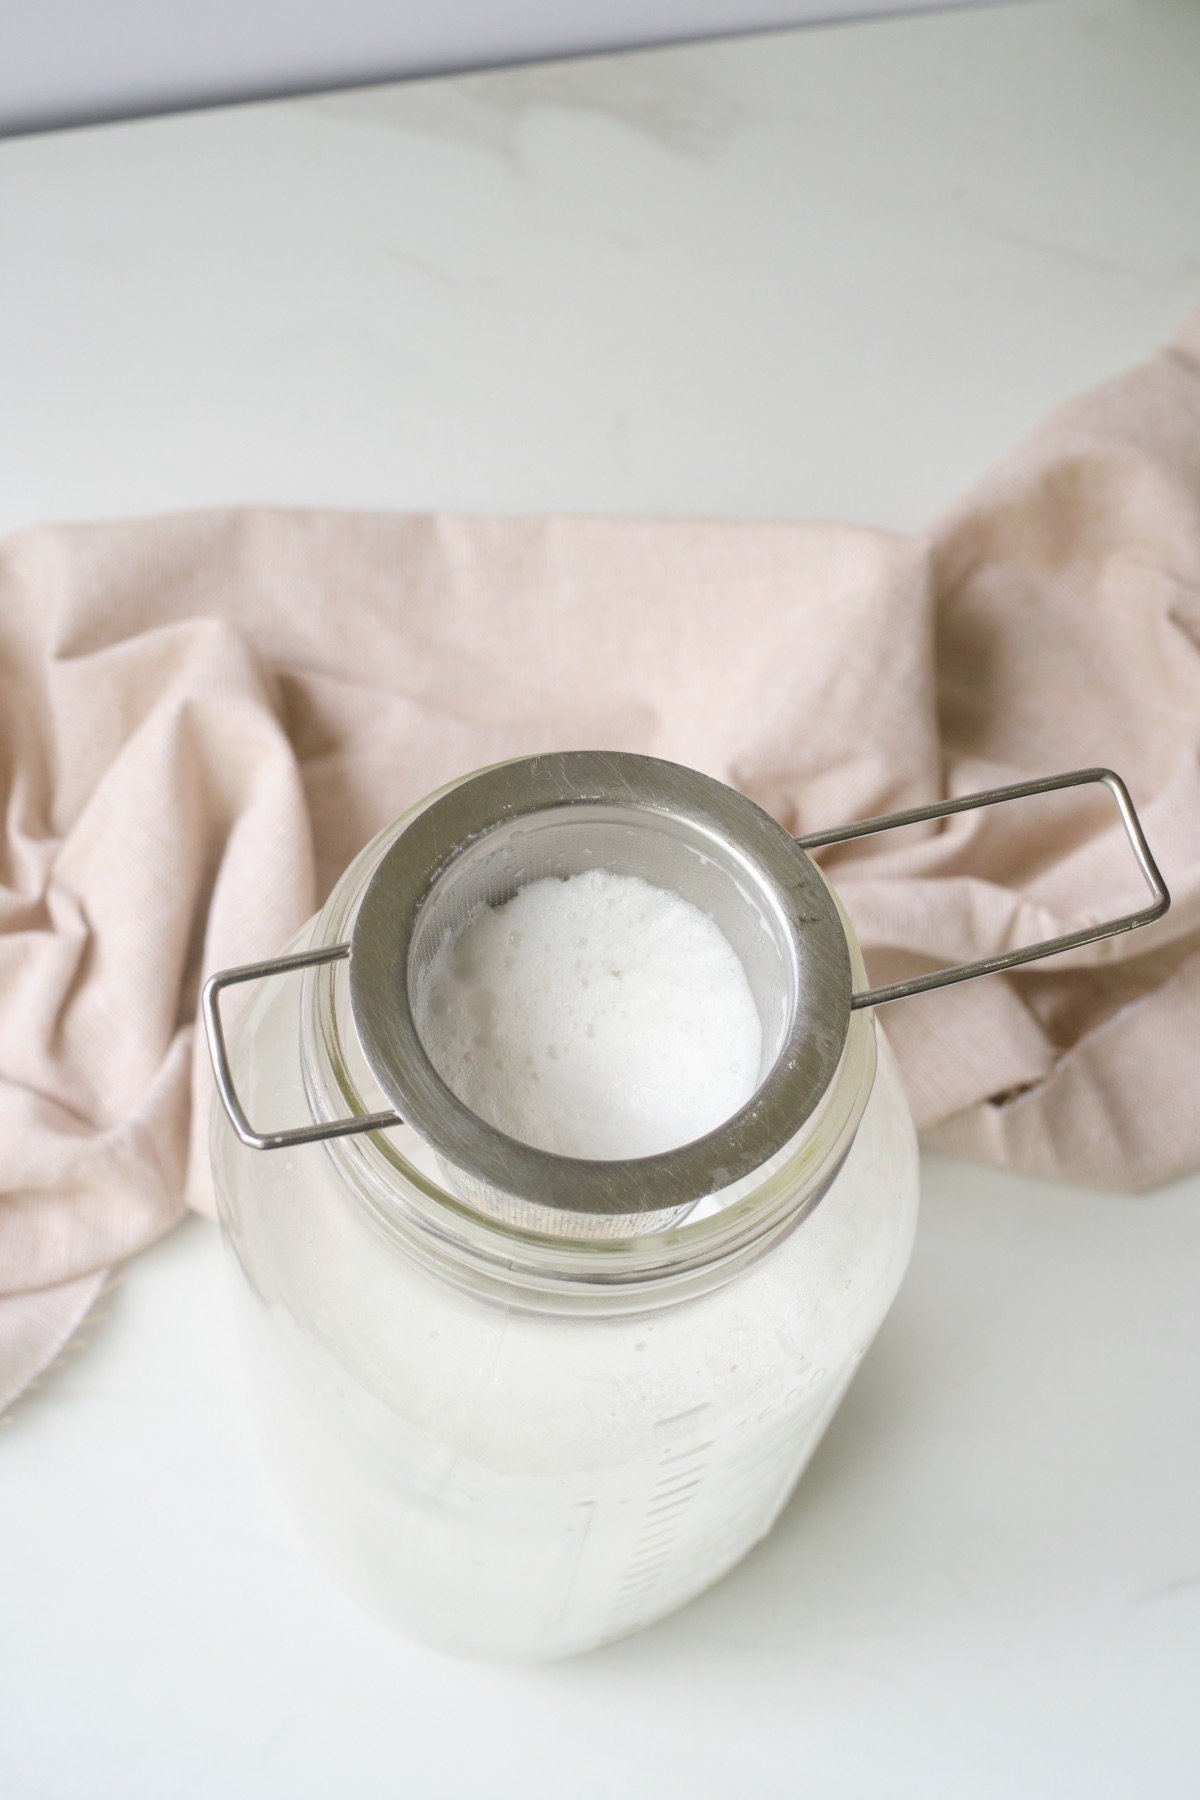
Allow the coconut milk to completely strain through. If needed, clean your strainer halfway through or use a fresh piece of cheesecloth. You will know if you need to freshen your supplies if the coconut milk drips through the strainer too slowly or doesn’t drip at all.
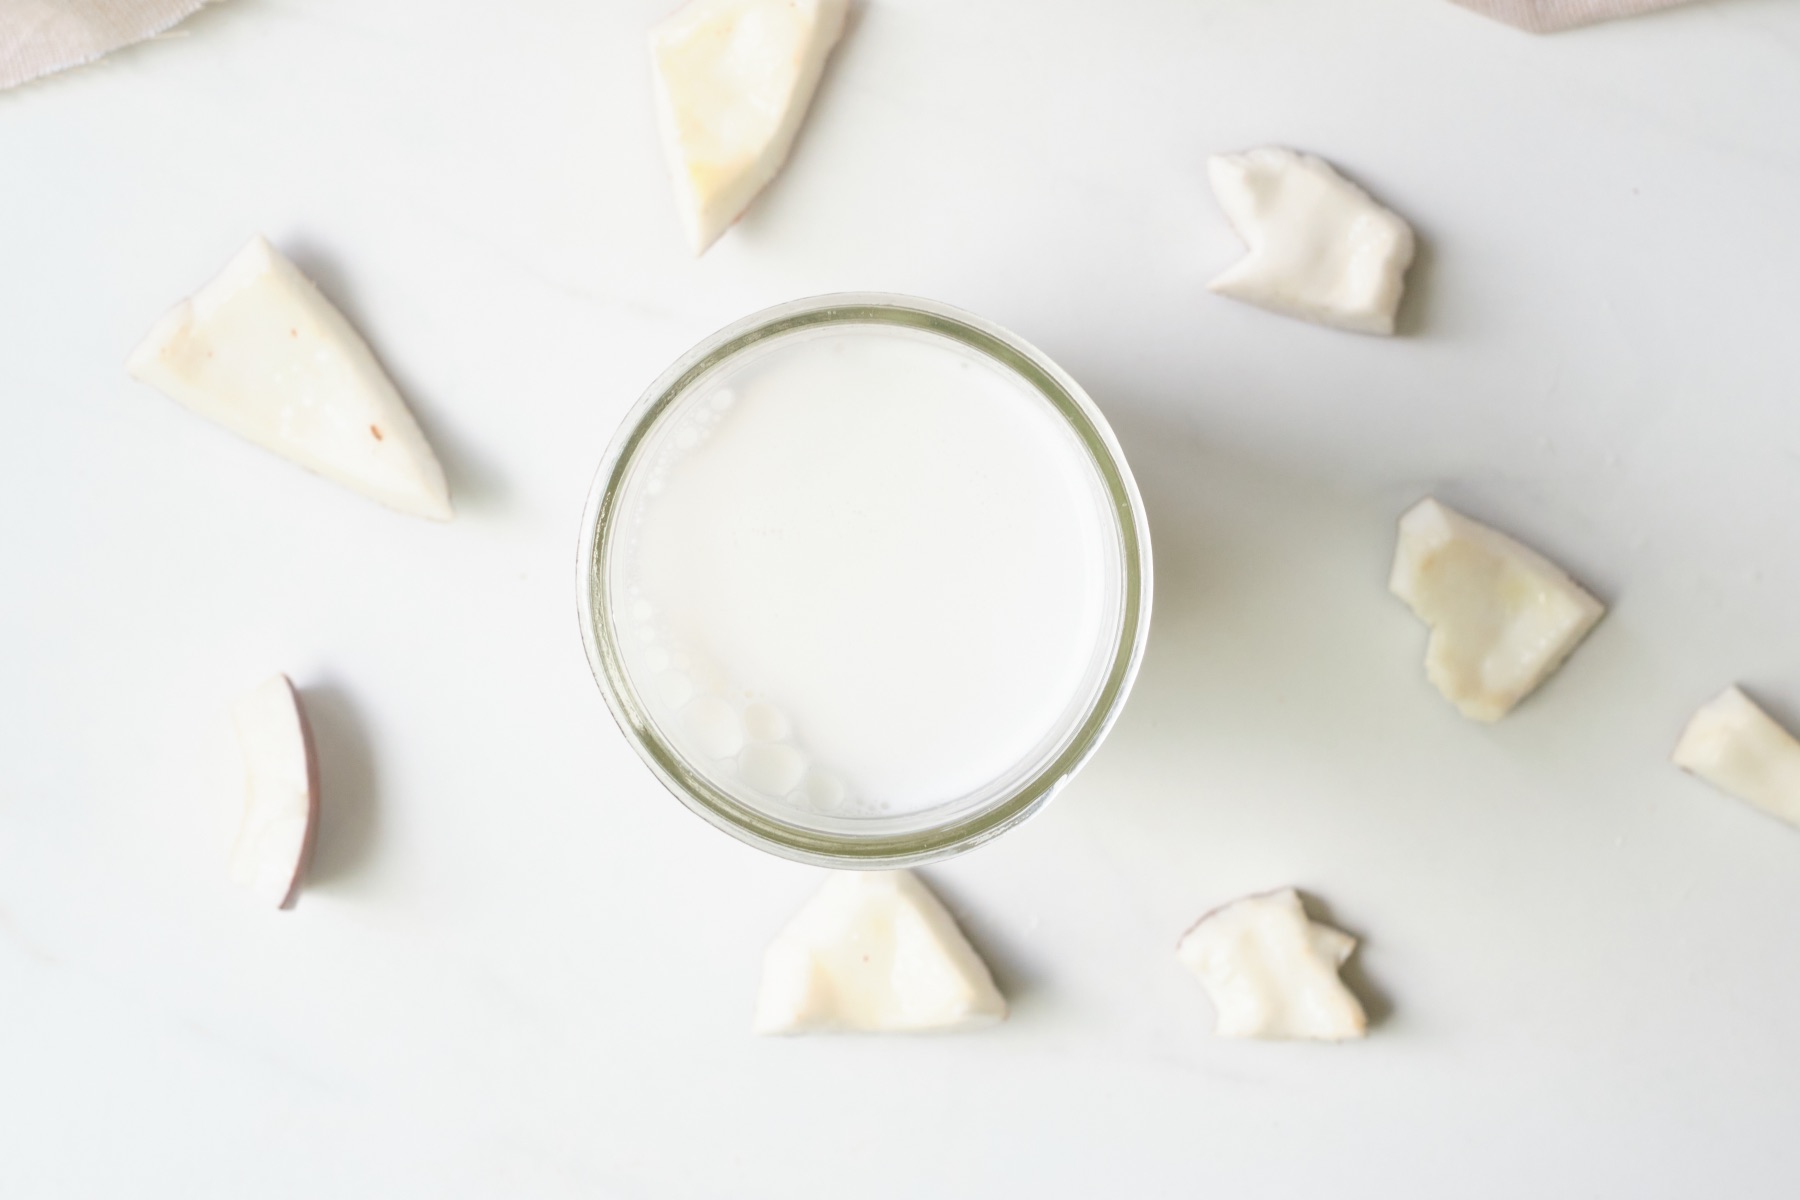
How to Store Coconut Milk
Coconut milk is best stored in a container with a lid that seals. You may want to shake it before you use it, so the lid will make that easy. Fresh coconut milk doesn’t keep as long as store bought so the lid is also a great way to ensure that you are keeping it good for as long as possible.
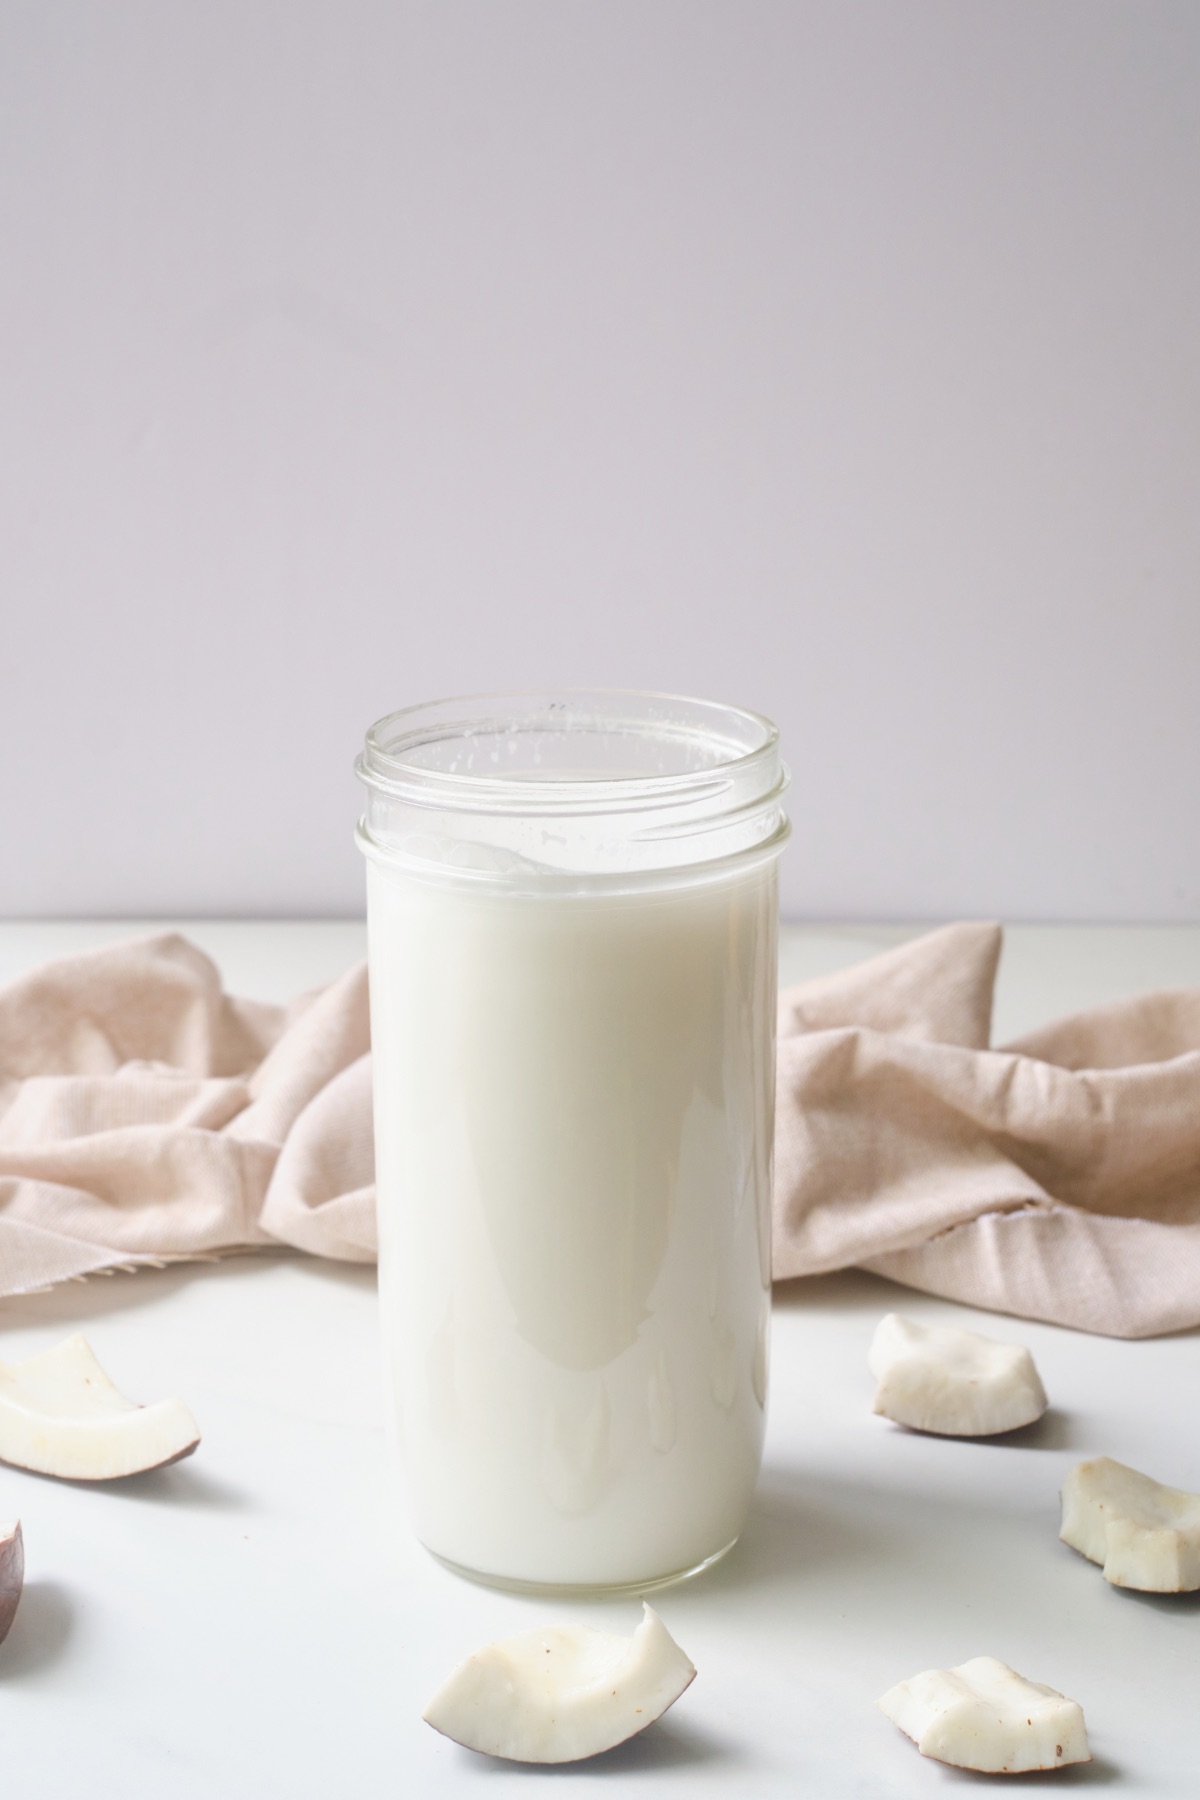
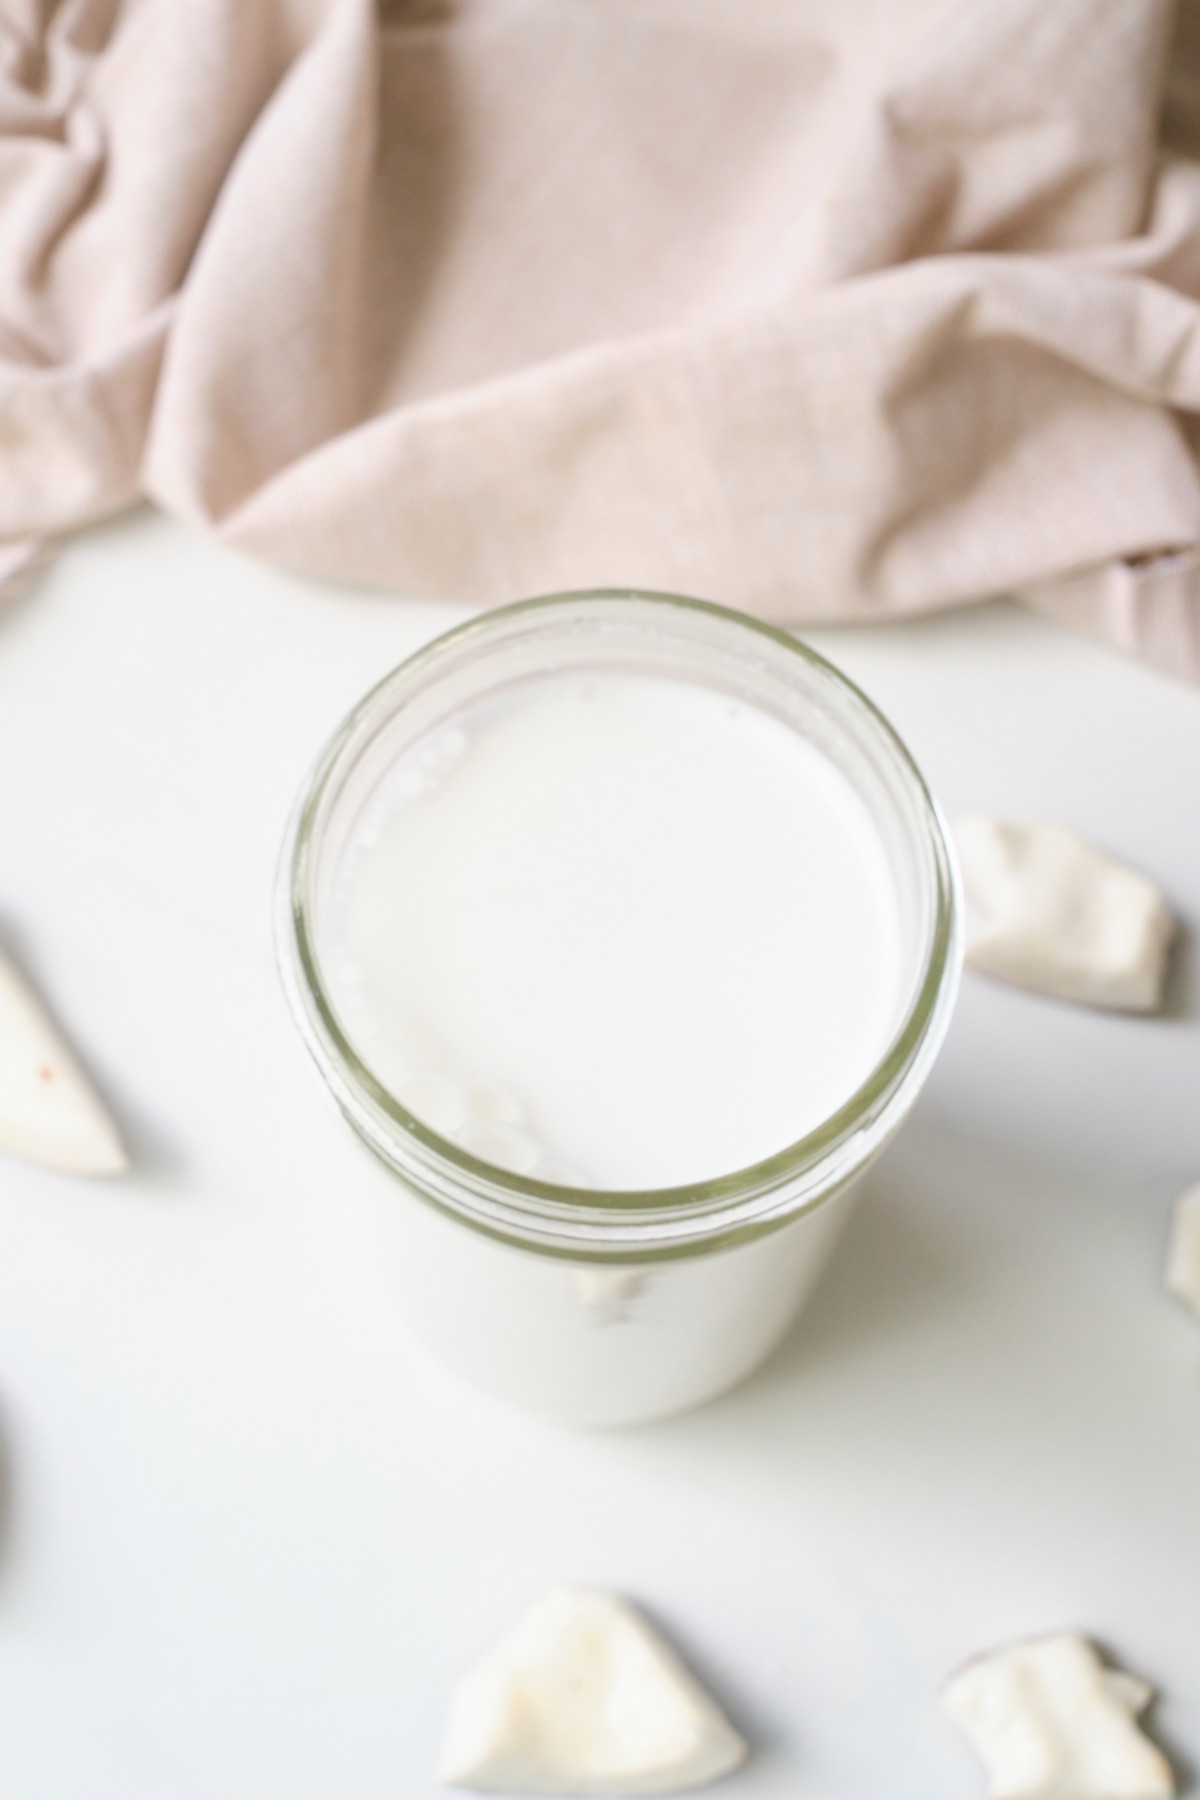
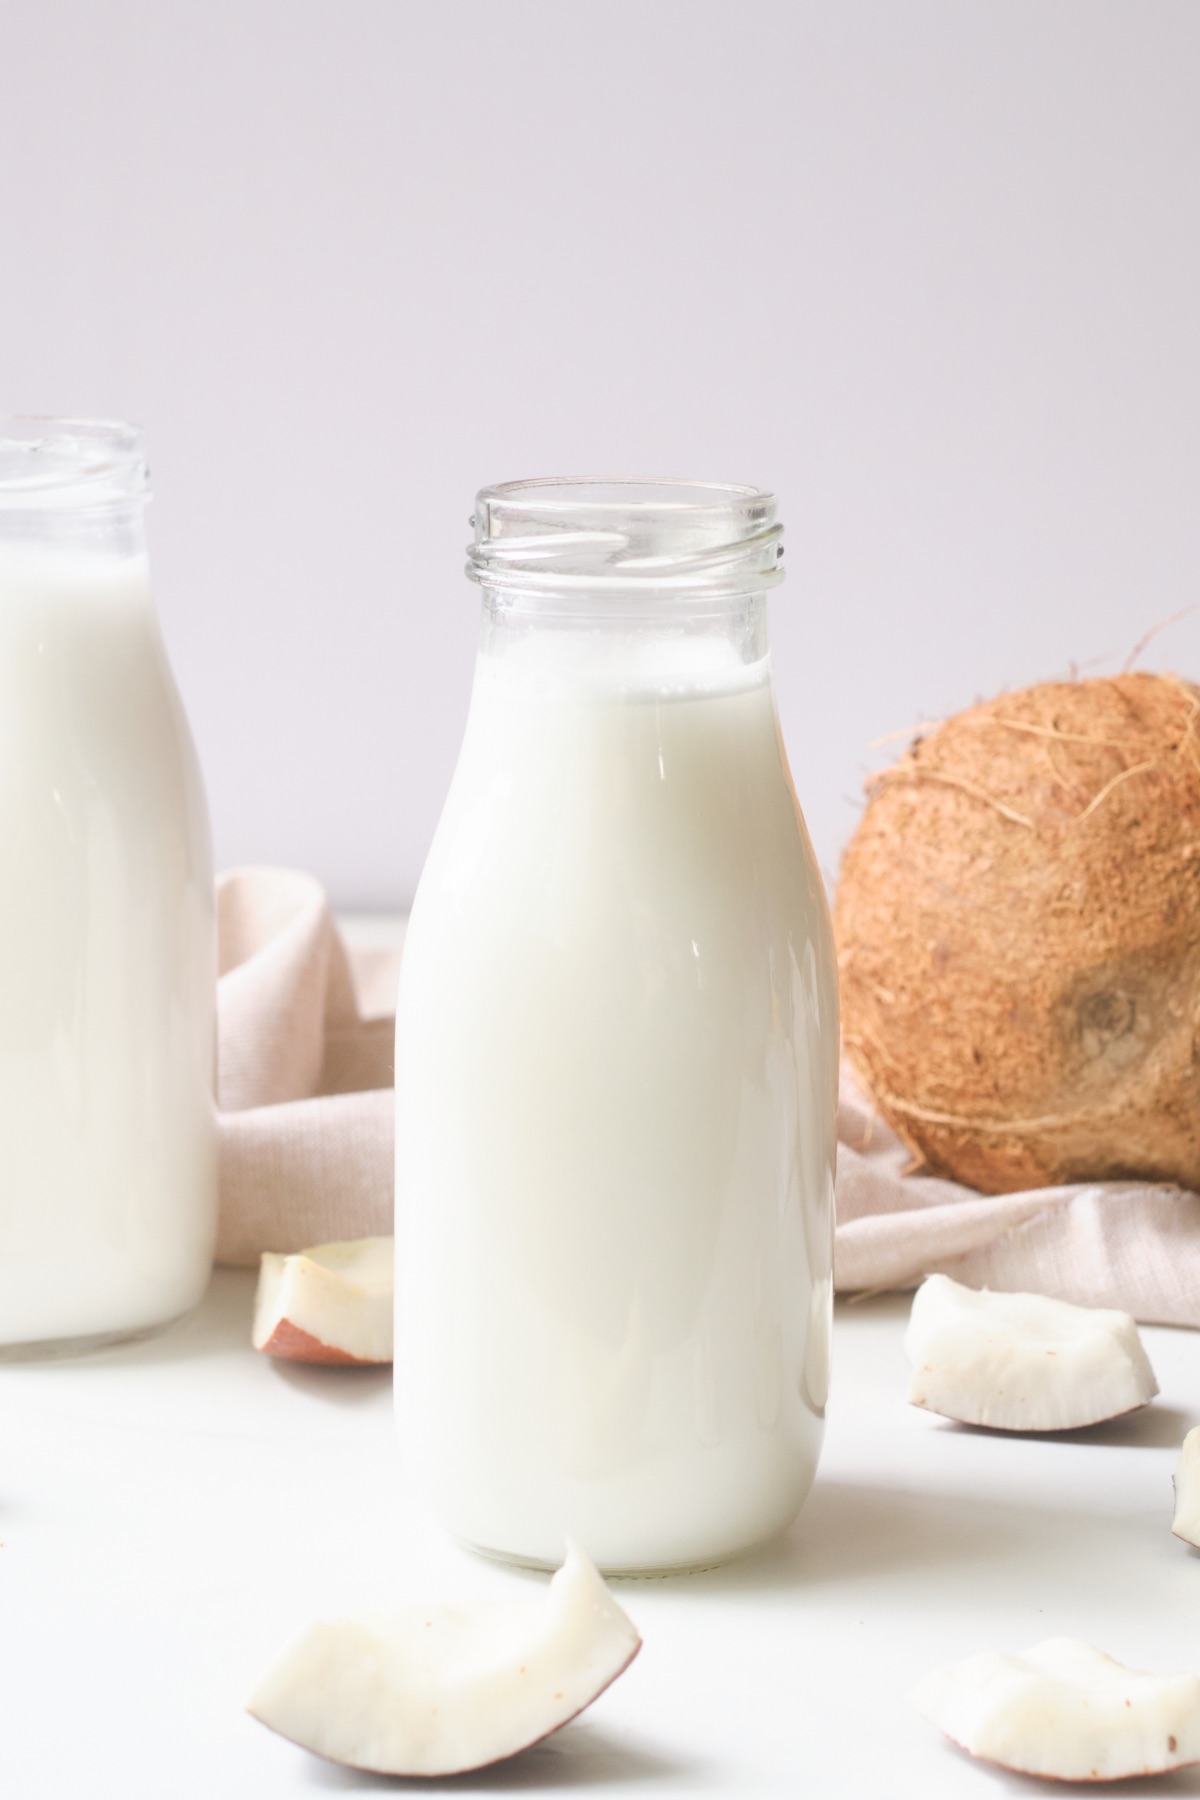
For that reason, storing coconut milk in glass is best! I would prefer that over plastic and I can’t imagine storing it in anything else. You don’t have to sterilize the glass jar, just make sure that your storage container is thoroughly washed and dried before using it.
Ways to Keep Coconut Milk Fresher Longer
If you follow all those tips like storing your coconut milk in a clean glass container with a lid, not storing it in plastic and storing your milk in the fridge, that’s really the best your can do to keep your coconut milk fresh for as long as possible.
Even then your coconut milk will only stay fresh for 3-5 days. If you want to keep your coconut milk fresher longer, store it in the freezer and defrost it completely and shake it thoroughly before use. A freezer can keep coconut milk fresh for a lot longer.

Flavor Additions to Fresh Coconut Milk
Now how you use your coconut milk is completely up to you! It’s perfect for vegan recipes, like this Vegan Pumpkin Pie. Or it’s perfect with just a simple breakfast cereal. The choice is up to you!
The best part of all is that you can continue to add twists to this recipe to make a coconut milk that’s flavored in unique and interesting ways.
Chocolate Coconut Milk: Add cocoa powder, sugar, and vanilla to your coconut and water before blending to make a rich and delicious chocolate milk!
Strawberry Coconut Milk: Did you love strawberry milk as a kid? I know I did! To make it use freeze dried strawberries because they pack a punch of flavor. Pulverize them in a food processor and add them to the coconut and water before the blending process.
Horchata Coconut Milk: Horchata is a sweet Mexican drink that’s flavored with cinnamon and almonds. To make it, add a 1/2 teaspoon or so of cinnamon, toasted almonds, honey and vanilla to the coconut and water before blending. Yum!
How to Make Coconut Milk
Ingredients
- 1 Coconut
- 4 cups of cold water
Optional:
- 1 Tablespoon Honey -or-
- 1 Tablespoon Maple Syrup -or-
- 1 Fresh Vanilla Bean Pod -or-
- Get creative! Lots of ideas are available here!
Instructions
- Break open a fresh coconut that swishes with liquid when you shake it.
- Remove 1 cup or more of the coconut meat.
- Use a vegetable peeler to remove the brown peel attached to the coconut meat.
- Chop the coconut into bite size pieces and place the pieces and water in a blender. If you decide to add, vanilla bean, vanilla extract, honey, maple or anything else place that in the blender as well! Recipe ideas are included in the text above.
- Pulse and blend the coconut and water on high for around 90 seconds. The coconut milk will still have small pieces of pulp but will be a chunky, gritty white.
- Using a cheese cloth, metal sieve or a tea strainer, strain out the pulp and into your storage vessel for the coconut milk. If the milk pools in the strainer and doesn't strain through easily, clean the strainer and start fresh.
- Keep your coconut milk in a storage vessel with a lid and in the fridge for 3 to 5 days.
Let’s Stay Friends!
Insta | Pinterest | Enews | TikTok