DIY
How to Make Wood Wick Candles
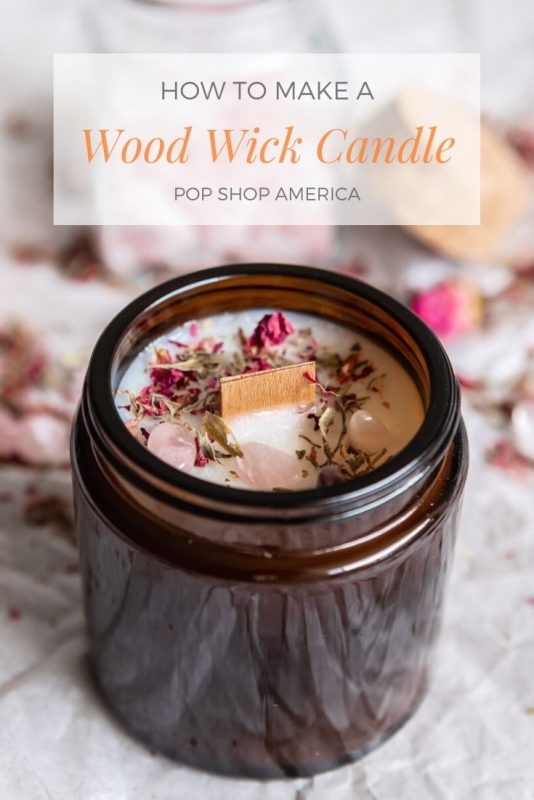
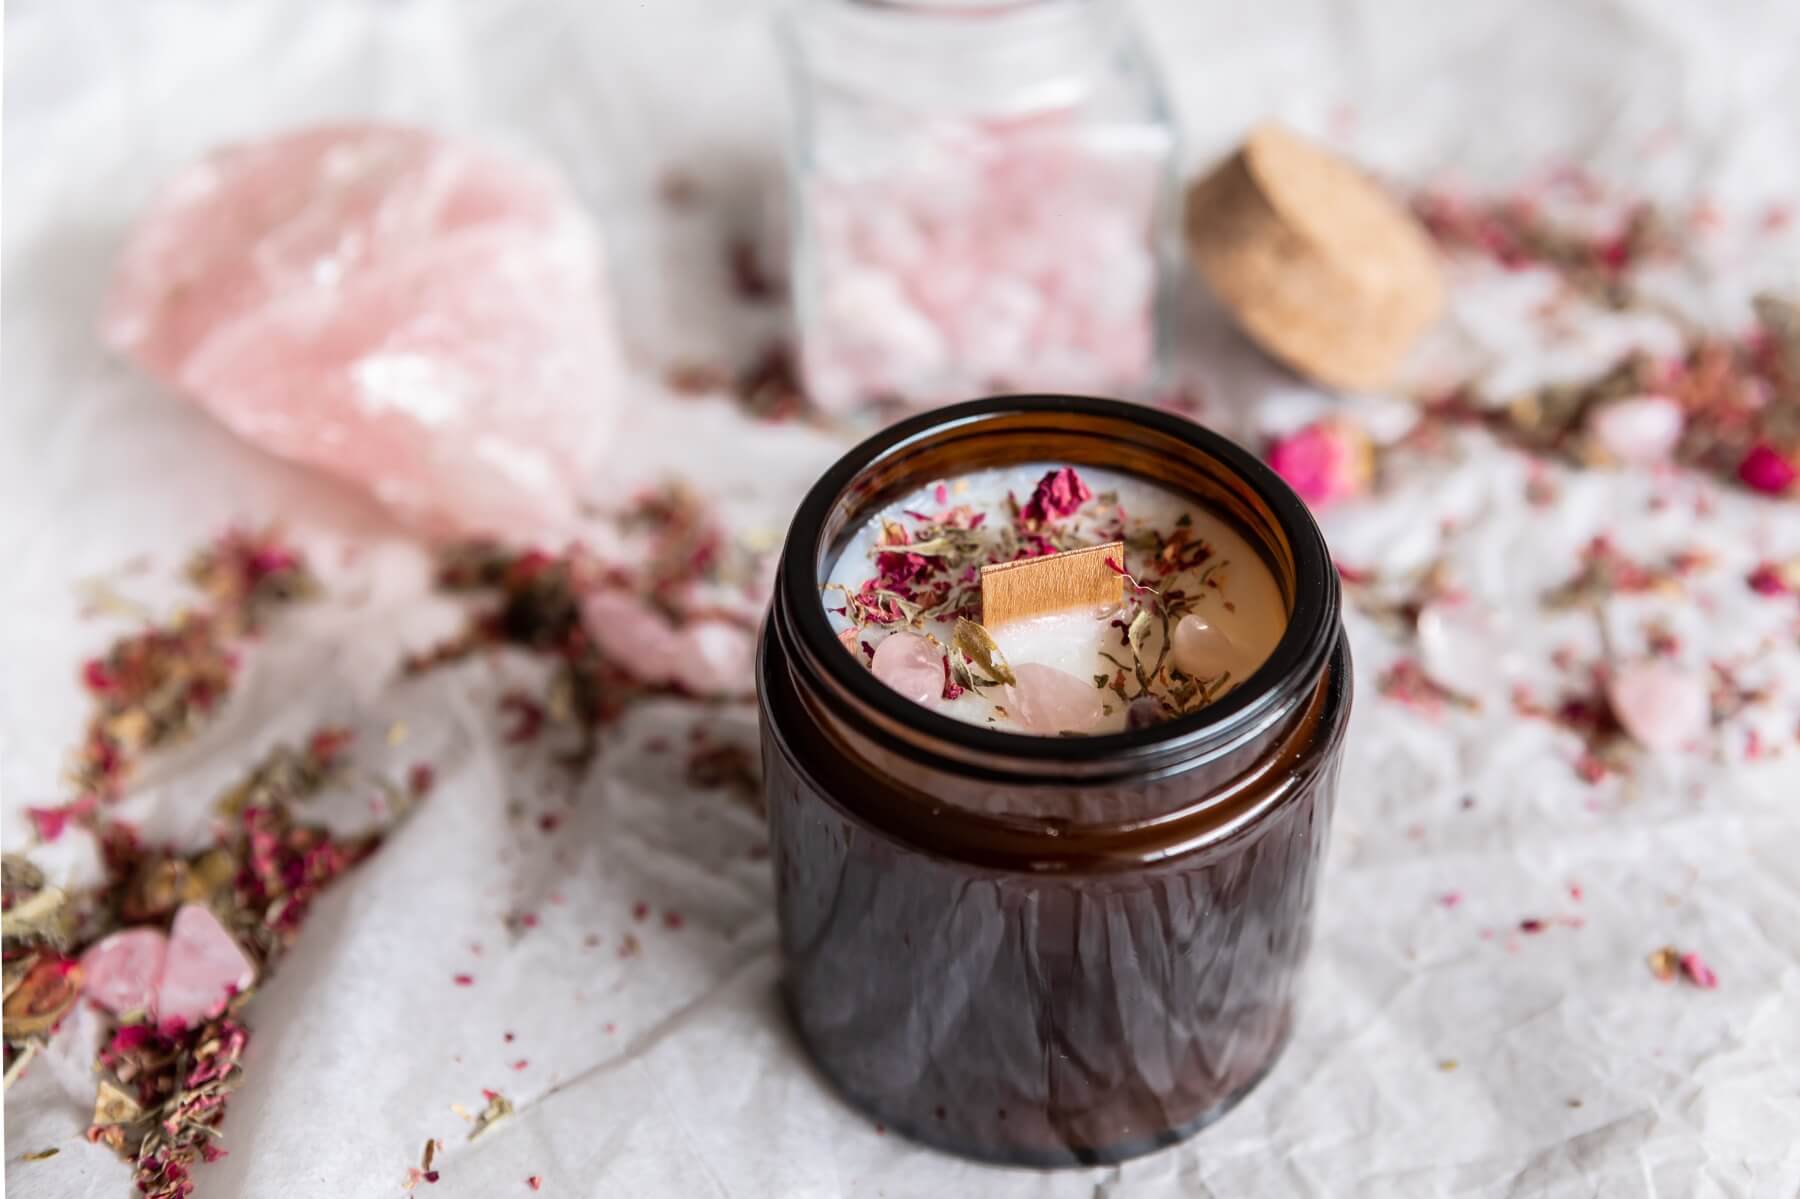
There’s nothing more soothing than the crackle and pop of a wood fire. Even better, you can get that gorgeous sound and smell with your own wood wick candle.
They are just as simple to make as candles with traditional cotton wicks, but there are a few twists and things you need to know about wood wicks.
I decided to make my wood wick candles in gorgeous amber glass jars, but you could make yours in shapes in recycled glass like this or large square vessels like this.
Supplies to Make Wood Wick Candles
Candle Making Kit with Wood Wicks
-or-
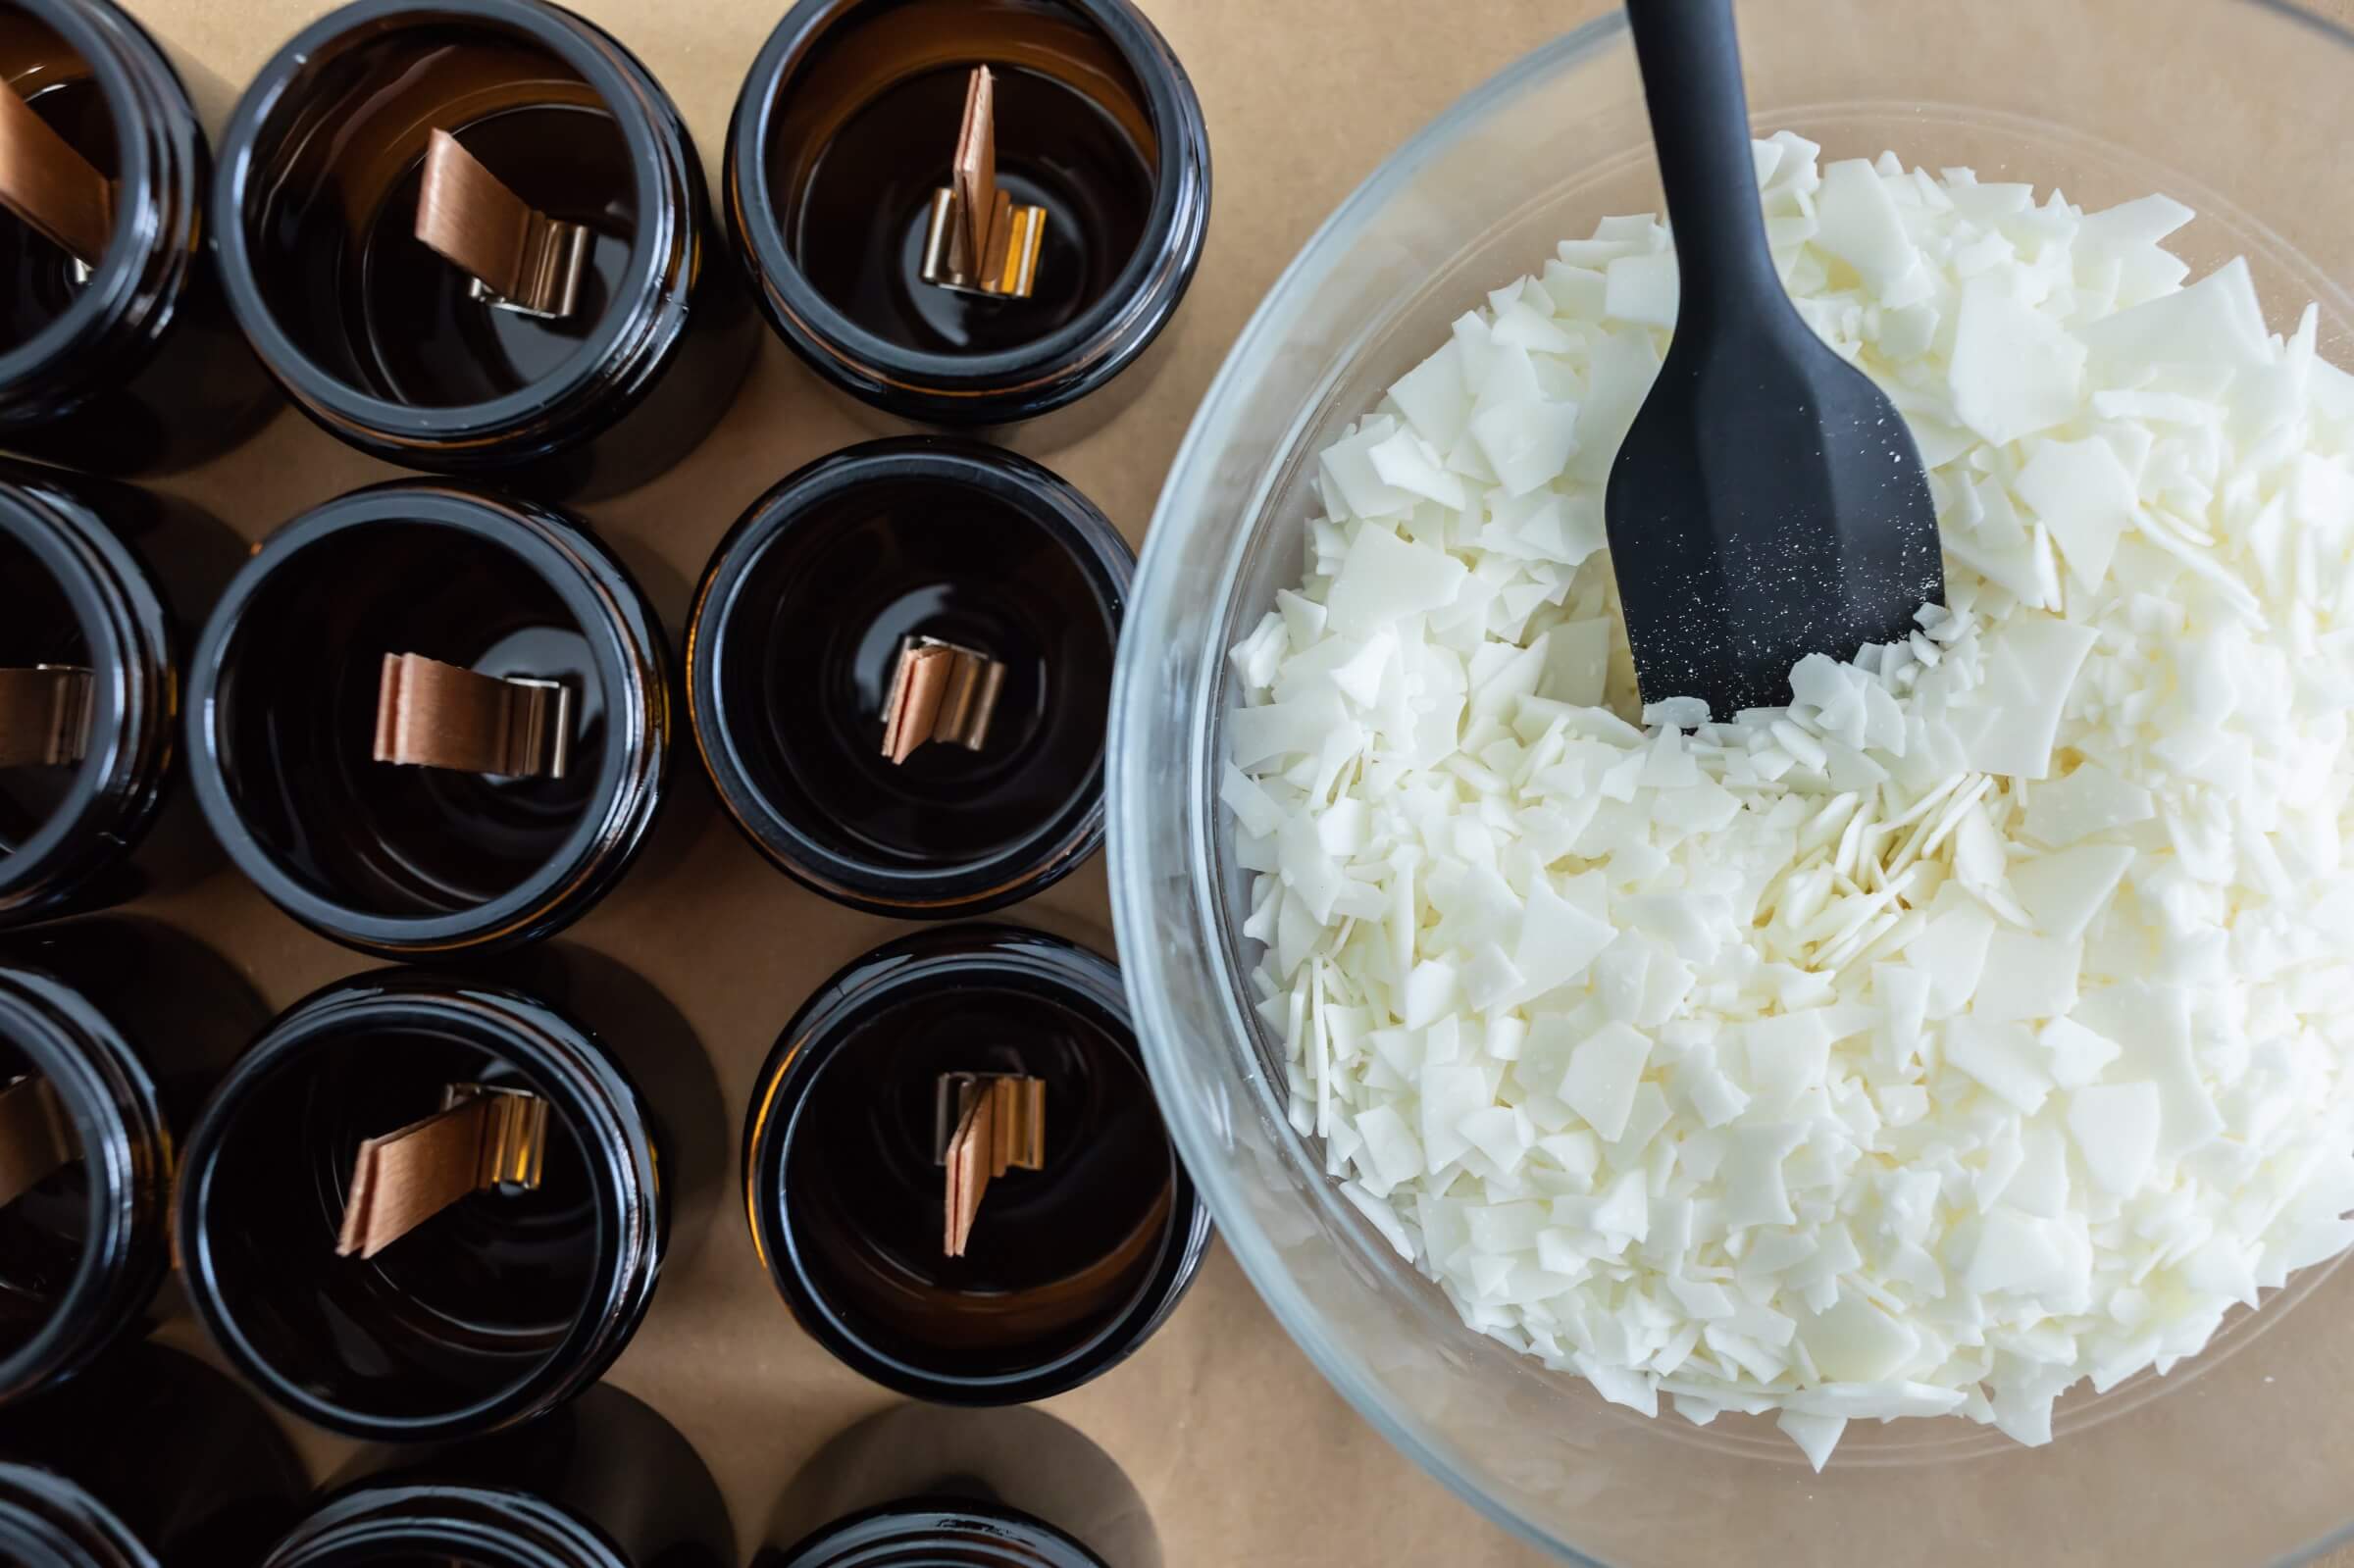
2x 6 Ounce Amber Glass Jar
15+ Ounces of All Natural Soy Candle Wax
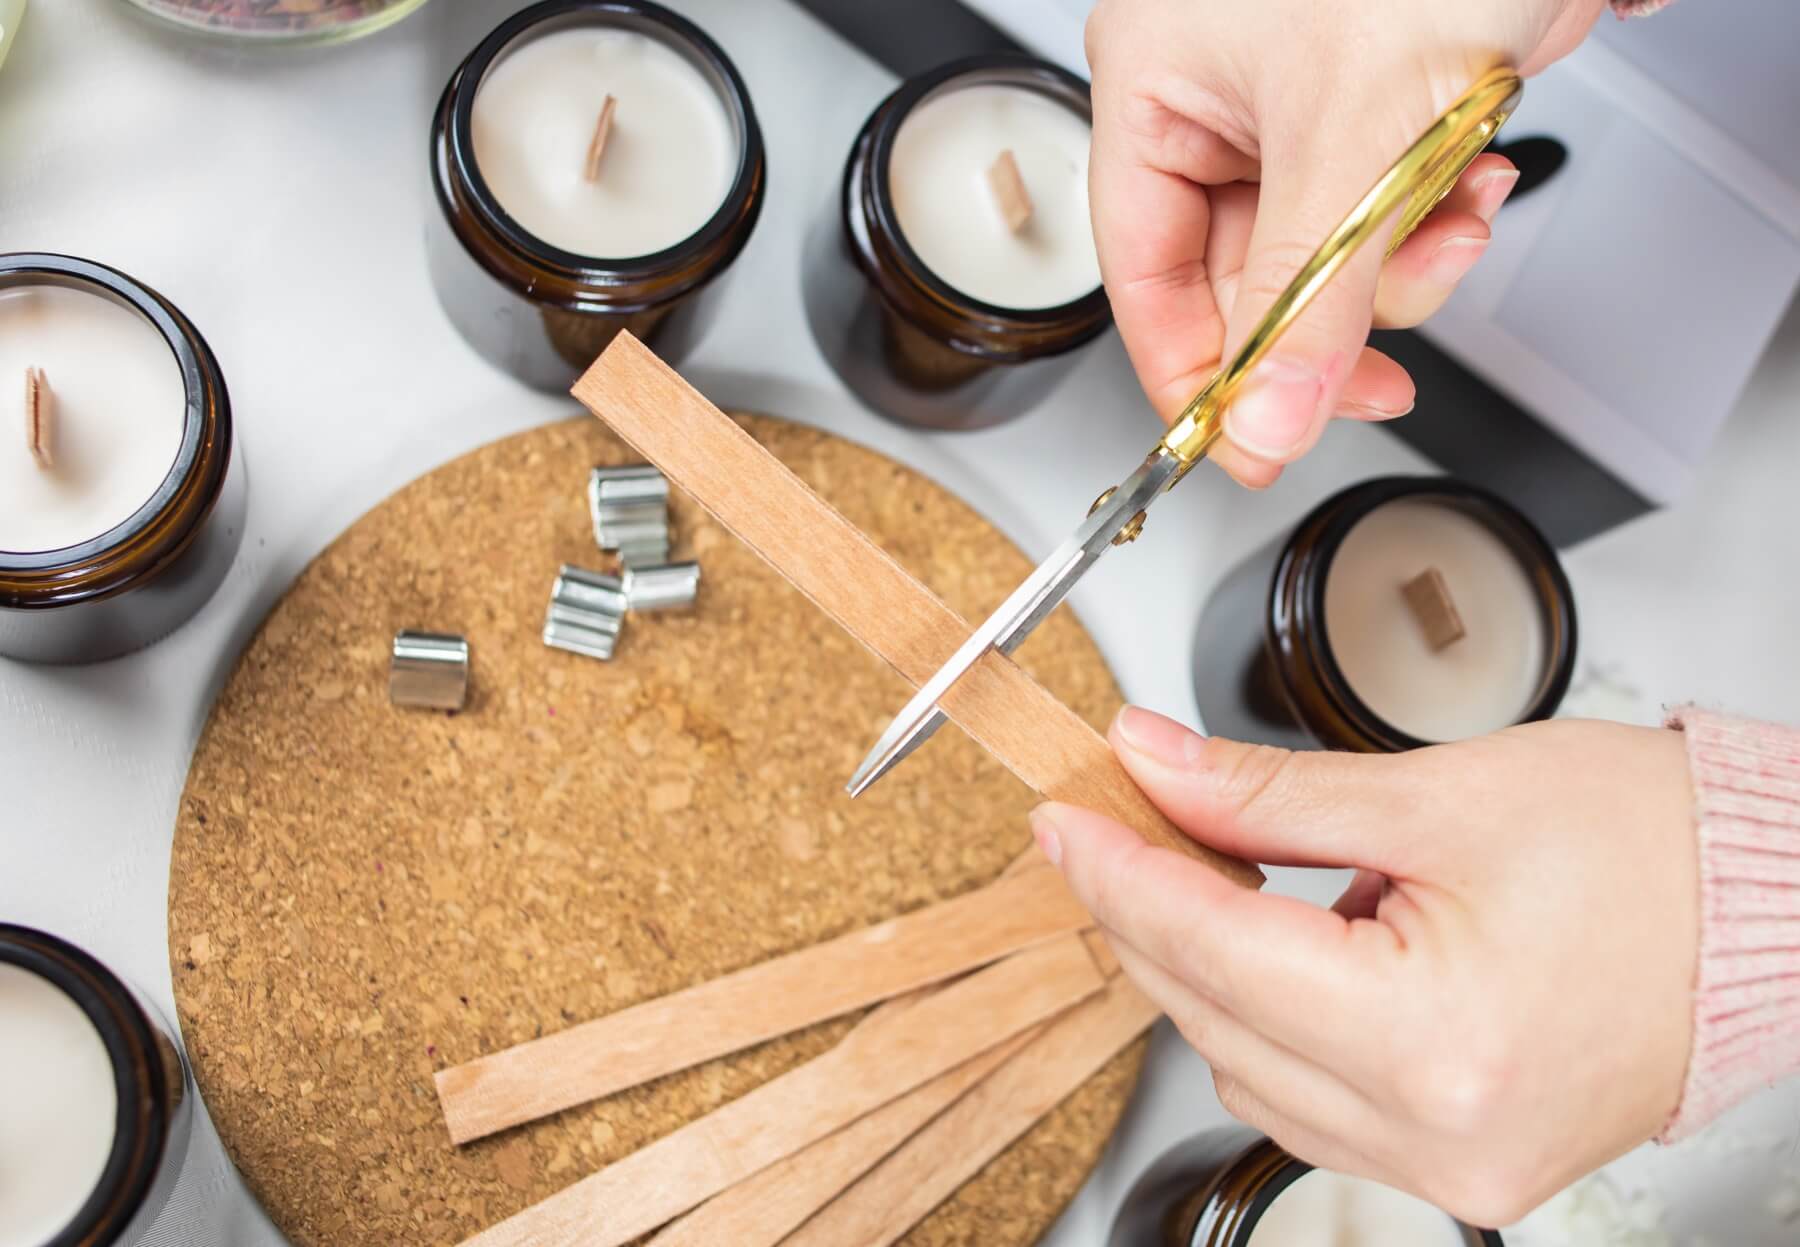
2 Wood Wicks with their Metal Base
Popsicle Sticks
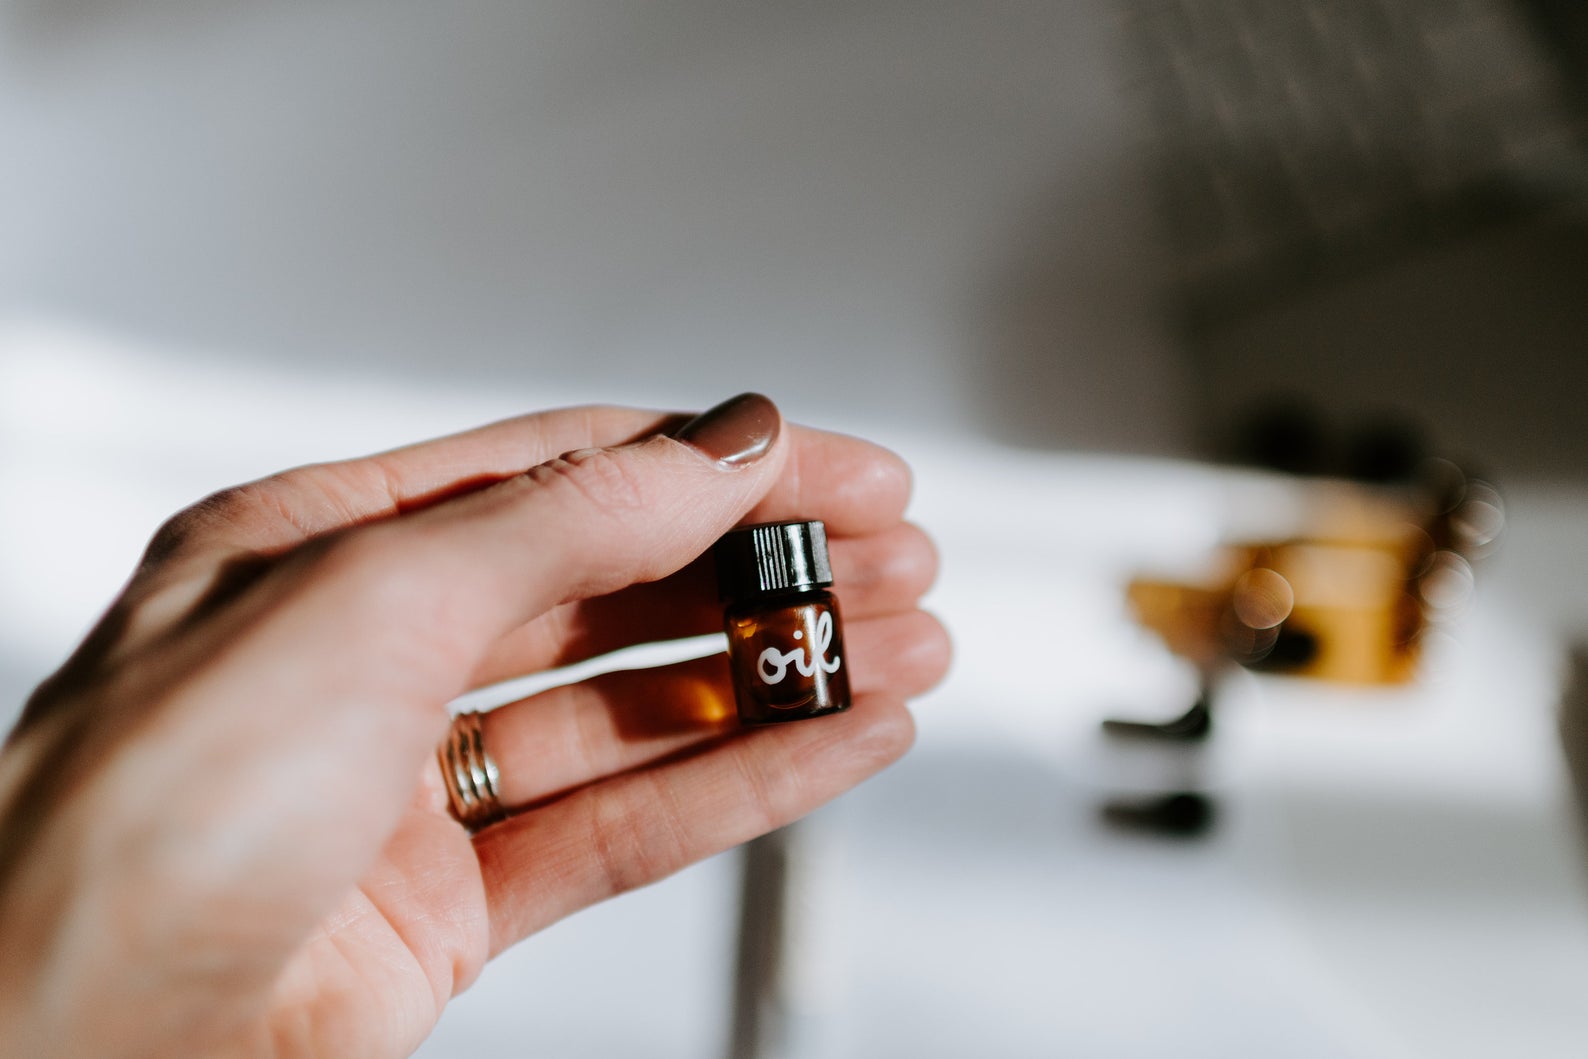
6 mL of High Grade Essential Oils (like these)
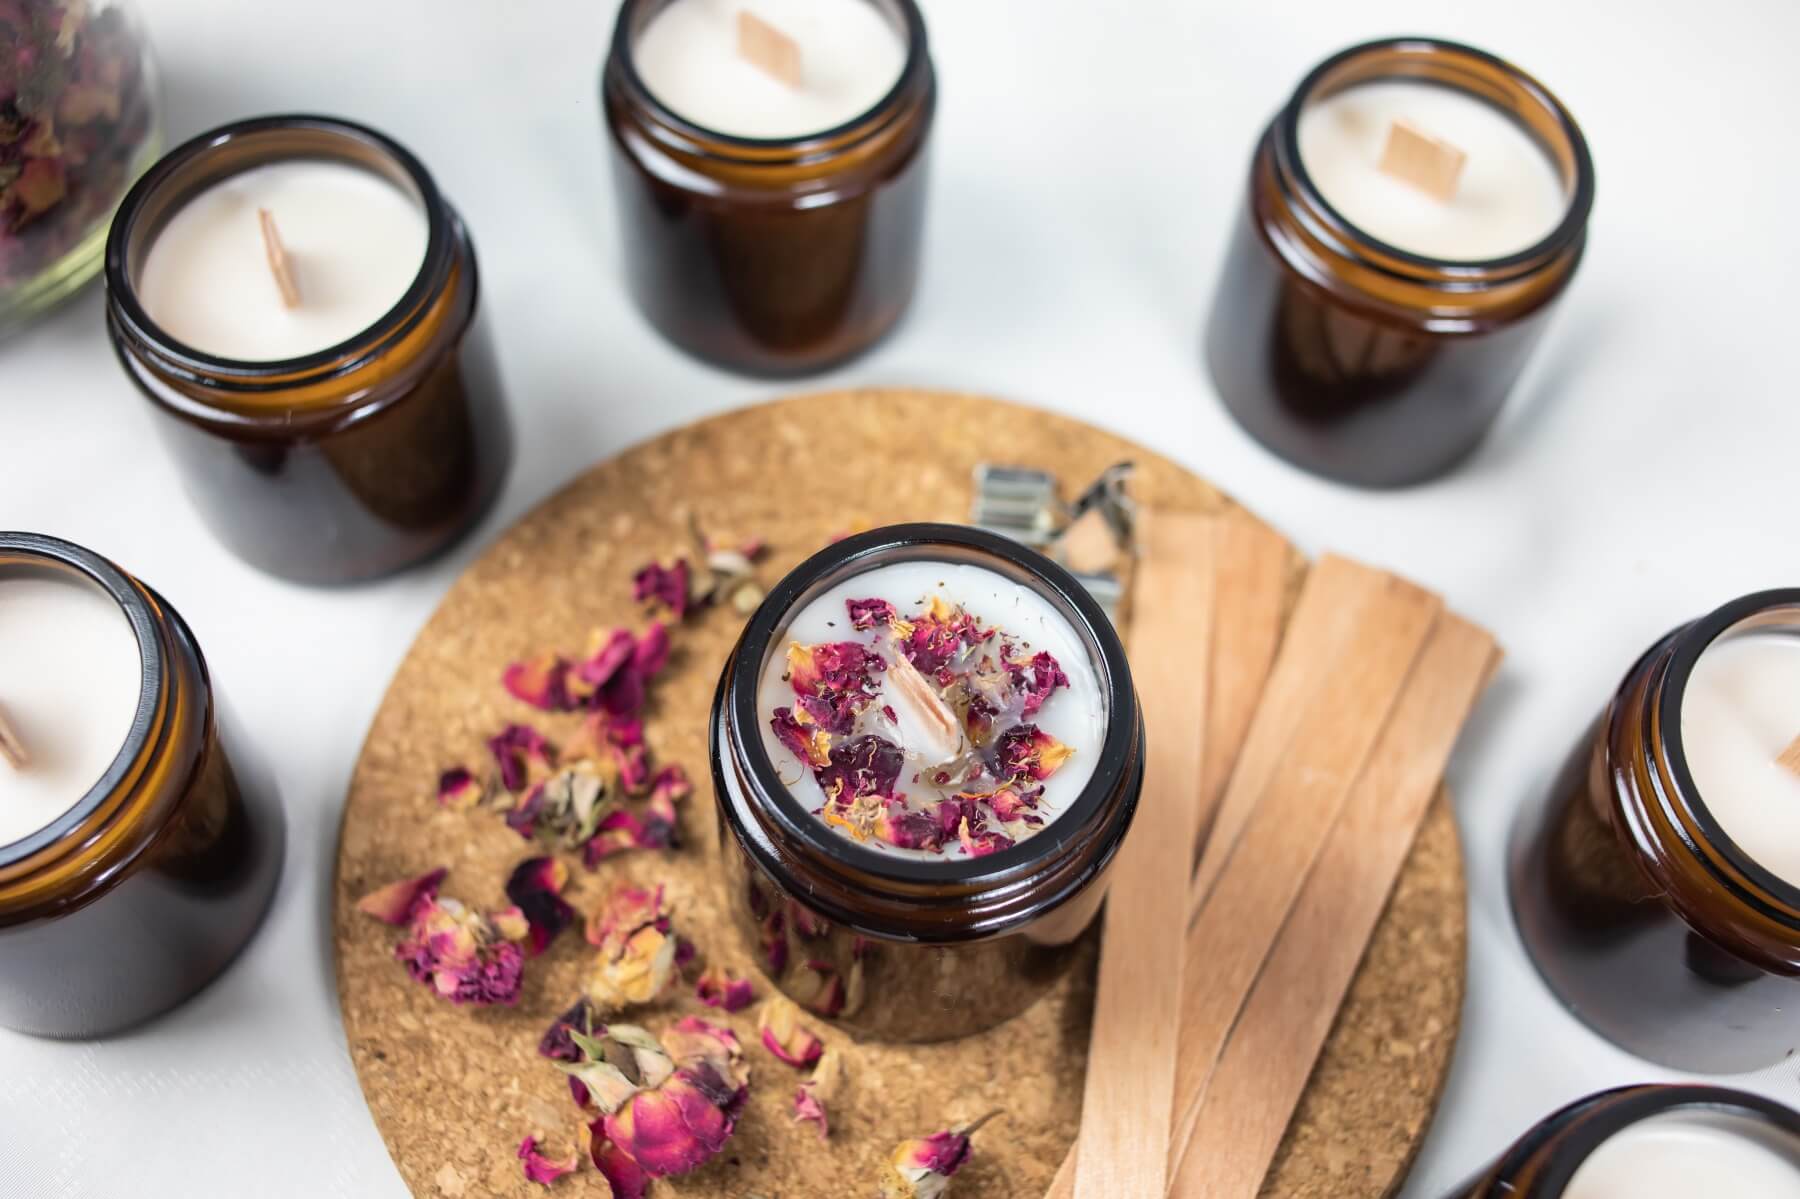
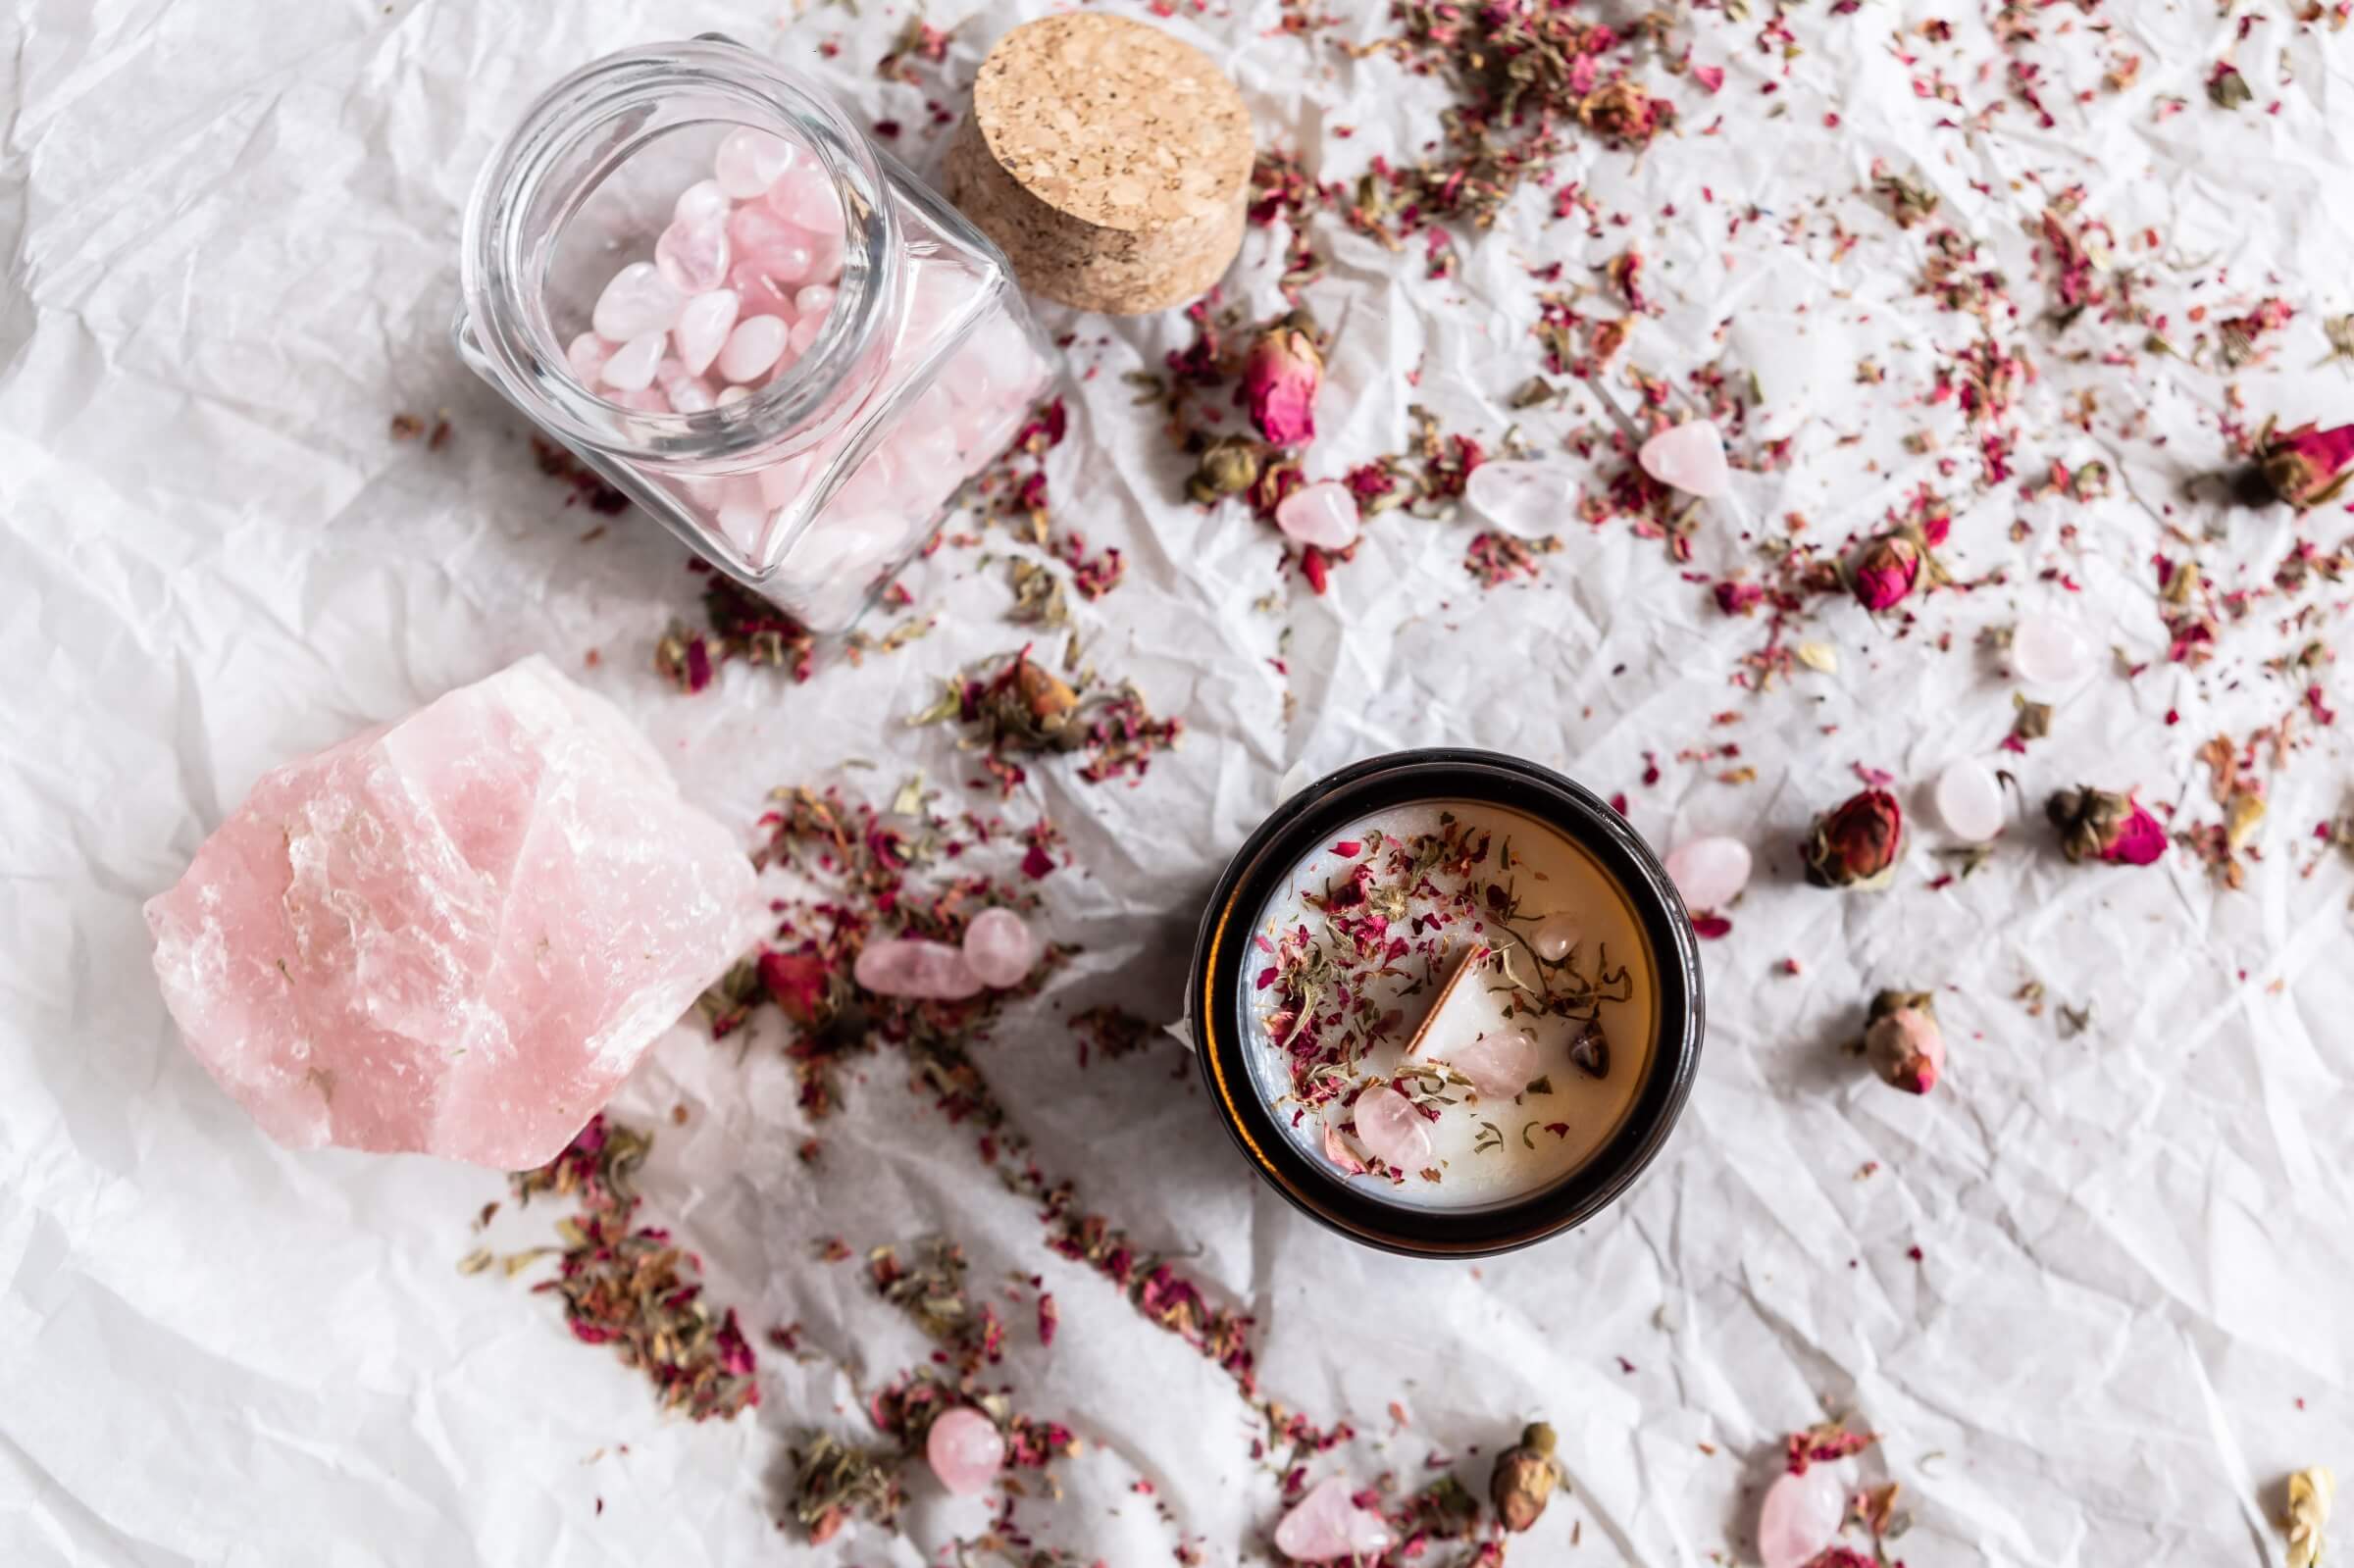
Dried Flowers, Gemstones or Seashells to Decorate
Plus, you will need a way to heat your wax. For this step, you will either need a stove/hot plate and a mason jar or a microwave and a microwave safe bowl. If you are fancy, you could use a candle wax pouring pot like this.
How to Melt Candle Wax: 2 Ways
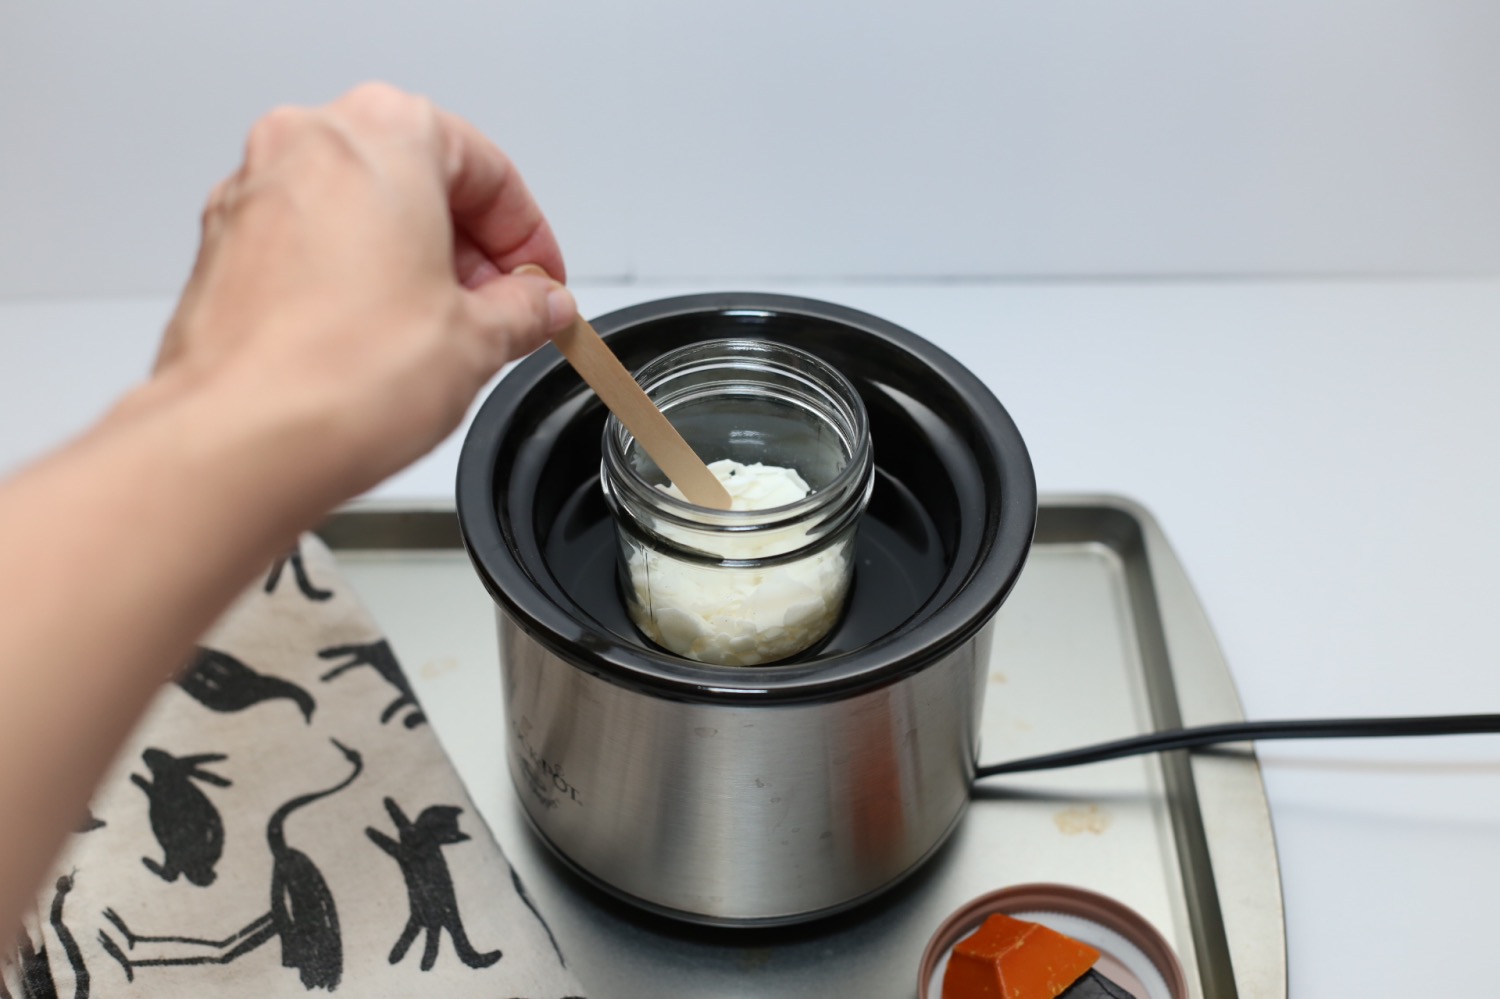
My favorite method for melting candle wax is to use a mason jar as a double boiler. It’s easy! Place any stock pot on a stove or hot plate. Add an inch or two of water. Fill a large mason jar full of wax and place it in the center of the stock pot. Be sure that water can’t get inside the wax or the mason jar.
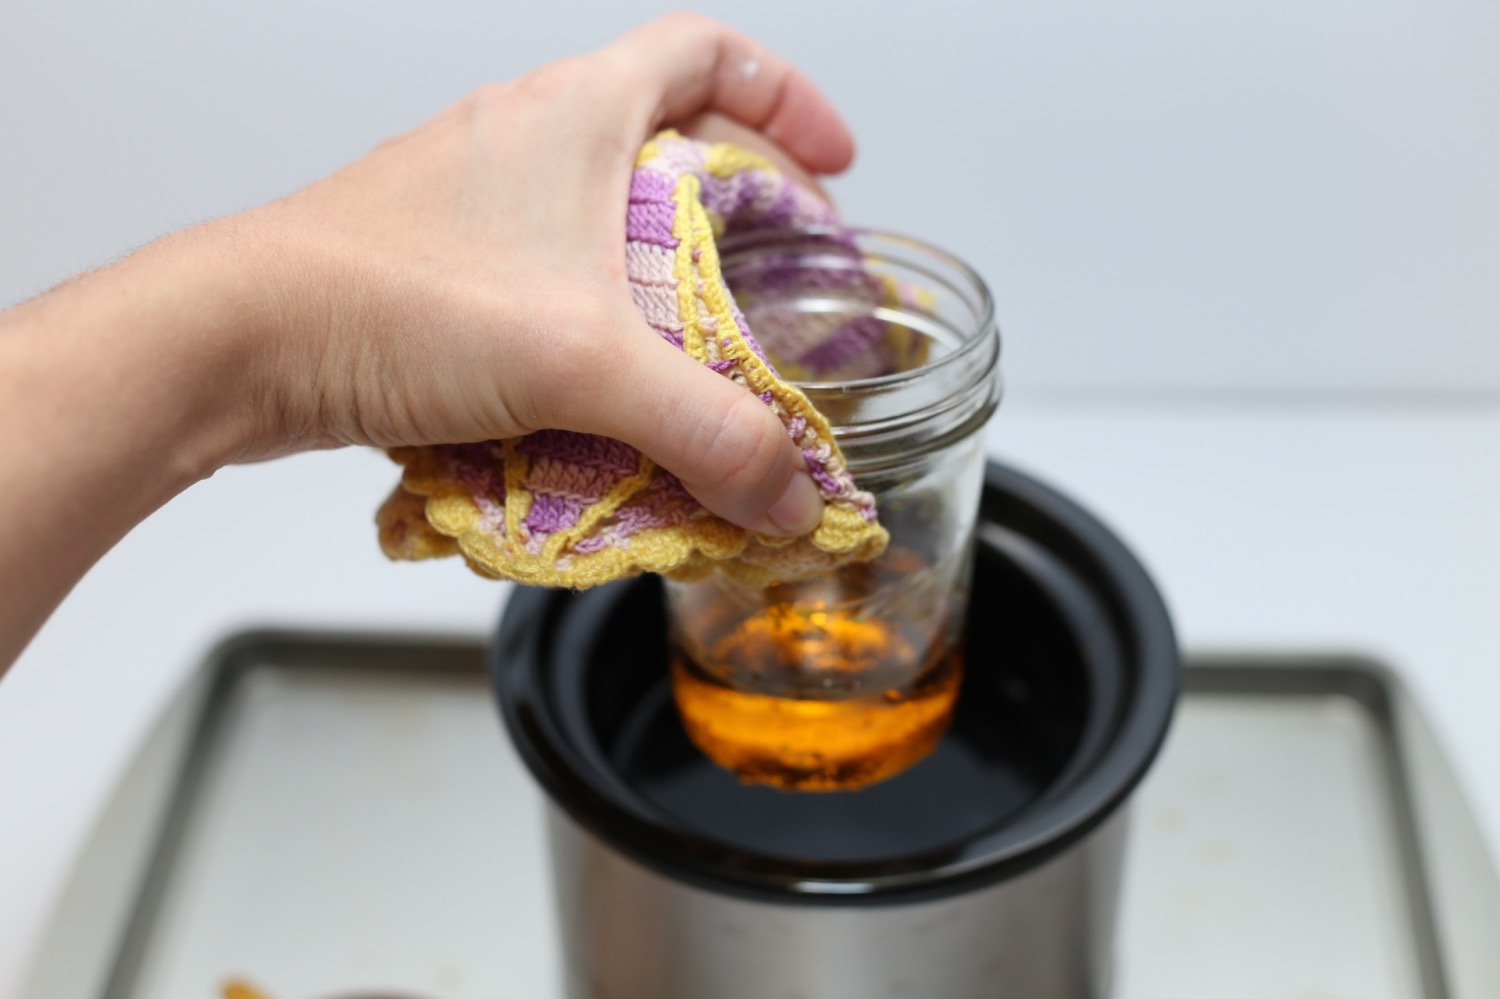
Always keep the heat on low and stir the was occasionally until it becomes liquid, clear, and completely transparent. Never turn the heat up – wax can burn at high temperatures. Use an oven mitt to remove the mason jar from the heat.
To heat wax in a microwave, place the wax in a large microwave safe bowl and heat for 30 second intervals. Never heat for longer intervals. After each 30 seconds, stir the wax thoroughly and return it to the microwave for another 30 seconds until it’s liquid, melted, and transparent.
How to Hold Your Wood Wicks in Place
Once your wax is melted, pour it into the vessel. Always pour candle wax slowly and carefully to avoid splashing it up the sides. This will make for more professional looking candles when they are finished. And always leave a little bit of room at the top. We’ll talk about why later!
After you pour your wax, you can place your wick. I prefer just using one wood wick but some people prefer using 2 wicks. This is to help the candle burn better, but I personally don’t find it to be that helpful. Wood wicks are quirky. They are stylish and gorgeous but they go out a lot. More on that later.
Place the wooden wick inside the metal base and gently rest the metal base & wood wick in the dead center. You will also want the wick as straight as possible. Some people recommend using a tiny touch of hot wax on the metal base and placing the wick first. That method doesn’t work, because the second you pour the remaining hot wax, the tiny drop will be dislodged. Instead, a better option is to use a small double sided sticker to attach the metal base to the bottom of the vessel.
Another option is to use a clothespin to hold the wick in place by clamping the clothespin around the wick and resting the clothespin across the top of the candle vessel.
When to Add Your Essential Oils
Once you pour your wax, let your candles rest. Do not add essential oils until you see your wax change. Wax solidifies from the bottom to the top, and when it does, it will start to become opaque.
Do not drop your essential oils into the wax until the bottom of your wax becomes opaque. Essential oils burn at a lower temperature than wax, that’s why you are able to smell them as you burn the candle! If you add them too early, you won’t have any scent left later.
How much essential oils you add depends on the potency of the essential oils. For high grade essential oils like these, start with about 30-40 drops per candle. Stir the essential oils into the wax completely and thoroughly. Stir slowly to prevent any splash back. This is why you needed a little bit of extra room at the top of your vessel!
When to Add Decorations like Dried Flowers & Gemstones
Wait again to add any decorations like dried flowers, seashells, or gemstones. The perfect time to add them is when the candle is completely opaque but the surface – just the tip top is still glossy and slightly moist.
If you add anything to the top that can burn, be extra careful later when you use the candle. Otherwise, just add a tiny sprig of flowers to make them cute, but not enough to light. Dried flowers will burn like smudge, sage or palo santo, but any candle and especially candles with decorations should never be left unattended.
For gemstones, only add a few for safety – do not add too many as gemstones will heat up with the candle.
Let Your Wood Wick Candle Cure
Once you add your essential oils and your decorations you are done making a Wood Wick Candle! But it’s not time to burn it yet. Wait at least 24 hours for your candle to completely finish cooling. After that it’s safe to trim your wick and handle your candle. If you have the patience, wait 2 full weeks to burn your candle. It takes 2 weeks for candle wax and fragrances to fully cure, and so you candle will smell even more amazing if you can wait 2 weeks!
To burn your candle, keep your wood wick trimmed to 1/4 inch. Wood wicks are finicky compared to cotton wicks and go out easily. The best way to keep them lit is to always keep them short and keep the ash removed from the wick. Be sure to follow all safety guidelines for burning candles. It’s so important!
This wood wick candle, would make the best housewarming gift, holiday gift, or Mother’s Day gift because it’s absolutely stunning. Best of all, you can get all the supplies to make your own here! Ready to get inspired with more candle making tutorials? Below are some of my favorites.
Let’s Stay Friends!
Insta | Pinterest | Enews | TikTok






Beautiful 😌
I love making these Beautiful Candles too😌