
DIY
Sew Cute Embroidered Sweater DIY

Dec
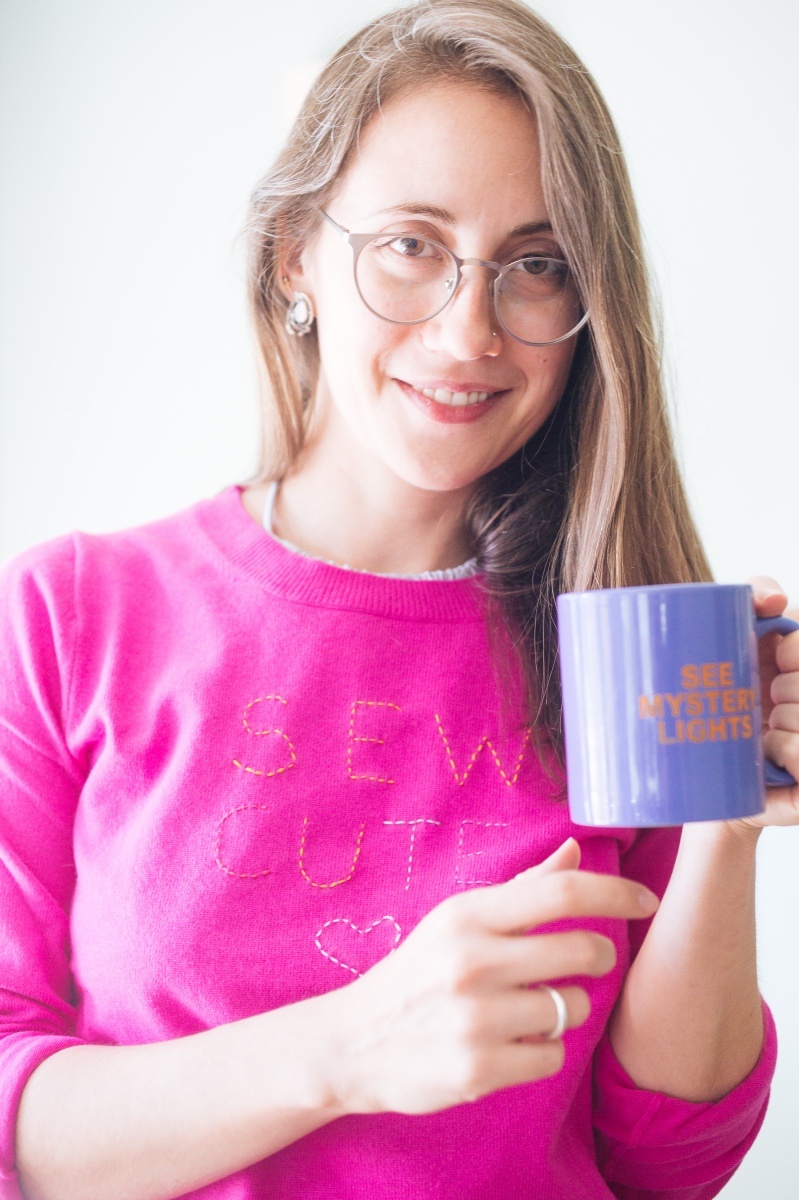
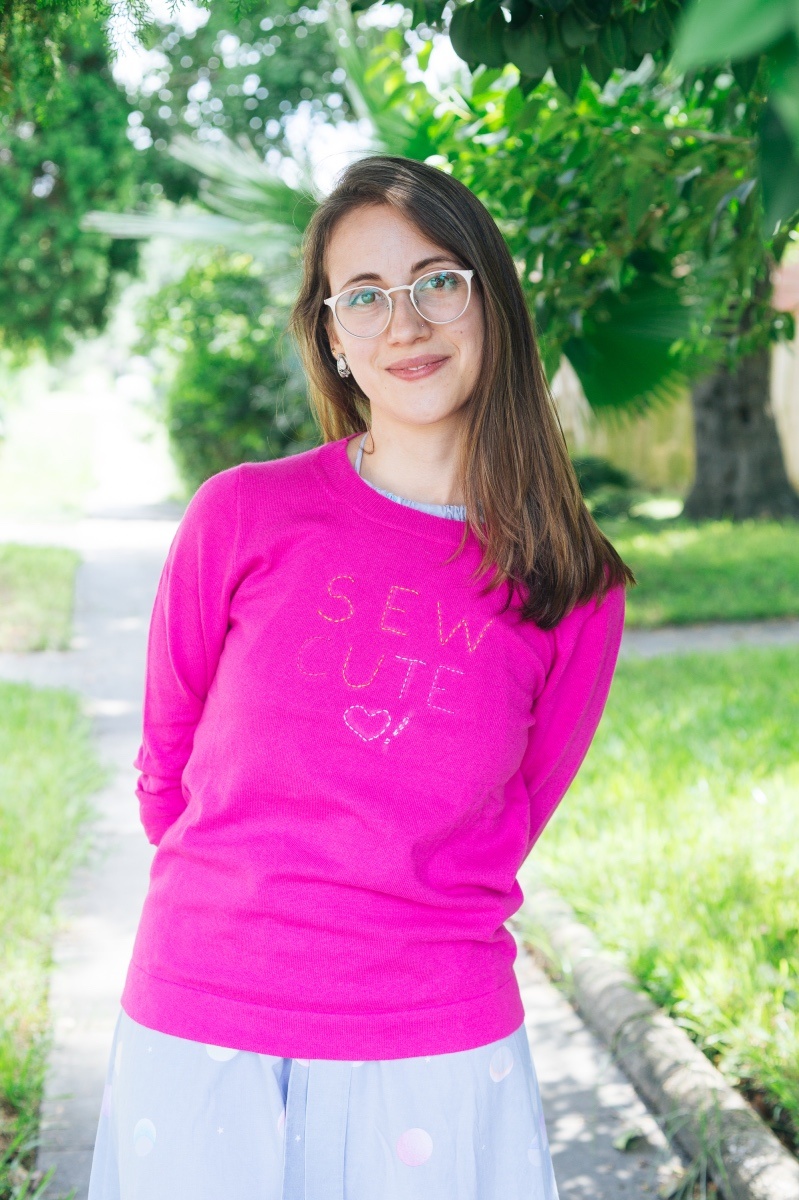
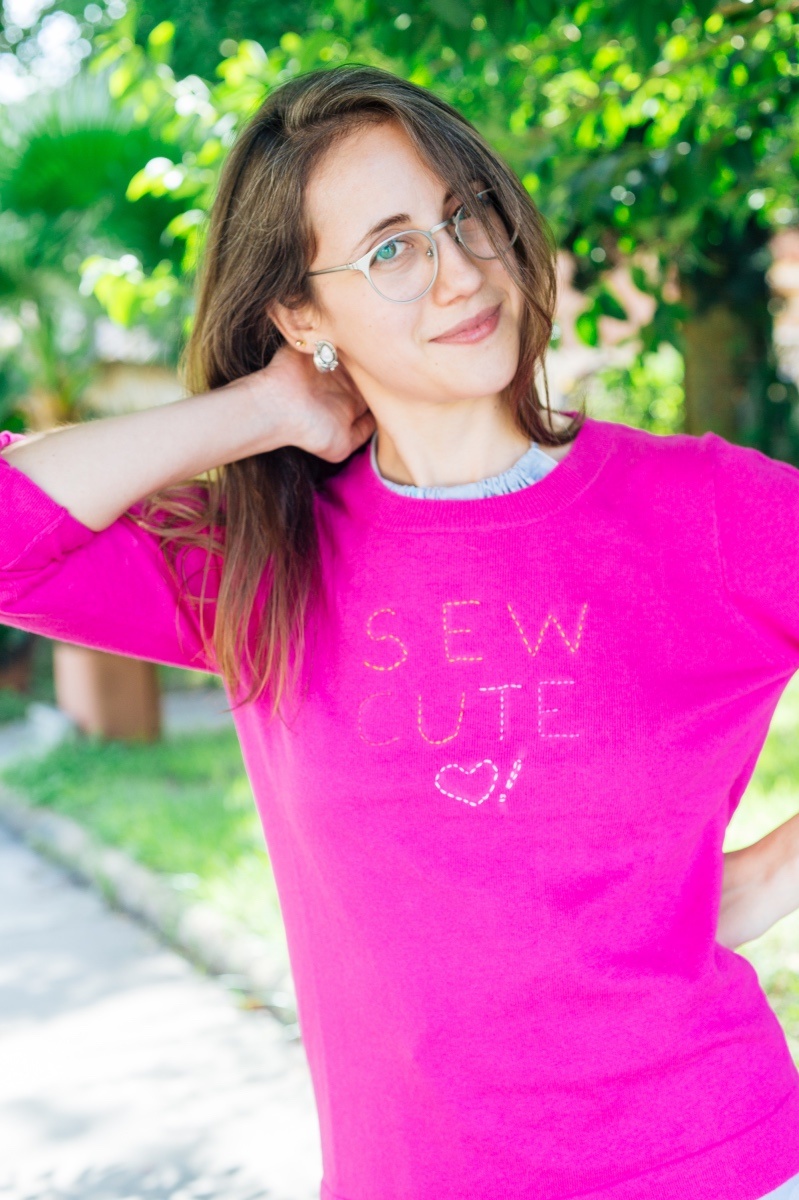
Feeling chilly? Cozy up to cuteness by making a DIY Embroidered Sweater! It’s sew cute. Get it?! This fun and simple craft will turn any everyday sweater into a superb fashion statement. Close knit scarves and hats work well for this craft, too! And with the holidays in mind – a personalized winter accessory would make a fantastic gift!
The stitching shouldn’t harm the knit, and if you don’t use a permanent pen to ink your design this process is totally reversible. So feel free to experiment, change it up, and get creative!

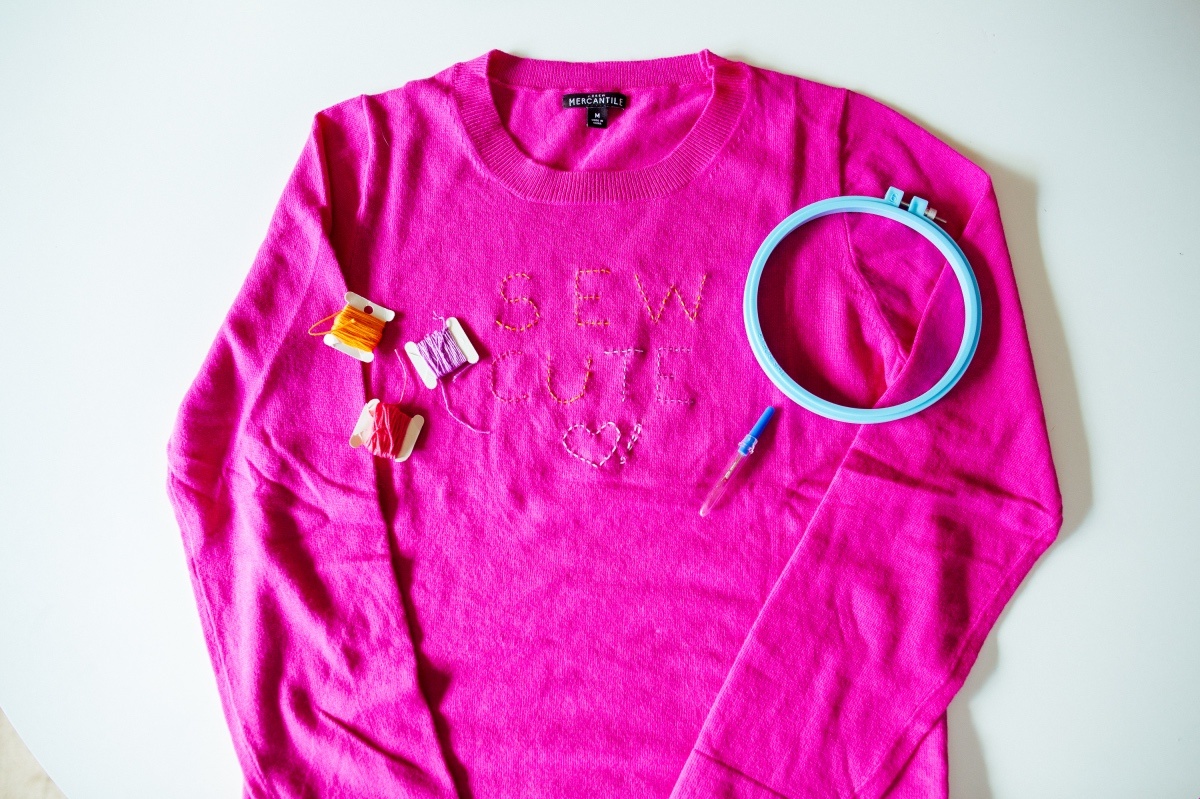
Supplies to make a Personalized DIY Sweater:
- Sweater
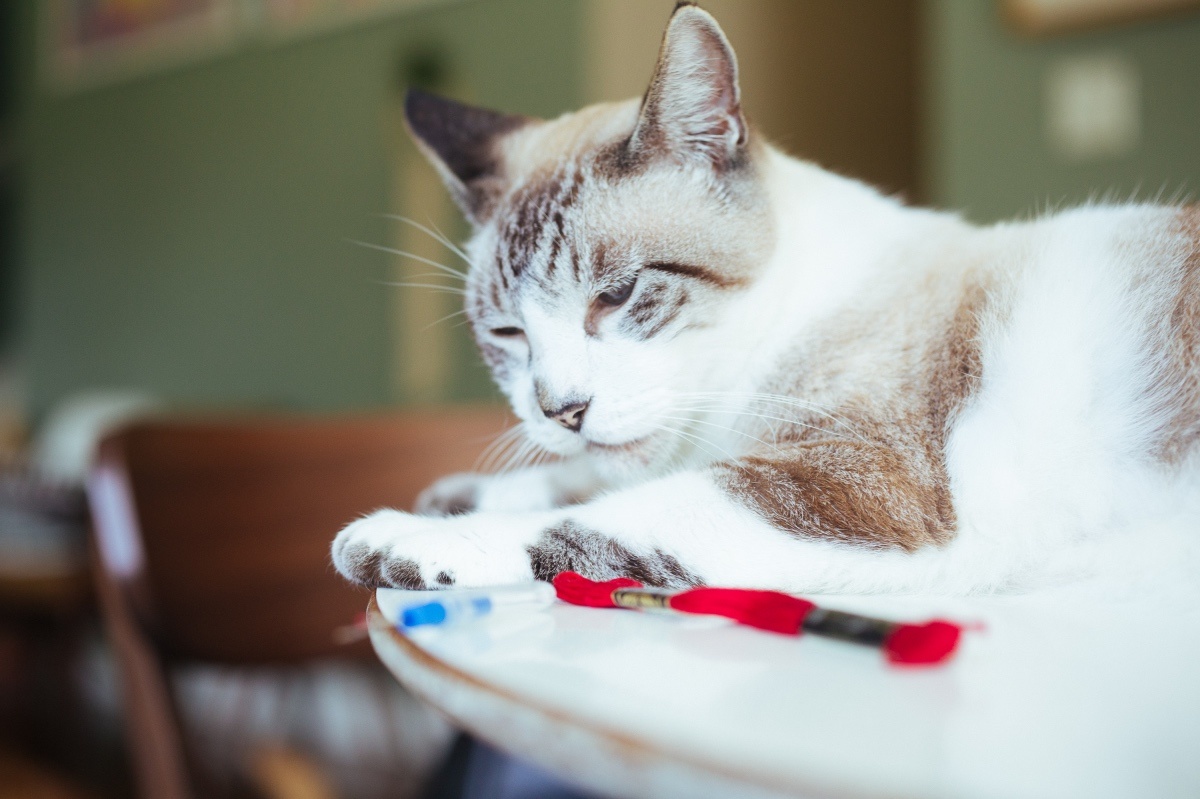
- Embroidery Floss
- Large Eye Sewing Needle
- Embroidery Hoop
- Scissors
- Chalk or Pencil (for marking your pattern)

For my sweater, I chose a brightly colored crew neck from J.Crew Factory, cheap and cheerful, but a sweater you already own or a thrifted sweater is even better! Just be sure to wash it first and steam out any wrinkles. This will avoid any undesirable changes in your design as you wash and wear it.
Embroidery floss can be found at any craft store and comes in every color of the rainbow. If your design is similar to mine, one skein is more than plenty to finish the job.
A large eye needle and embroidery hoop should be found in the same section of the craft store as the embroidery floss. The needle doesn’t need to be sharp, but the eye of the needle does need to be big enough to accommodate three strands of embroidery floss. The embroidery hoop serves to keep your work area taught while you are stitching, to make sure your finished design will lay flat.
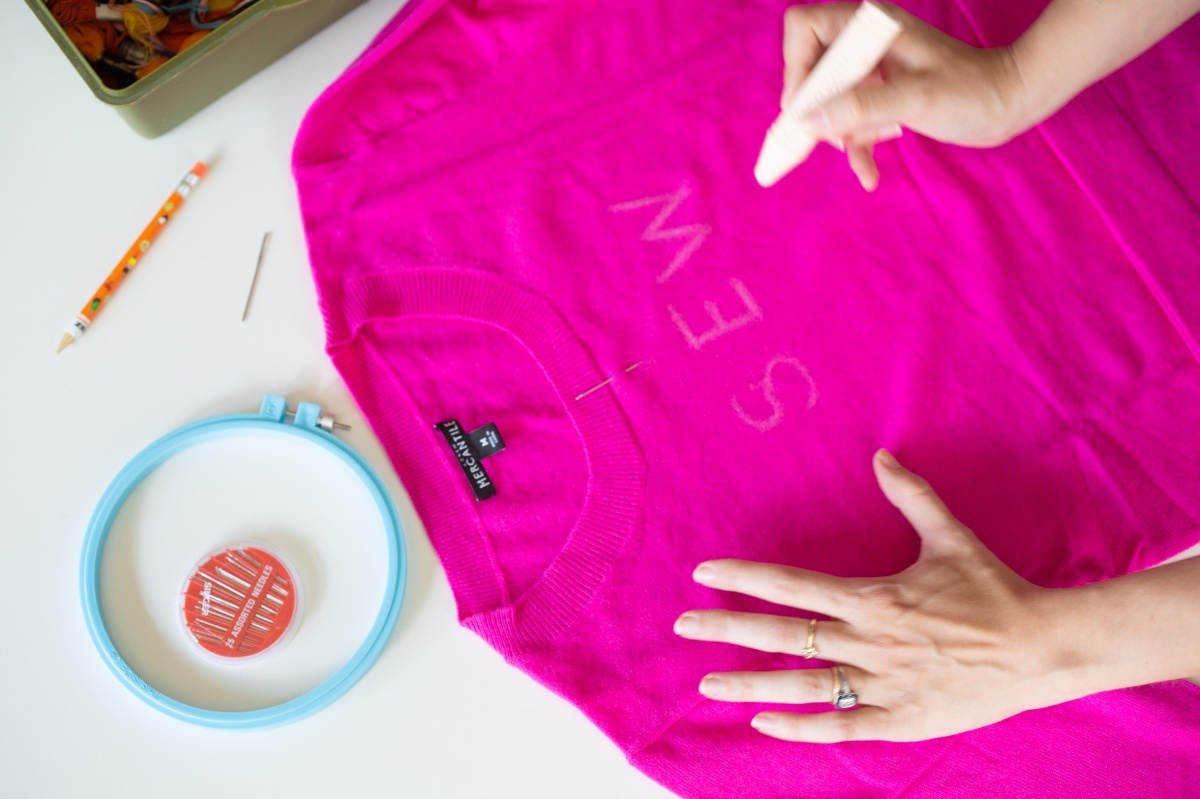
I used chalk to mark out my pattern on the sweater, but if you have a light colored garment pencil may work better.
Here are some fun (and maybe a little silly!) suggestions if you’re stumped on a design:
- Haute Mess! (Always punny!)
- Adopt – Don’t Shop! (We support animal adoption!)
- Crafty Kitten (Obviously – you DIY’d this sweater!)
- ME-YEOW! (In the style of Batman and Catwoman!)
We would love to read your fun design ideas and suggestions below in the comments!
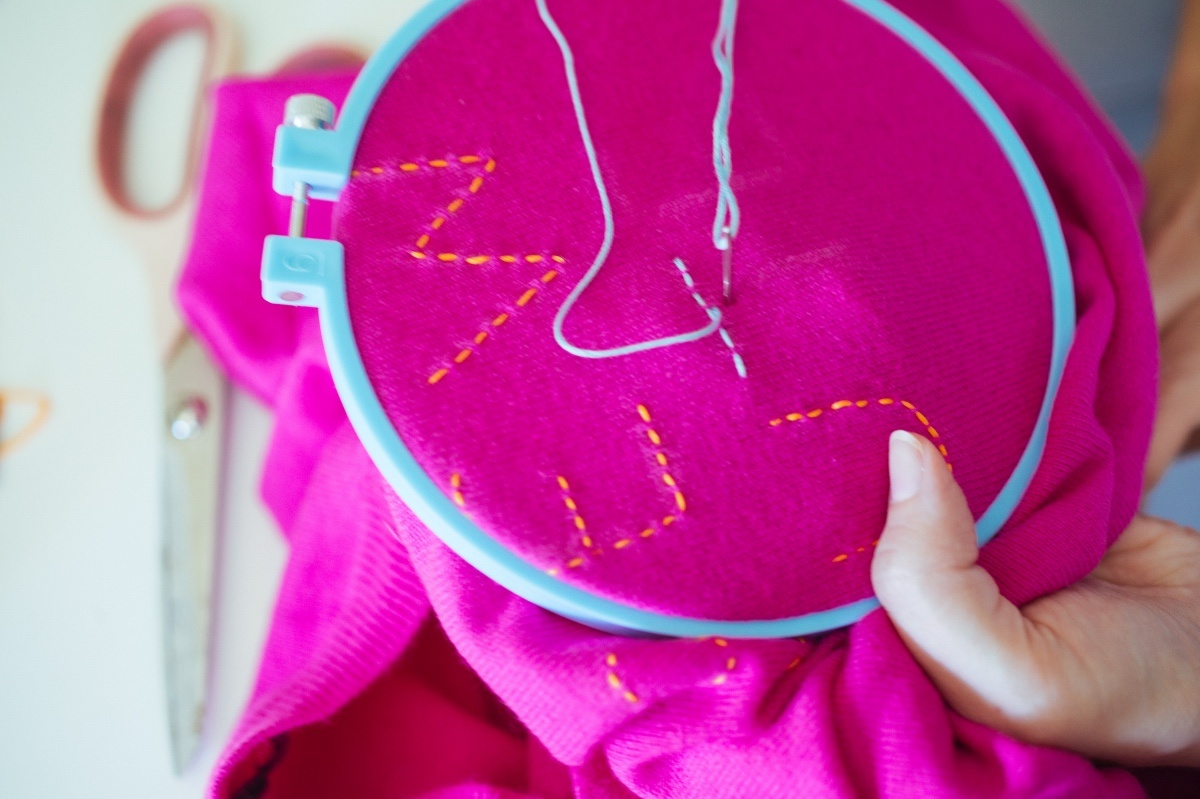
Once you’ve decided on your design, it’s time to begin! In a well lit space, lay your sweater flat out on a table. It is helpful to mark the centerline of the sweater with a pin to help you get the design right in the middle! Using the chalk or a pencil, begin to mark your pattern on the sweater.
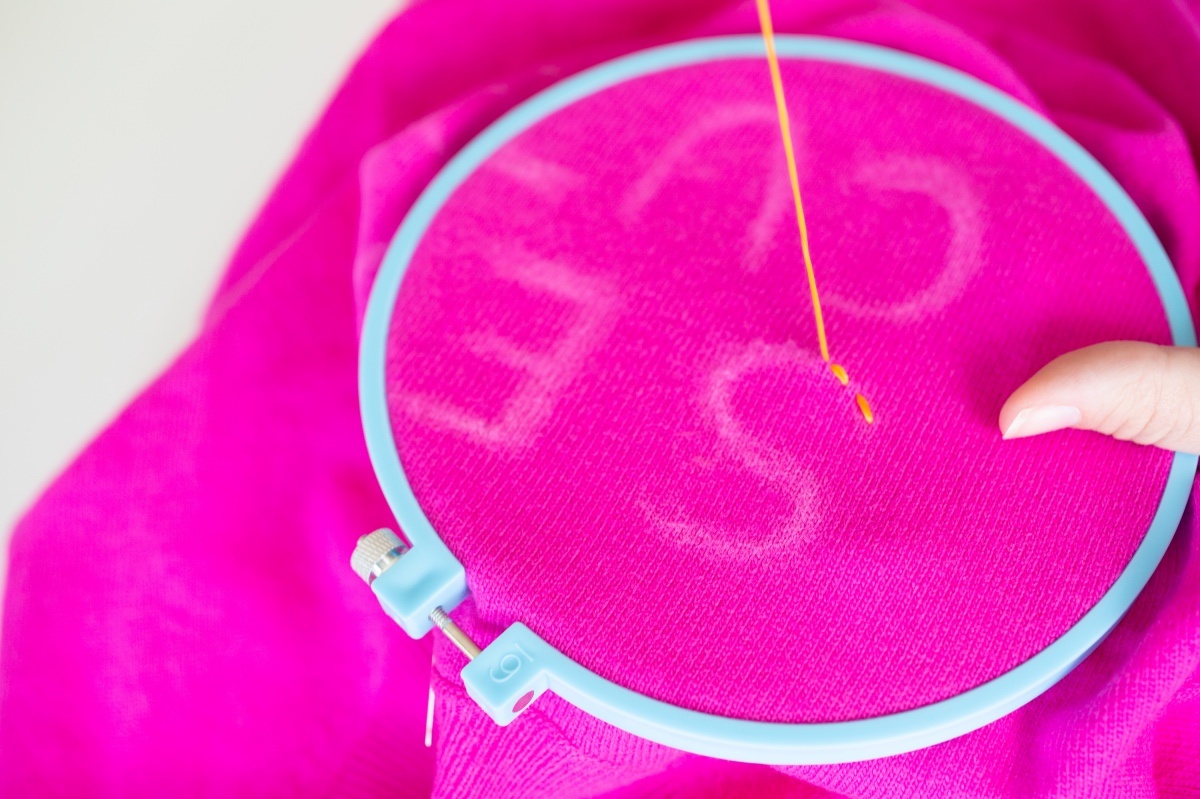
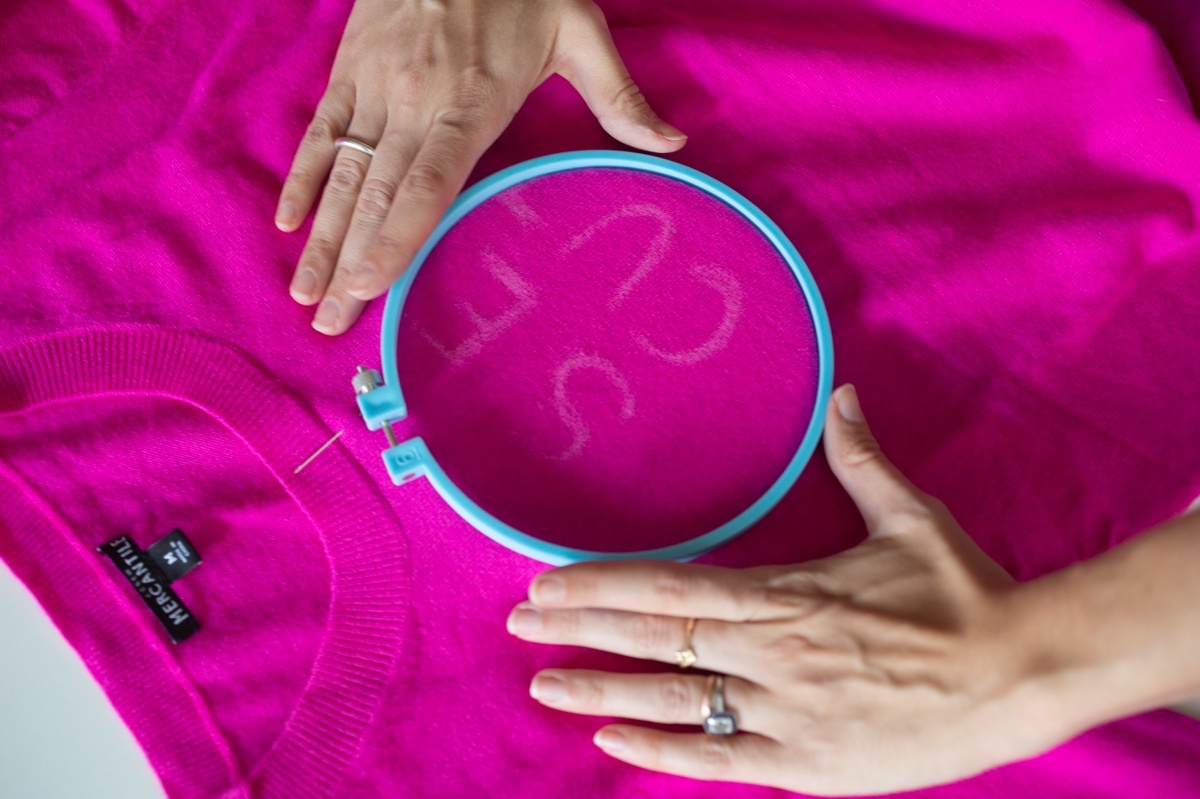
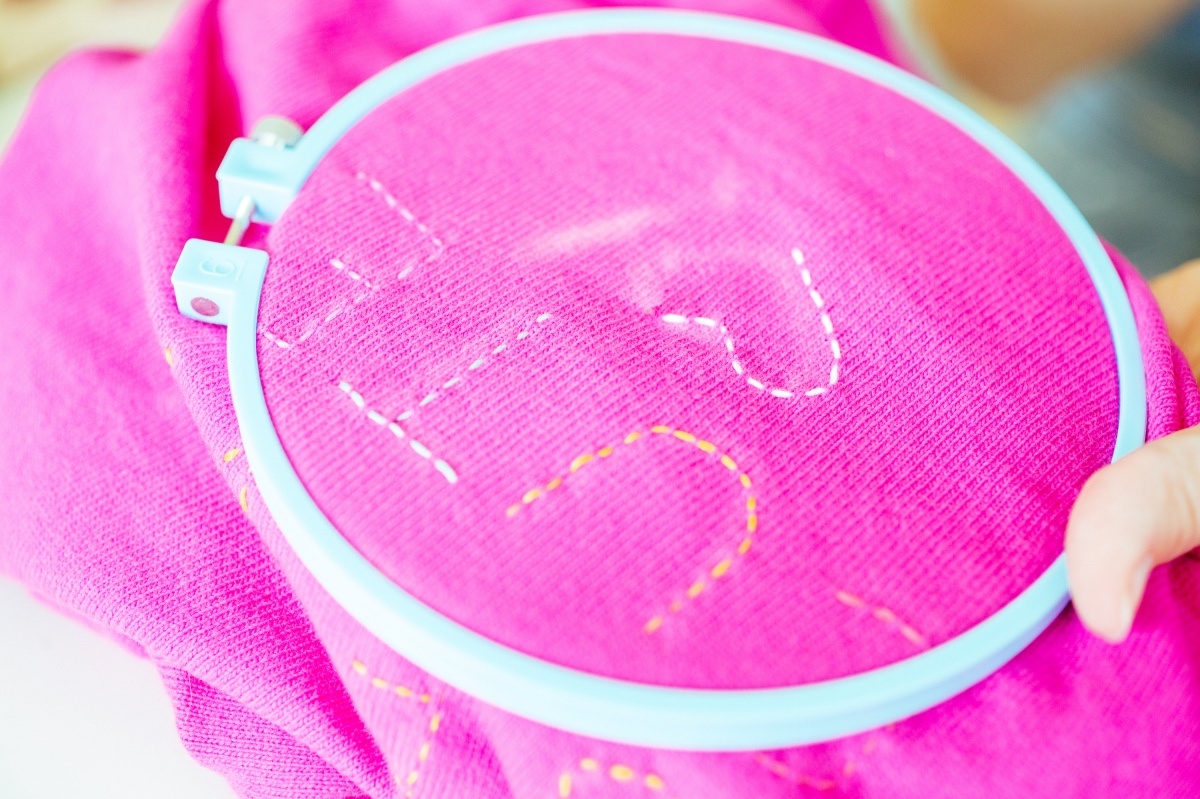
Next, open the embroidery hoop and place the inner hoop inside the sweater, directly under your design. Clamp the outer hoop on top of the inner hoop and the sweater. The fabric doesn’t have to be super tight, just enough to hold it in place while you are stitching.
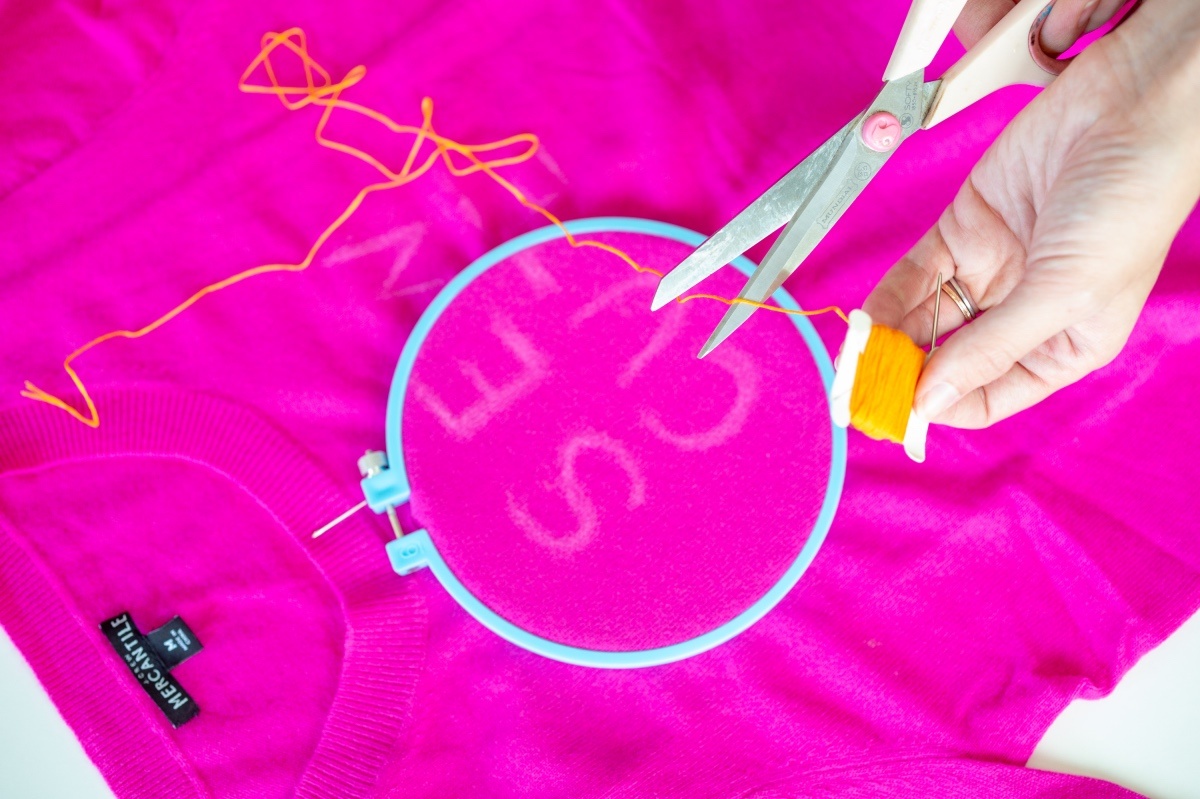
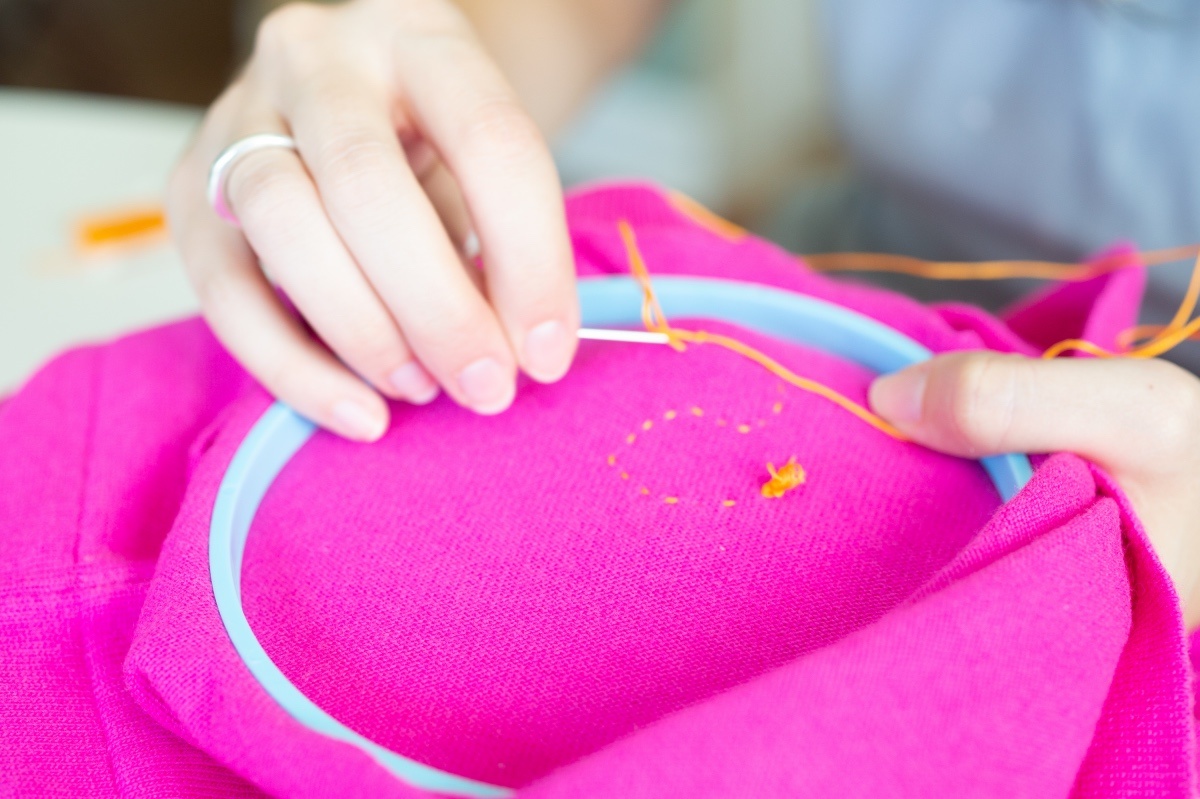
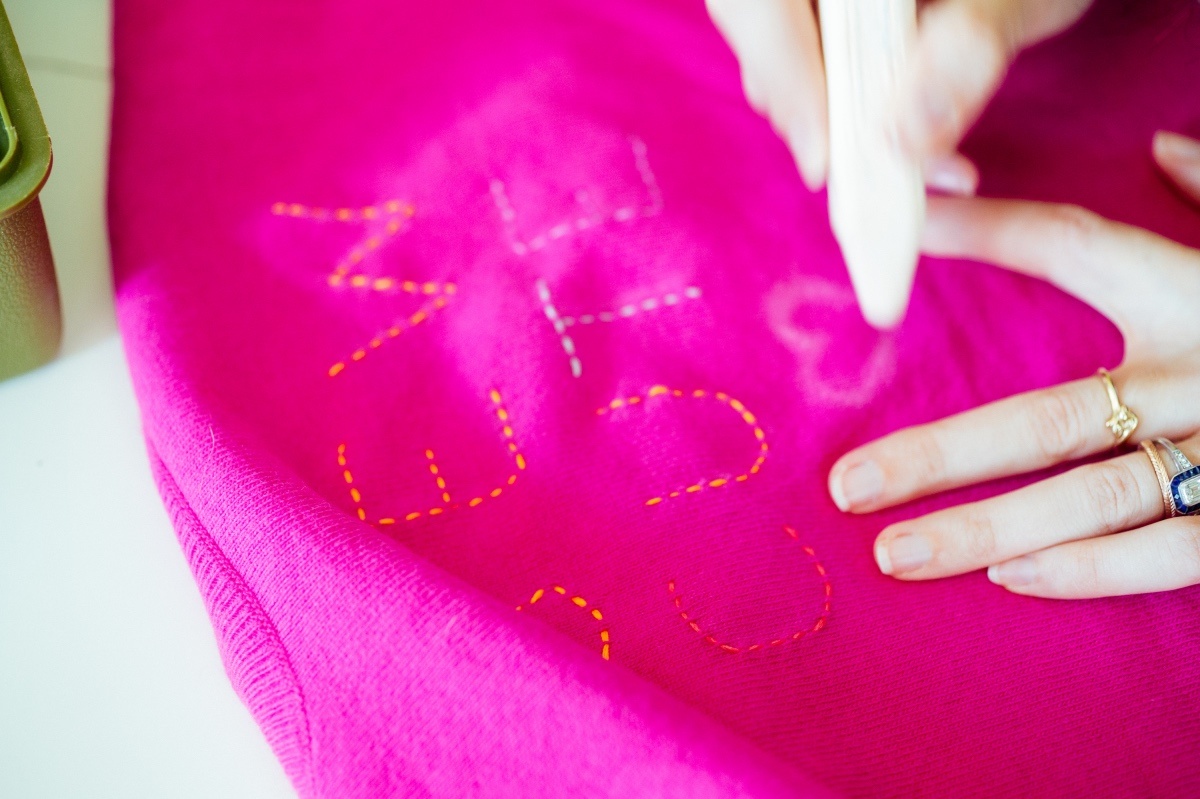
Now pick your first color to stitch with! I always get excited to work with different colors and combining them in different ways. You can choose contrasting colors, complementary colors, or it would even be fun to choose the same color as the sweater to make it a very subtle message!
Cut a 2-3 foot length of embroidery floss and then separate three strands from that length, keeping the strands together. Thread these three strands through the large eye needle, tying a knot at the long end of the thread that hangs from the needle.
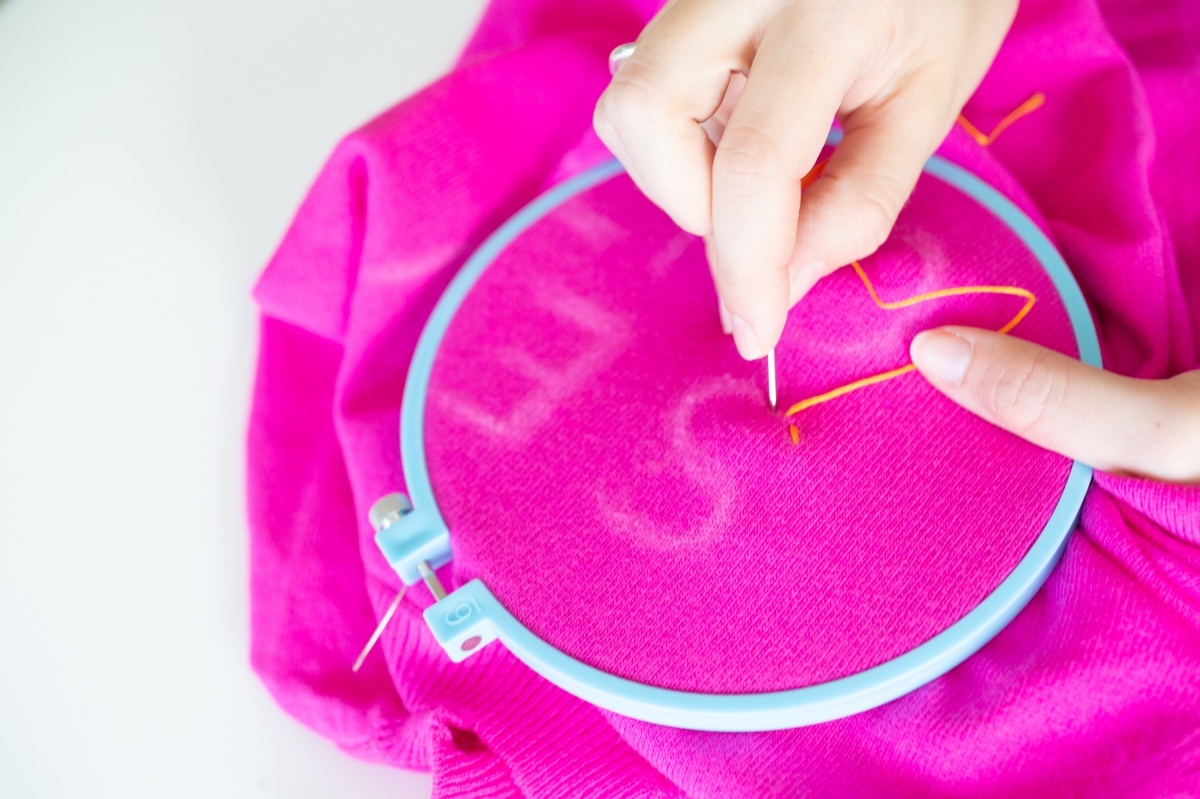
Now you are ready to begin stitching!
Make your first stitch from the inside of the sweater to the outside, so that the knot is concealed inside the garment.
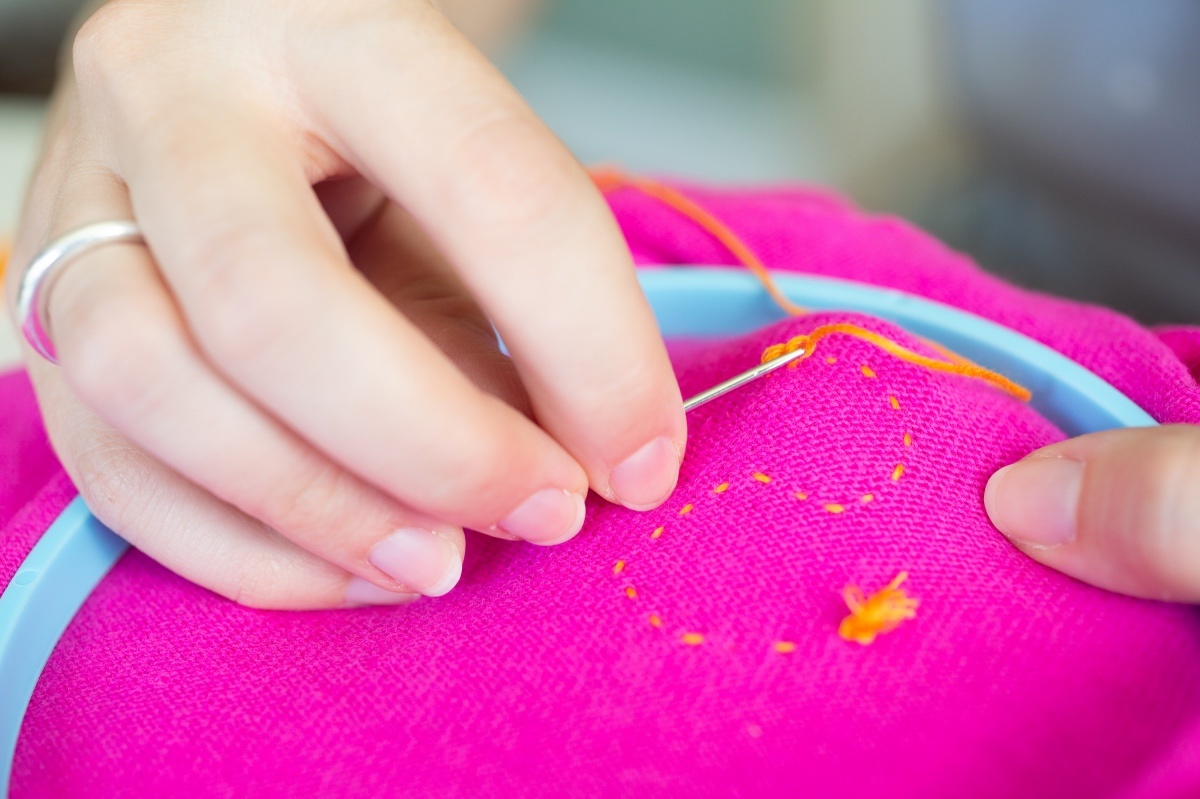
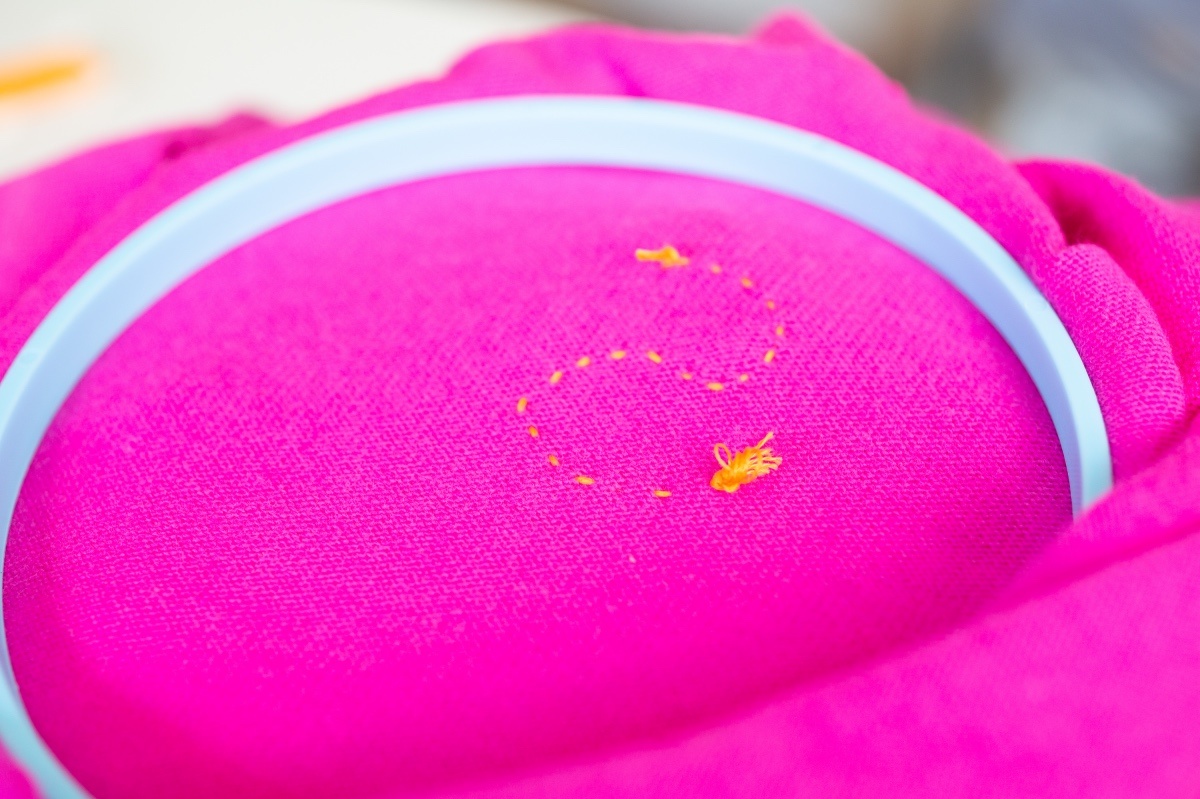
From there, use a simple running stitch to outline your design. This is done by drawing the needle straight up and down through the fabric, making a series of dashes with small spaces in between.
Don’t worry if you have to redraw some of your chalk outline as you go along – I did! You can also change up your design on the fly – I decided to add this heart after stitching the words!
When you are ready to change colors, tie off your embroidery floss on the inside of your garment. Do this by making a square knot through your last stitch.
After you’ve finished all of your stitching feel free to add any other bits and baubles you would like. Pom poms, fringe, and patches are all fun accessories!
So where are you going to sport your new DIY Embroidered Sweater?! We’d love to know in the comments!
Let’s Stay Friends!
Insta | Pinterest | Enews | TikTok

this is so cute and love the play on words! great idea 🙂