Craft in Style Subscription Instructions, DIY
How to Use Sunprint Paper from Lawrence Hall of Science
This blog was Part 1 of 3 of the May 2020 Craft in Style Subscription Box. You can shop the Sunprints used in this tutorial here – 8×10 Sunprint Kit or 4×4 Sunprint Kit. Part 2: How to Make Cyanotype Tea Towels can be found here. Part 3: How to Make Cyanotype Cotton Napkins here.
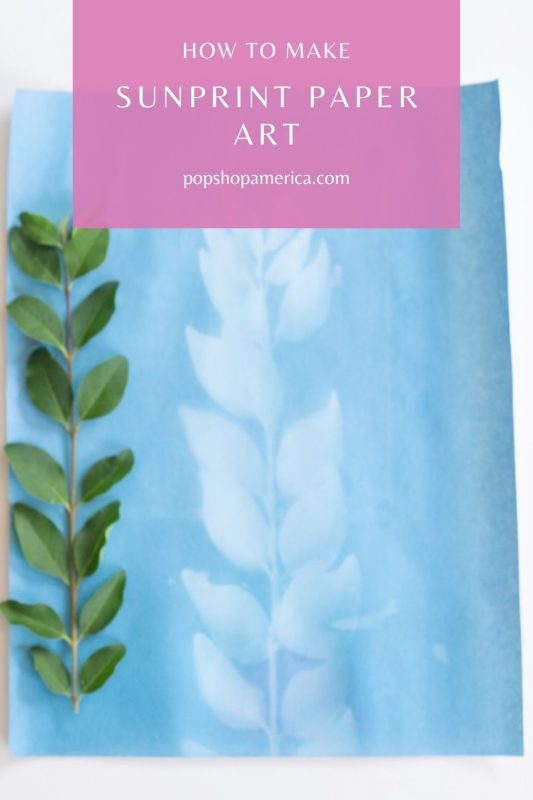
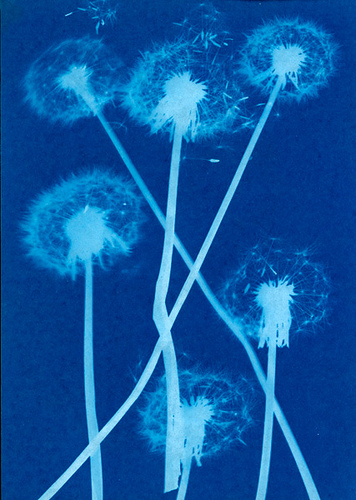
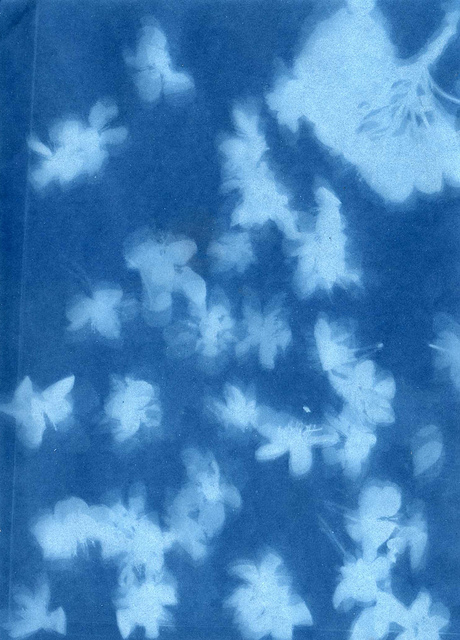
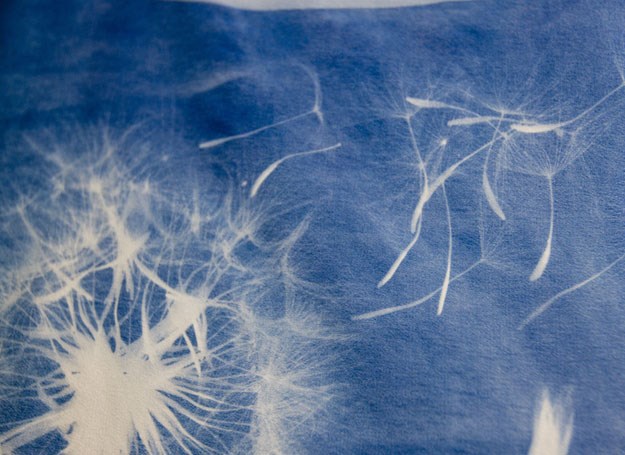
Cyanotypes are a gorgeous type of photograph that you can make without needing a darkroom or any additional supplies! You can get Sun Print Paper to make photographs like these here.
And Cyanotypes are the feature of our May 2020 Craft in Style Subscription Box. For the subscription box, we’ll be making our own Cyanotype prints with liquid painted on to Cotton Napkins and Flour Sack Tea Towels. But the best way to get started learning about cyanotypes is to start with pre-made Sun Print paper like these!
Supplies to Make Cyanotypes:
8×10 Sun Print Paper
-or-
4×4 Sunprint Paper
-or-
Cyanotype Liquid Mix
Photo Paper
13 x 9 Inch Pan with Fresh Water
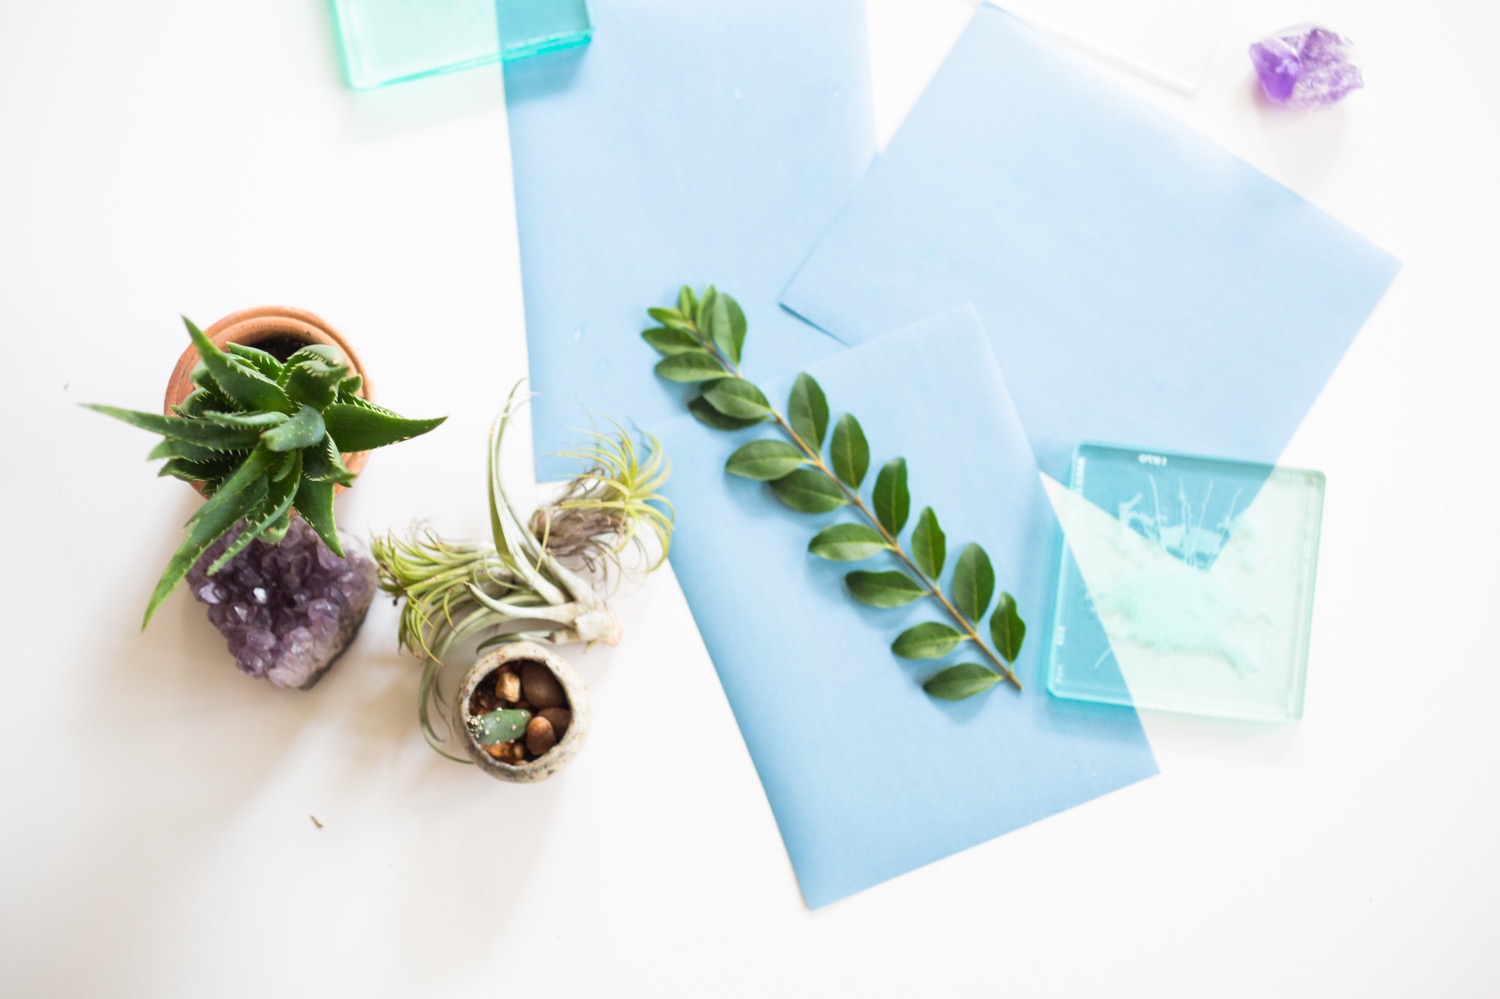
An Array of Objects to Place on the Paper like:
Leaves, Feathers, Crystals, Seashells and More
First of all, your paper is light sensitive. So you will want to pull your sun print paper out of it’s packaging in a shady area or if you are mixing your chemicals to make your own (more about that process later) you will want to let your paper dry in the dark.
The same rule applies to your paper, when you are working through your compositions. You will want to do so in a shady area or with a regular piece of paper, not your Sun Print paper.
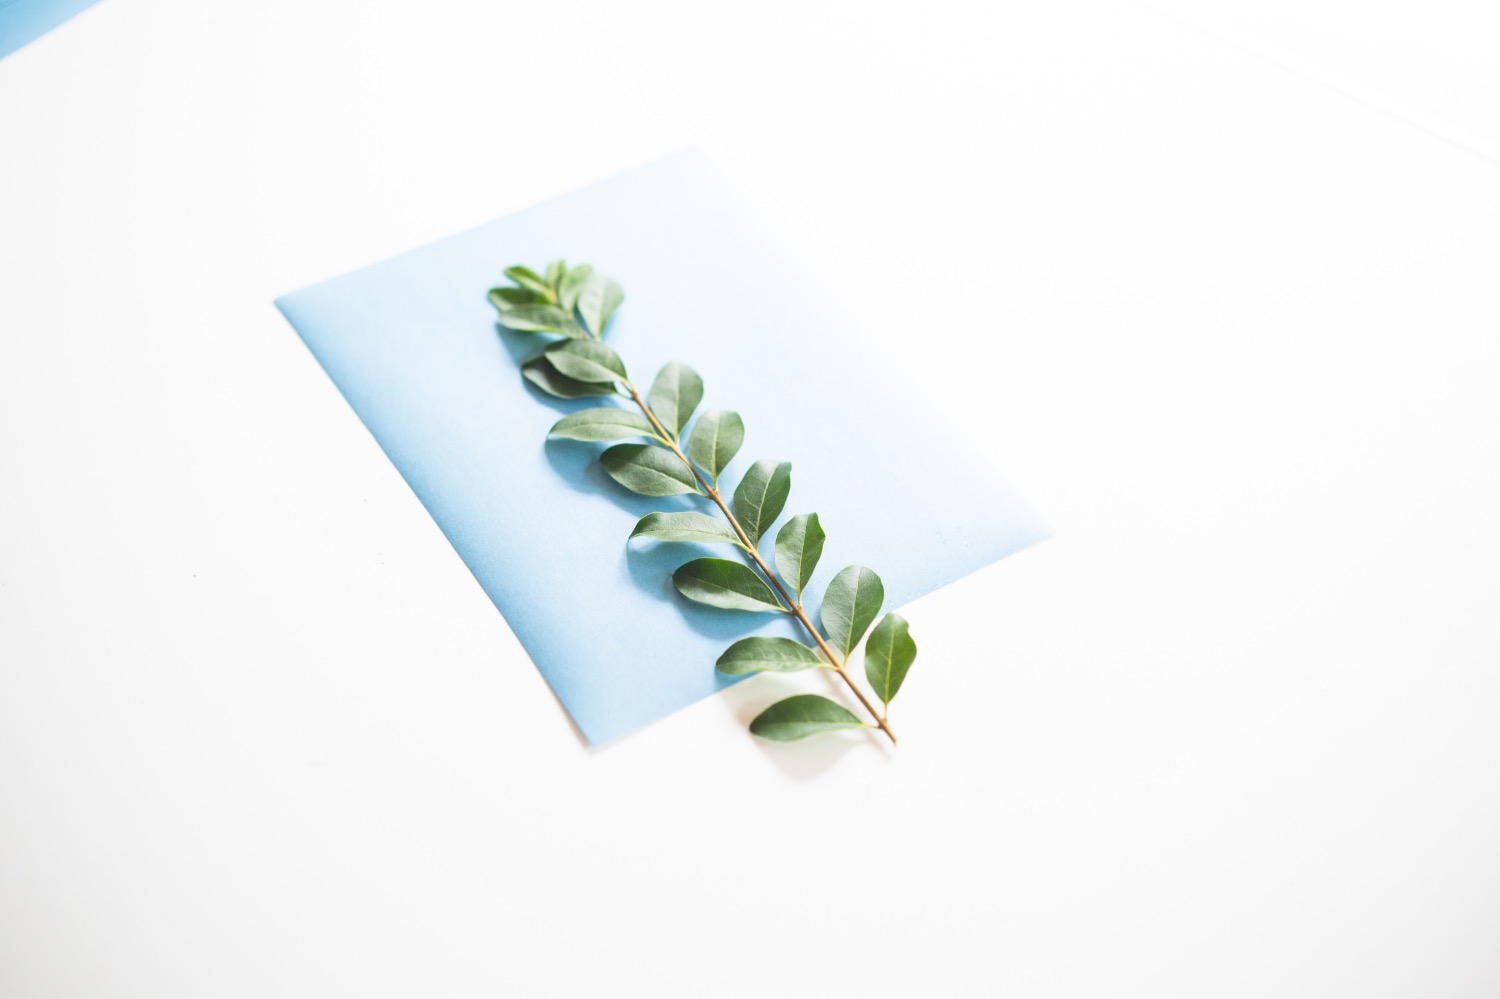
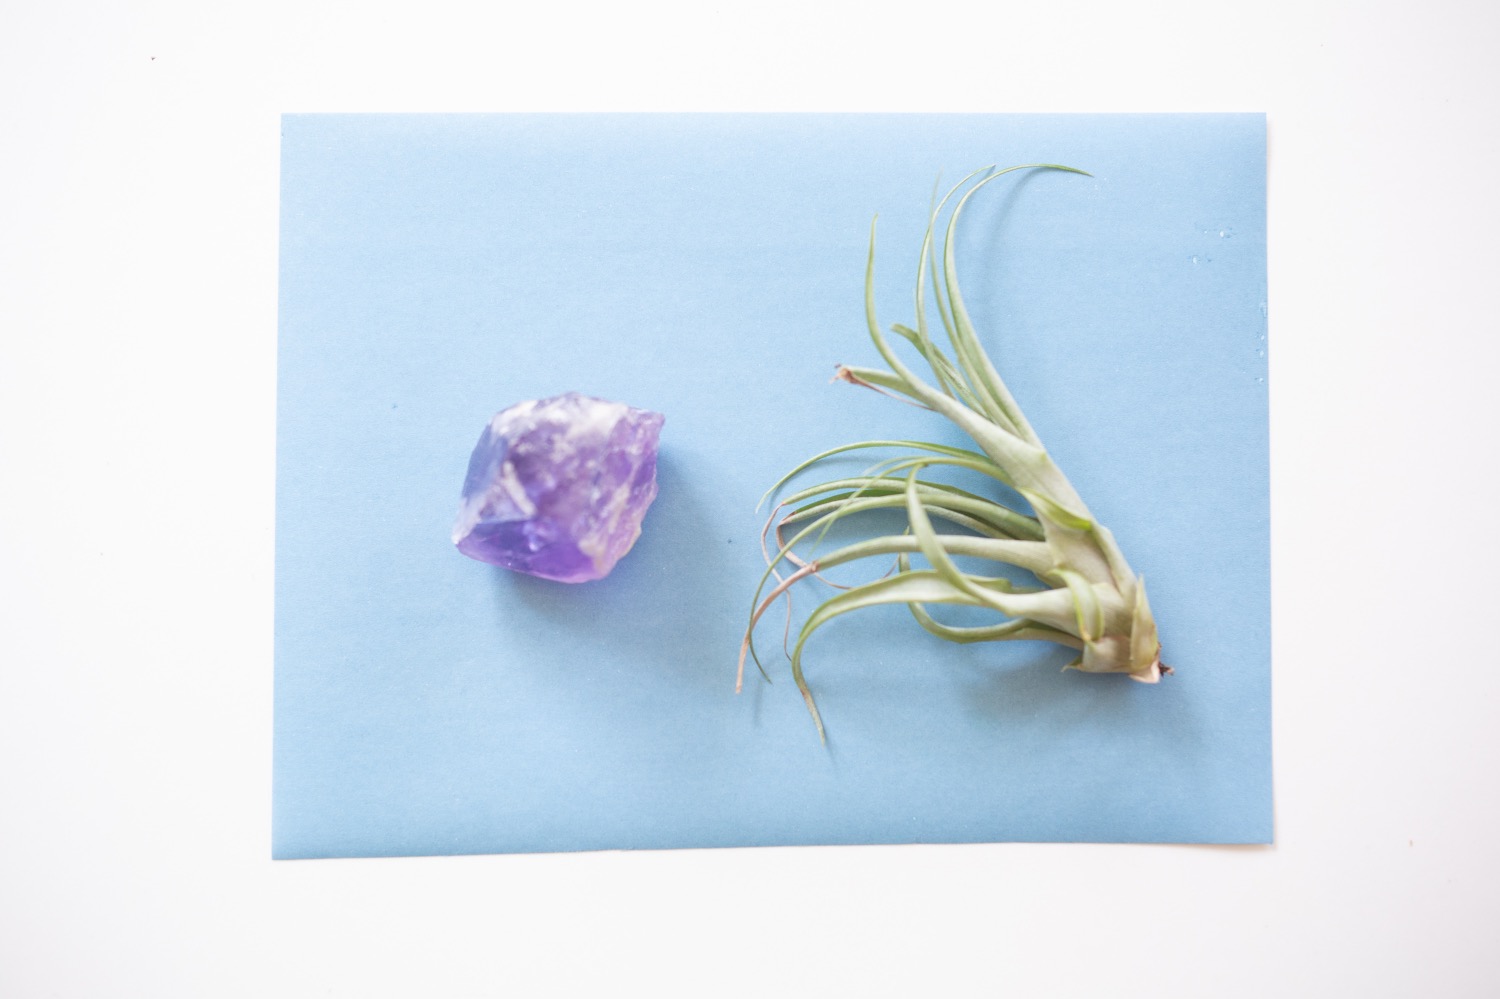
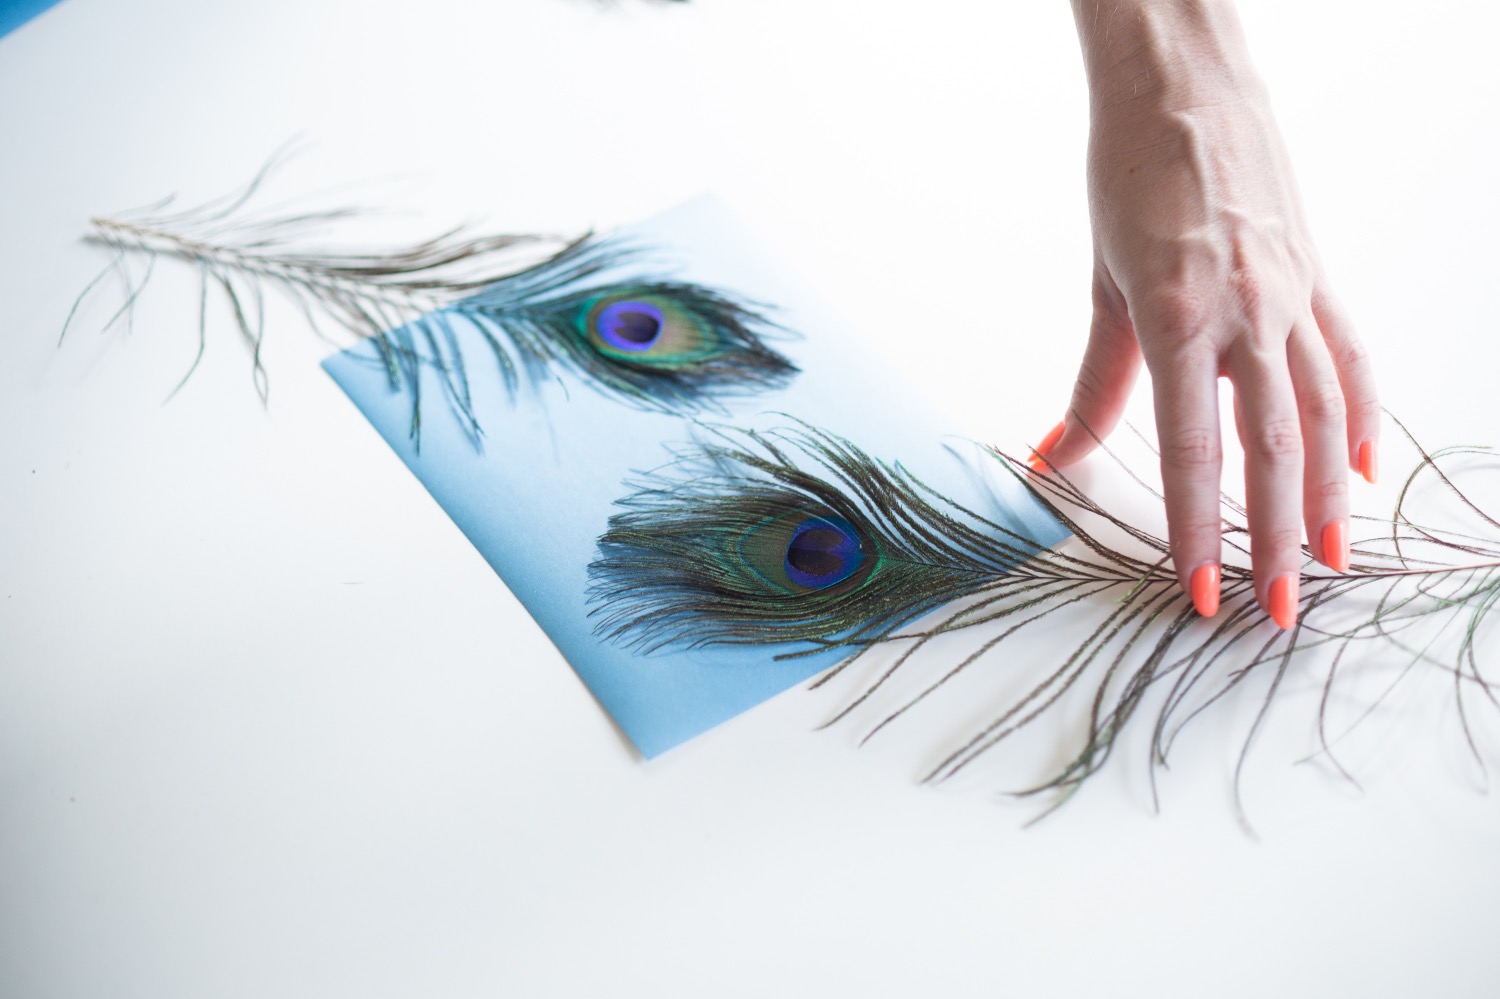
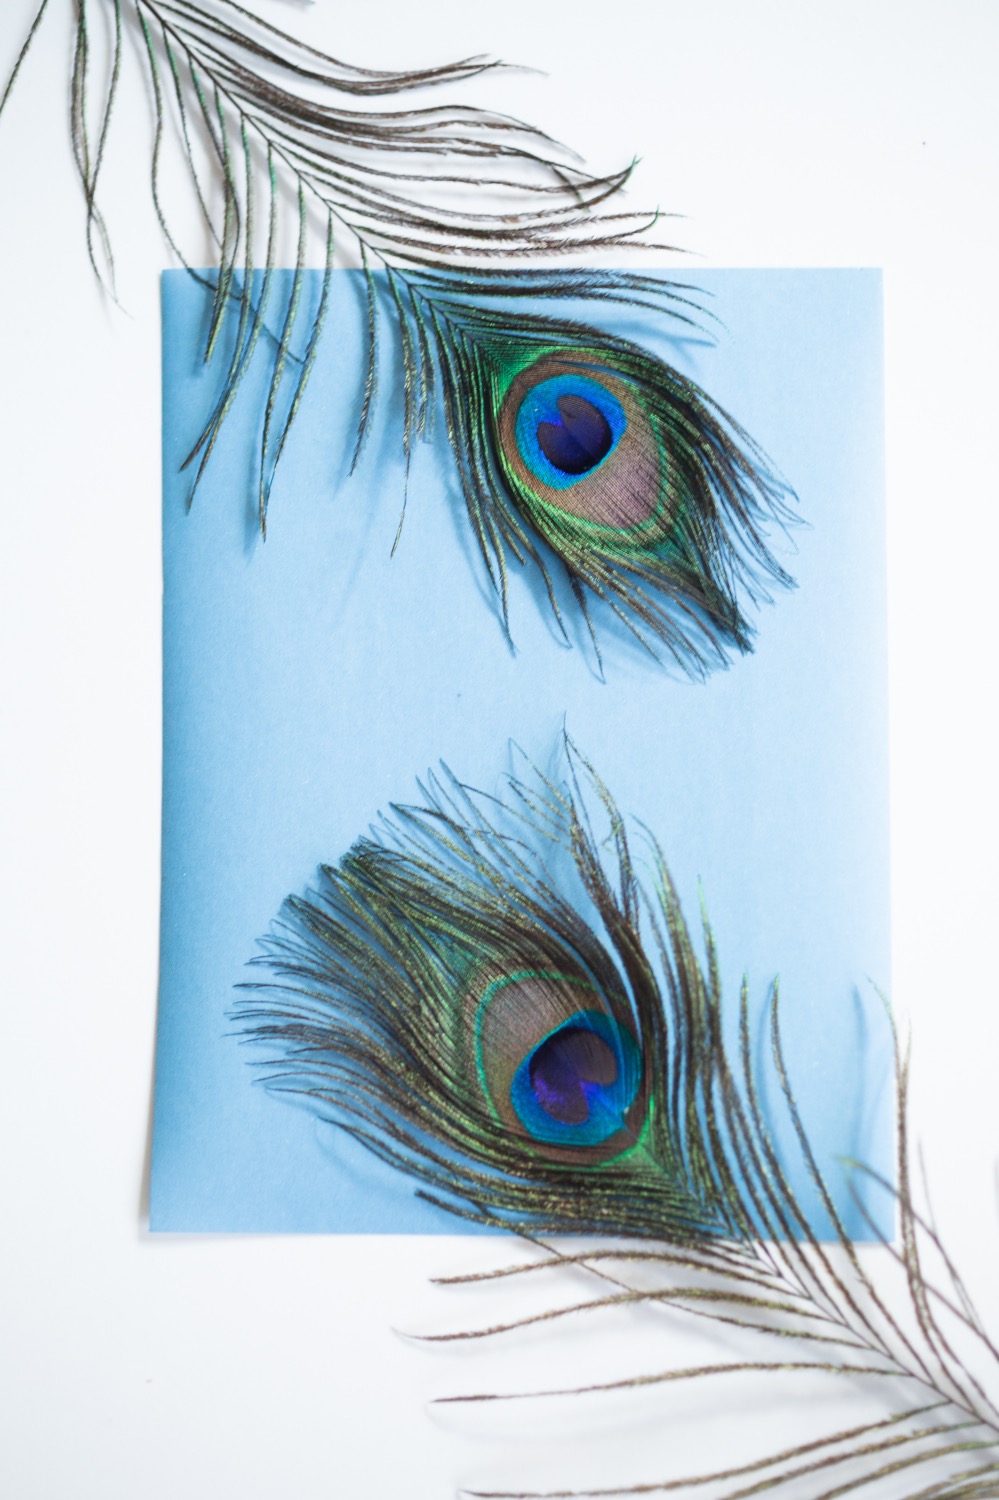
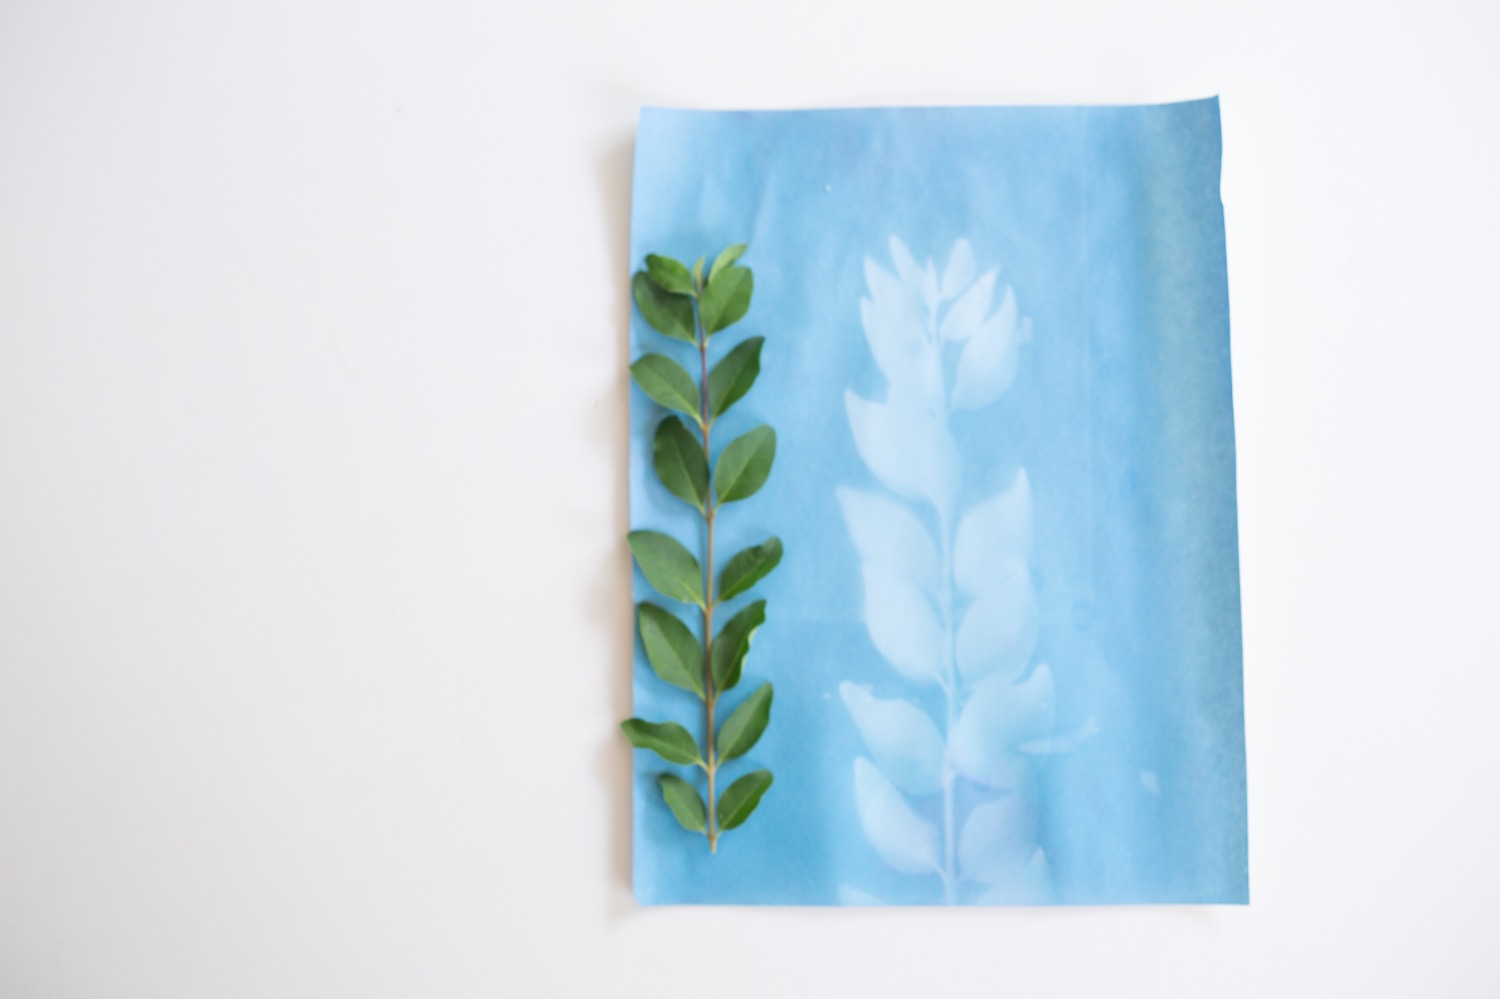
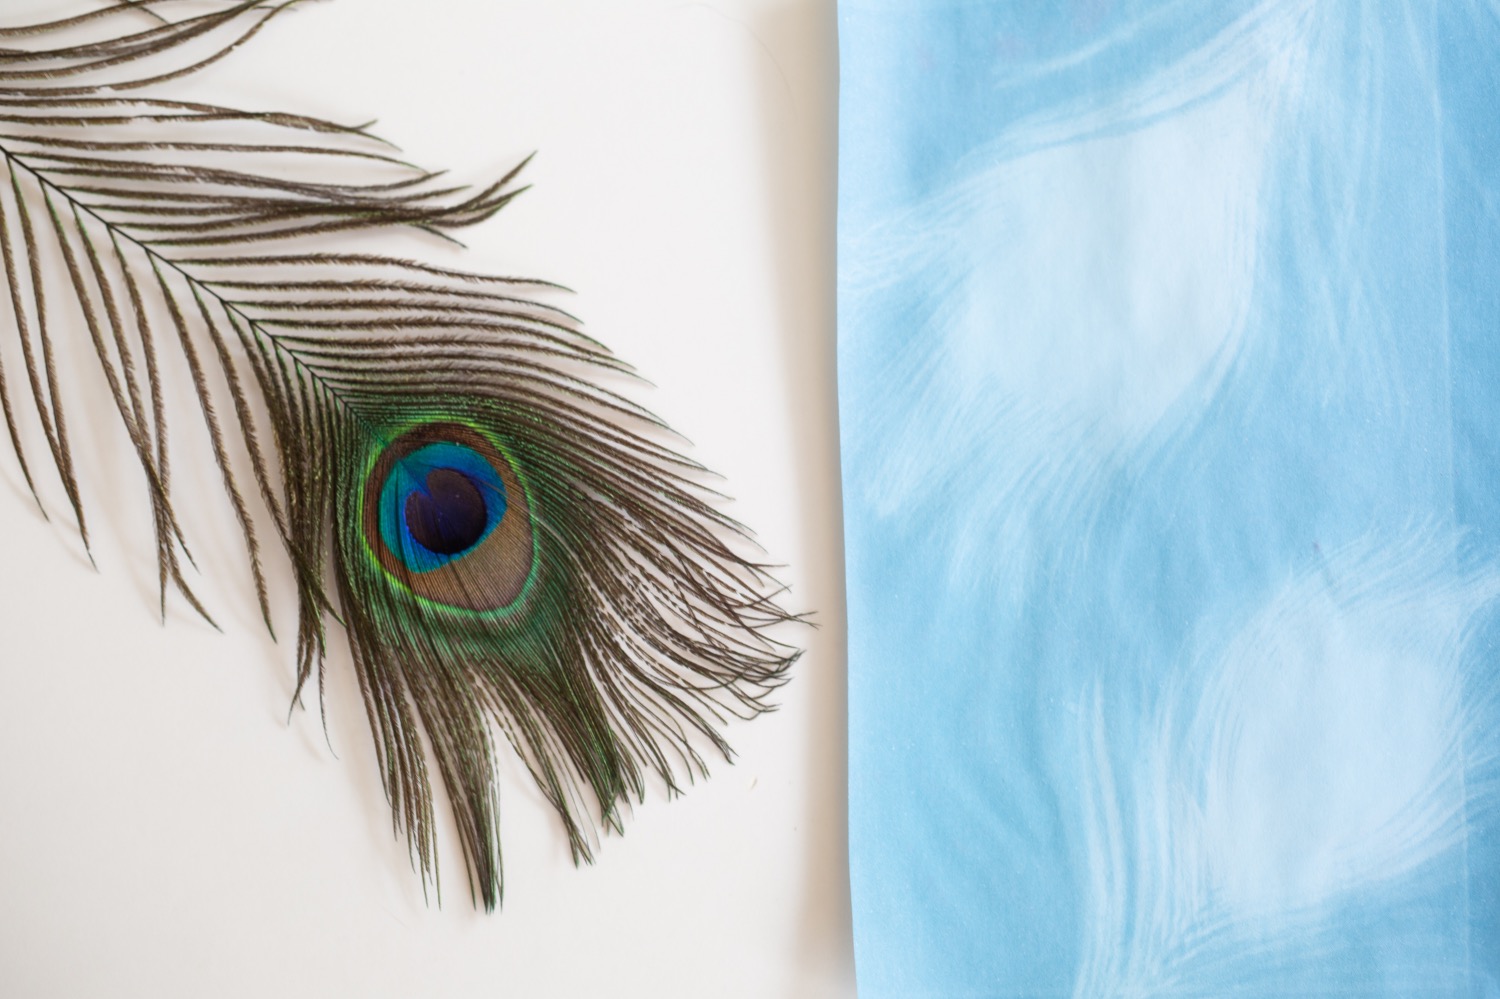
Some of my favorite objects to use are fresh leaves, feathers, gemstones and crystals, and seashells. Anything that has a unique outer shape that tells the story of what that object is is perfect. Additionally, things that vary in translucency like gemstones are amazing too.
You can also create transparencies to make a lush and detailed cyanotype! Just make an image with an invisible background and take your image to a copy shop to print on clear transparency paper.
Once you know where you want your objects to be placed, set them on the paper in the exact spot you want to them to go.
Your objects will need to remain perfectly in place for the duration of the printing.
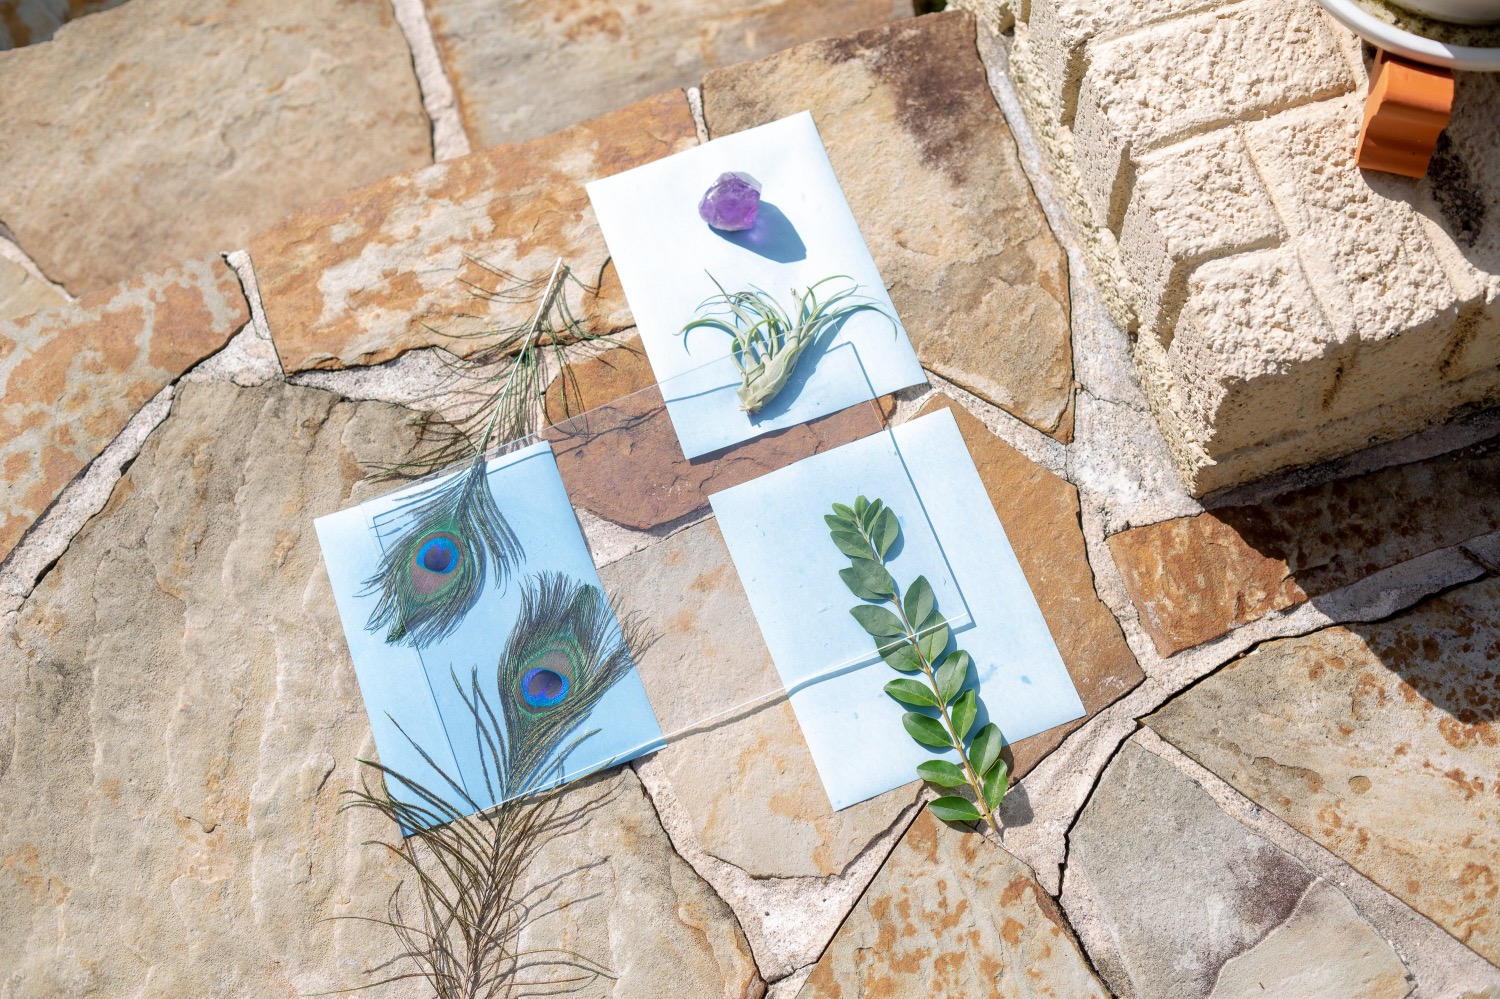
The easiest way to print your cyanotypes is to use the sun. A bright day is best but a cloudy day will still work too. If you are using the sun, you will want to set up your objects on top of the paper exactly where you are going to expose them to the sun.
In this sun print kit, you will get a clear acrylic sheet for holding your objects in place. But if you are working with liquid cyanotype mix (like with our May 2020 Craft in Style Box) you can use clothespins, paper clips or an array of objects to hold the objects in place too.
Or instead of setting the paper outside, you can set the paper in a sunny window to prevent any breezes from moving the objects.
The amount of time you need to expose your paper to the sun can vary depending on how bright it is. The easiest way to know when you paper is done is to watch the paper as it changes color.
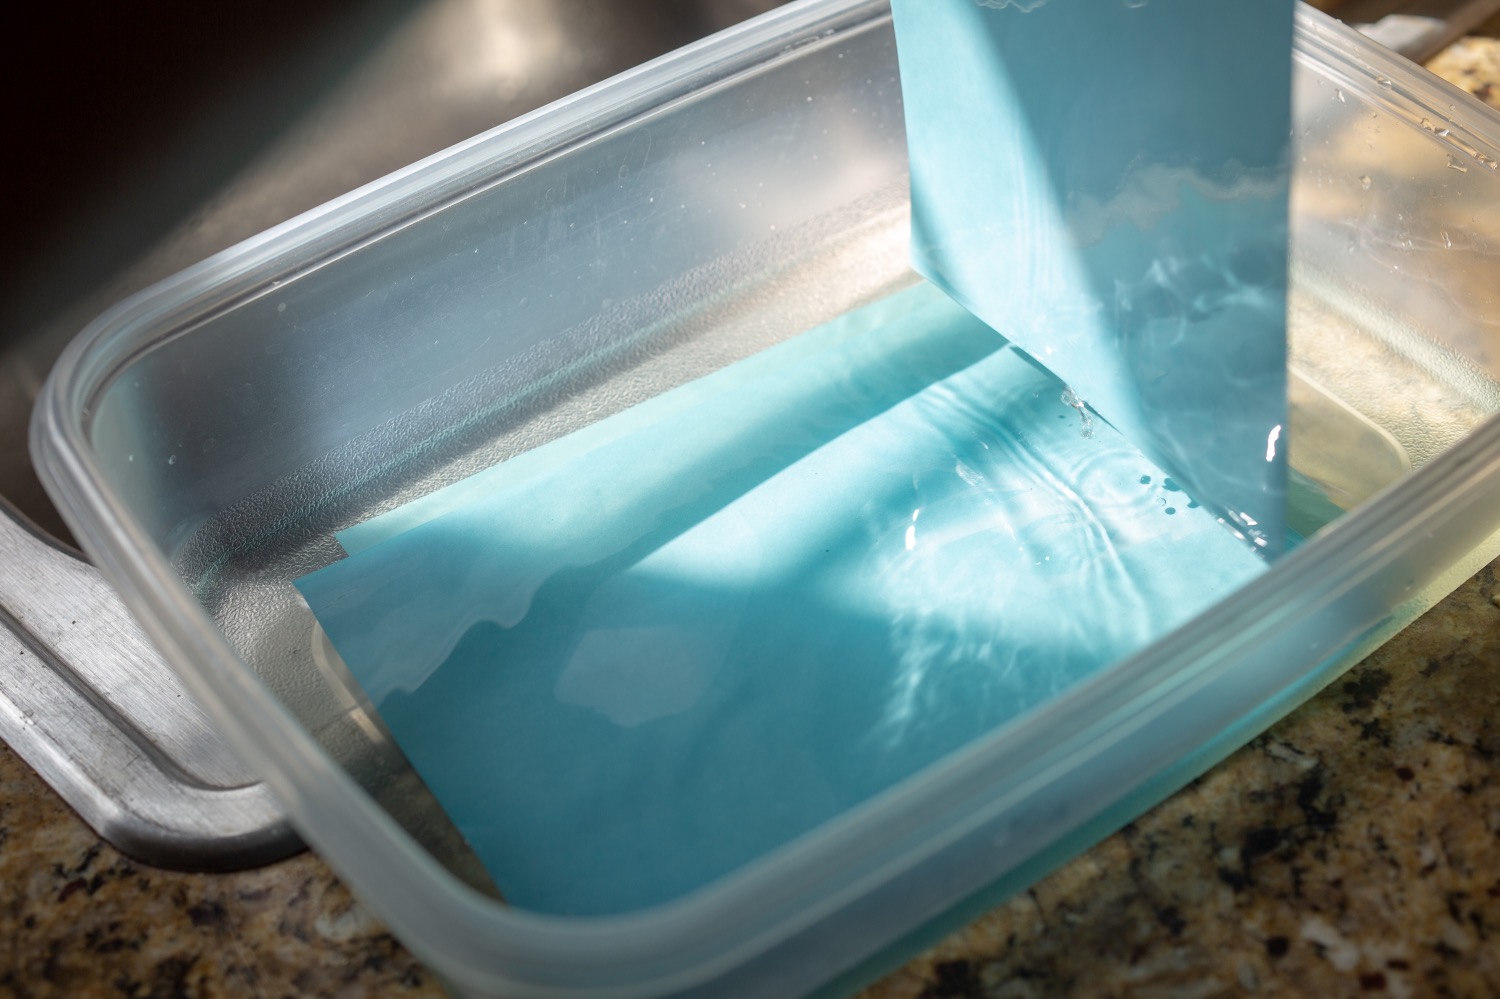
The color will change from blue-ish to white-ish. Once your paper lightens and changes color, place it in a container of fresh water. Leave the paper in the water for at least 1 minute and up to 5 minutes.
When you place the paper in the water, the images will be quite muddled but they become more pronounced over time.
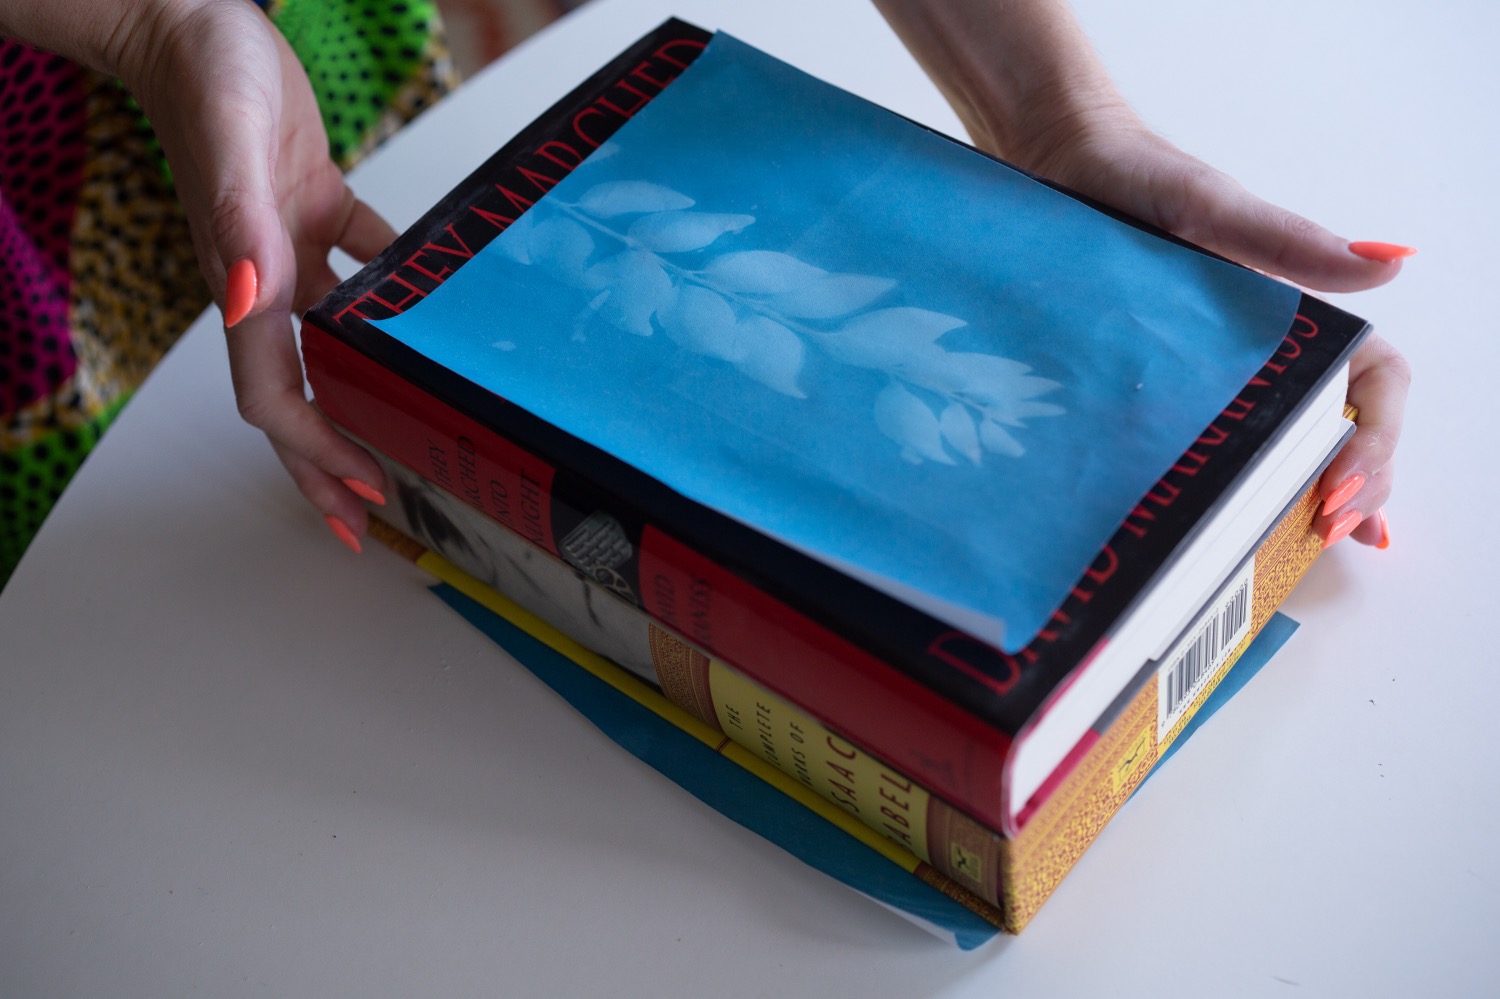
After your cyanotypes dry, you may want to place them underneath books to flatten them.
Over the next few days, the colors will still be quite light. But they will darken over time.
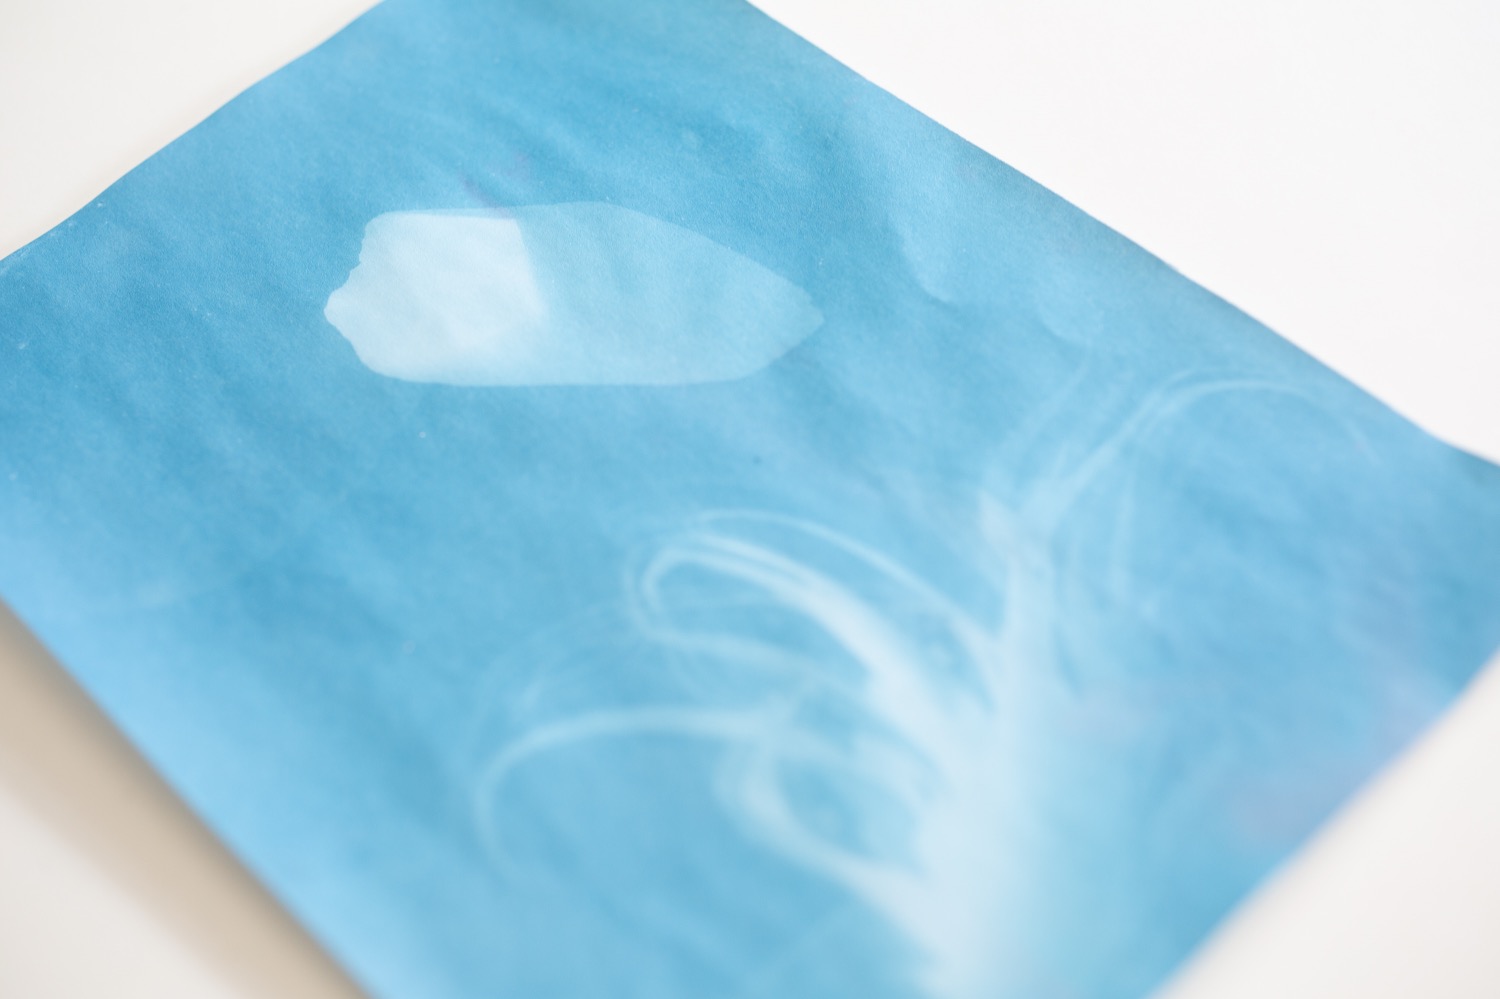
Then you can frame your cyanotypes, hang them or anything you like! Below are some of my favorite prints.
If you love these style of photo prints and want to make them for yourself, don’t miss the May 2020 Craft in Style Subscription Box in which you can make cyanotype cotton napkins and tea towels!
And if you want to get started with simple sun prints like these, shop the Sun Print Photo Kit here. It’s exactly what we used this this blog!
Let’s Be Friends!
Insta | Pinterest | Enews | TikTok


