Craft in Style Subscription Instructions, DIY
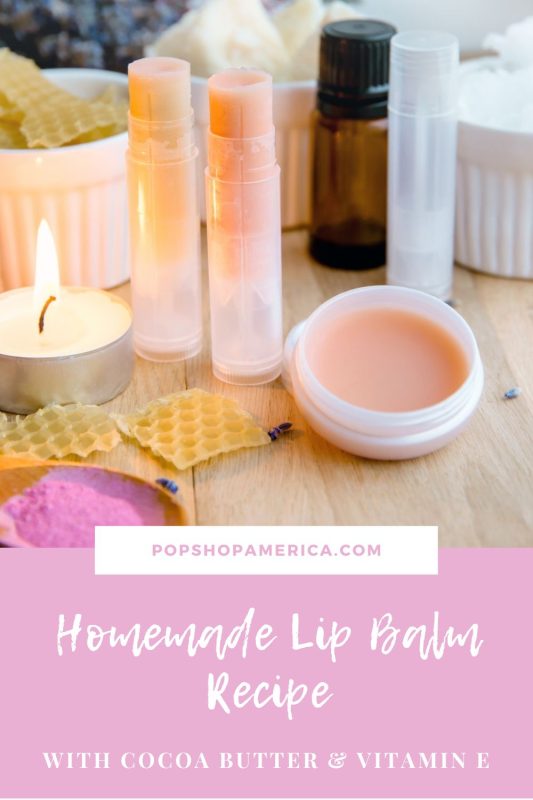
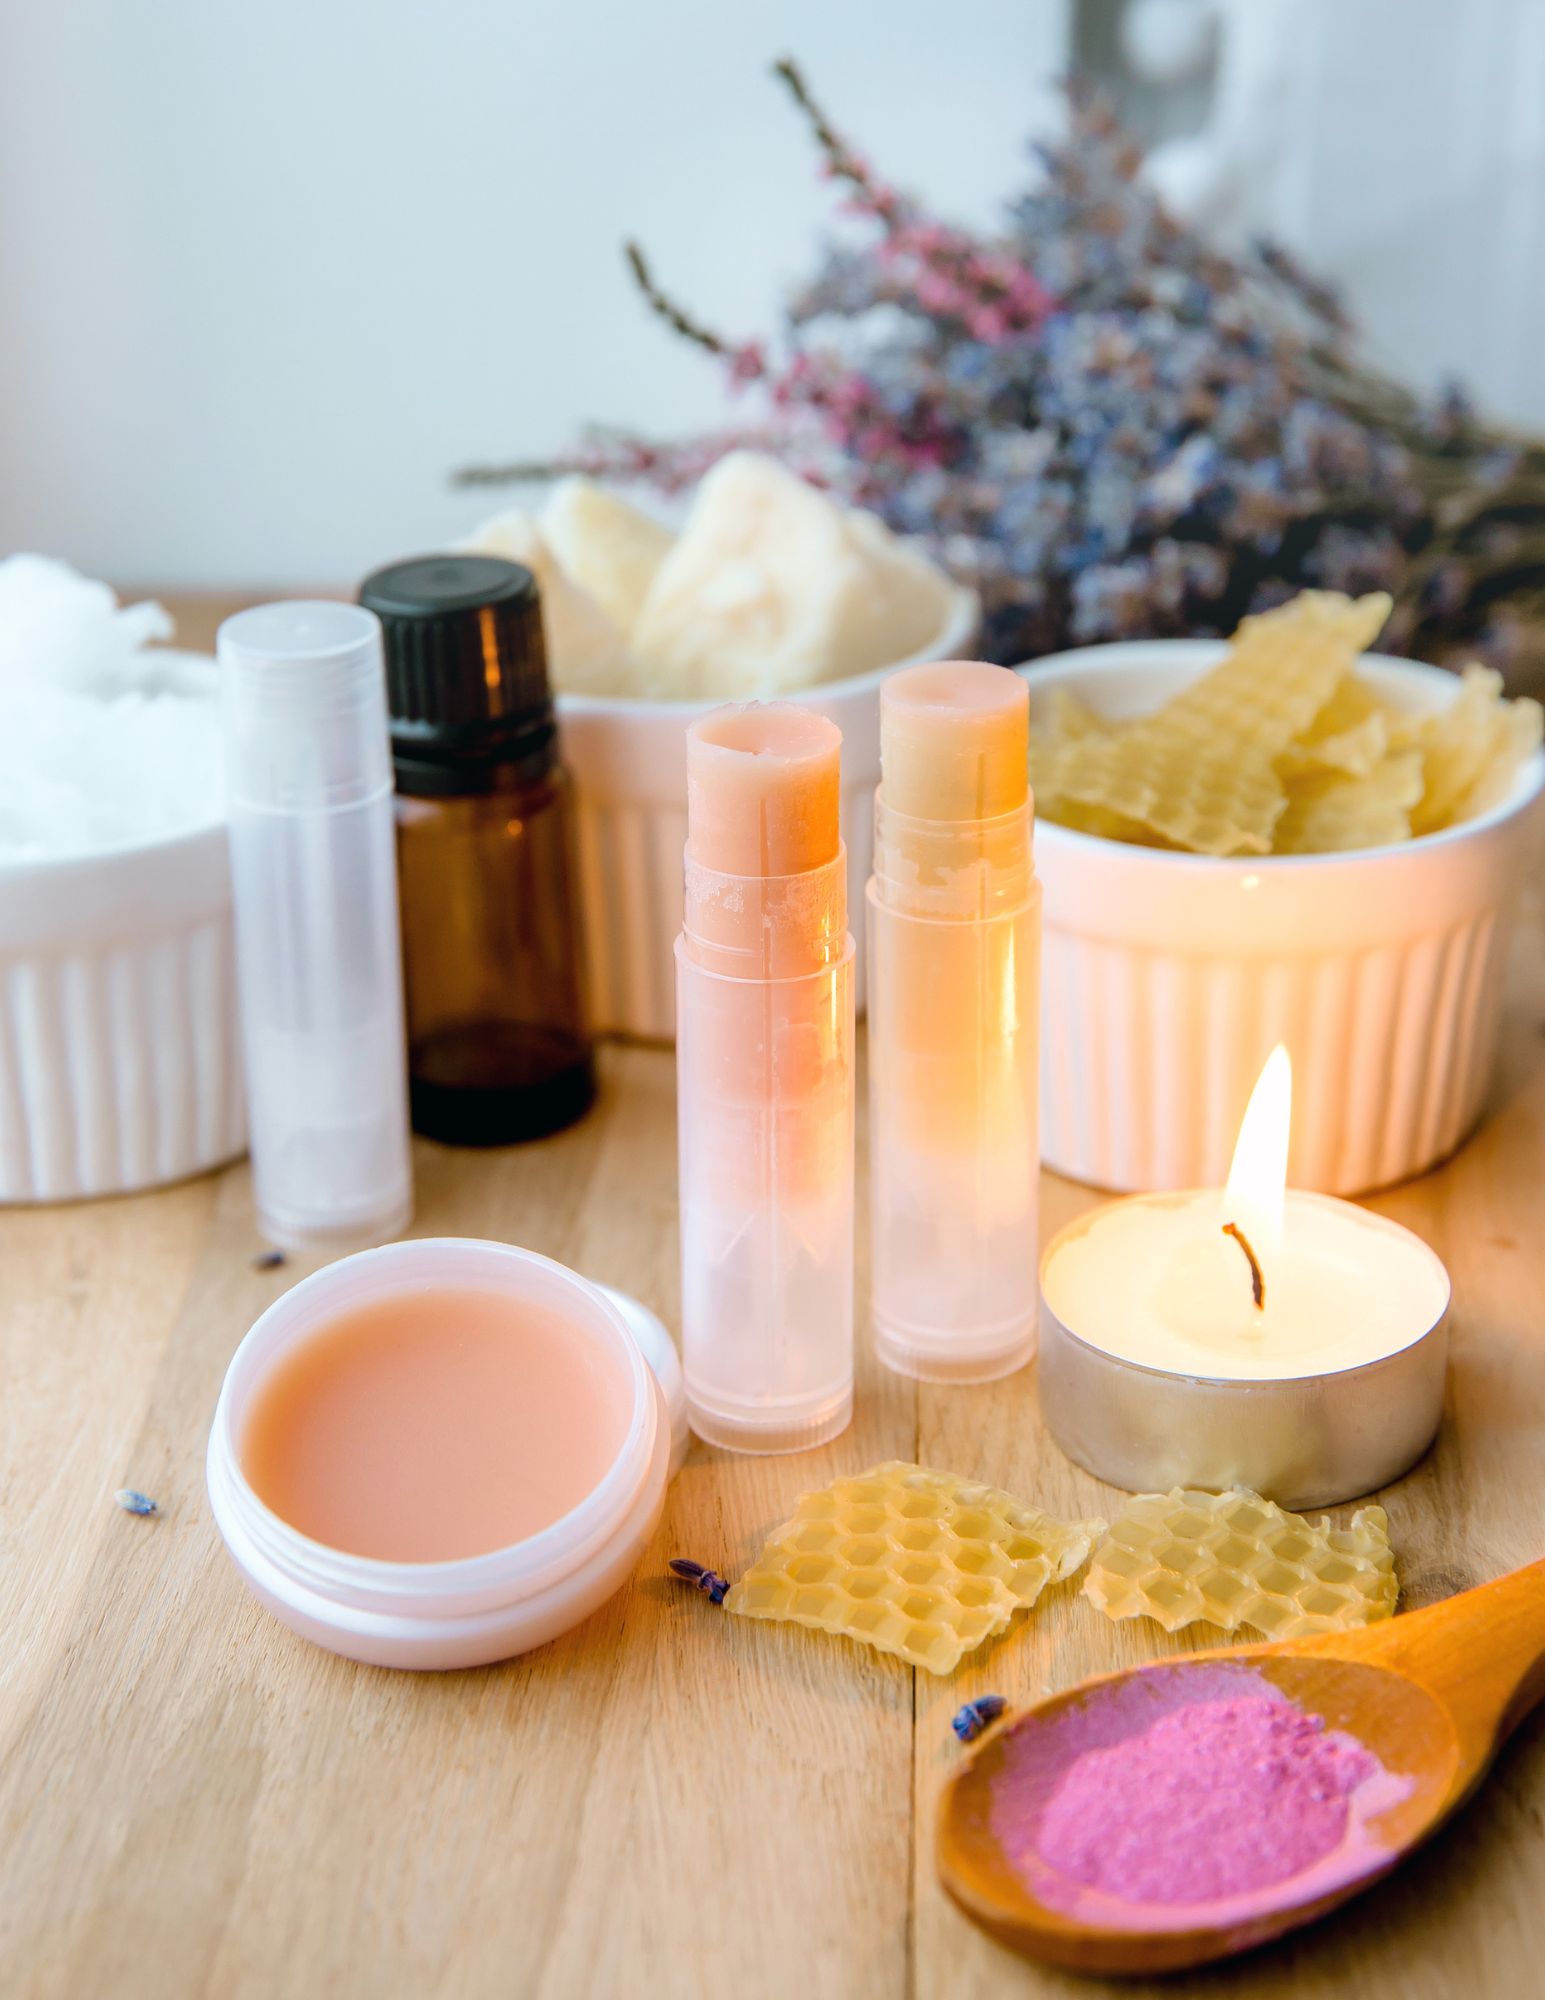
DIY Nourishing Lip Balm Recipe with Cocoa Butter and Vitamin E
Jun
This blog is the Part 2 of 2 tutorials for the May Craft in Style Subscription Box. You can find the additional tutorial for May, previous box tutorials, more about this box, and other Craft in Style Boxes here.
Want to make something super nourishing and healing for your lips? This recipe uses some of my favorite beauty supplies – cocoa butter and vitamin e to make a lip balm that is moisturizing, healing and feels so good!
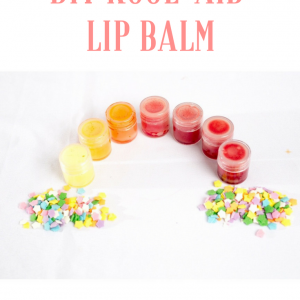
You can add mica powder for a bit of extra color. And you can add flavoring to make something that’s truly tasty. So let’s make it!
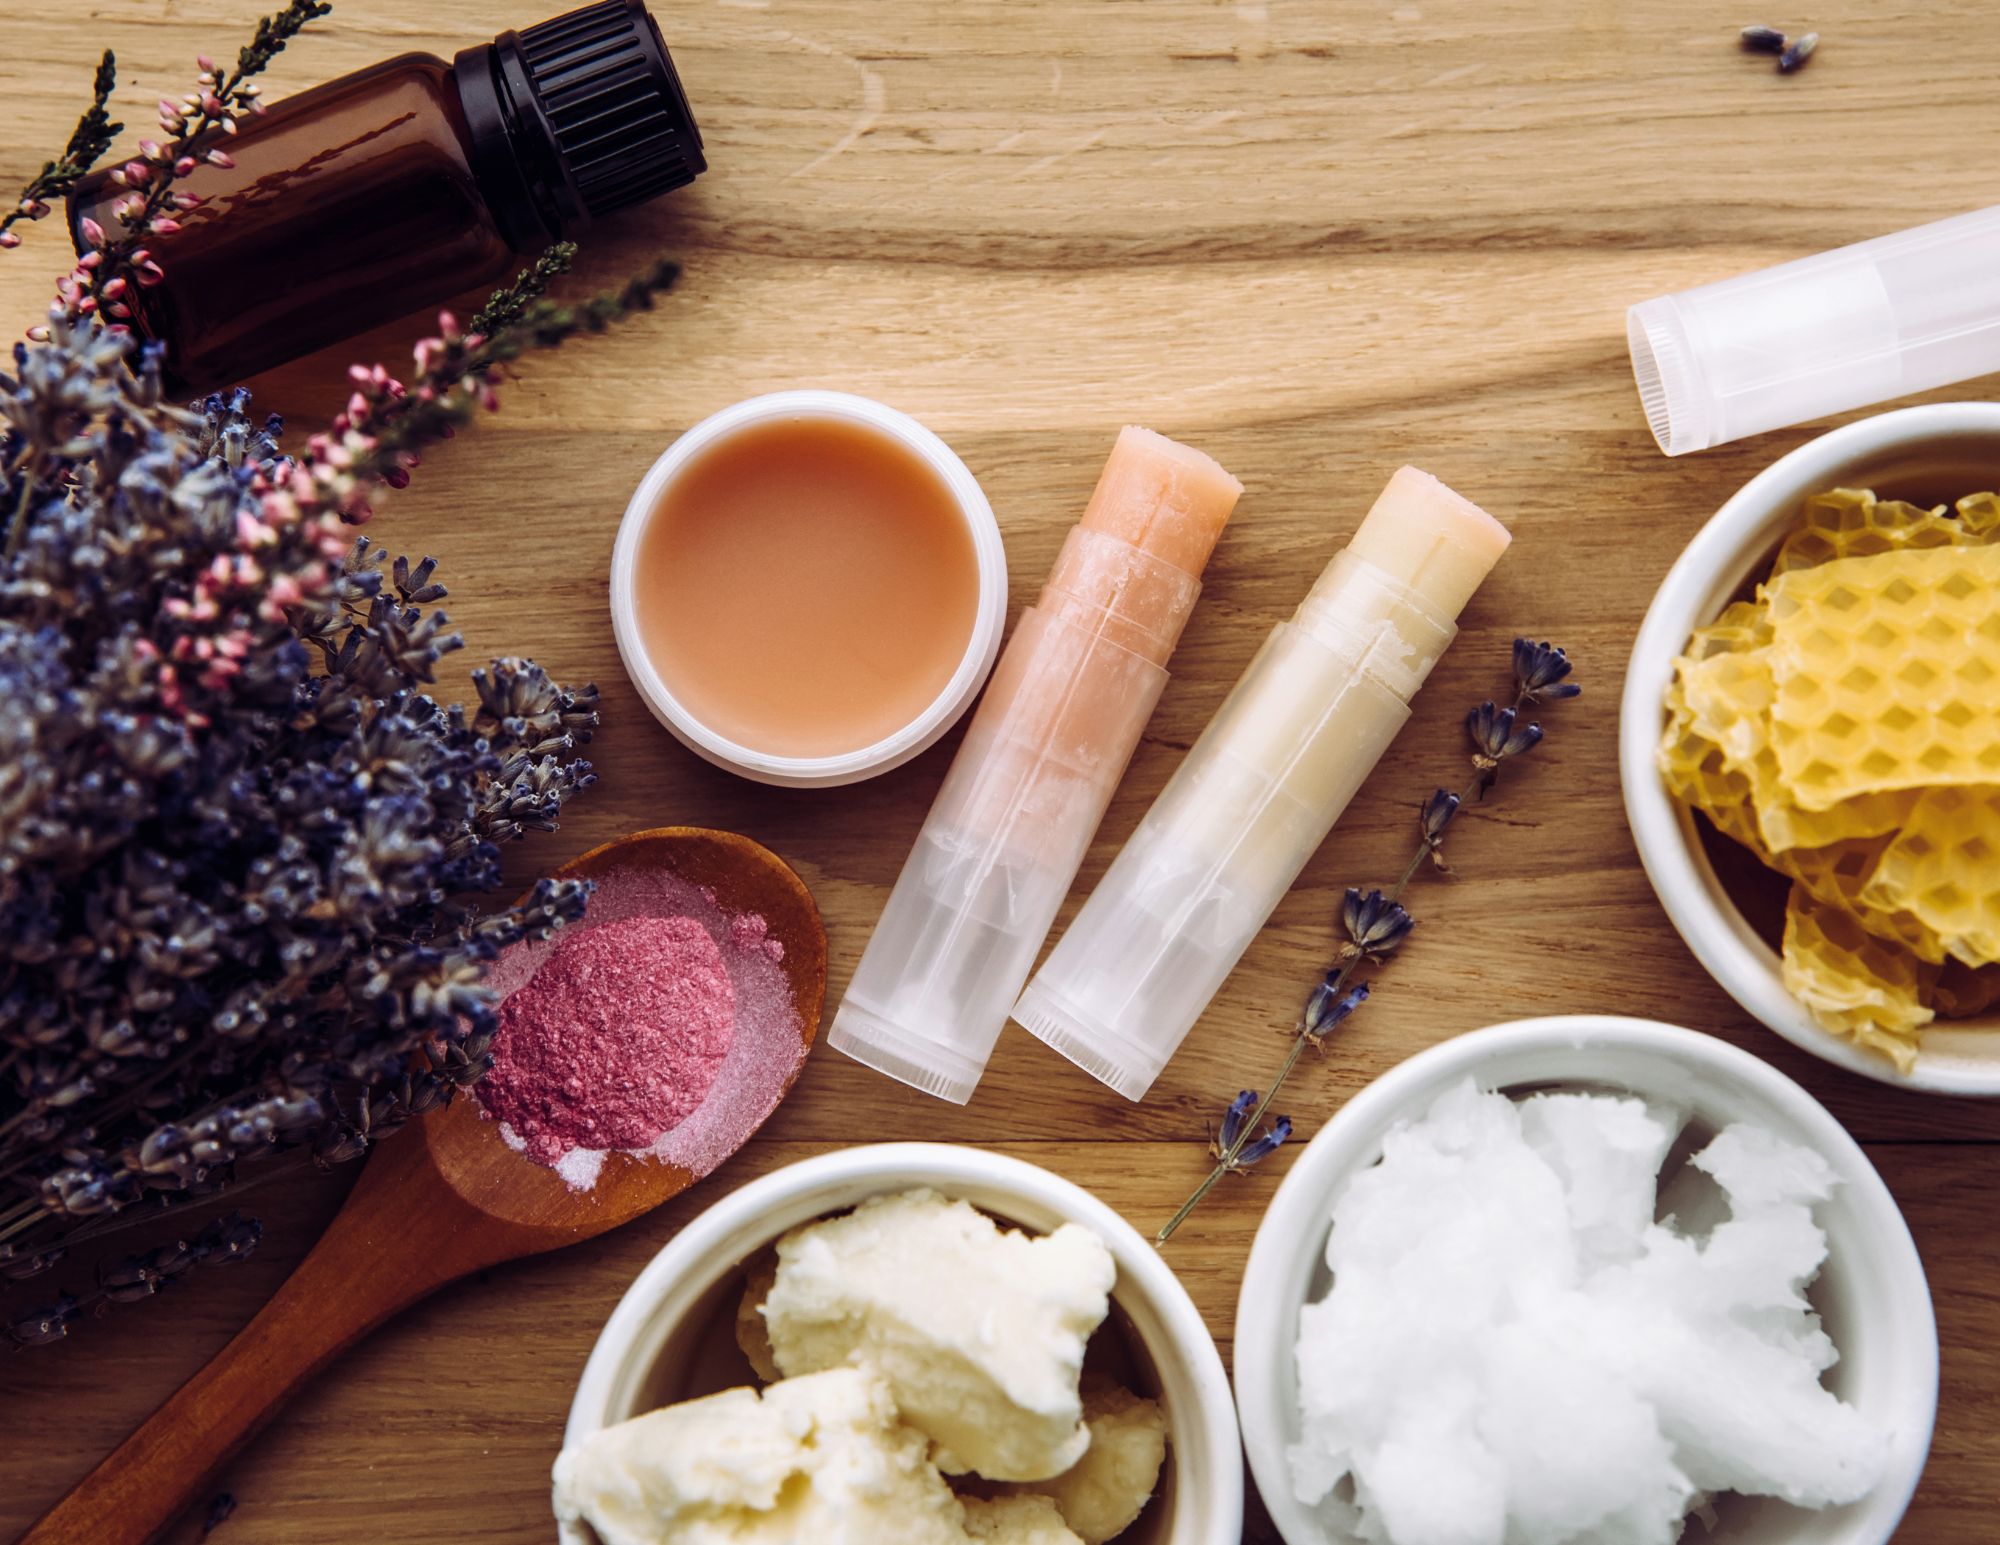
Supplies to Make DIY Nourishing Lip Balm:
Lip Balm Tubes
White Beeswax
Cocoa Butter
Almond Oil
Vitamin E
Pipette
Sticker Labels
Microwave Safe Container
Microwave
Optional: Mica Powder, Lip Balm Flavoring or Essential Oil
Different Lip Balm Recipes & Substitutions
Before you make this recipe, you have to know that there are so many different recipes for making lip balm. For example, we have this recipe that uses Coconut Oil in place of cocoa butter.
You can also substitute cocoa butter for coconut oil, mango butter or shea butter and use any of them interchangeably.
Nourishing Lip Balm Recipe
How much you make will depend of the size of your lip balm tubes or lip balm pots. Your basic recipe is:
2 parts beeswax
1 part cocoa butter
2 parts almond oil
A few drops vitamin e oil
When I made 6 standard size lip balm tubes that came out to:
2 tablespoons beeswax
1 tablespoon cocoa butter
2 tablespoons almond oil
A few drops of vitamin e oil
What’s great about lip balm is that you can adjust the recipe. So if you want a balm that’s a softer or a tube that’s less smearable, you can adjust ingredients to find your perfect recipe. You can take balm that you’ve already made, melt it again, add additional ingredients to change the texture and add it to your tubes or pots again. So you really can’t mess this up! It’s fool proof.
How to Make DIY Nourishing Lip Balm
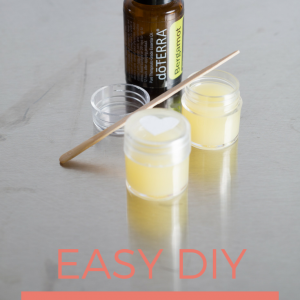
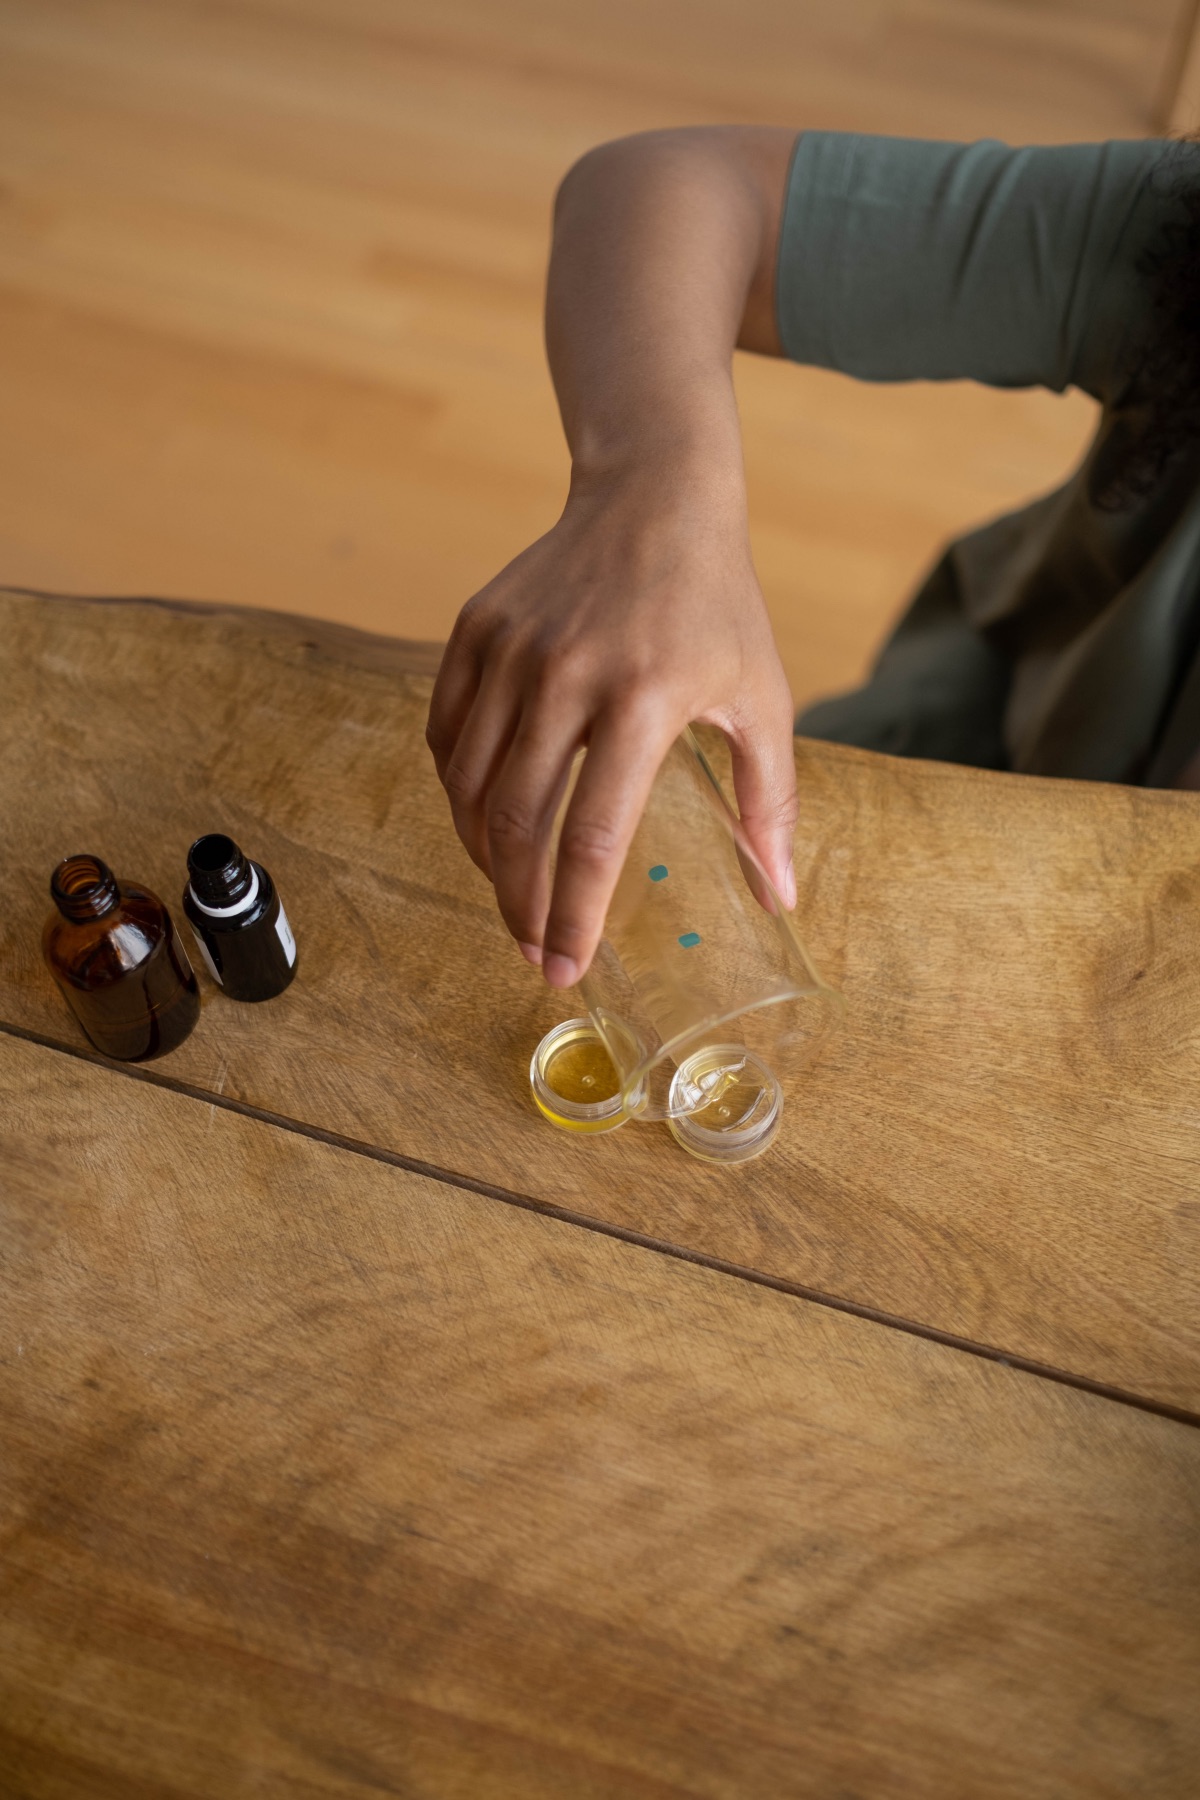
To make the DIY Nourishing Lip Balm start by combining your ingredients – beeswax, cocoa butter and almond oil until a microwave safe container. If you have something with a pour spout that’s even better.
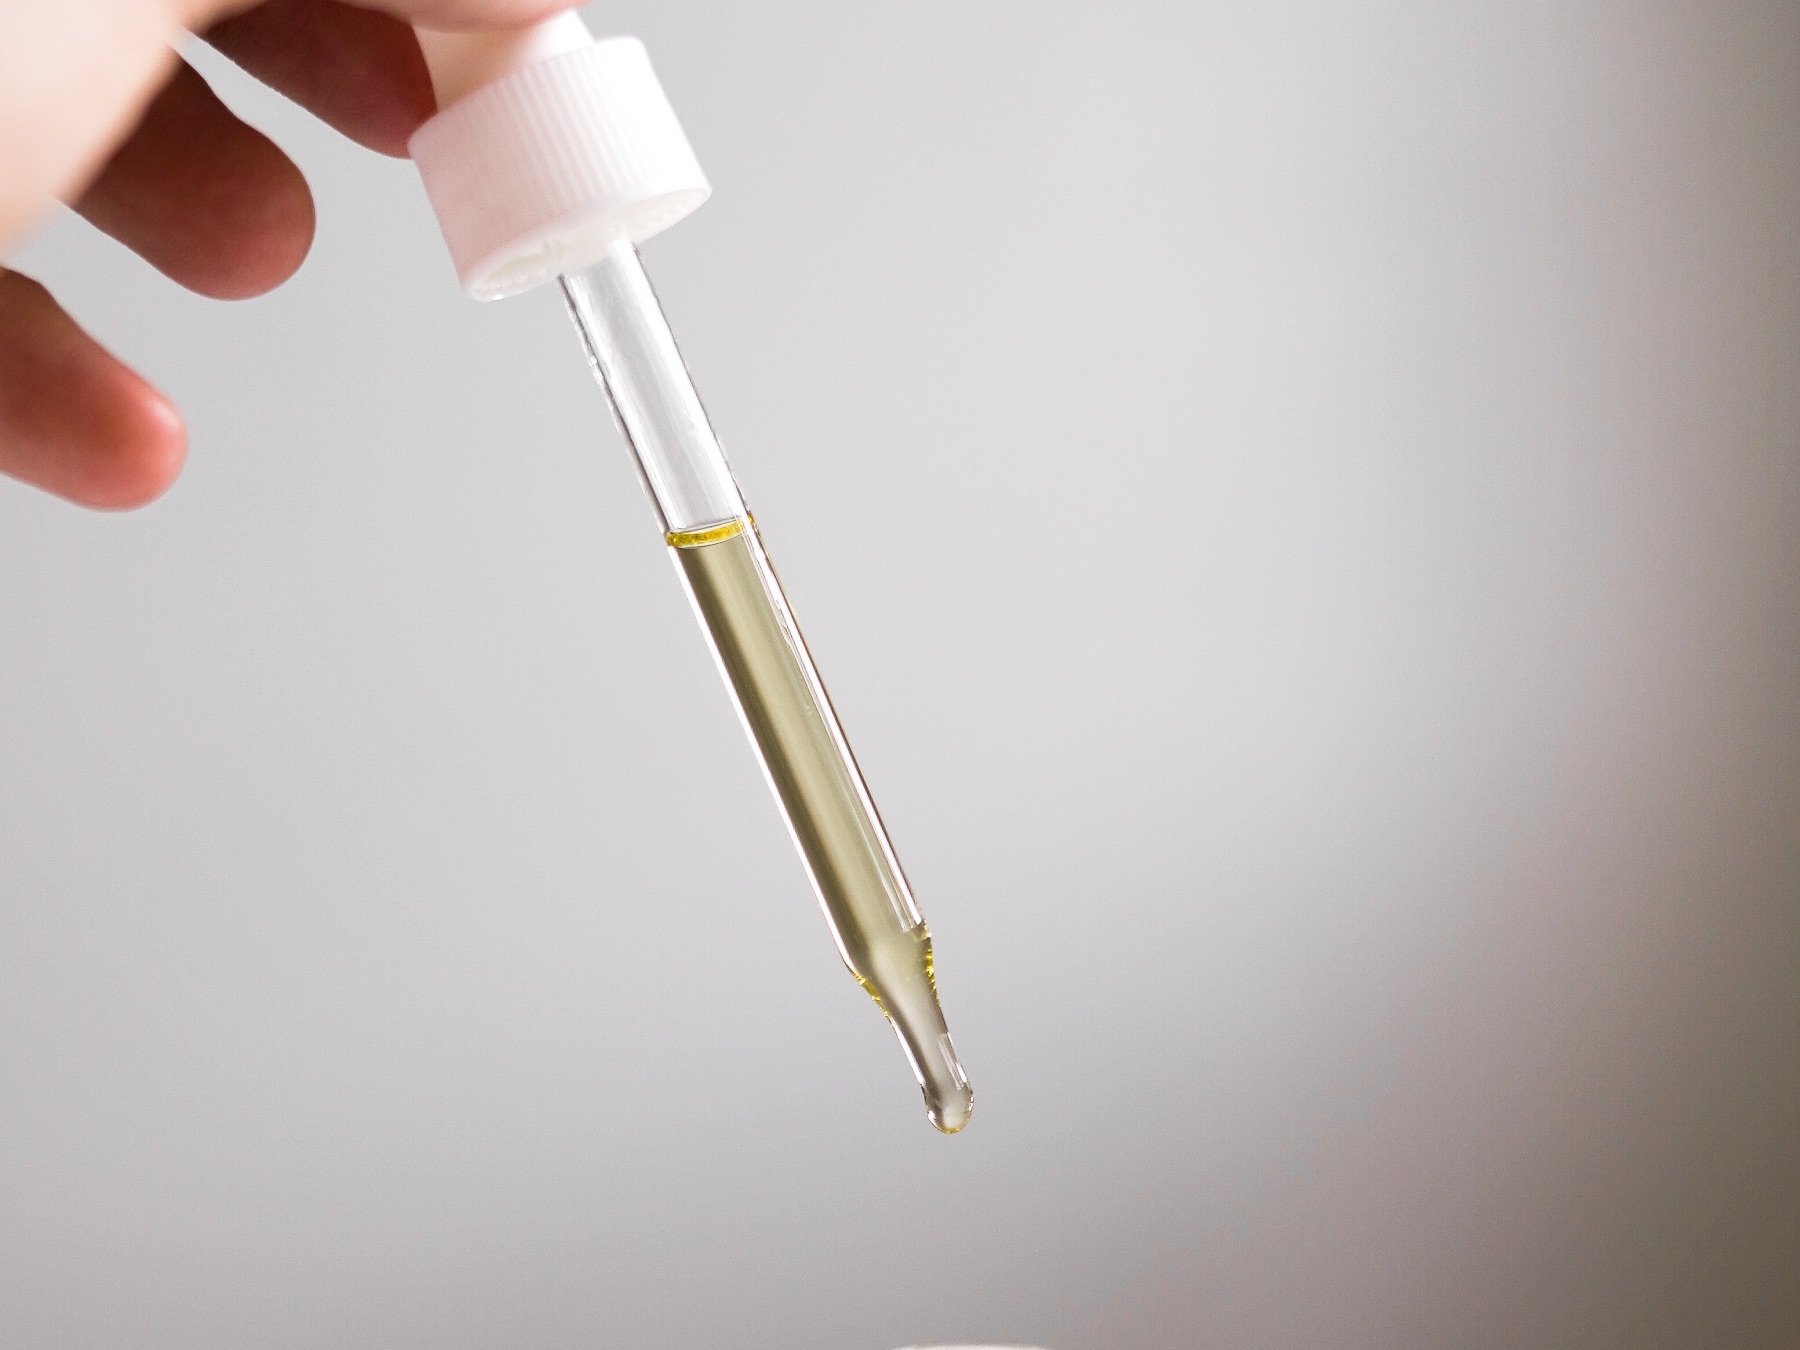
Melt the ingredients in the microwave in 30 second intervals. After the 30 seconds, use your pipette to stir the mix thoroughly. Continue to heat the lip balm mixture for 30 seconds at a time until the ingredients are completely melted but don’t heat beyond that.
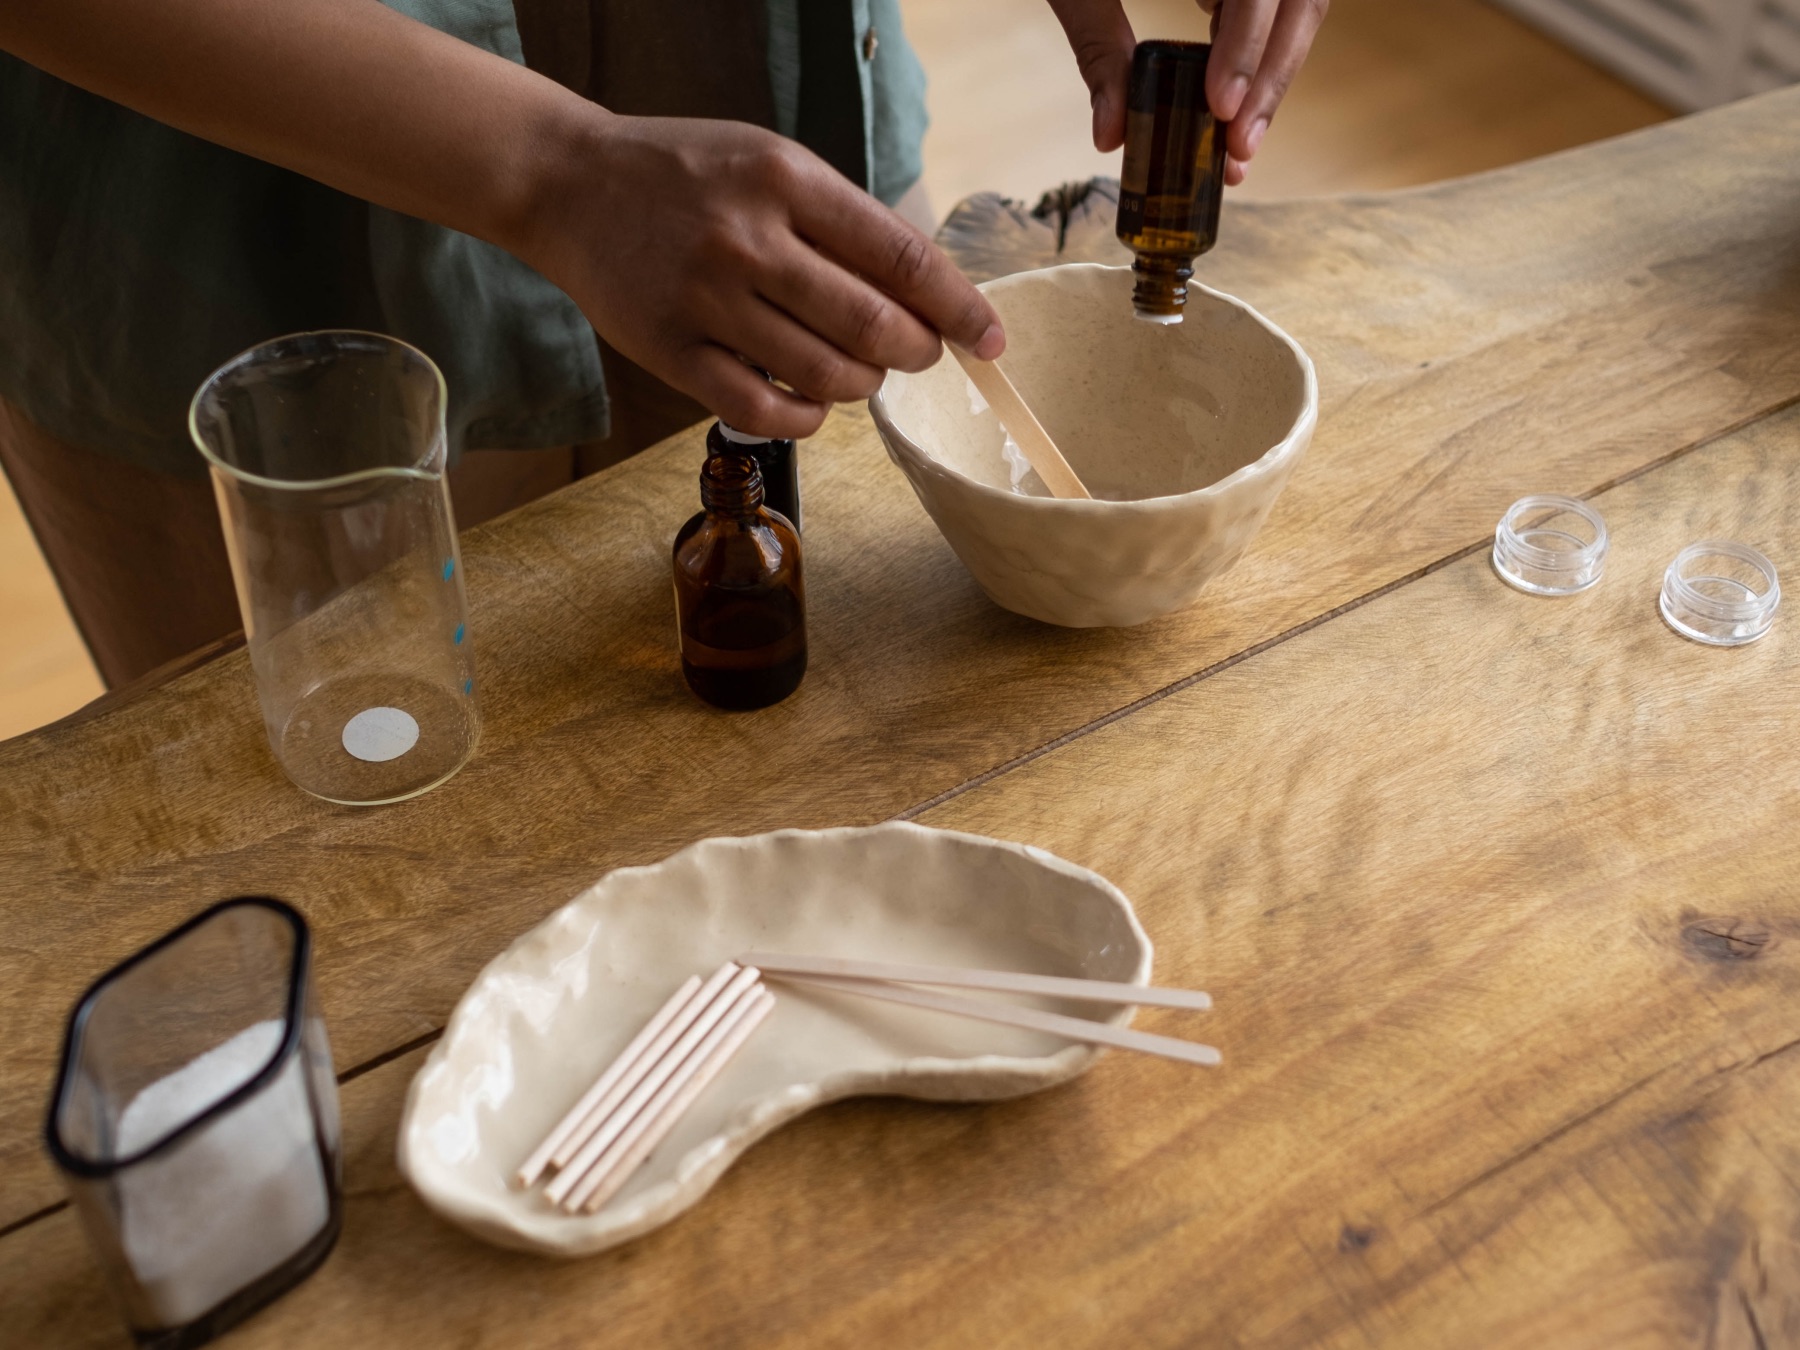
Once all your ingredients are melted, add your few drops of vitamin e oil and stir it into the mixture thoroughly.
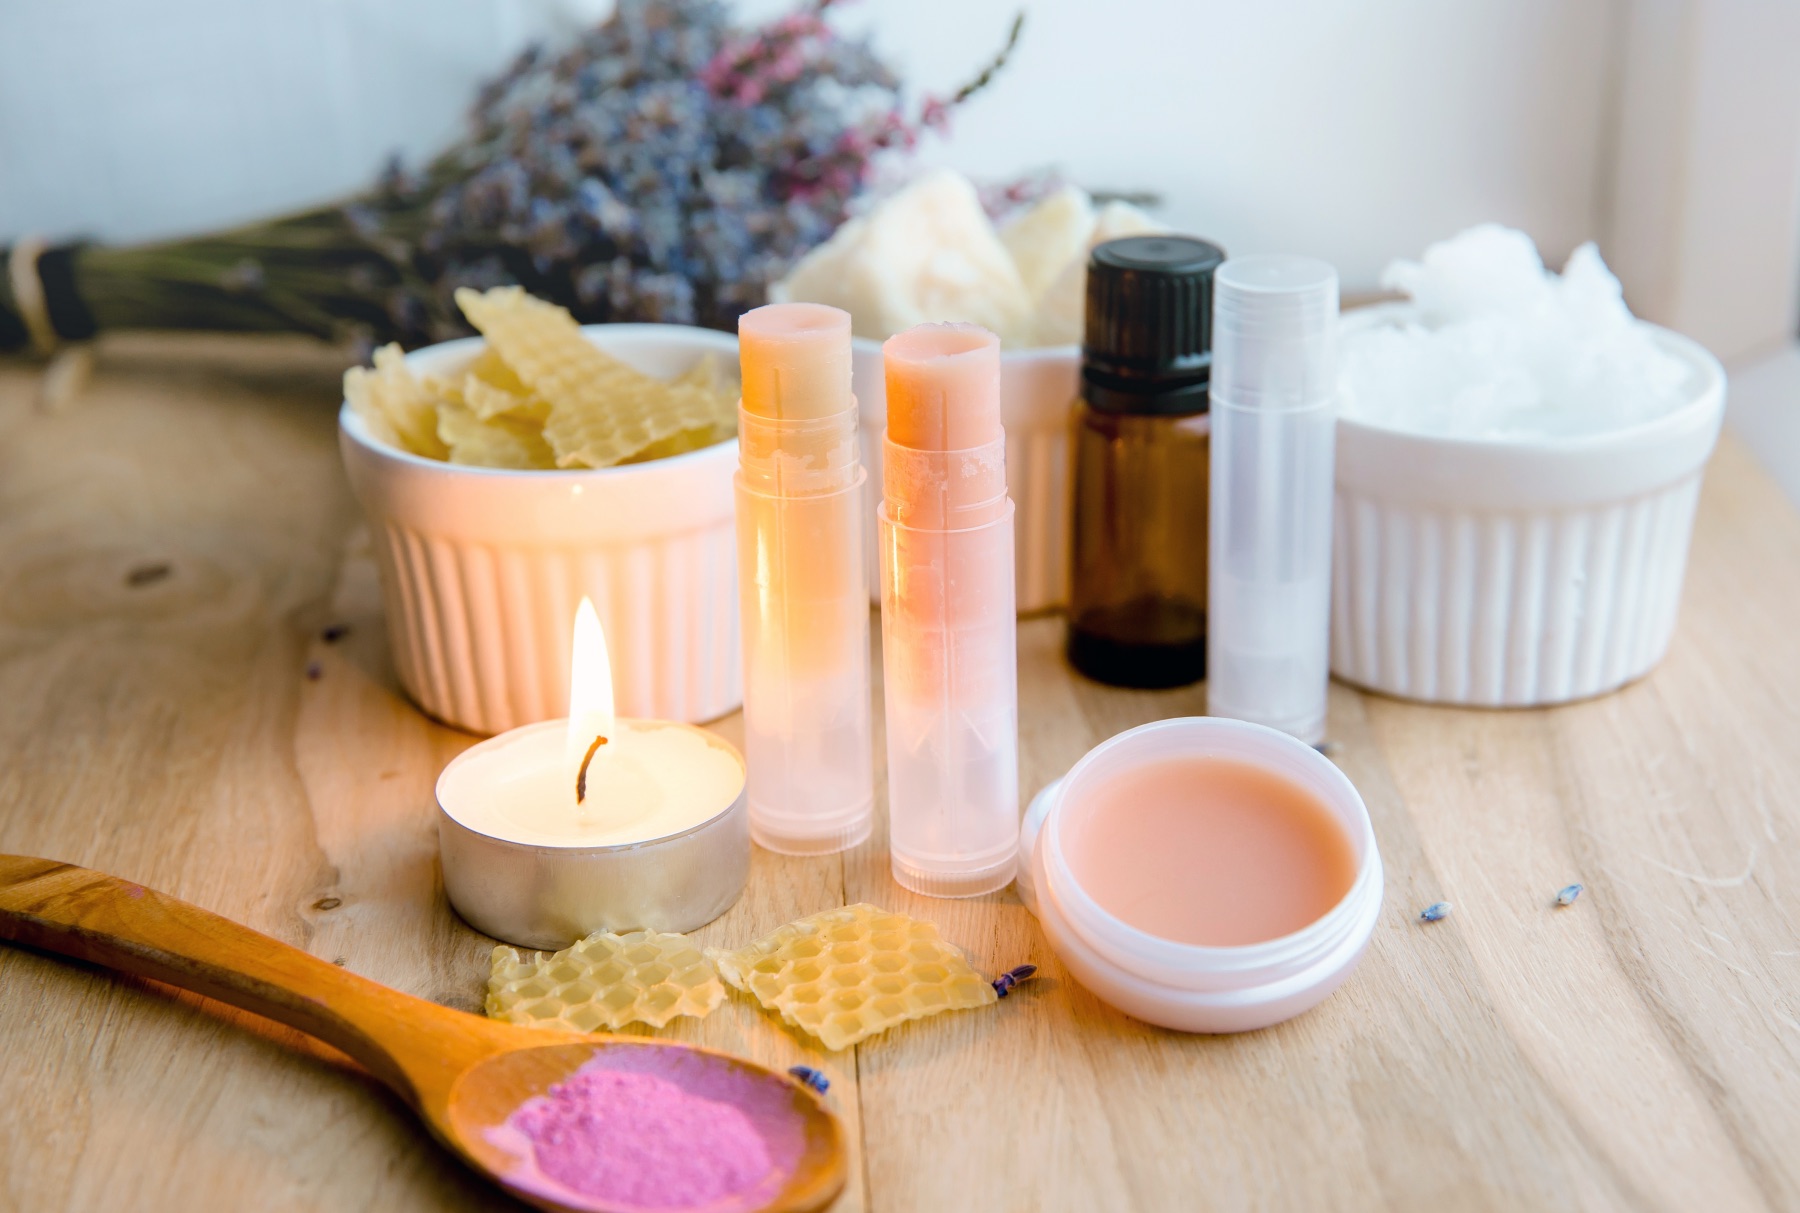
Mica, Flavoring, and Essential Oils
Last, you can choose to add mica powder to color your lip balm. If you choose to add it, start with a small amount and mix it until thoroughly blended. Then continue to add more mica until you reach your desired color. Just know that the color will look darker while liquid and will dry lighter!
If you choose to add flavoring, just add 3 drops or so per lip balm tube or lip balm pot. Flavoring is strong so you won’t need much.
If you don’t want your balm to taste sweet, but do want to give it a light scent, use essential oils instead! Citrus oils are great because they make a fruity balm. But lavender and rose also make a lovely balm too. Add around 5-10 drops of essential oil as you make the balm.
Lip Balm Containers
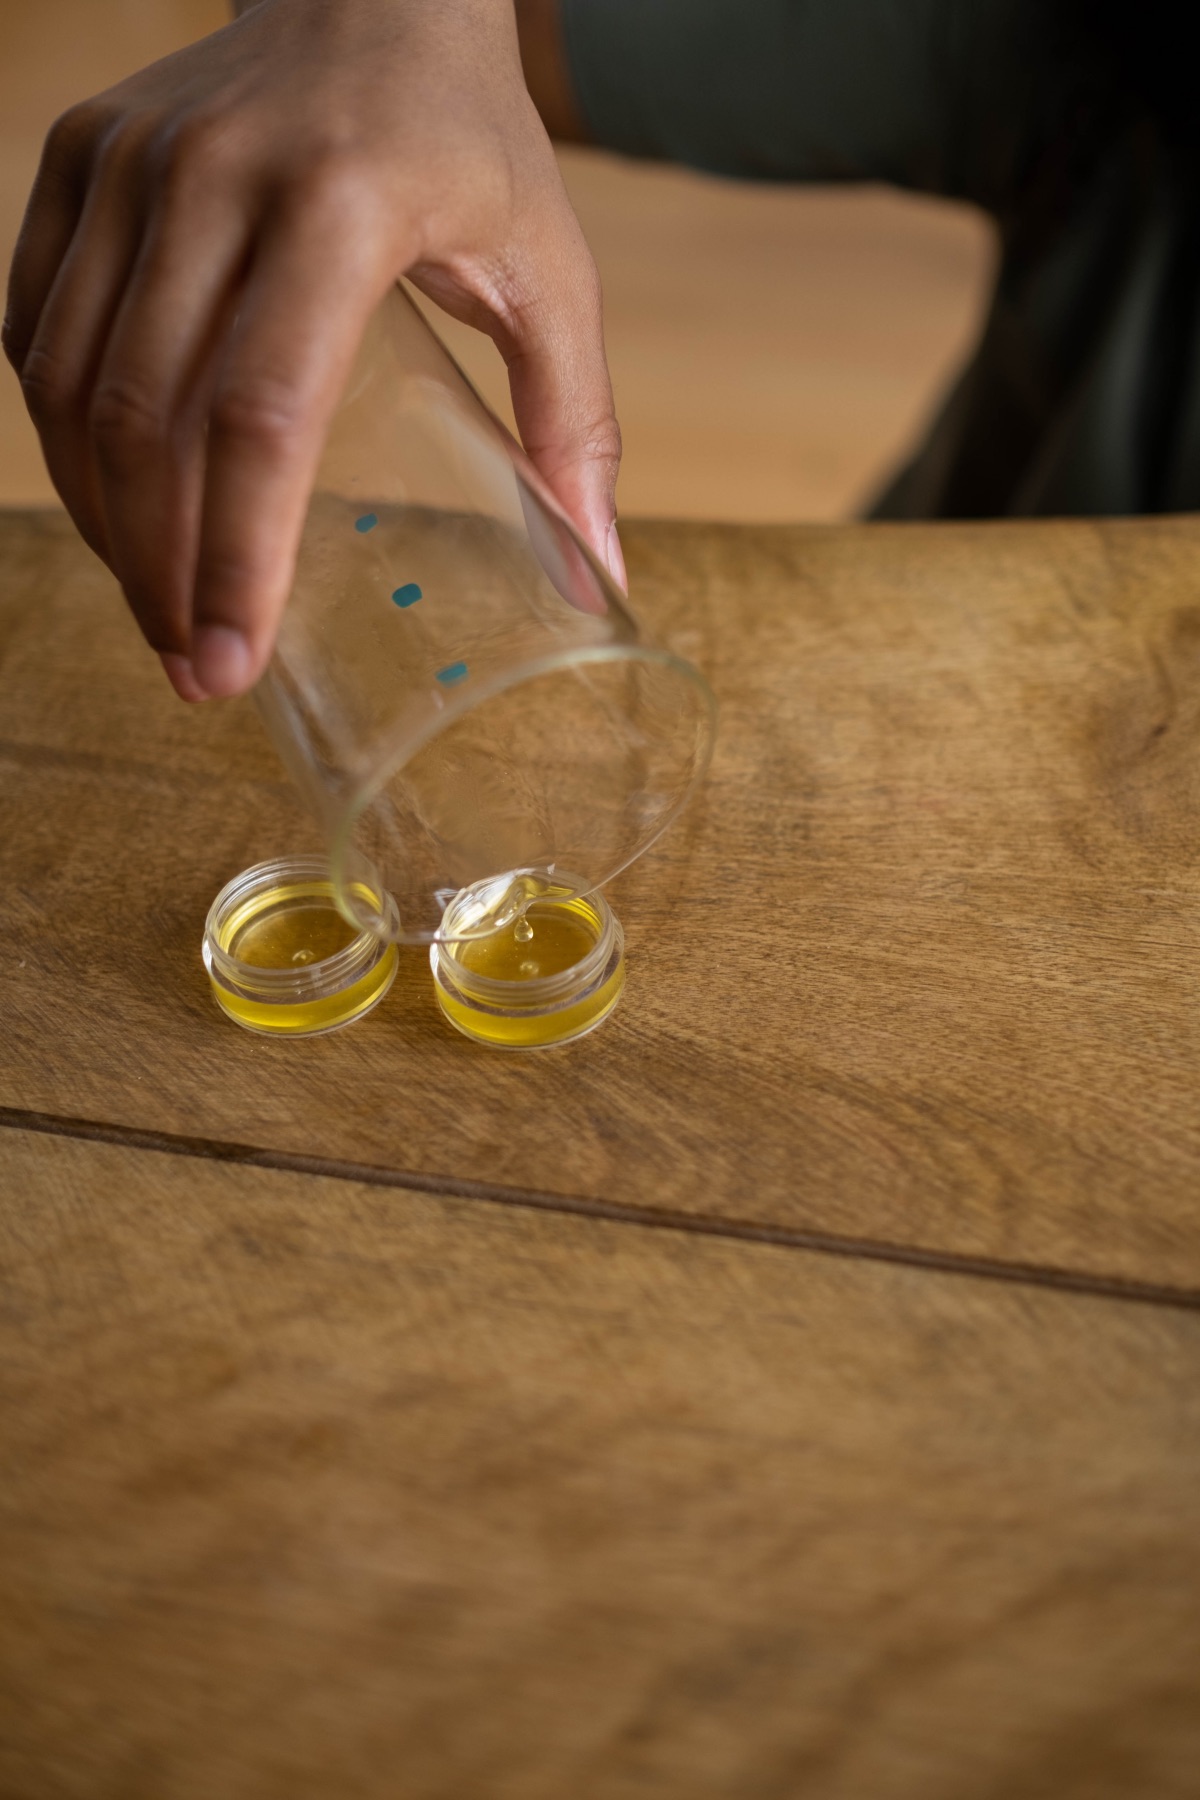
If you choose to use lip balm tubes like I did, make sure that the bottom of the tube is twisted all the way down so you can fill the cavity. Then use a pipette or pour slowly til fill the lip balm tube.
You can also use any shaped pot you like – like this stackable lip balm here. There are so many options.
Let the Lip Balm Set + Adjusting Your Recipe
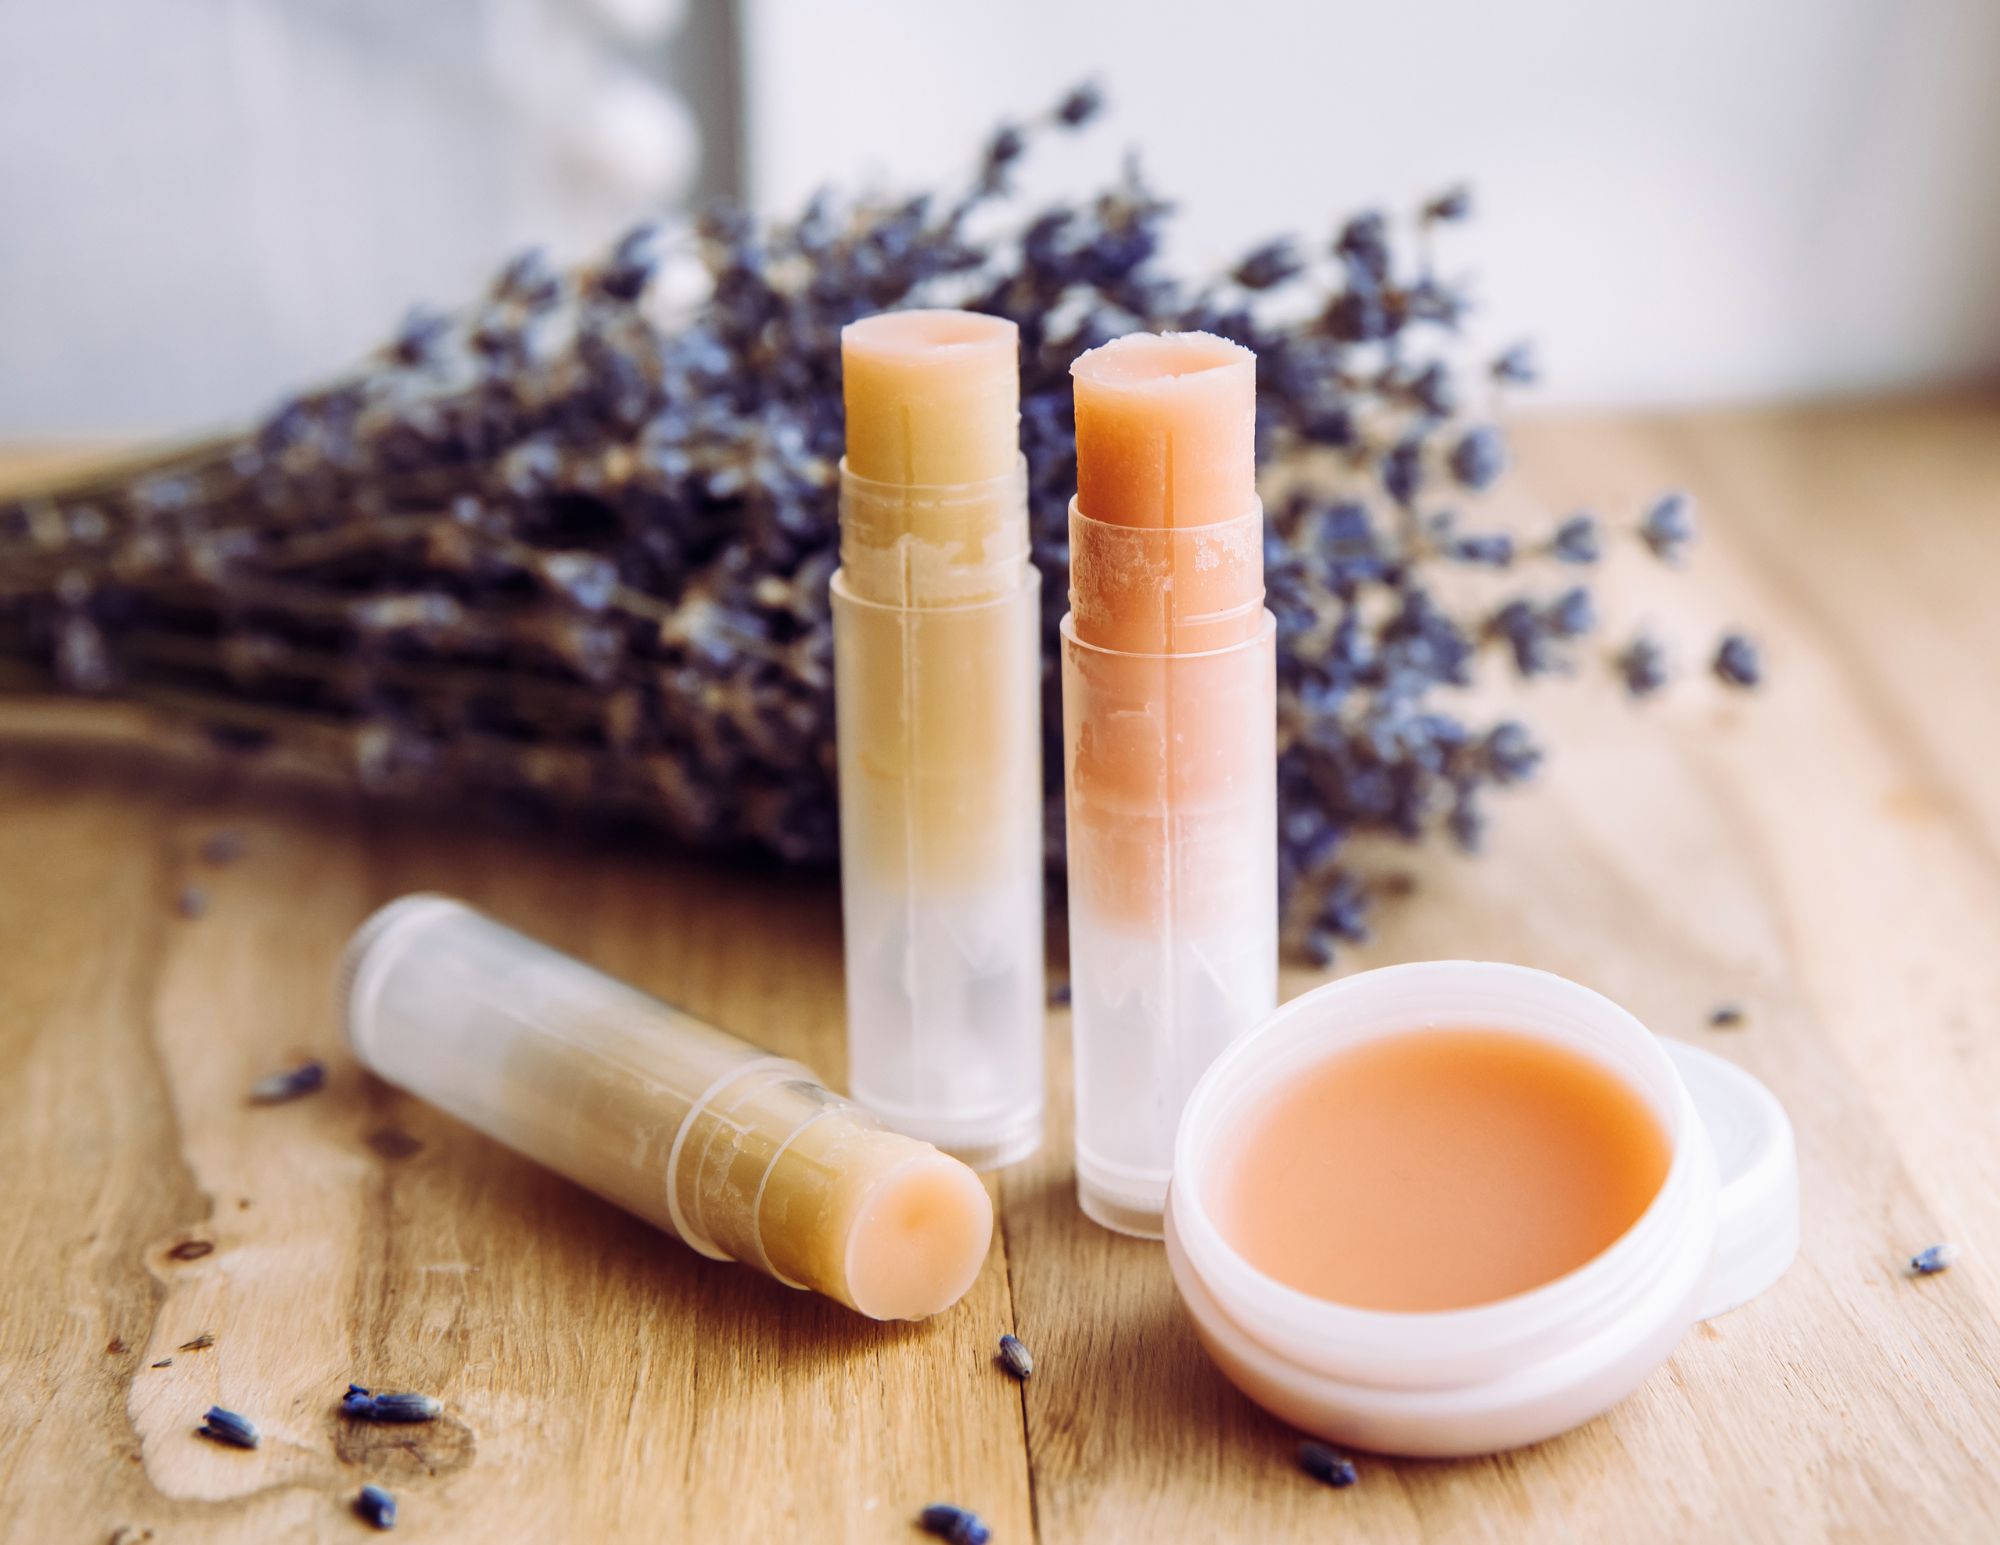
Now all you need to do is let your lip balm set. It will happen fast – less than one hour. But I would recommend letting your lip balm rest for a day to be sure it’s fully set before you use it.
Now remember, if you aren’t happy with the texture, you can start fresh and add more beexwax if you need it to be firmer or add more almond oil if you need it to be softer.
How to Store Your Lip Balm
To store you lip balm, keep it in a cool, dry place. Full sun will melt the ingredients and leaving it in your car in the summer is a bad idea. But your bathroom, your handbag, or your desk at work are all a perfect place to keep it. Just keep it anywhere that you can use it again and again! Enjoy.
Let’s Stay Friends!
Insta | Pinterest | Enews | TikTok