Craft in Style Subscription Instructions, DIY
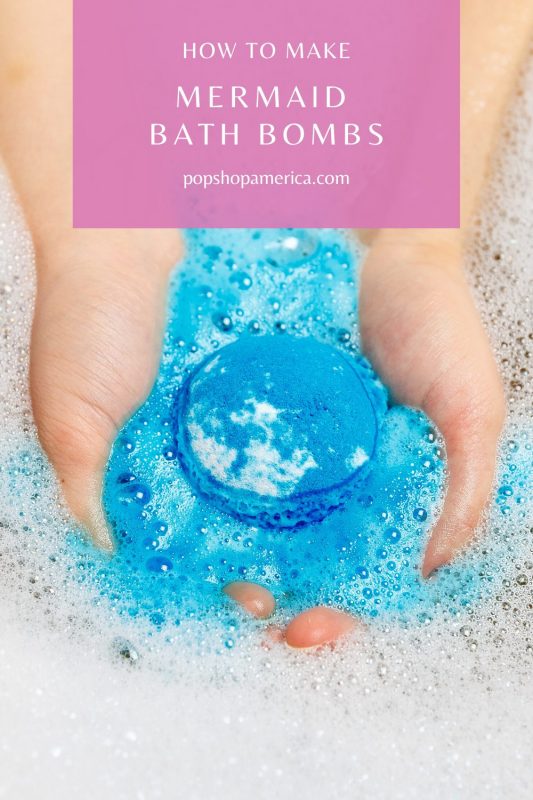
How to Make Mermaid Bath Bombs
This is Part 1 of 3 of the July 2020 Craft in Style Subscription Box. Craft in Style is a monthly box of craft supplies that features new projects each month. You can find the box here. Find Part 2: How to Make DIY Sea Glass Paint here. Find Part 3: How to Make Sea Glass Painted Glass Jars here.
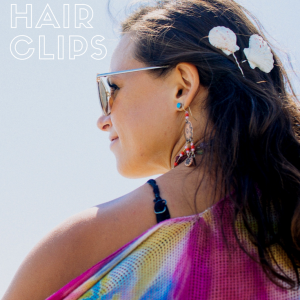
Summer is here and so it’s time to find your inner mermaid – or merman! You could start with something wearable like these Seashell Hair Clips here. Or guys, how about a usable DIY Terra Cotta Fire Pit like this.
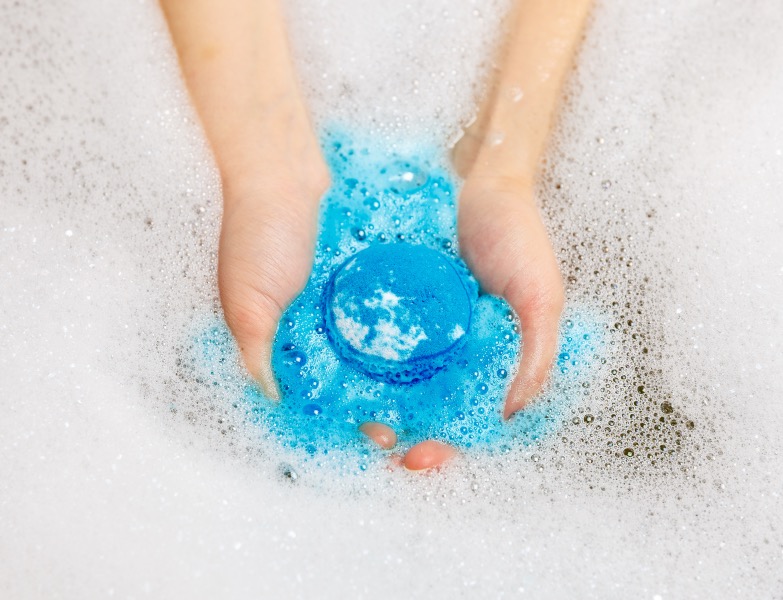
I love anything and everything outdoors, camping, beaches, and sunshine! These Mermaid Bath Bombs include all your favorite ocean colors like sea green and turquoise and ocean scents like salt and sun. It will turn your bath into trip to the ocean and it will fill you with thoughts of summer!
These Mermaid Bath Bombs are a great way to soothe your skin when the summer wrecks it. Just soak in the water for a few minutes to hydrate your skin through the bath bombs oils and heal damaged skin with the citric acid.
The supplies to make your own are included in the July Craft in Style Subscription Box. Even the ocean colors and the ocean scents! So let’s make it!
Supplies to Make Mermaid Bath Bombs:
July 2020 Craft in Style Subscription Box
-or-
1/4 cup Epsom Salt
1/2 cup Baking Soda
1/4 cup Corn Starch
1/4 cup Citric Acid
1 tablespoons Almond Oil
10 drops of Ocean Scent +or try one of these recipes
Food Color in Blue, Turquoise, or Sea Green
+ Bath Bomb Molds
This quantity of supplies will make around 3 bath bombs.
Note: People often use dry color pigment. It’s a fail safe way to make bath bombs but it will require you to mist just the tiniest sprinkle of water into your mix. Whether you decide to use liquid food color or dry color, it’s imperative that you only add a tiny drop at a time. More details below!
So let’s get to making these luscious, fizzing bath bombs! First prep your space and your bath bomb molds. You will need at least 2 mixing bowls plus your bath bomb mold.
Make sure they are completely clean and most importantly that they are completely dry. It’s important that your dry ingredients stay completely, perfectly dry.
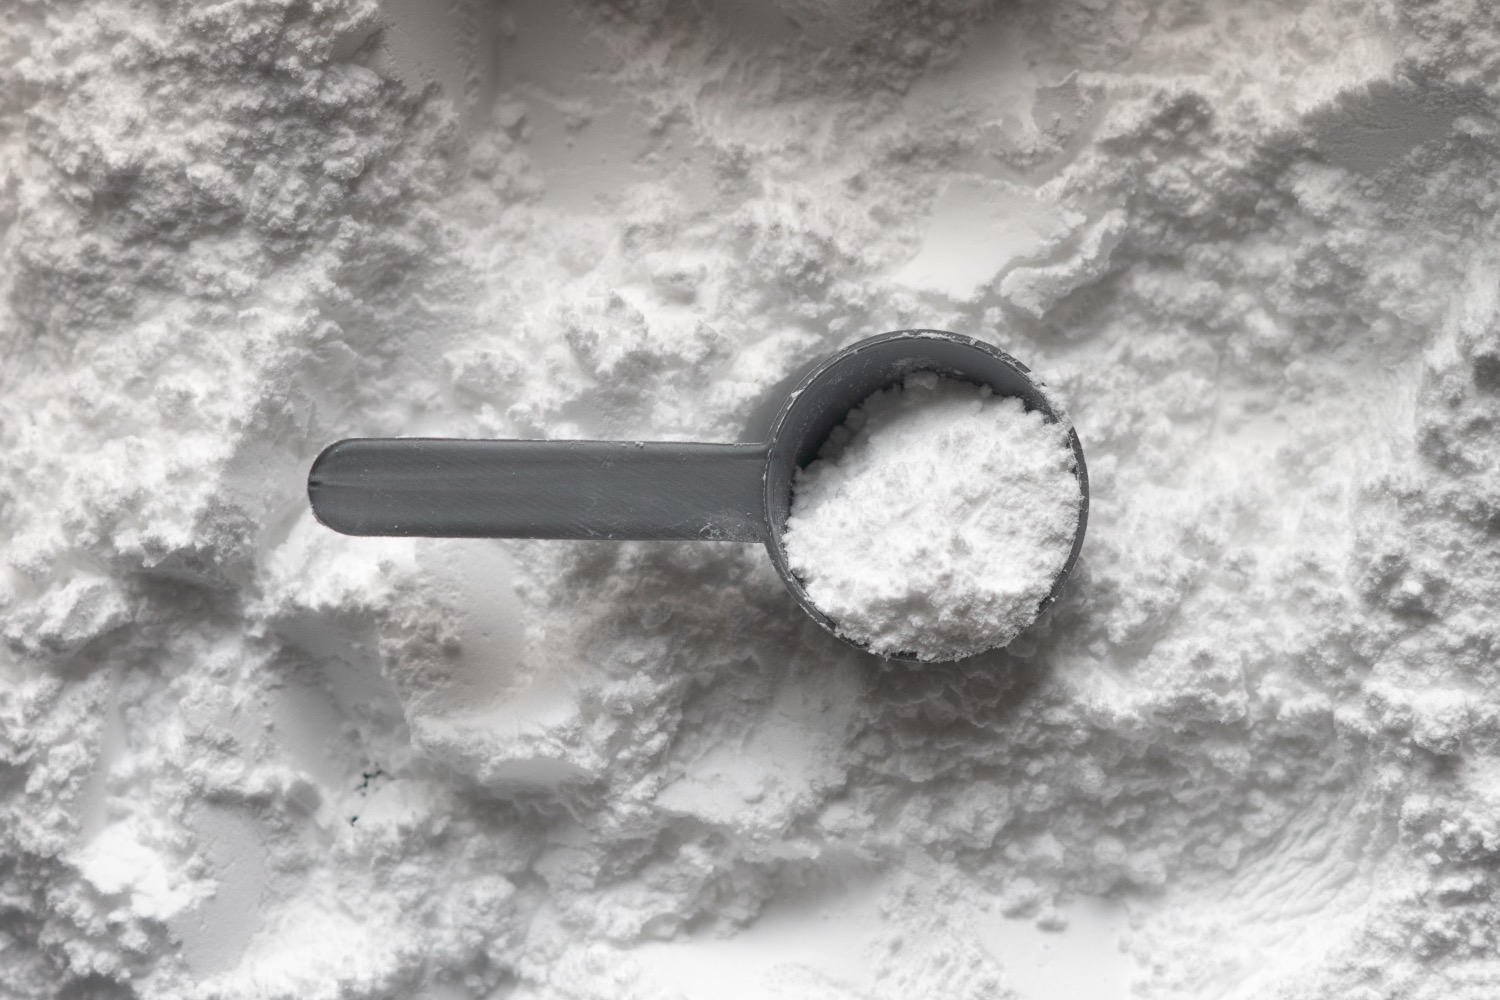
Mix all of your dry ingredients together in a bowl with a whisk until evenly blended.
Next, divide your dry ingredients into 2-3 bowls depending on how many colors you want to include in your bath bombs. For mine, I just included white and blue but you could add green or purple too!
Each bowl that you set up, will be for each individual color. Divide your dry ingredients evenly between the bowls.
Now is the part when you need to be extra careful. Add a tiny drop of the food color, a tiny drop of the ocean scent fragrance, and a tiny drop of the almond oil. Just a drop at a time! Whatever you do, don’t let the mixture fizz, it will prevent the bath bombs from setting correctly. Mix it very thoroughly. Just add enough liquids so that when you squeeze the bath bomb ingredients into you hand it holds together.
If you don’t want to use ocean fragrance, you could try one of these all essential oil recipes! There are a few essential oils that can give you beach vibes like grapefruit, jasmine, and tangerine.
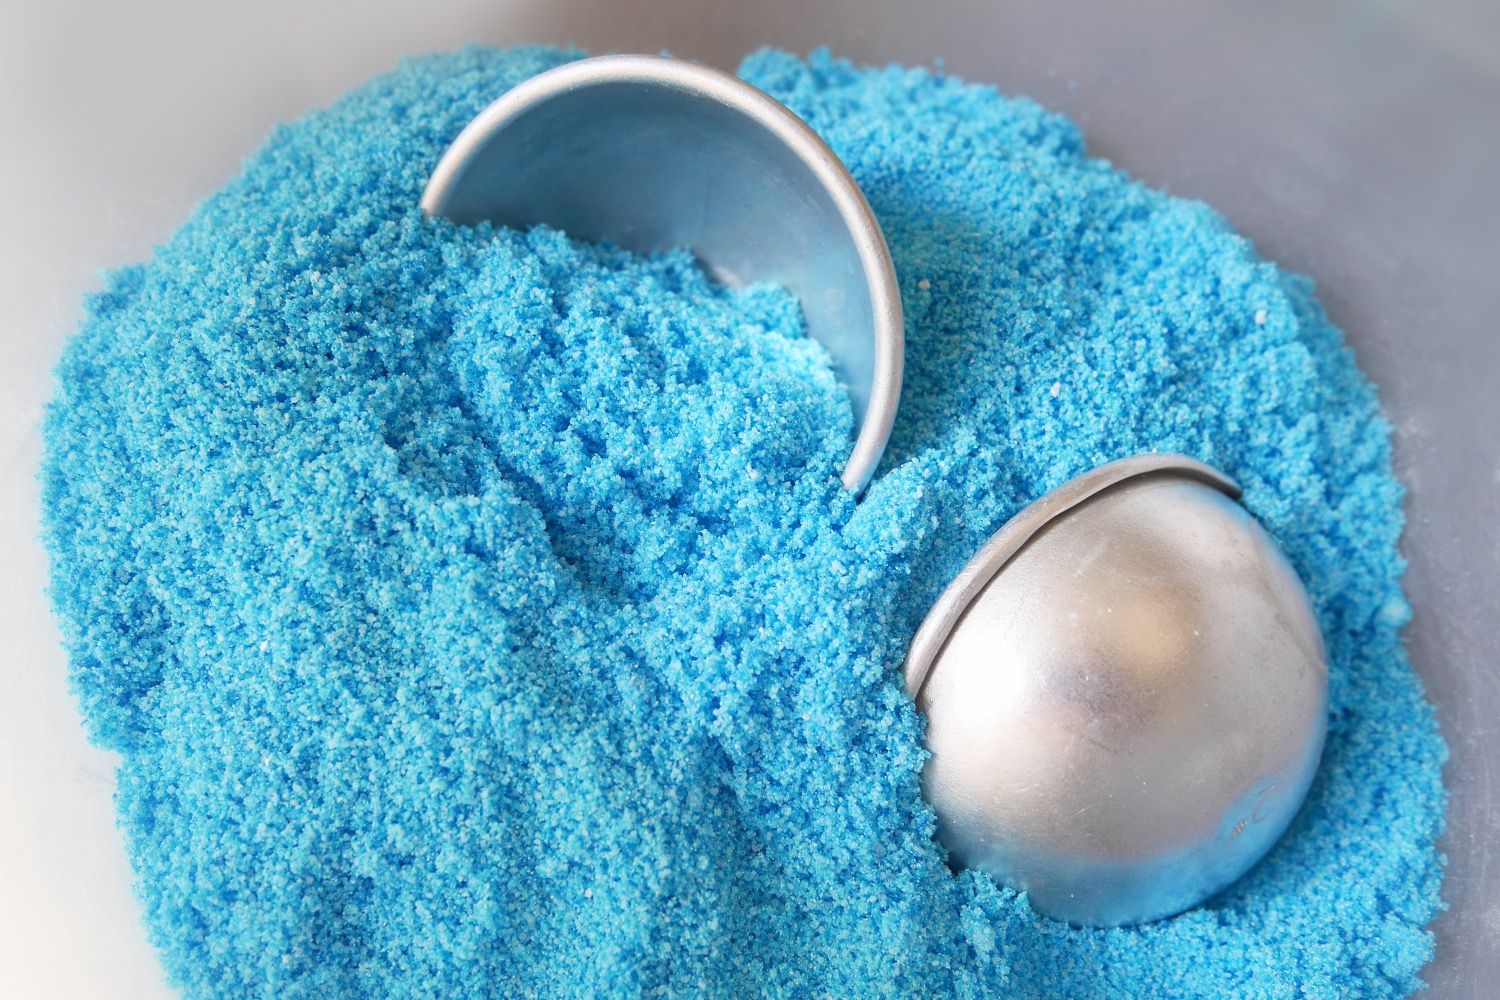
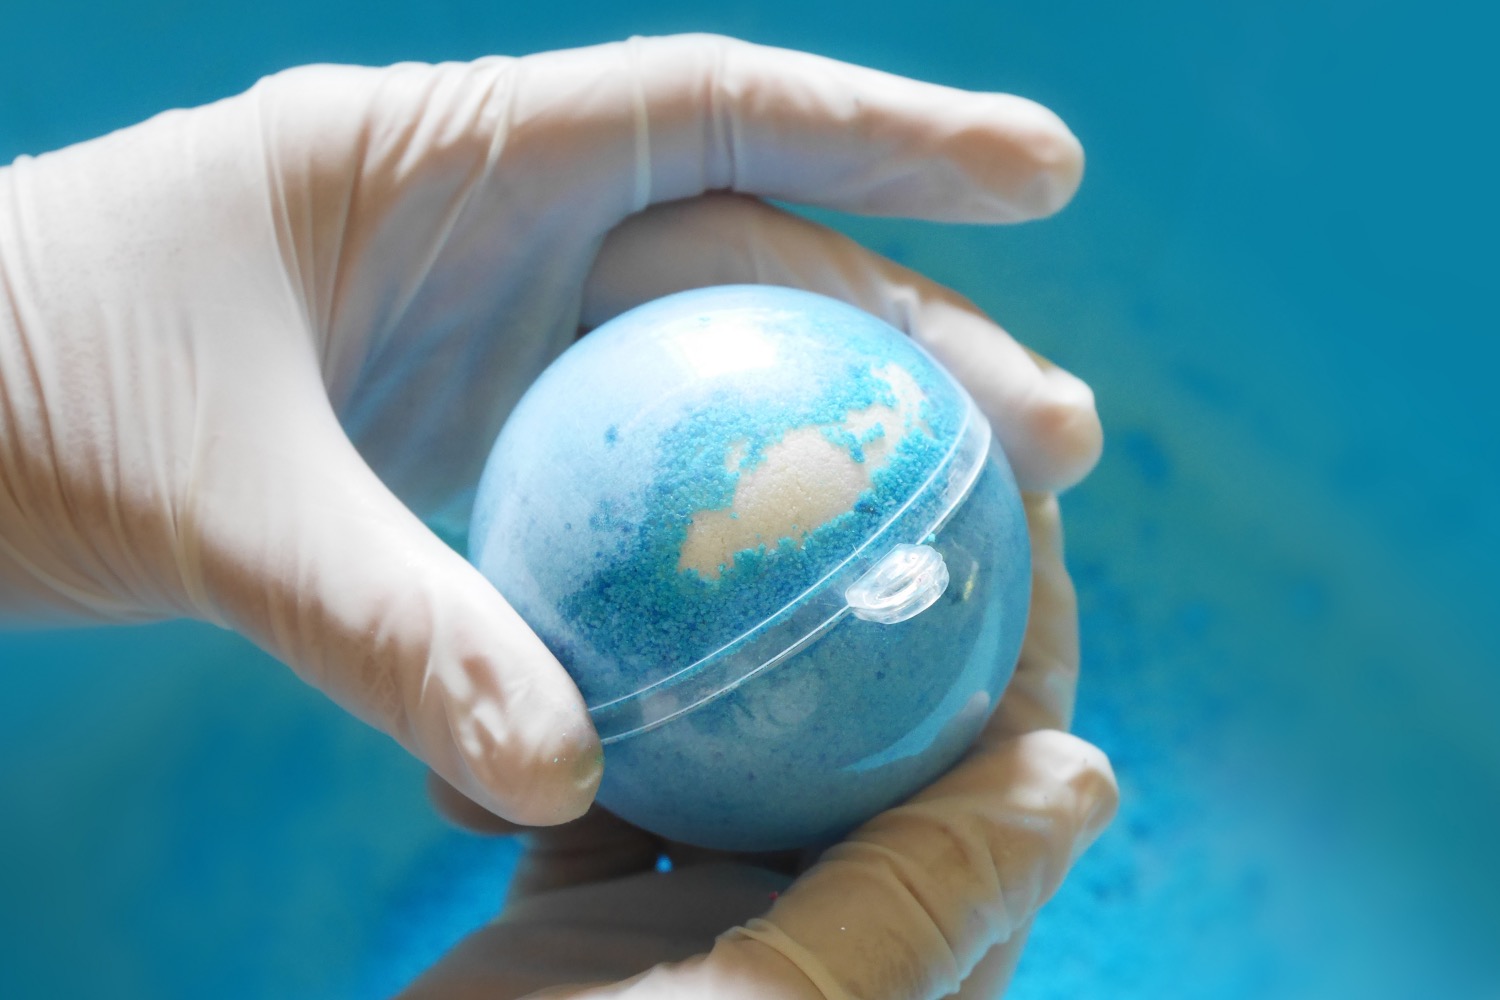
Once you achieve this texture, fill your bath bomb mold partly with each color and press it firmly into the mold. Fill both sides of the mold completely, press the mold together and allow it to set for 24 hours.
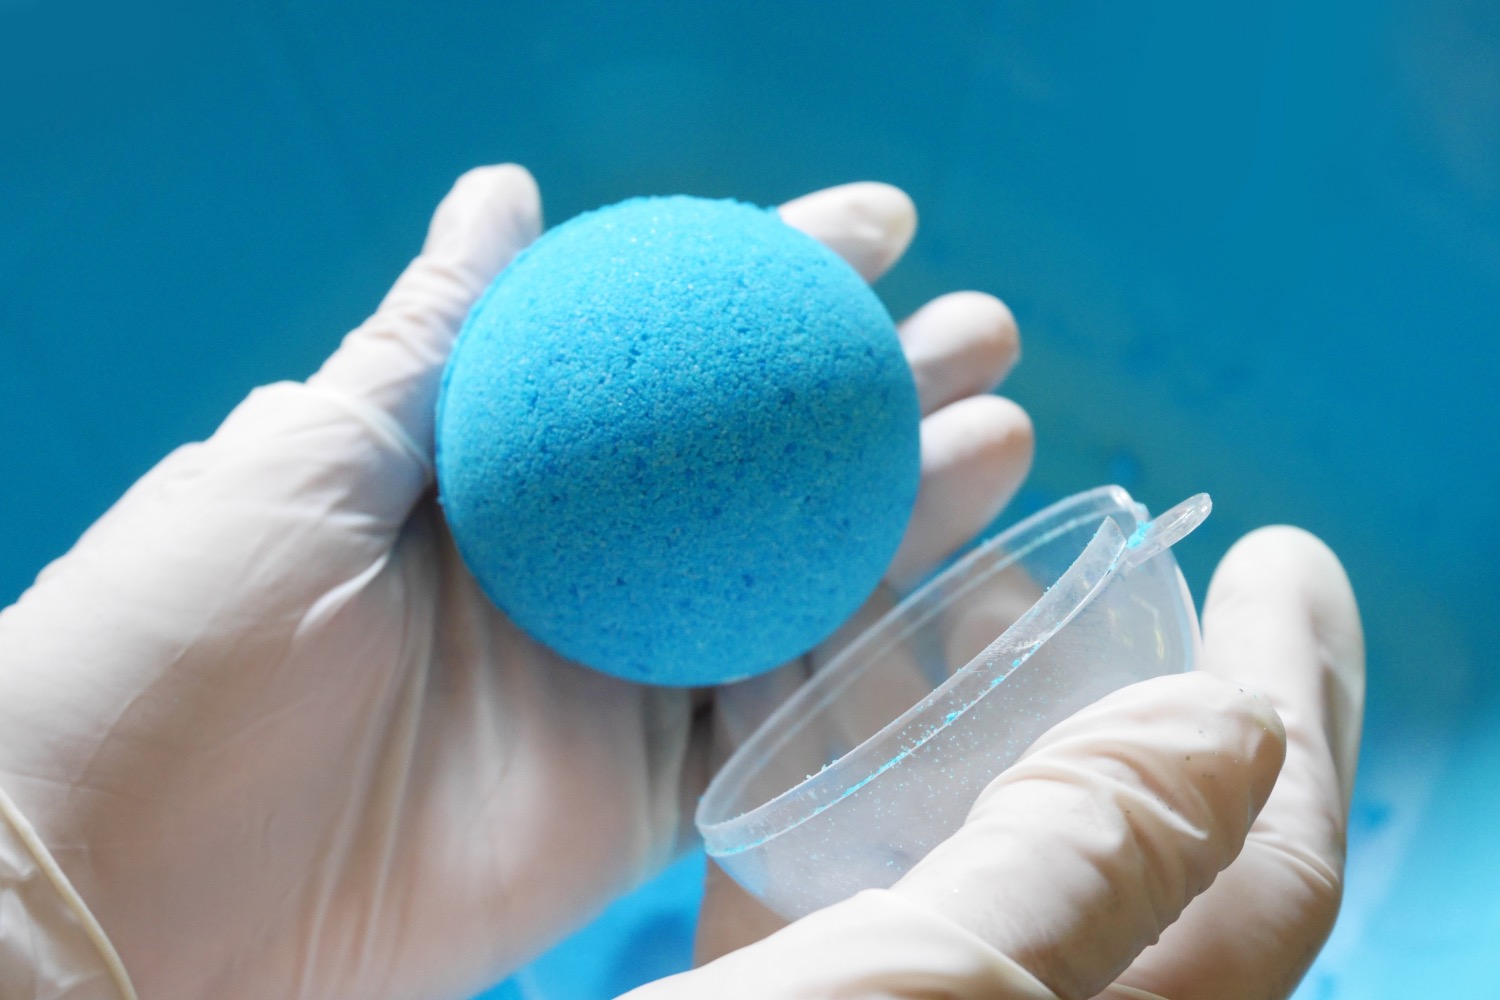
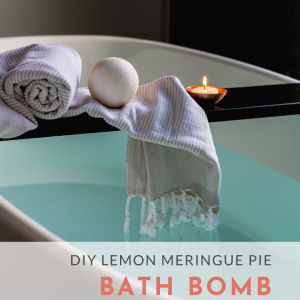
Then remove it from the mold and it’s ready to use! Make it a spa day any day. I love the scent of ocean – but if you want a twist on this DIY, you can find Lemon Meringue Pie Bath Bombs here!
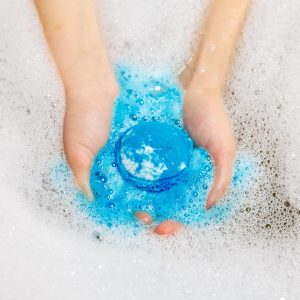
How to Make Mermaid Bath Bombs
Ingredients
- 1/4 cup Epsom Salt
- 1/2 cup Baking Soda
- 1/4 cup Corn Starch
- 1/4 cup Citric Acid
- 1 tablespoon Almond Oil
- 10 drops of Ocean Scent
- Food Color in Blue Turquoise, or Sea Green
- Bath Bomb Molds
Instructions
- In a completely dry bowl, mix together all of your dry ingredients (Epsom Salt, Baking Soda, Corn Starch, & Citric Acid.)
- Separate your dry ingredients evenly into a bowl for each color you want to use. I used blue and white, so I just had 2 bowls.
- Add a drop of almond oil, ocean scent, and food color and mix evenly. Only add enough liquid ingredients until you are able to press the bath bomb ingredients together in your hand and it sticks together. Continue to add the liquid ingredients until this happens without letting the ingredients fizz and expand. If that happens, you may want to start over.
- Press your bath bomb ingredients firmly into the mold using sections of all your colors. Press it into the mold with the same pressure you would use to measure brown sugar.
- Close the mold holding the bath bomb ingredients firmly together. Allow them to set in the mold for 24 hours.
- Then remove the bath bombs from the mold and use anytime!
Notes
If you LOVE these bath bombs, you must shop the July Craft in Style Subscription Box! You will get all the supplies you need to make your own Mermaid Bath Bombs in addition to so much more!
Need even more mermaid DIY’s? Look below!
Let’s Be Friends!
Insta | Pinterest | Enews | TikTok


OMG it worked ill use this for my YT
Hi there- will these dye the tub?
That’s a great question! There is not enough dye to affect your skin or the tub. It’s such a small amount compared to the amount of water. Another option would be to use colored mica powder like this. If you decide to use colored mica powder, you will still need to add just the tiniest bit of water to hold the bath bomb together. For this process, use a spray bottle and just a mist or 2 of water. Does that make sense?